This article explains how to create and manage global protection policies across multiple workspaces in the Coro console. Global protection policies enable MSP admin users with sufficient permissions to enforce consistent security settings across some or all customer workspaces, including device management, cloud security, EDR, endpoint protection, email security, and data governance. Centralizing policy management saves time, reduces configuration errors, and ensures uniform protection.
Coro allows you to add and manage policies from the Protection Policies page. You can’t remove policies that are still assigned to workspaces. This helps protect your environment from accidental misconfiguration.
If an MSP admin user enables the option to allow overrides of global policy settings when creating or editing a child workspace, any policy changes made by an admin user within that child workspace override the global protection policy for that workspace.
To access global Protection Policies:
Select Global view from the top of your console:

From the sidebar, select Global Settings.
Select Protection Policies:

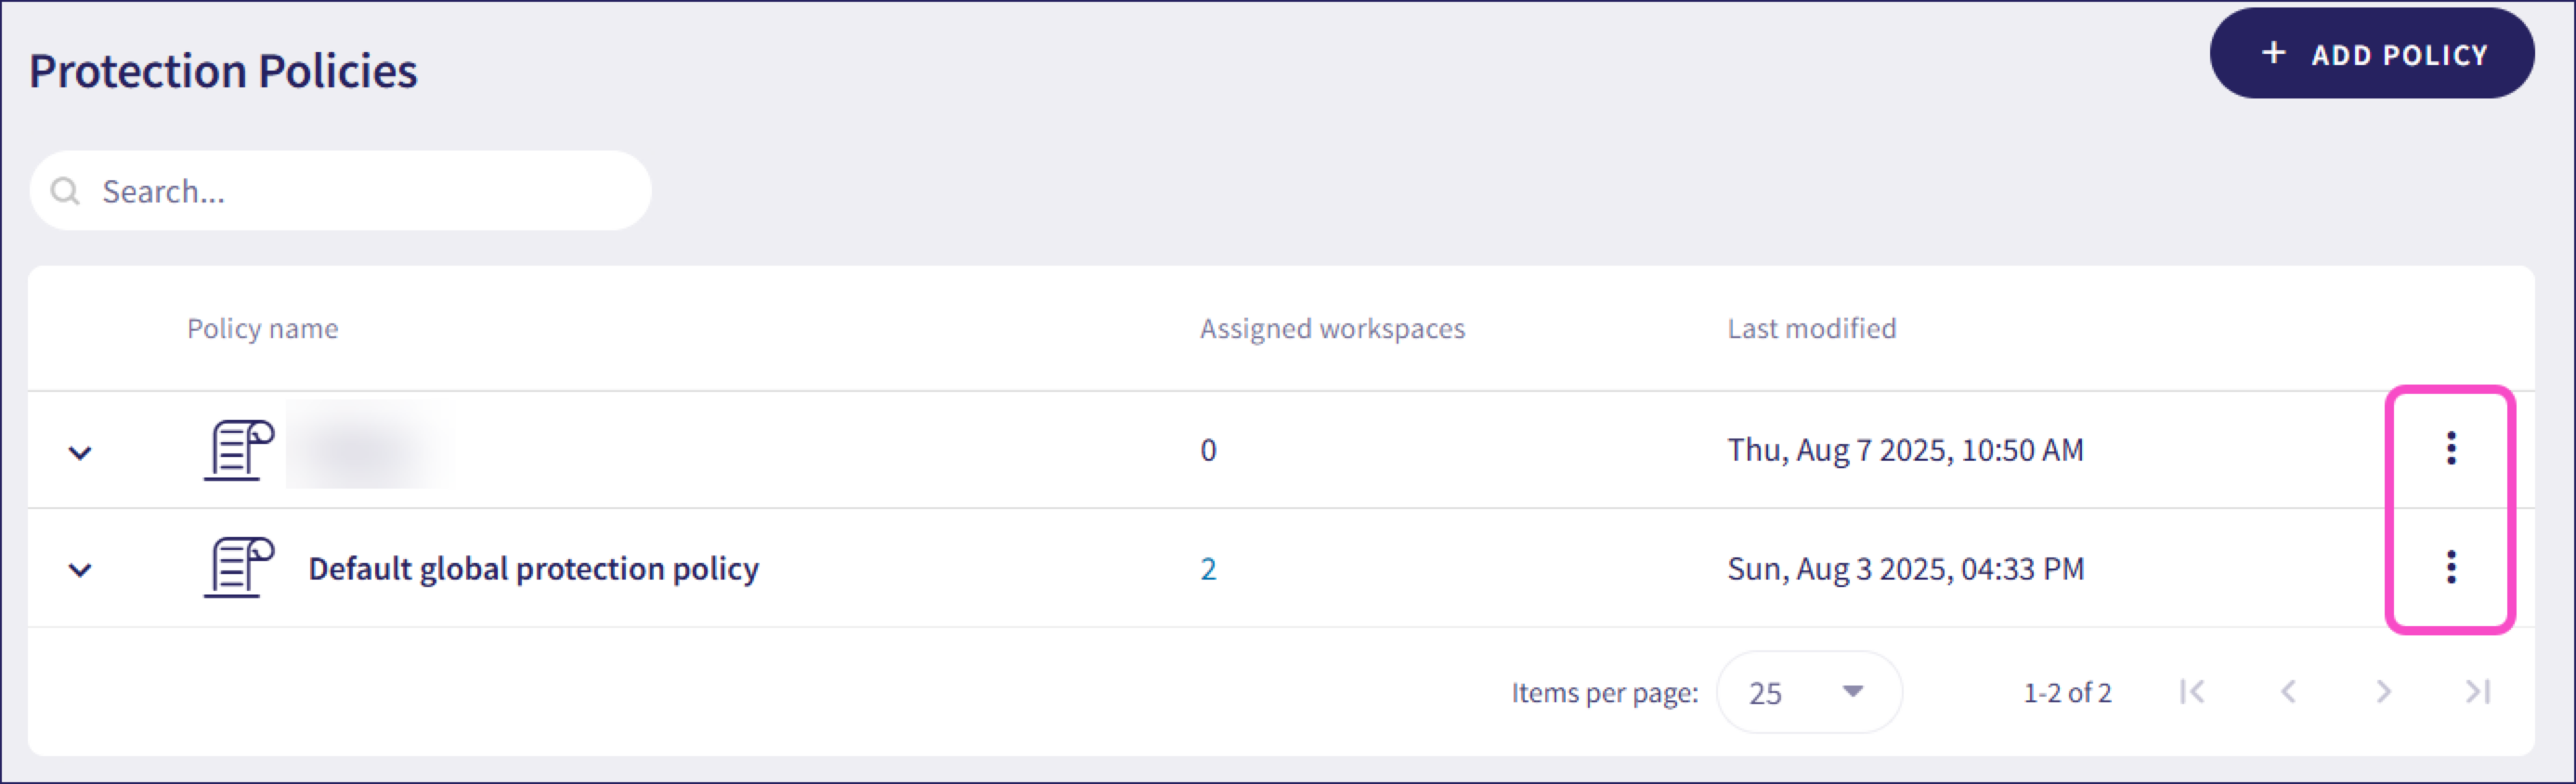
Coro displays the Protection Policies page:
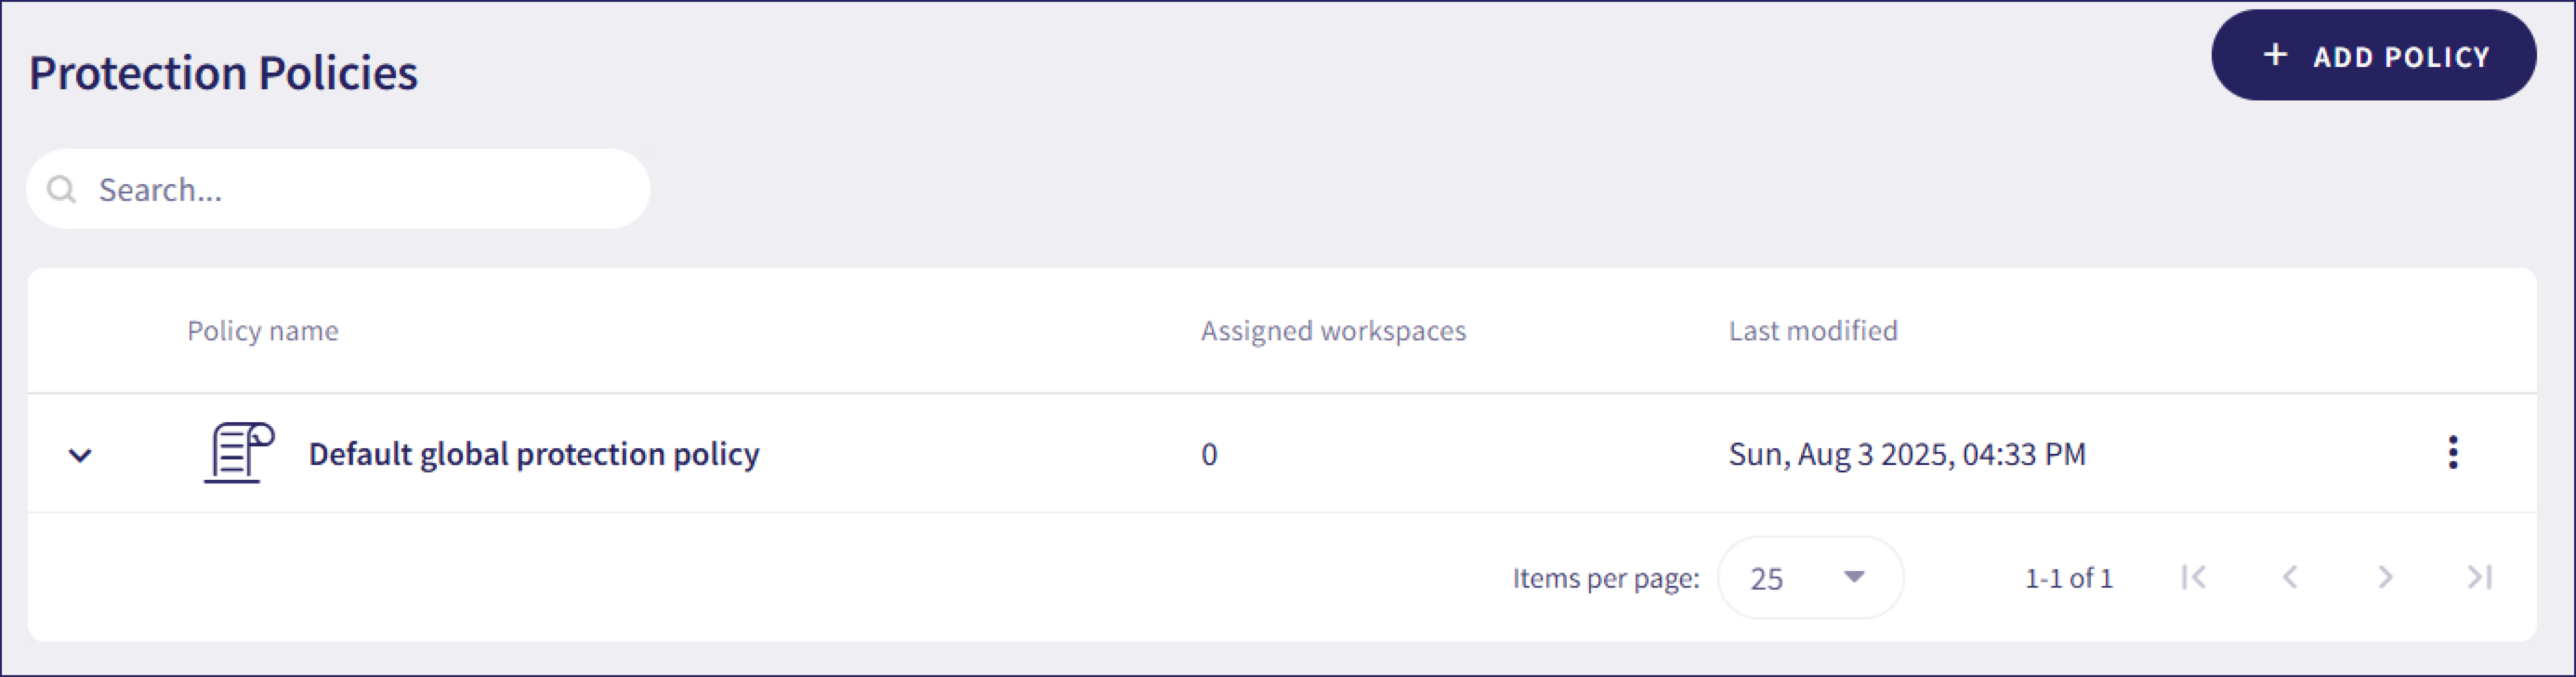
From this page, MSP admin users can add and manage protection policies.
Coro automatically adds a default protection policy, which you can duplicate, apply to workspaces, or view, but you cannot edit or remove it. The default protection policy includes device settings, as well as settings for Cloud Security, Endpoint Security, and Email Security. For more details, select View from the three-dot menu next to the default protection policy:

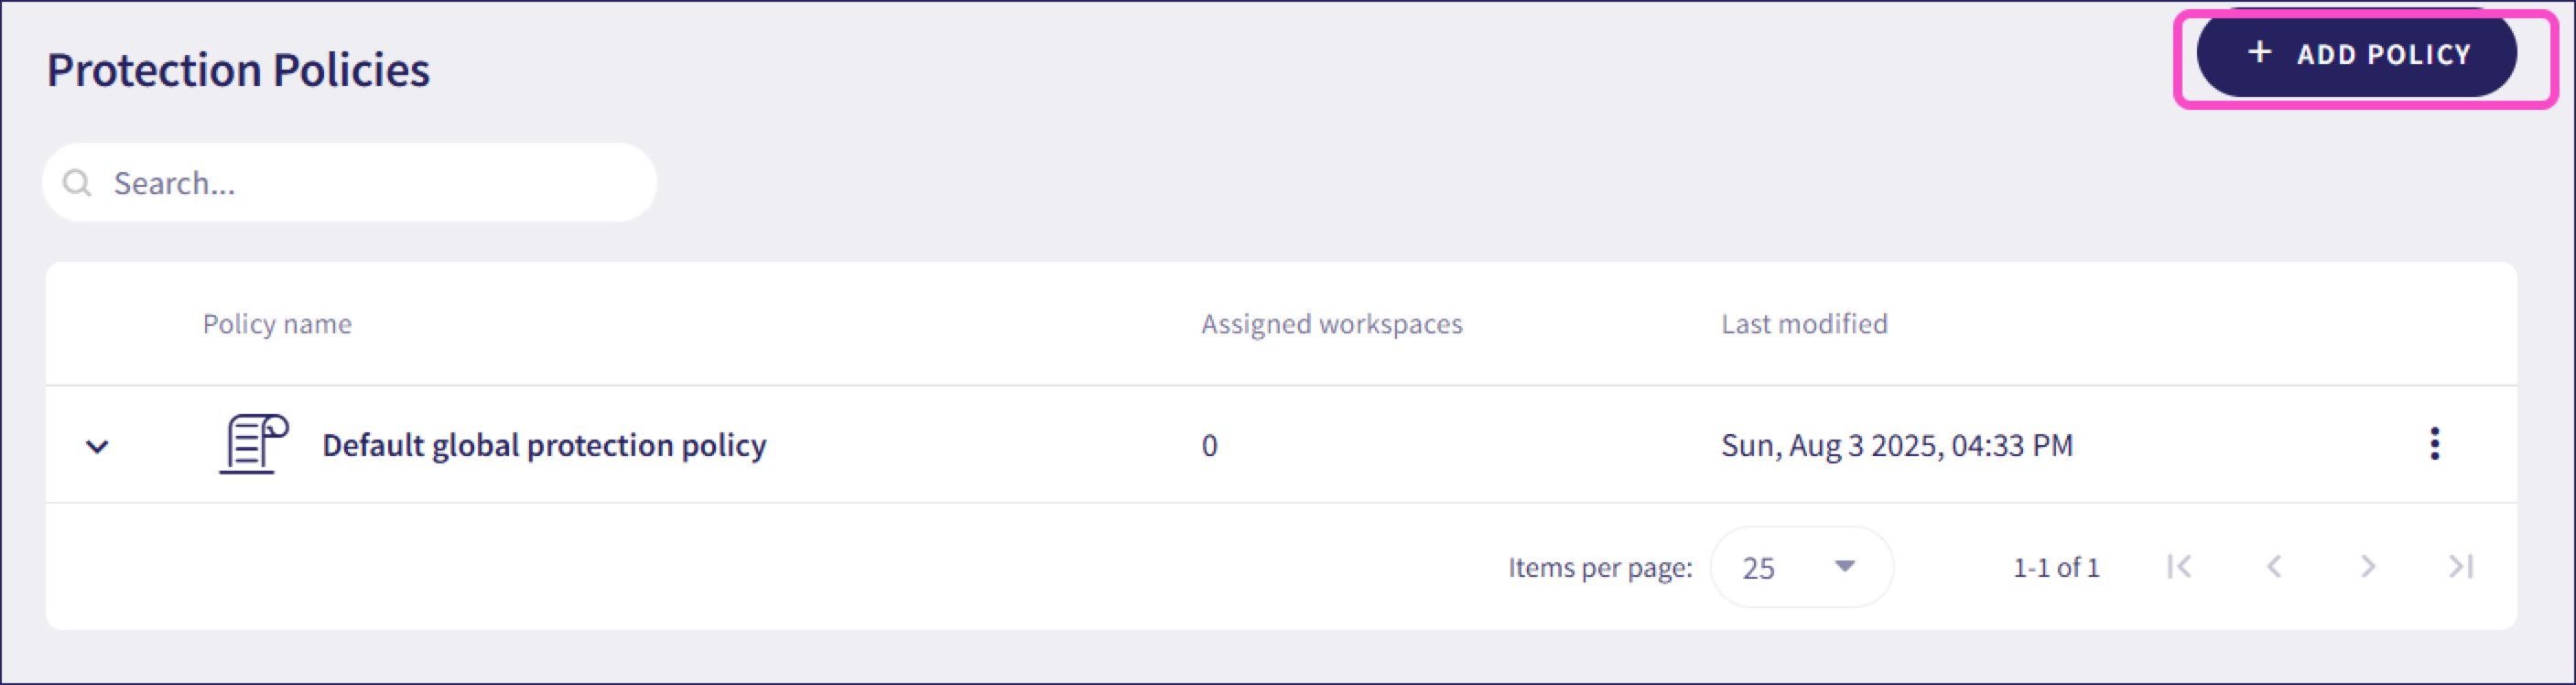
To add new global protection policies:
From Protection Policies, select + ADD POLICY:
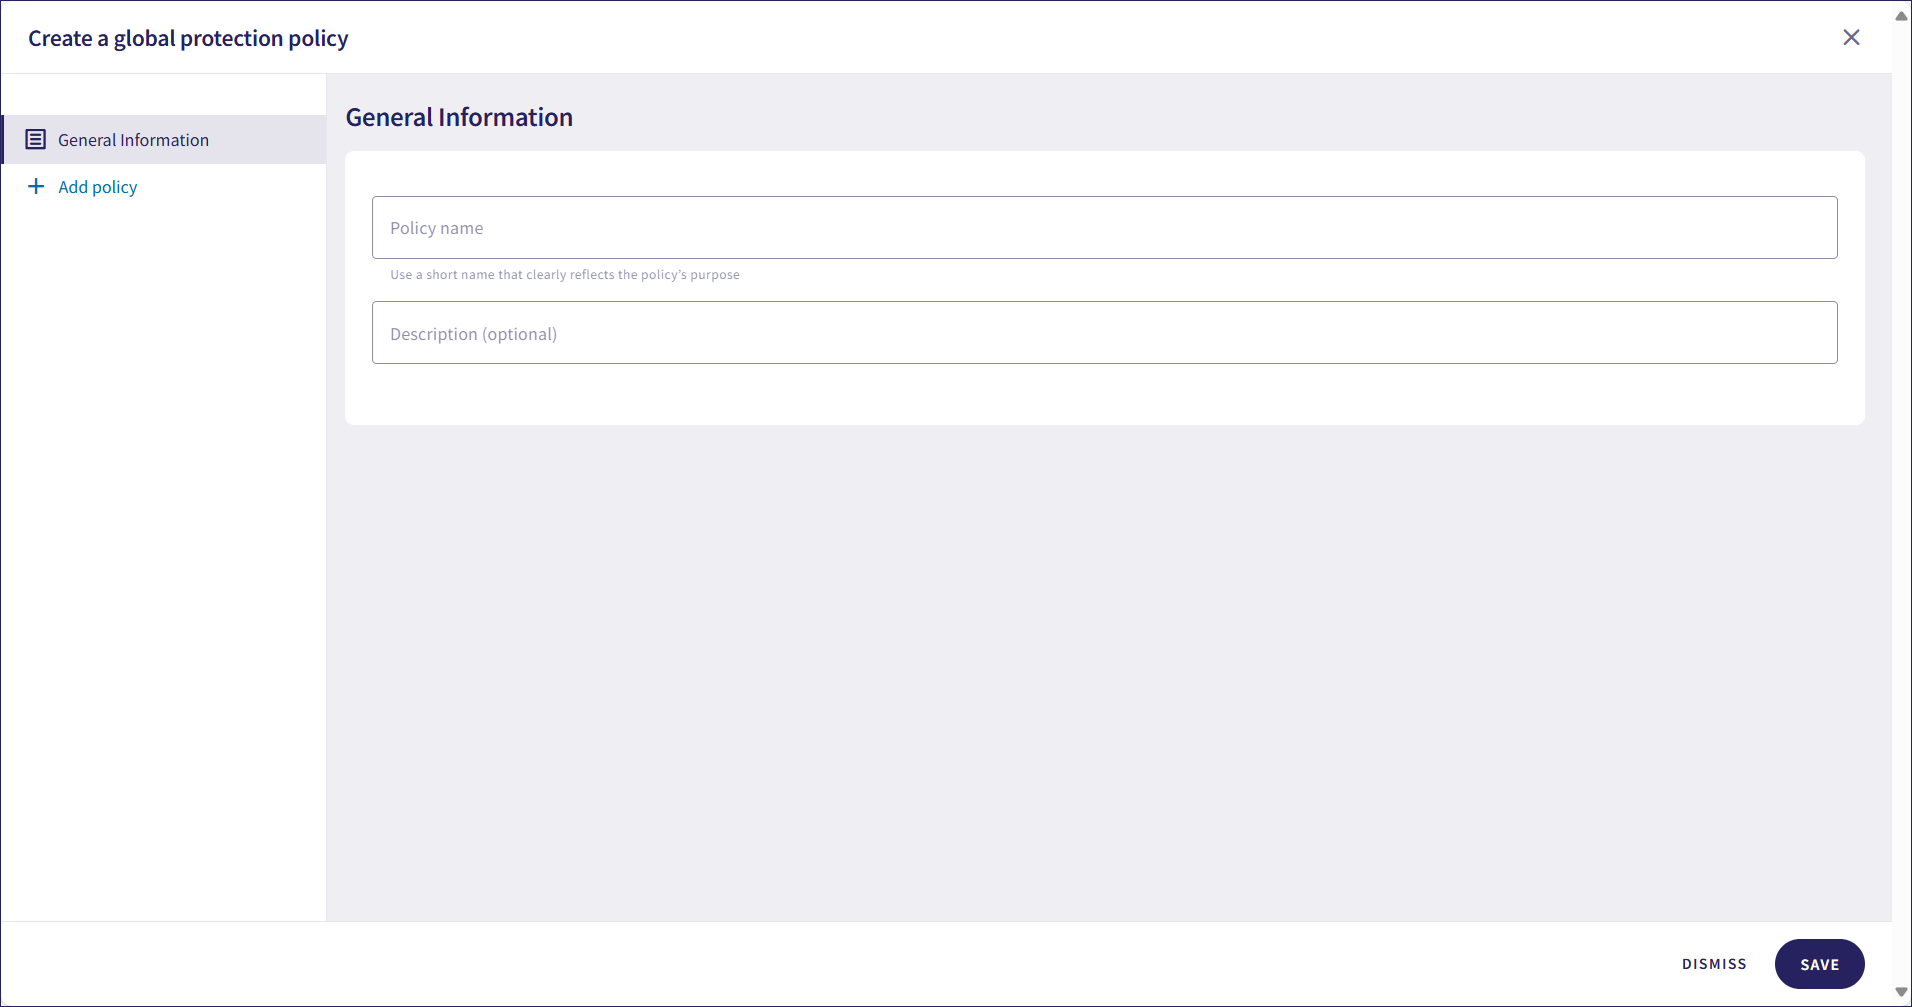
In the General Information section, add a name and description for the policy:
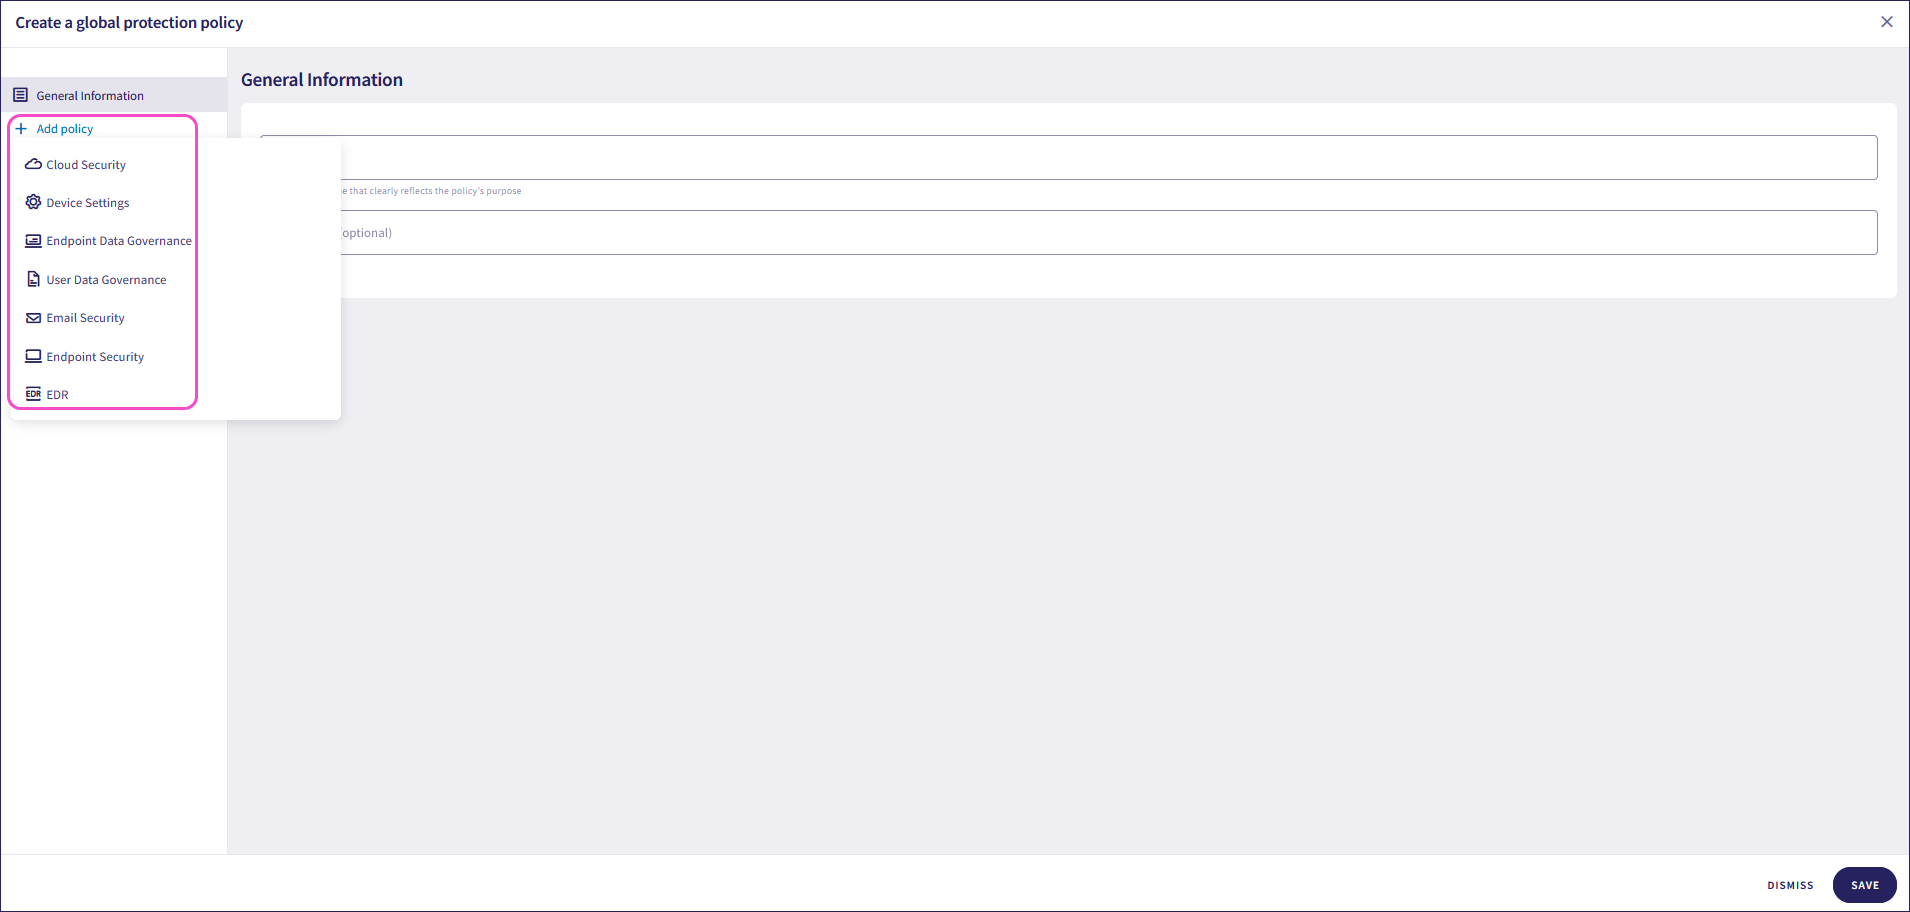
Select Add policy, then choose the sections where you want to apply global protection policies. These sections include:
- Cloud Security
- Device Settings
- Endpoint Data Governance
- User Data Governance
- Email Security
- Endpoint Security
- EDR
If you add the Cloud Security section, set the number of days after which a user becomes inactive when not using a cloud application:
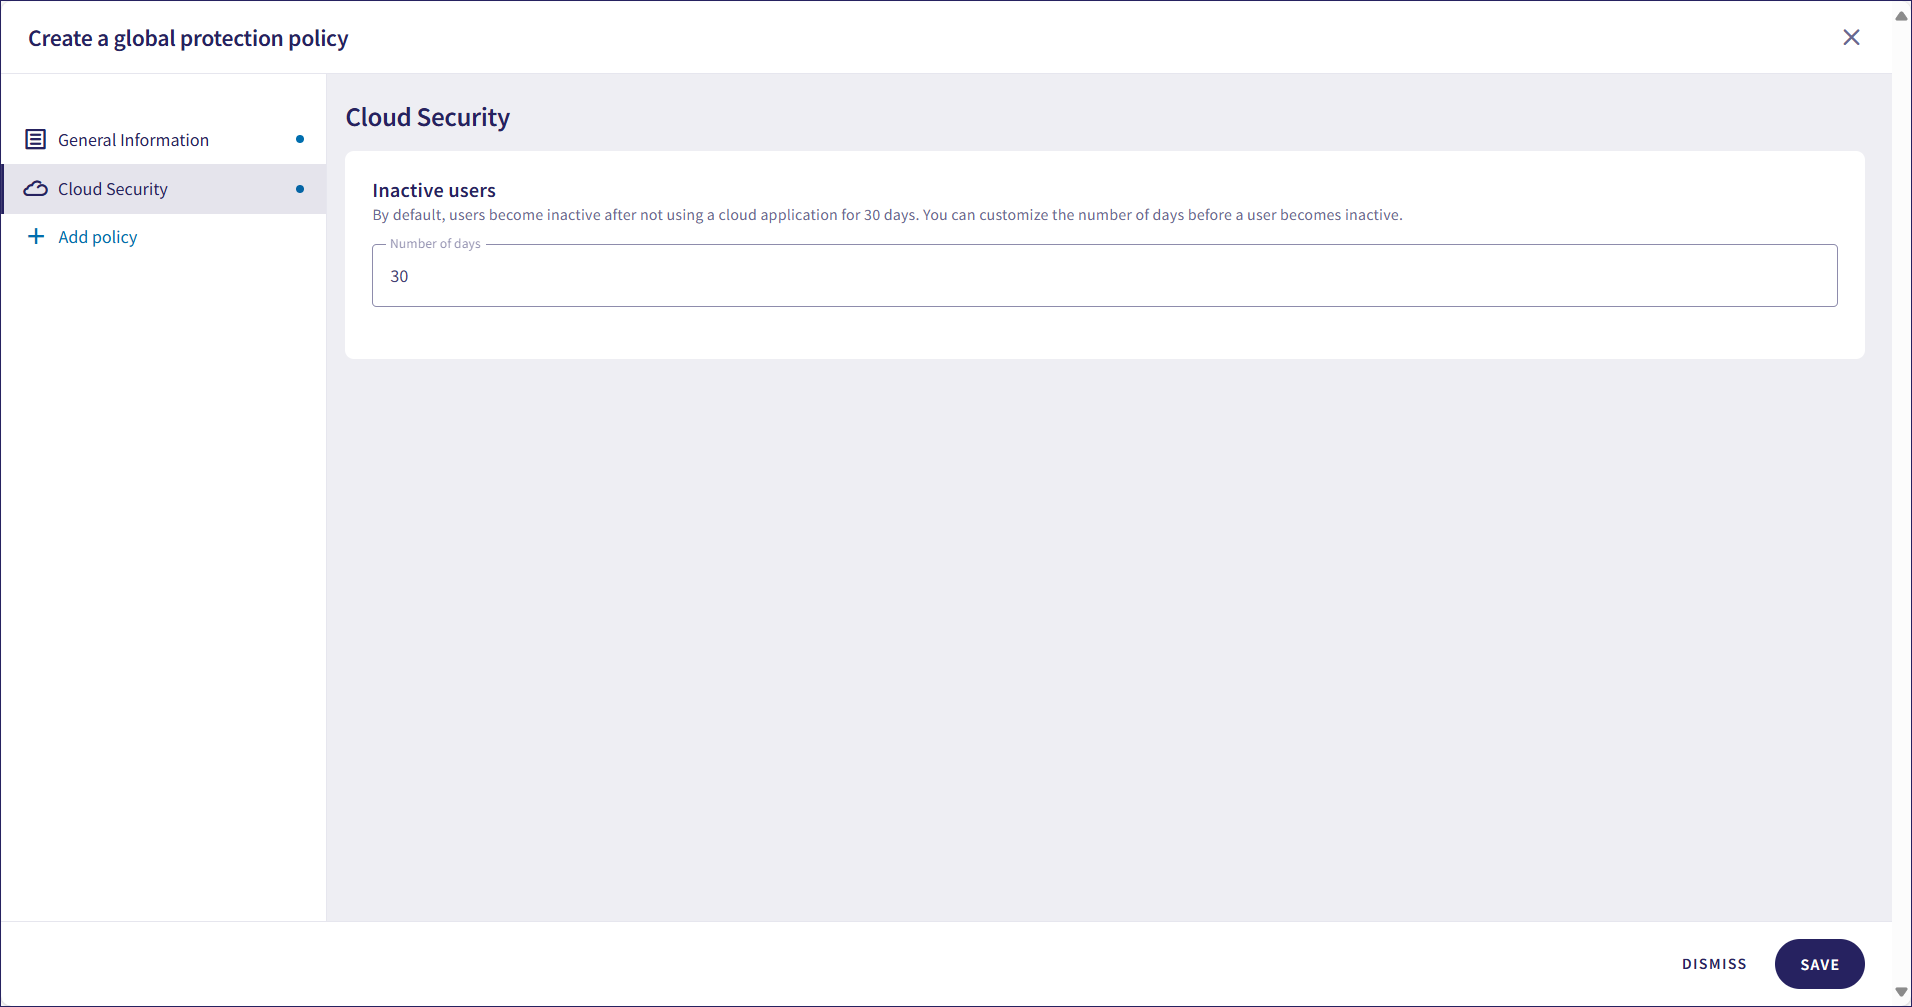
For more information, see Cloud Security settings.
If you add the Device Settings section:
- Set the heartbeat interval
- Enable or disable allowing agent uninstallation for specific devices
- Enable or disable visibility mode for specific devices
- Enable or disable user-based authentication for specific devices
- Allow self-update to the latest stable version for specific devices
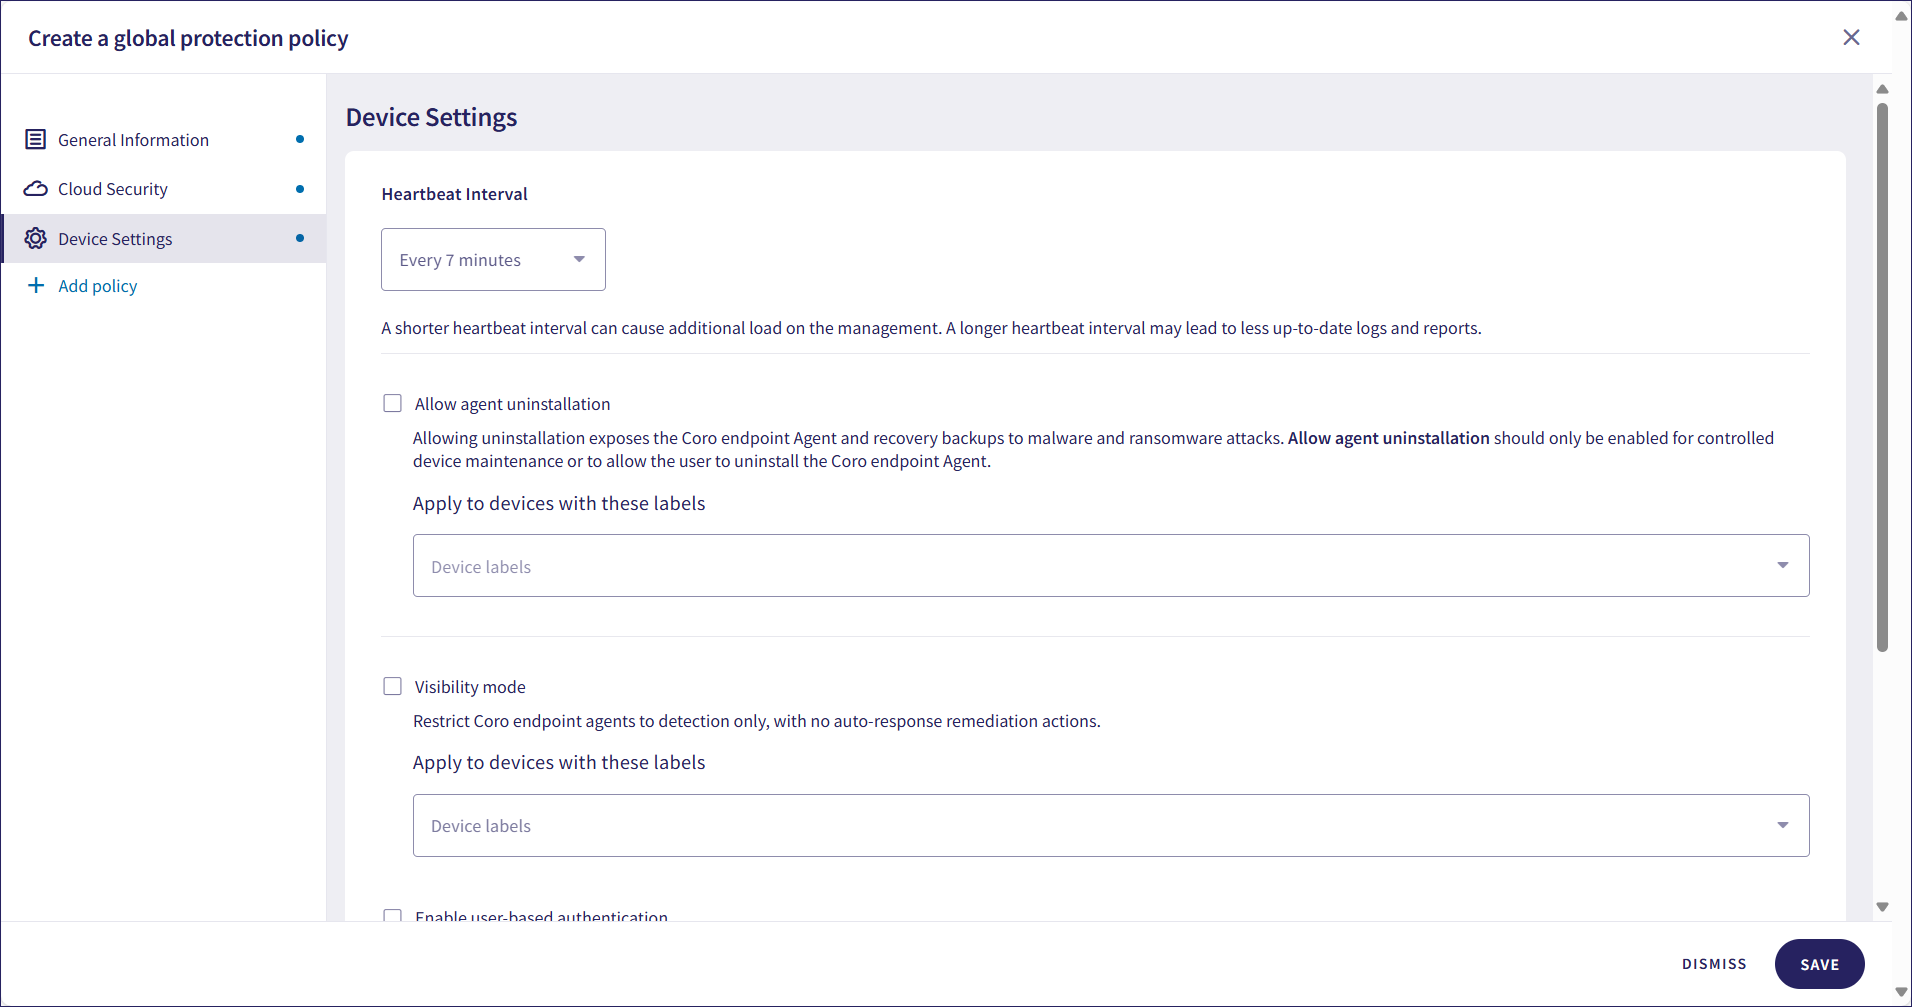
For more information, see Device settings.
If you add the Endpoint Data Governance section, select privacy sensitive data types for monitoring:
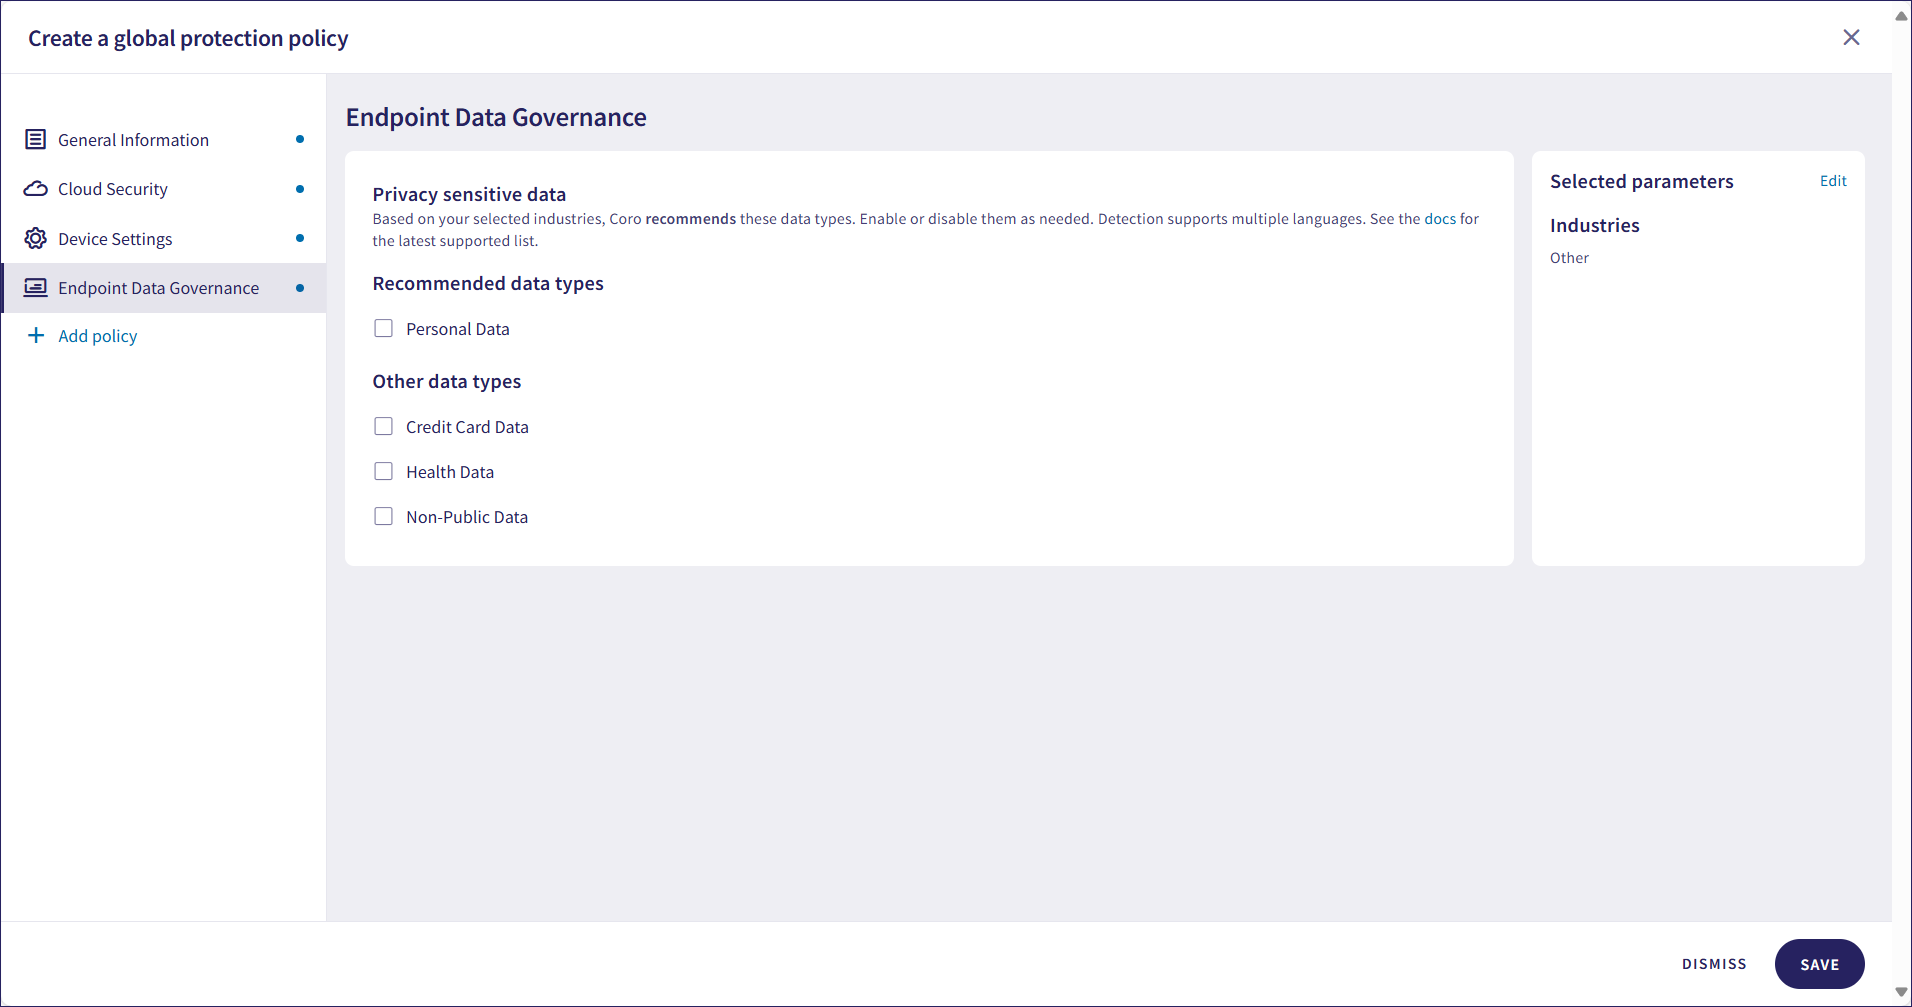
For more information, see Data privacy configuration.
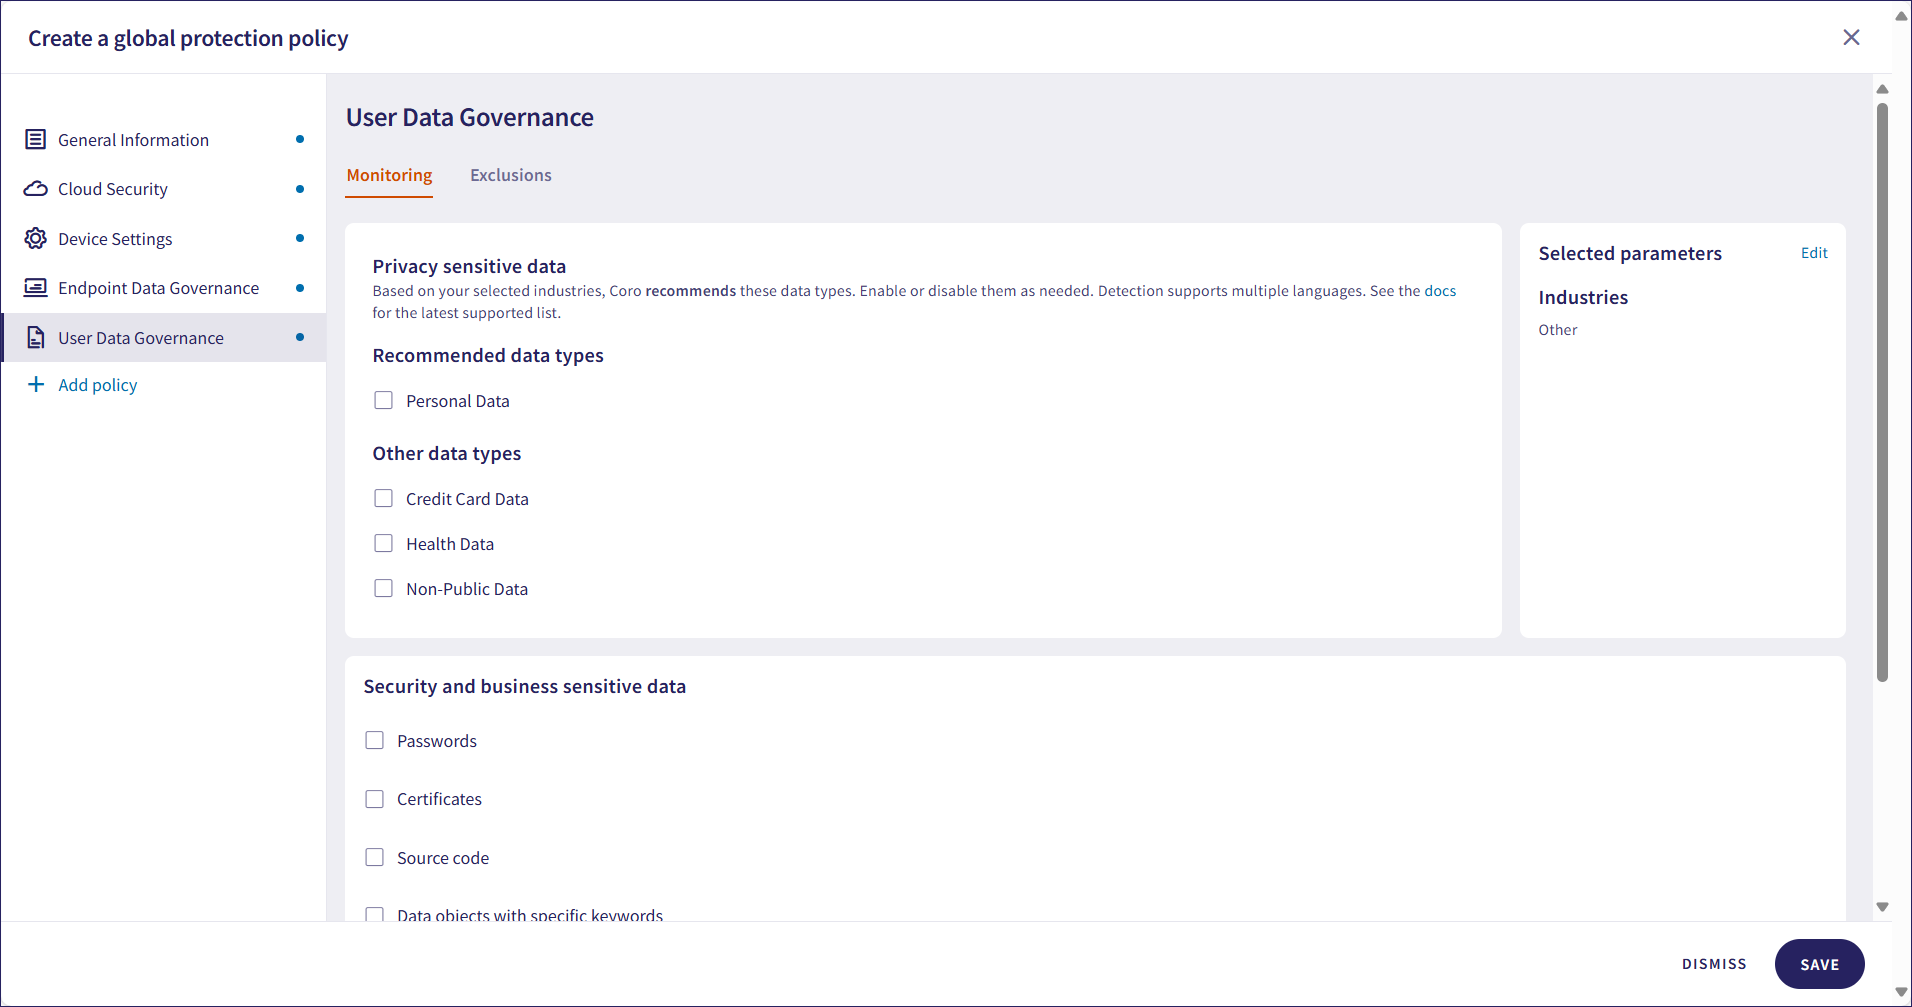
If you add the User Data Governance section:
- Select privacy sensitive data types for monitoring
- Select security and business sensitive data types for monitoring
- Exclude emails from sensitive data scans based on keywords
For more information, see:
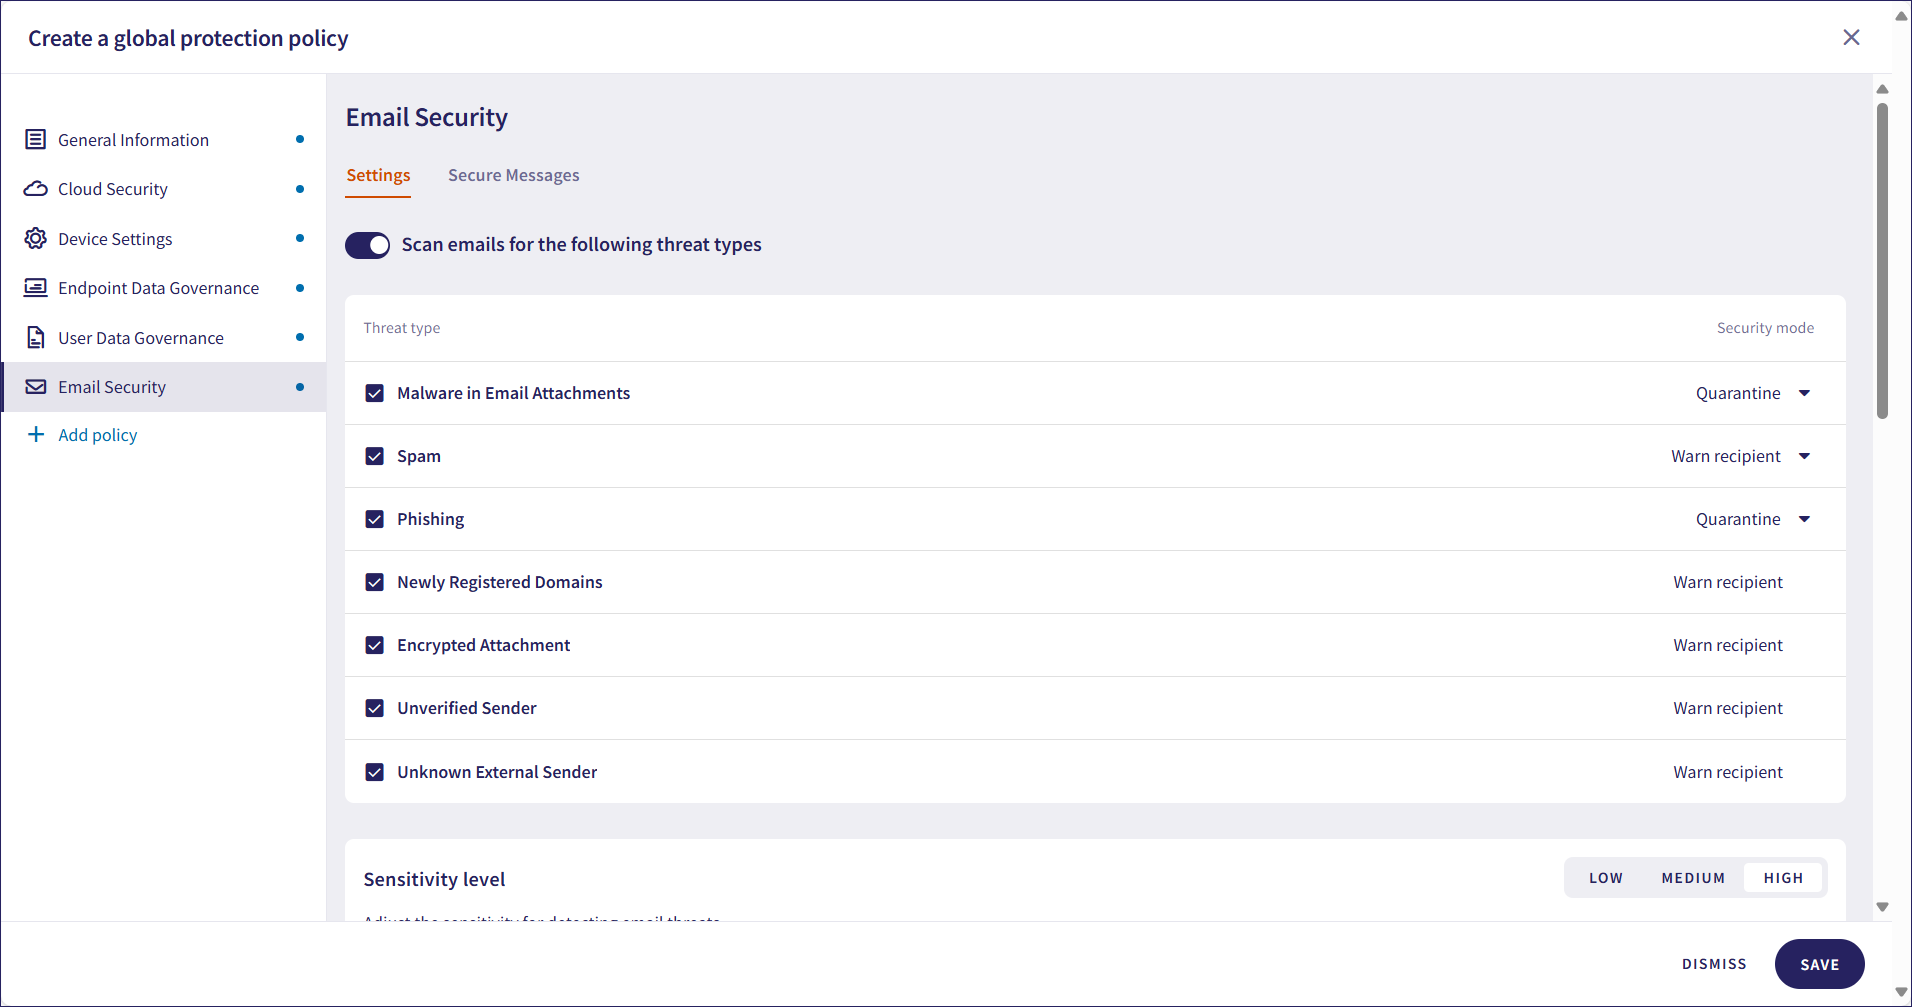
If you add the Email Security section:
- Select the threat types to scan for in emails
- Select the sensitivity level for detecting email threats
- Select for which attachment types to quarantine emails
- Enable or disable allowing emails to bypass security for third-party Security Awareness Training
- Enable or disable allowing emails with specific keywords in the subject line to bypass security
- Select the quarantine folder
- Restrict or allow message forwarding for Secure Messages
- Set a message expiration period for Secure Messages
For more information, see:
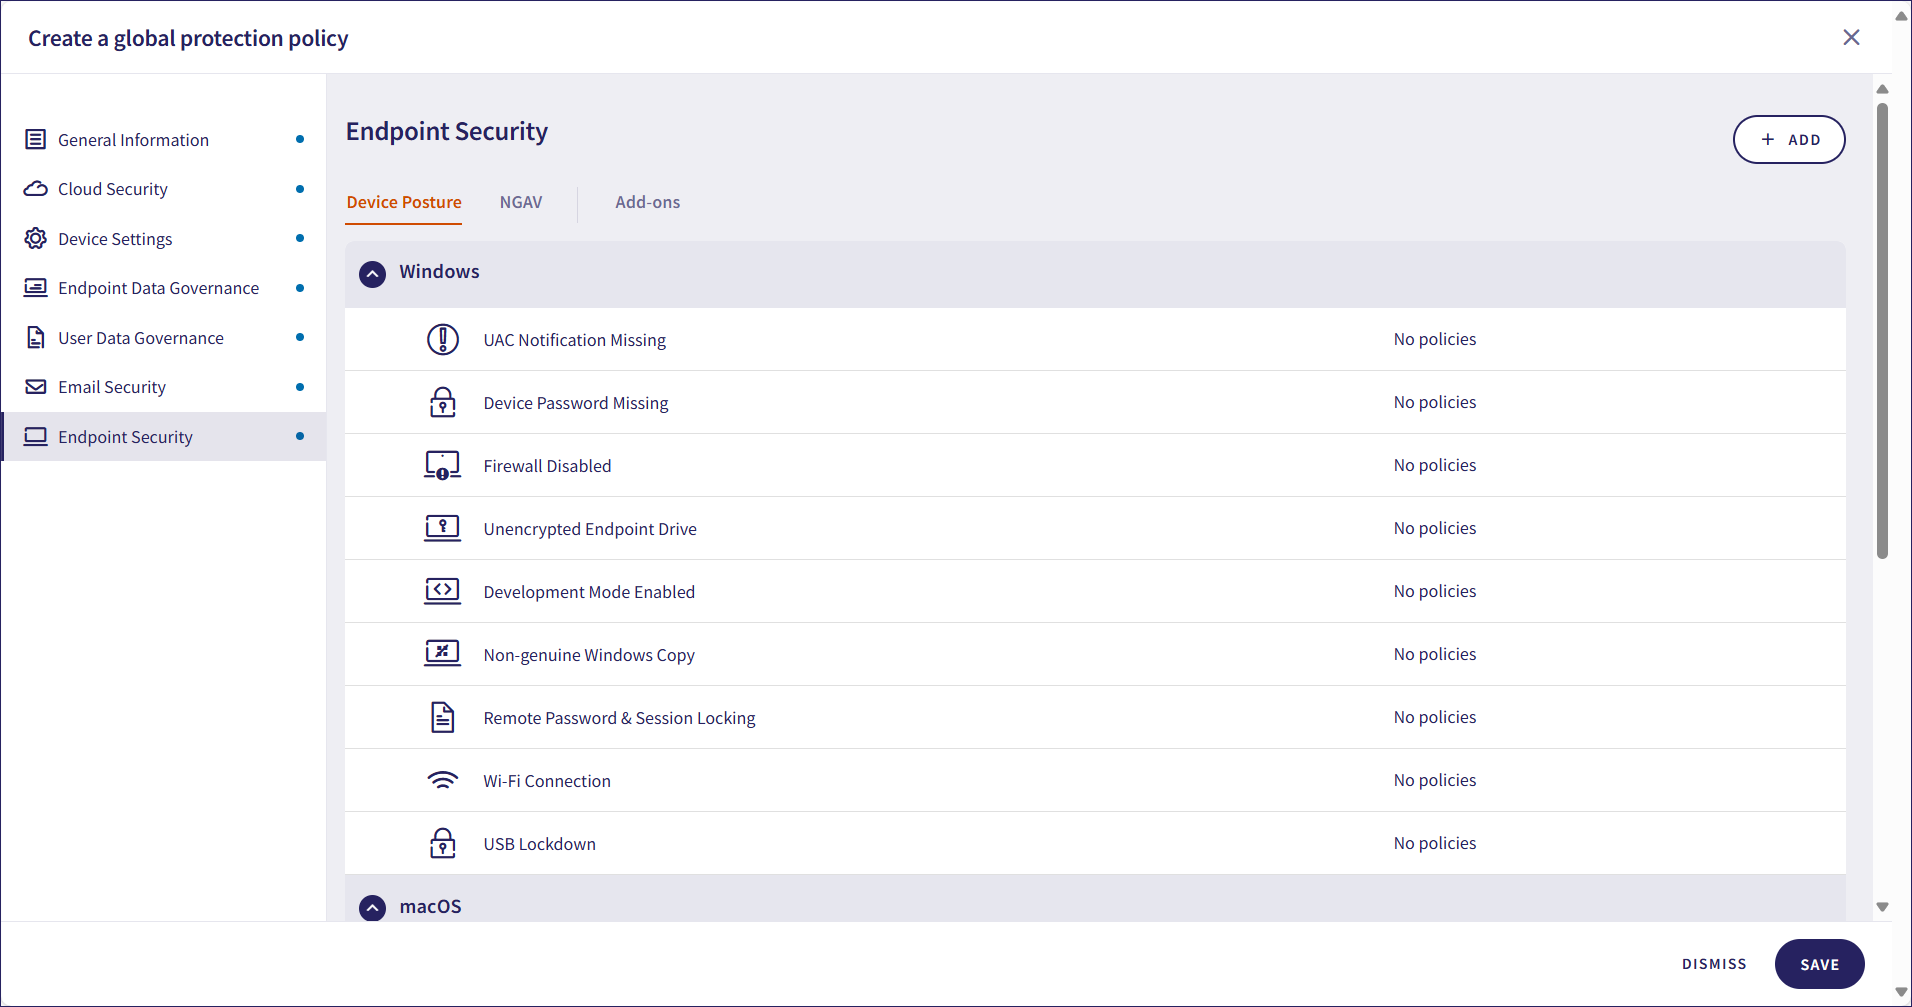
If you add the Endpoint Security section:
- Set device posture policies
- Configure settings for device monitoring using the Coro Agent
- Enable or disable Wi-Fi phishing detection
For more information, see:
If you add the EDR section, enable or disable EDR monitoring:
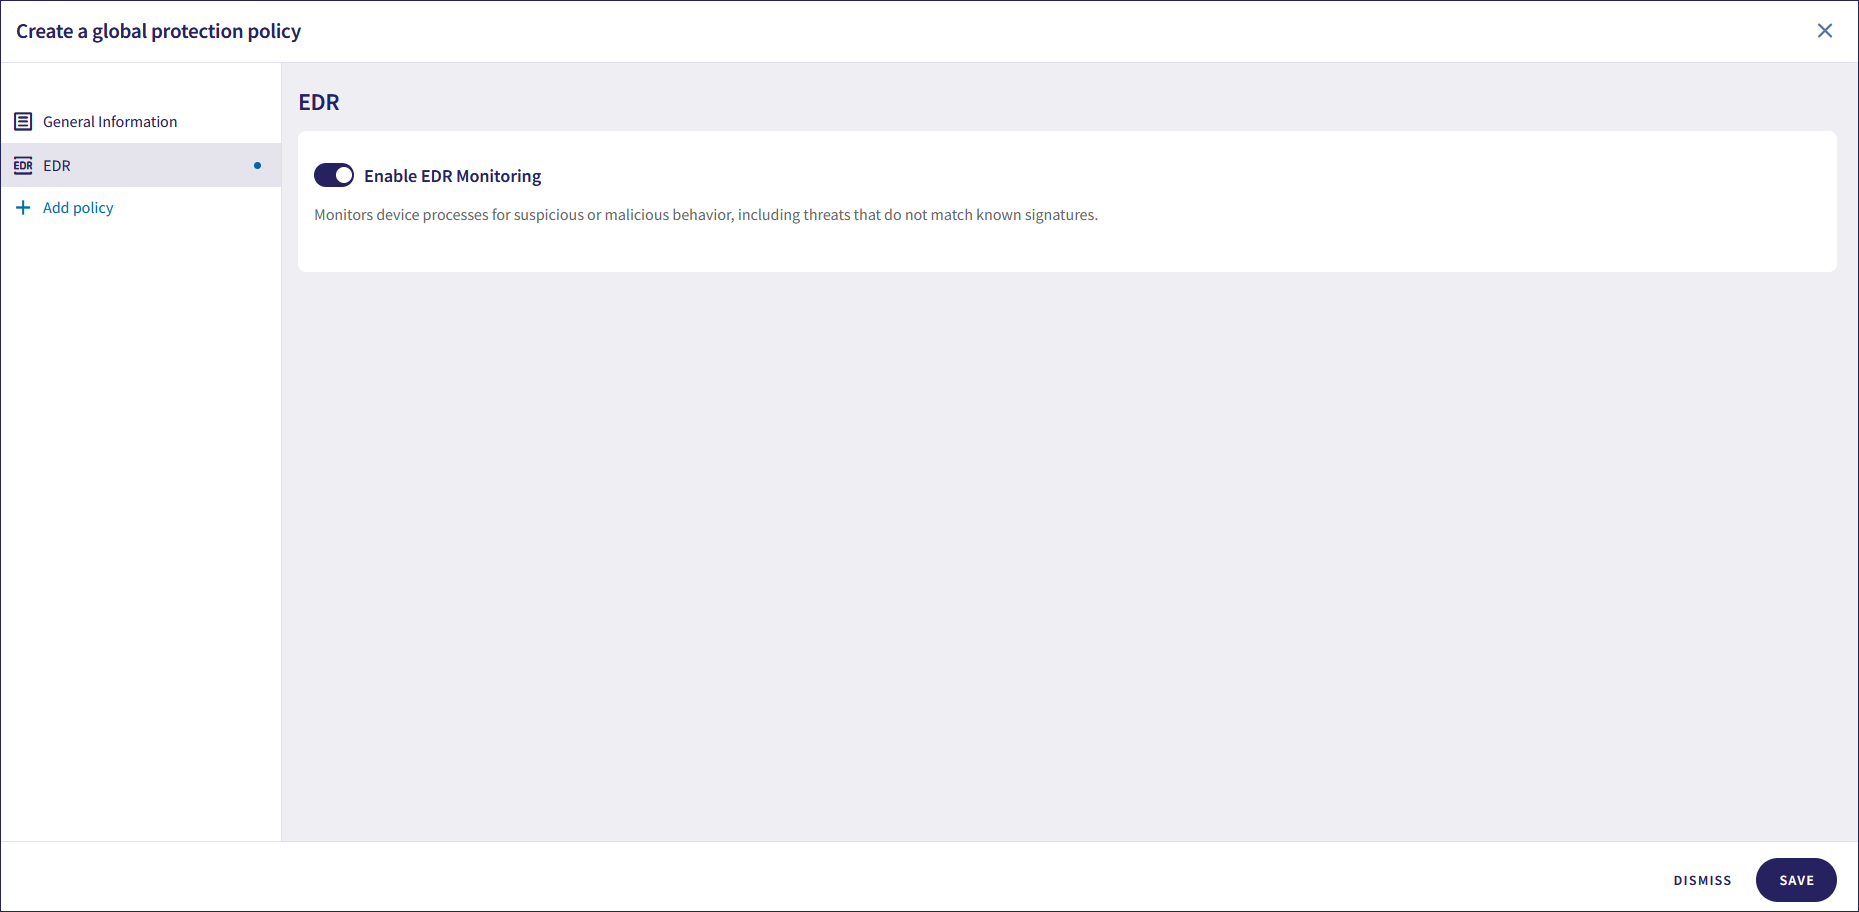
For more information, see EDR Settings.
Select SAVE.
Coro adds the global protection policy.
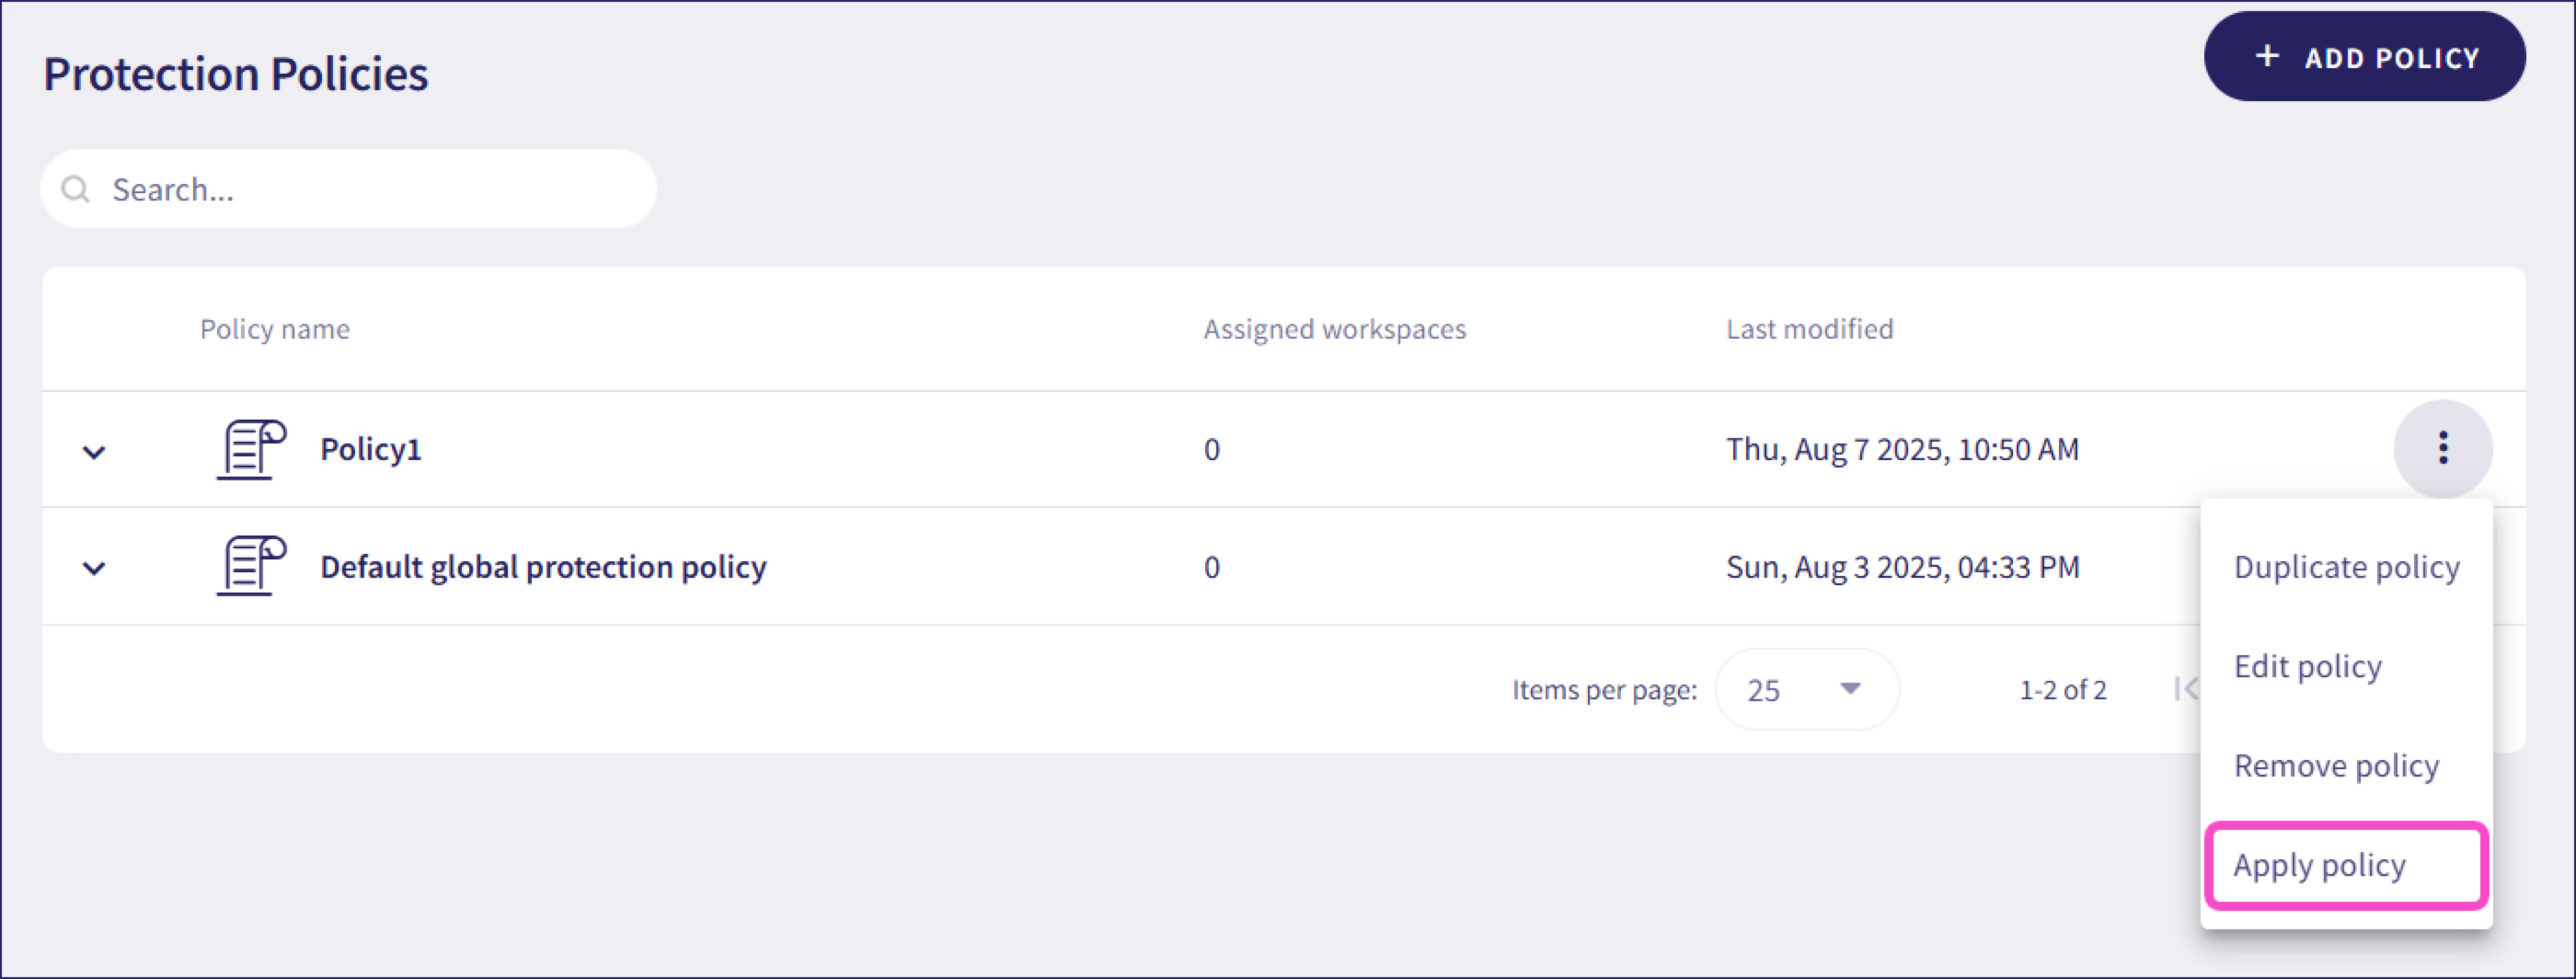
From the three-dot menu next to a policy, you can duplicate, edit, remove it, or apply it to workspaces. You can only remove a policy if no workspaces are assigned to it:
You can duplicate, apply to workspaces, and view the default protection policy from its three-dot menu. You cannot edit or remove it.
After adding a global protection policy, you can apply it to specific workspaces.
If an MSP admin user enables the option to allow overrides of global policy settings when creating or editing a child workspace, any policy changes made by an admin user within that child workspace override the global protection policy for that workspace.
To apply a global protection policy:
From the three-dot menu next to a global protection policy, select Apply policy:
Coro displays the Apply global policy dialog:
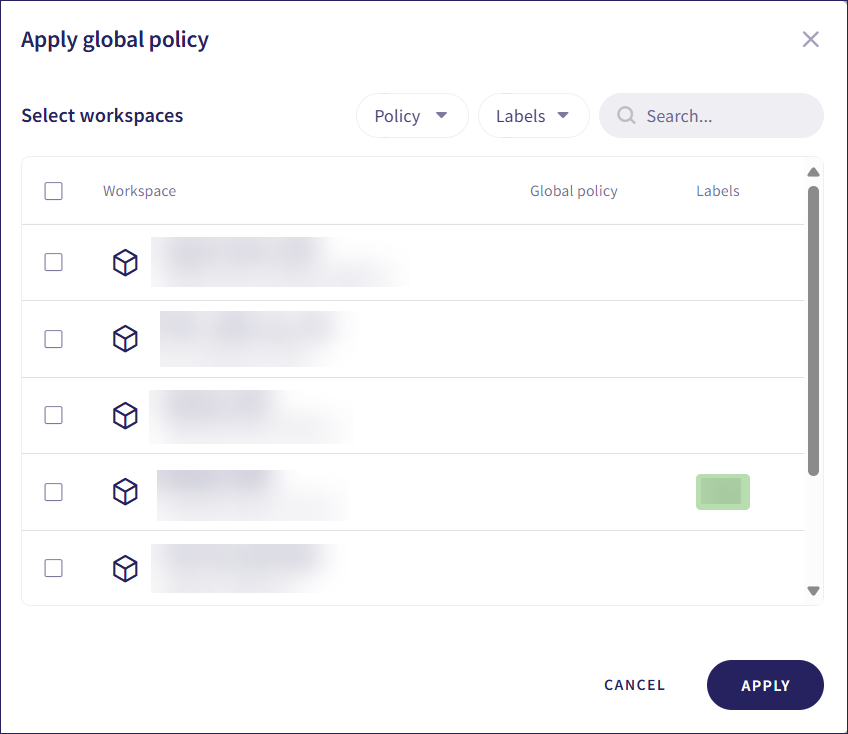
Select the workspaces for which the policy should apply, then select APPLY.
Coro applies the global protection policy to the selected workspaces.