Signing in to the Coro service
This article describes how to sign into the Coro console and Secure Messages portal.
To learn more about the Coro console, see the Actionboard.
To learn more about the Secure Messages portal, see the Secure Messages portal.
Signing in to the Coro console
To sign in to the Coro console for the first time, use the unique link in your welcome email. Enter your email address on the sign-in page, and then create a password for your account.
After your first time signing in, access the sign-in page by entering the URL from your organization's region into a web browser:
- US: https://secure.coro.net
- Canada: https://secure-ca.coro.net
- Germany/EU: https://secure-eu.coro.net
Use one of the following methods to sign in to the Coro console:
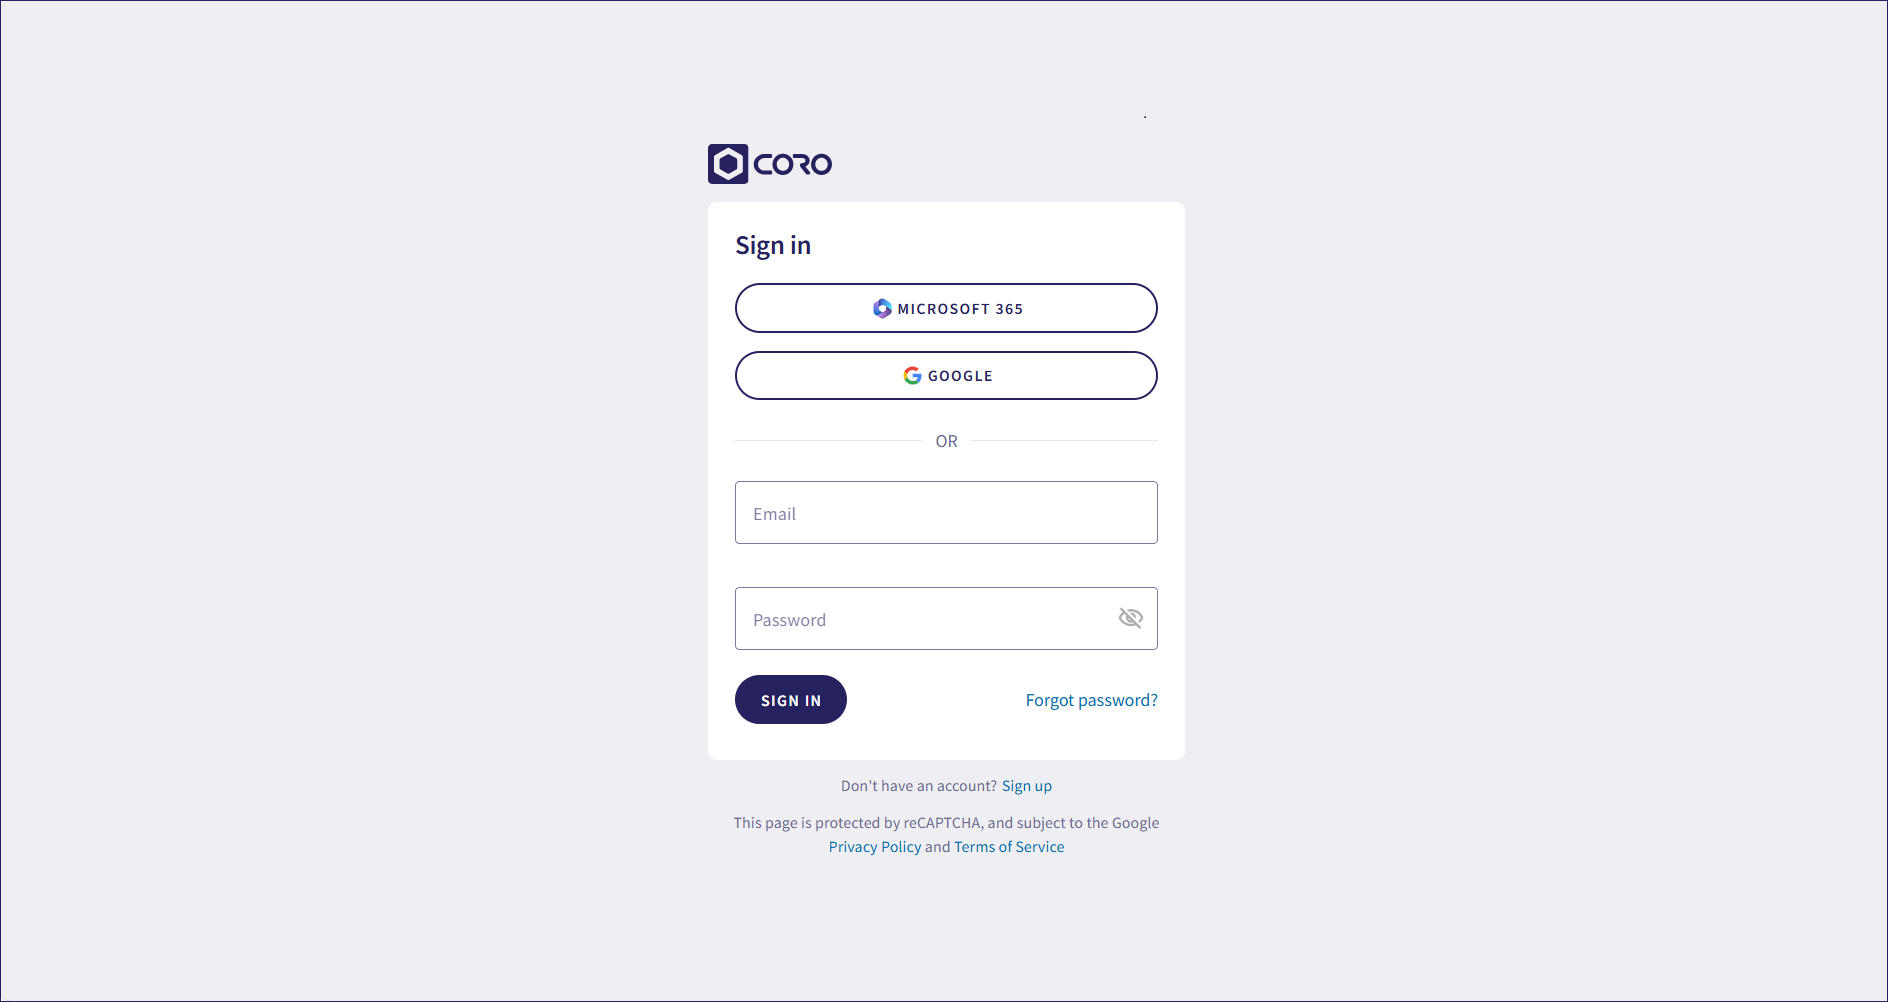
Sign in to the Coro console using single sign-on (SSO) with your Google Workspace account.
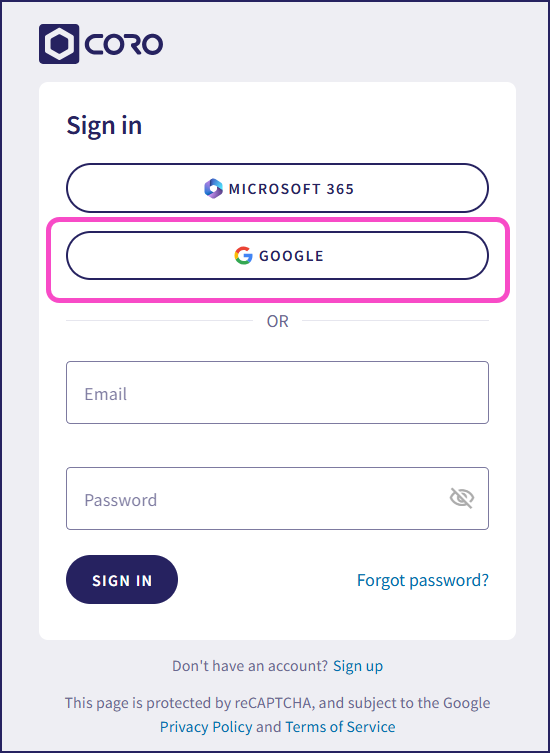
To sign in using a Google Workspace account:
From the Coro console sign in page, select GOOGLE:
Select a Google account, and then review and accept any additional permission requests.
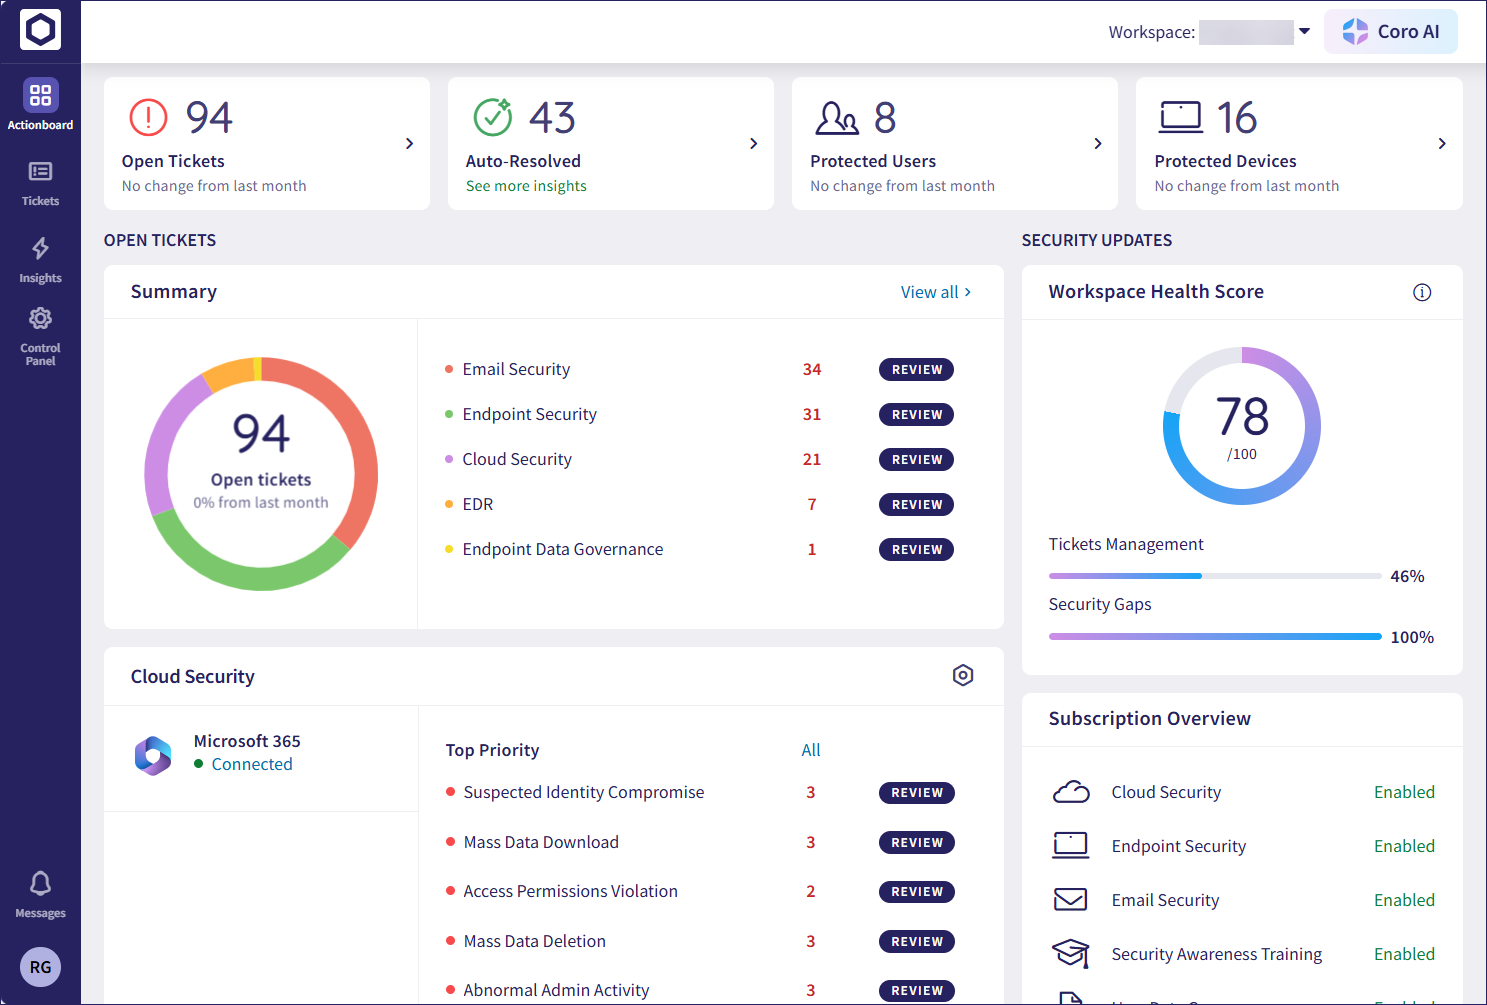
The Coro console appears:
Microsoft 365
Sign in to the Coro console using single sign-on (SSO) with your Microsoft 365 account.
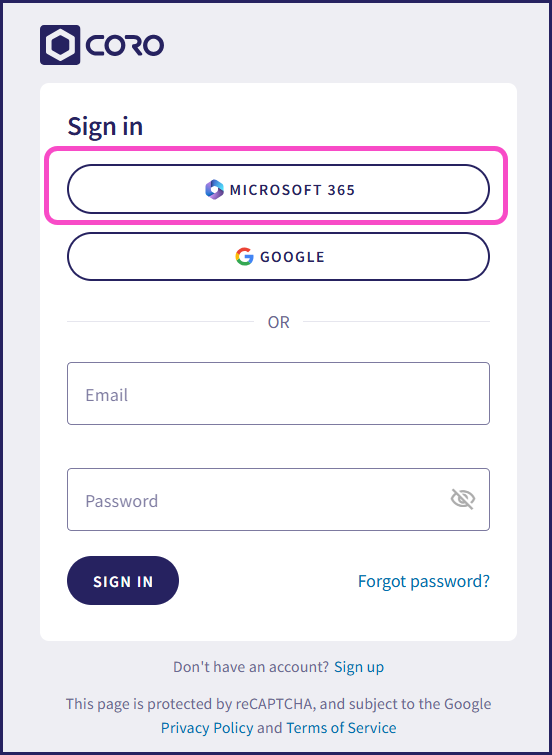
To sign in using a Microsoft 365 account:
From the Coro console sign in page, select MICROSOFT 365:
Select a Microsoft 365 account, and then review and accept any additional permission requests.
The Coro console appears:

Credentials
To sign in to the Coro console using your email address and password:
Enter the email address associated with your workspace in the Email field:
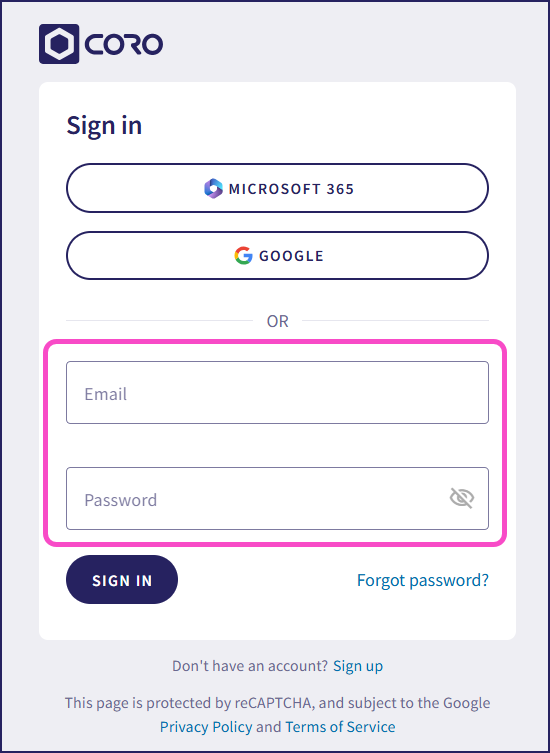
Enter your password in the Password field.
Select SIGN IN.
The Coro console appears:

Signing in to the Secure Messages portal
Your Secure Messages portal depends on your organization's region:
- US: https://mail.secure.coro.net
- Cananda: https://mail.secure-ca.coro.net
- Germany/EU: https://mail.secure-eu.coro.net
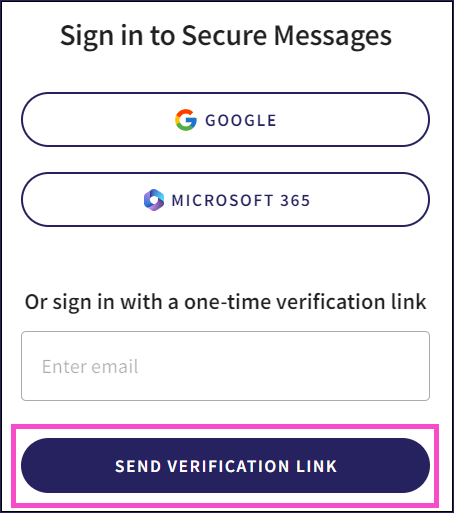
You can sign in to the Secure Messages portal from the Sign in to Secure Messages page using the following methods:
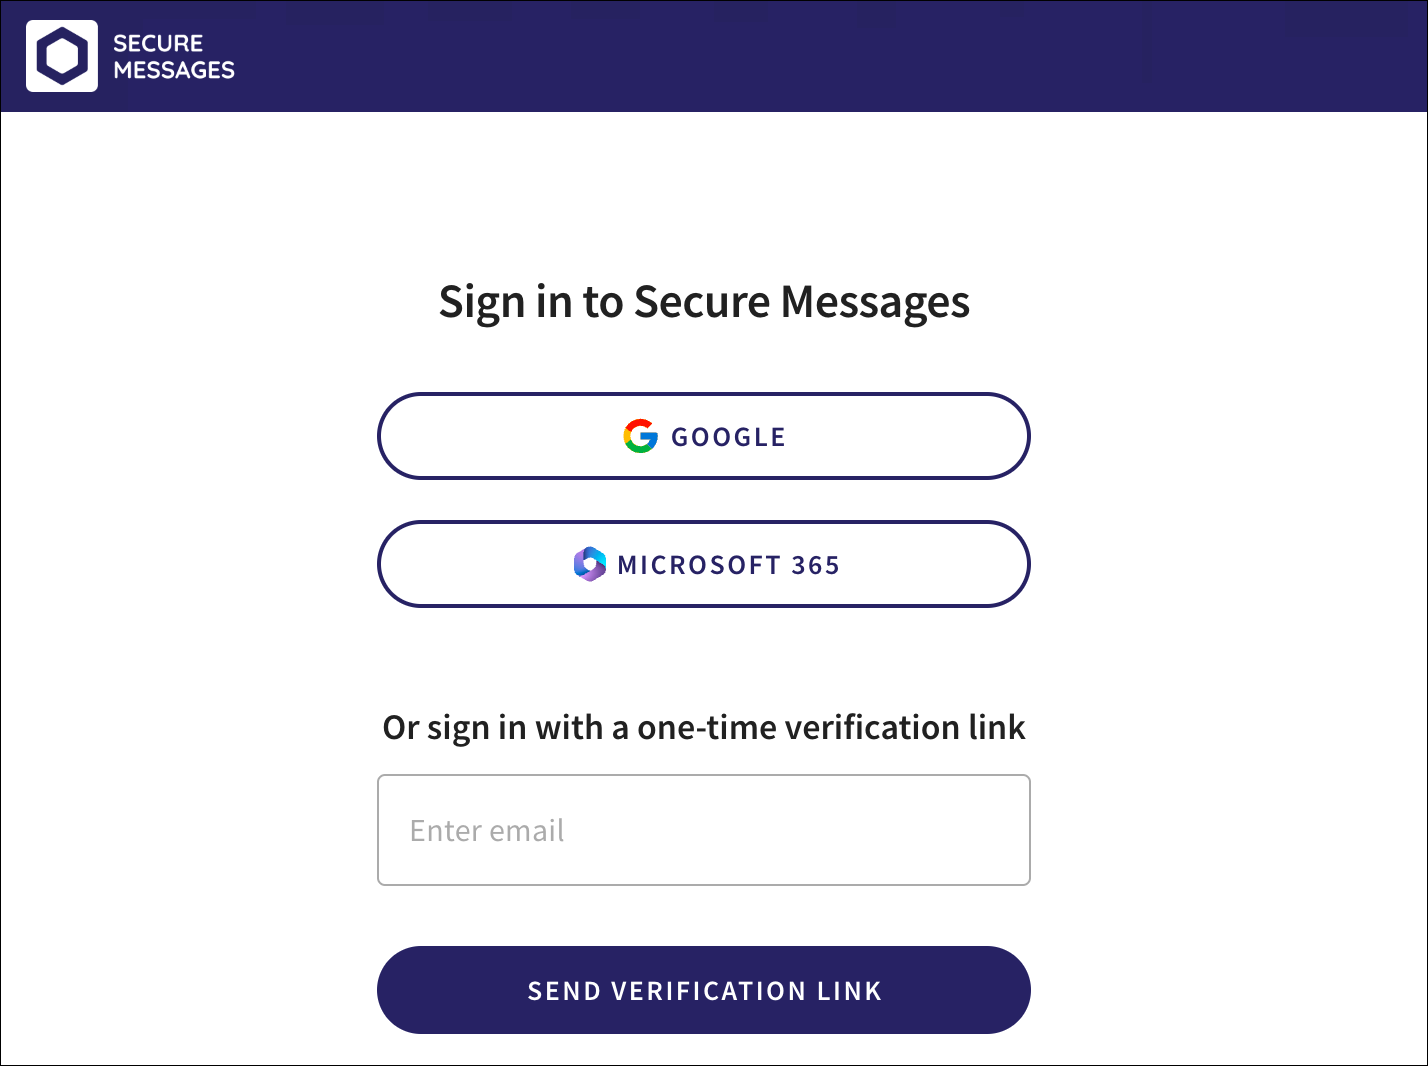
To sign in to Secure Messages using a Google account:
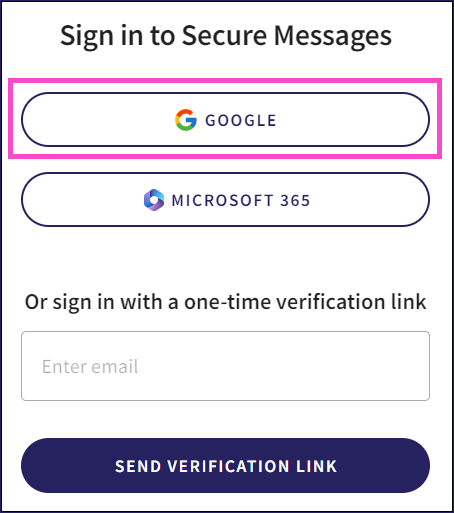
From the Sign in to Secure Messages page, select Google:
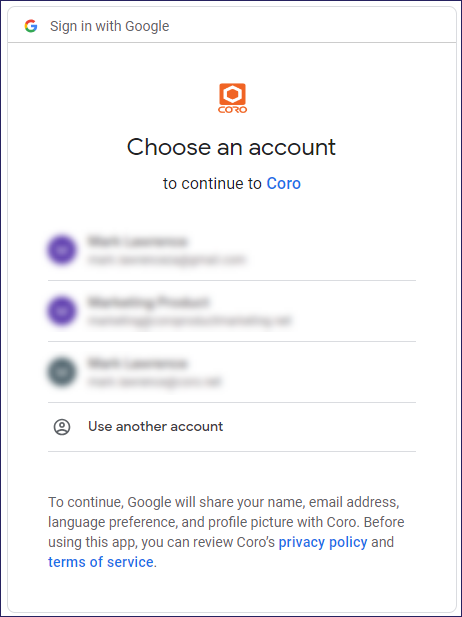
Select a Google account, and then review and accept any additional permission requests.
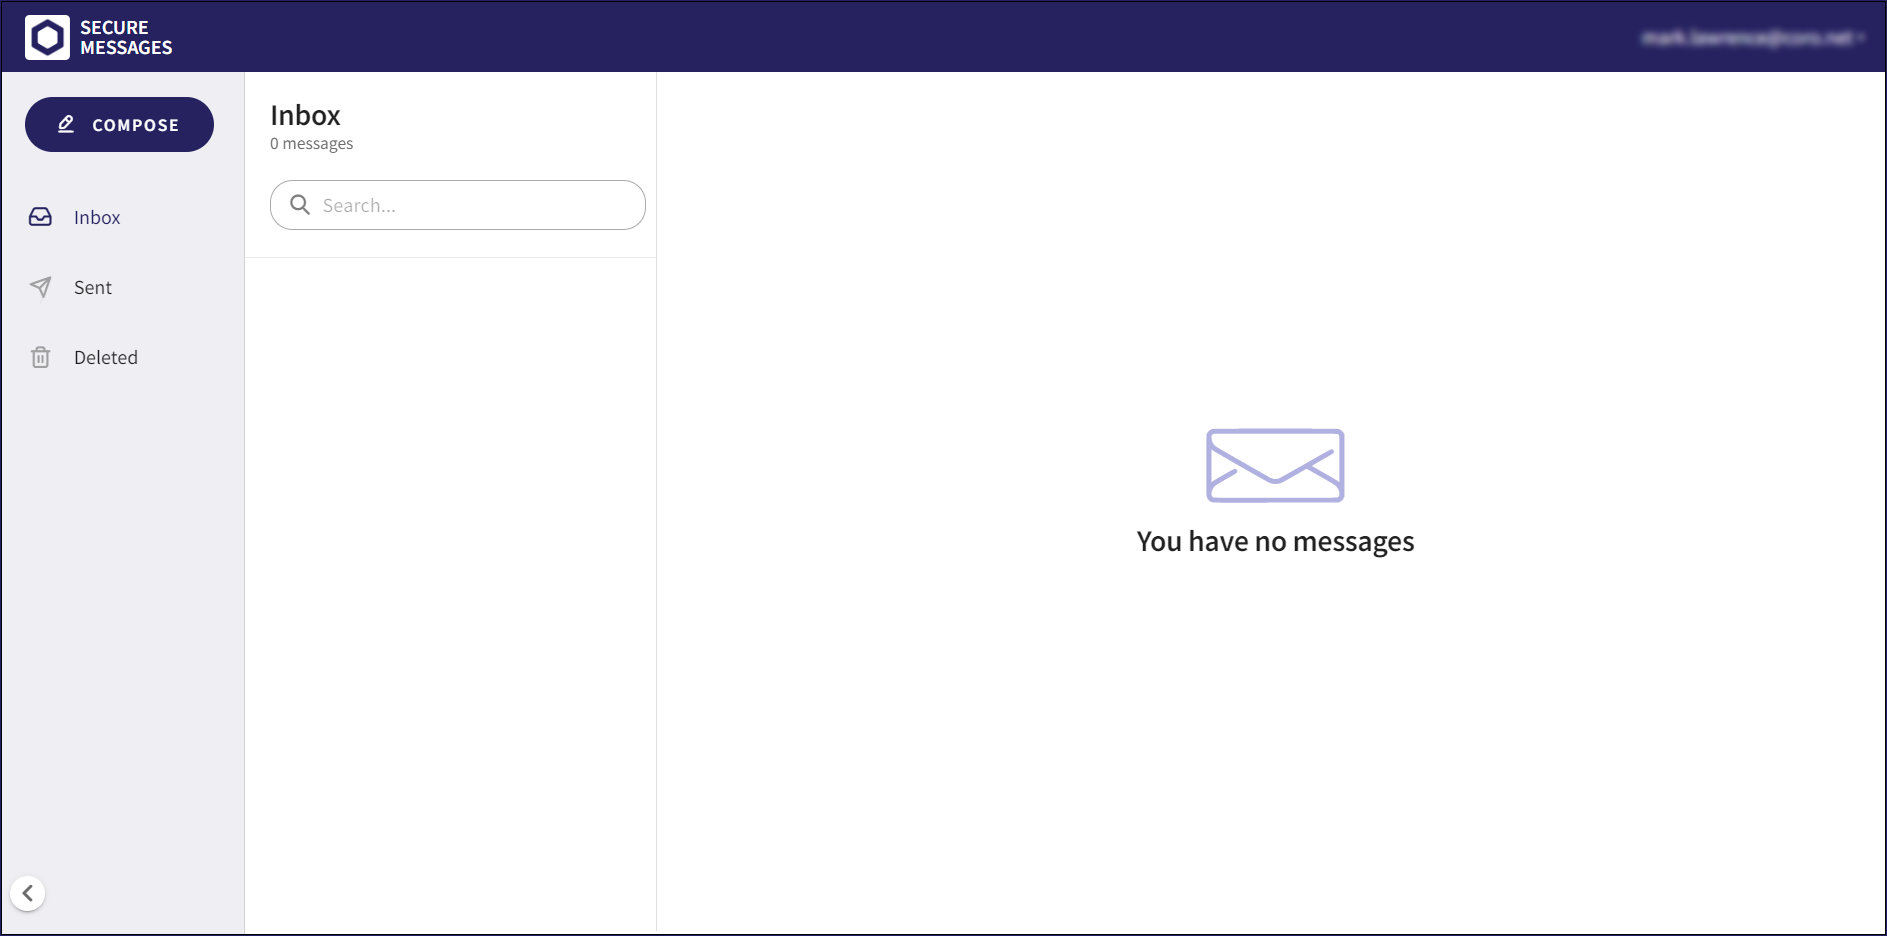
A new Secure Messages account is created (if it does not exist), and the Secure Messages portal appears:
Microsoft 365
To sign in to Secure Messages using a Microsoft 365 account:
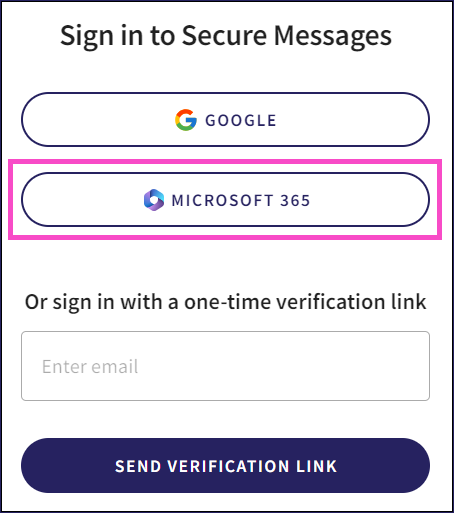
From the Sign in to Secure Messages page, select Microsoft 365:
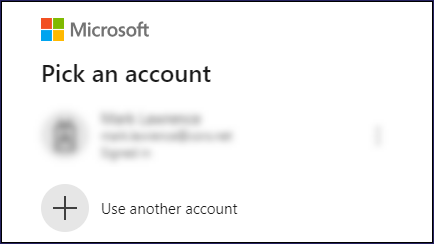
Select a Microsoft 365 account, and then review and accept any additional permission requests.
A new Secure Messages account is created (if it does not exist), and the Secure Messages portal appears:

One-time verification
To sign in to Secure Messages using a one-time verification link:
Input a valid email address in the Enter email field:
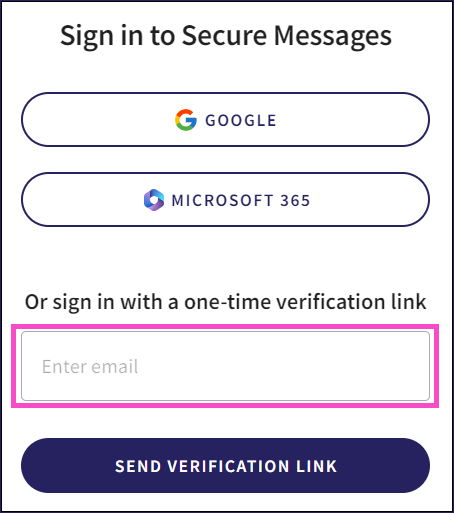
Select SEND VERIFICATION LINK:
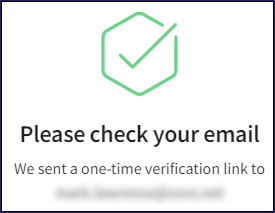
A one-time verification link is emailed to the entered email address, and a confirmation message appears:
Locate the email titled Coro email encryption login. If you cannot locate the email in your inbox, refresh the inbox and check your junk folder.
Select LOGIN TO CORO MAIL:
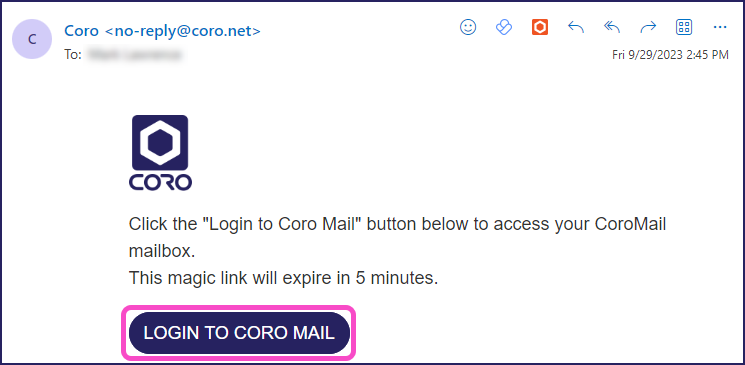
The link expires after five minutes.
A new Secure Messages account is created (if it does not exist), and the Secure Messages portal appears:

Users who sign in using one-time verification are automatically signed out after five minutes of inactivity.
Resetting a password
To reset your password:
Select Forgot password?:
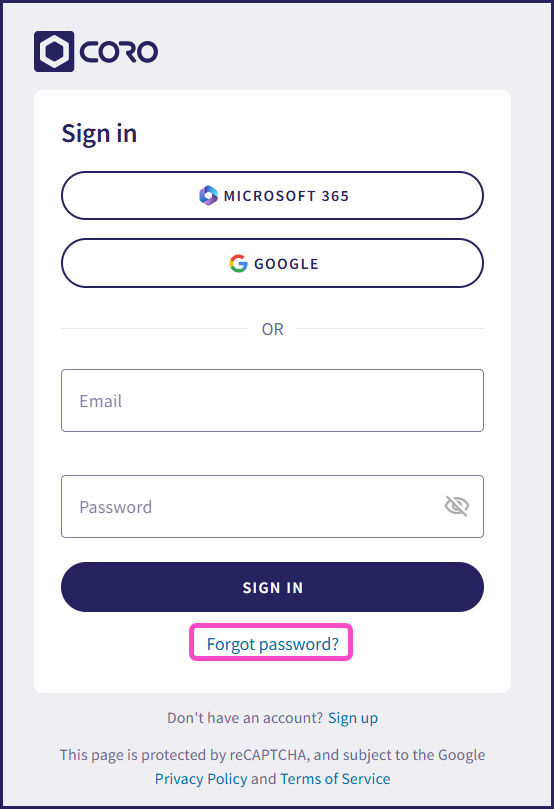
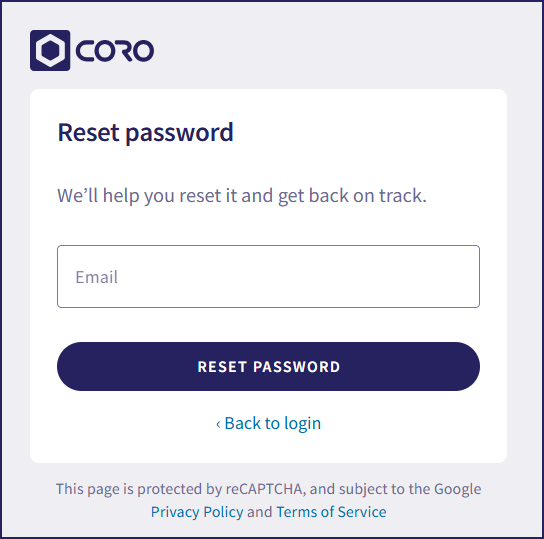
On the Reset password page, enter your email address and select RESET PASSWORD:
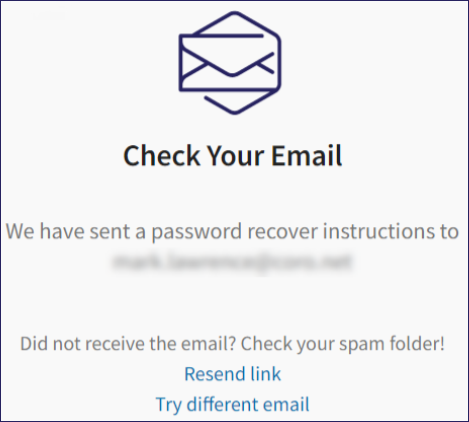
If your email address corresponds to a valid Coro account, Coro sends password recovery instructions to that address.
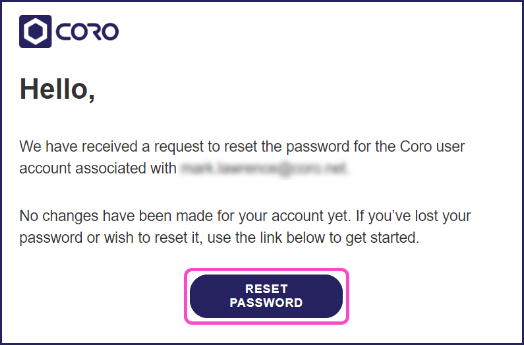
From the email, select RESET PASSWORD:
The Create new password page appears in your default browser.
Enter a New password. Select RESET PASSWORD:
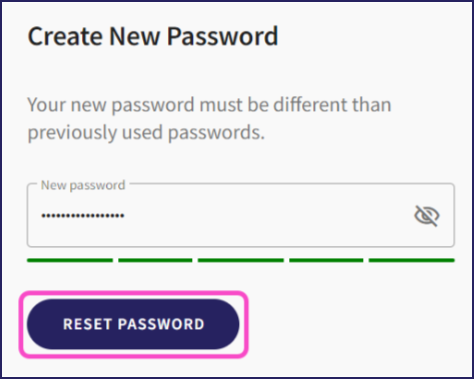
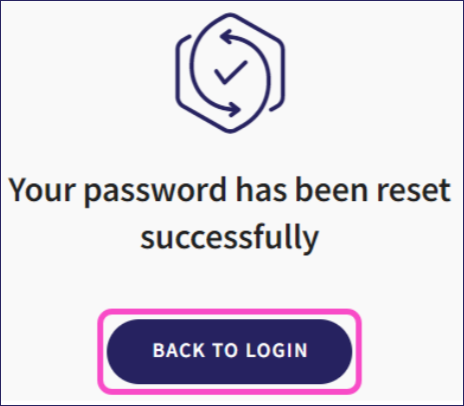
Your password is reset.
Select BACK TO LOGIN:
Issues signing in
If you have issues signing in to your account on the Coro console, consider using the following steps:
Verify your user role: Make sure that an admin role is currently assigned to your Coro account. Contact the workspace owner or a current admin user to request they add you as an admin user to the Coro platform.
Use a different browser: Browser-related issues can occasionally prevent a successful sign-in attempt. Coro recommends using a different browser to determine if the issue persists. Consider using Google Chrome, Mozilla Firefox, or Microsoft Edge.
Clear cache and cookies: Clearing your browser's cache and cookies can often resolve sign-in issues. Try clearing your browser's cache and cookies and attempt to sign in to Coro again.
To clear the cache and cookies, perform the following browser-specific instructions:
Chrome:
- In Chrome, select the menu (three vertical dots) and go to Settings.
- Select Privacy and security, then Delete browsing data.
- Select a Time range. To delete everything, select All time.
- Select the Cookies and other site data and Cached images and files checkboxes.
- Select Delete data.
Firefox:
- Select Settings from the menu in the top-right corner.
- Select the Privacy & Security panel in the Settings menu.
- Go to the Cookies and Site Data section.
- Select Clear Data.
- Select the Cookies and Site Data and Cached Web Content checkboxes from the Clear browsing data and cookies dialog.
- Select Clear.
Edge (Windows only):
- Select Settings from the menu in the top-right corner.
- Select Privacy, search, and services.
- In the Delete browsing data section, select Choose what to clear from the Clear browsing data now option. The Delete browsing data dialog appears.
- Select a time period from the Time range dropdown. Select All time to delete all data.
- Select Cookies and other site data.
- Select Clear now.
If none of these approaches resolve your issue, take a screenshot of your issue and contact Coro Support for further assistance.