This article describes how to connect your Salesforce app for Coro protection.
Before you begin, make sure you have the following prerequisites:
- Salesforce API access must be enabled
- Full administrator access for your Salesforce account
To connect Salesforce to Coro protection:
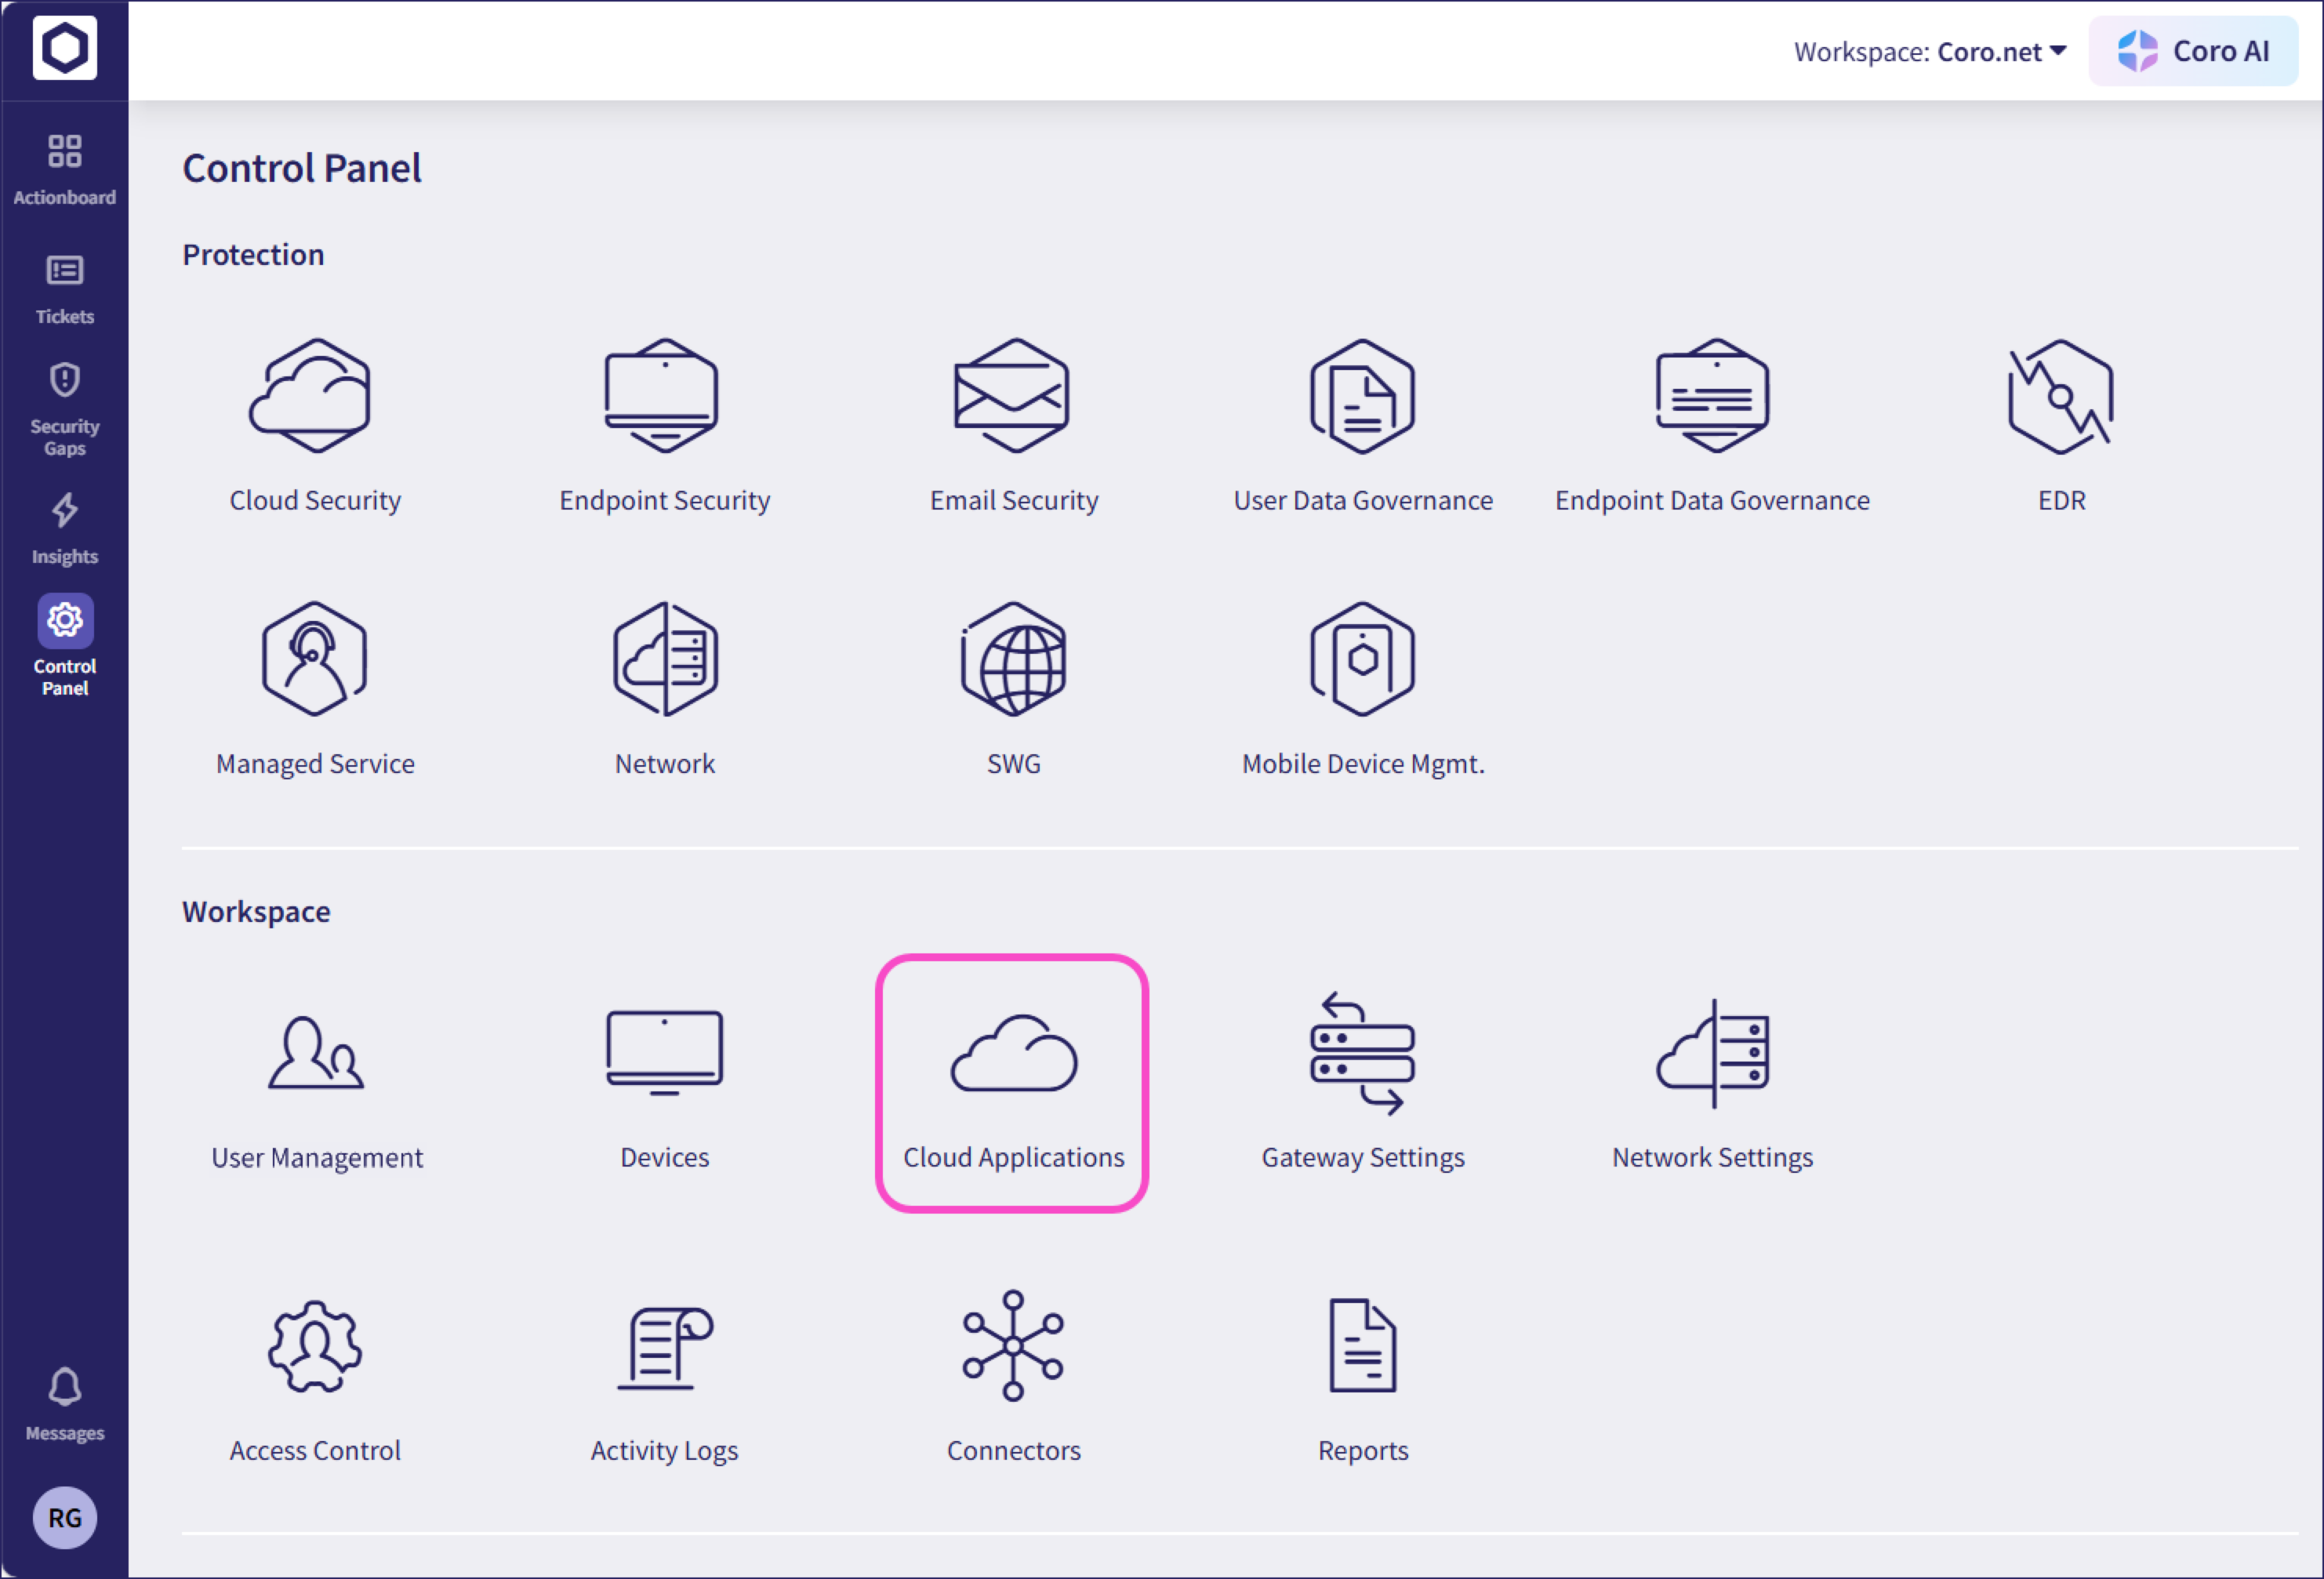
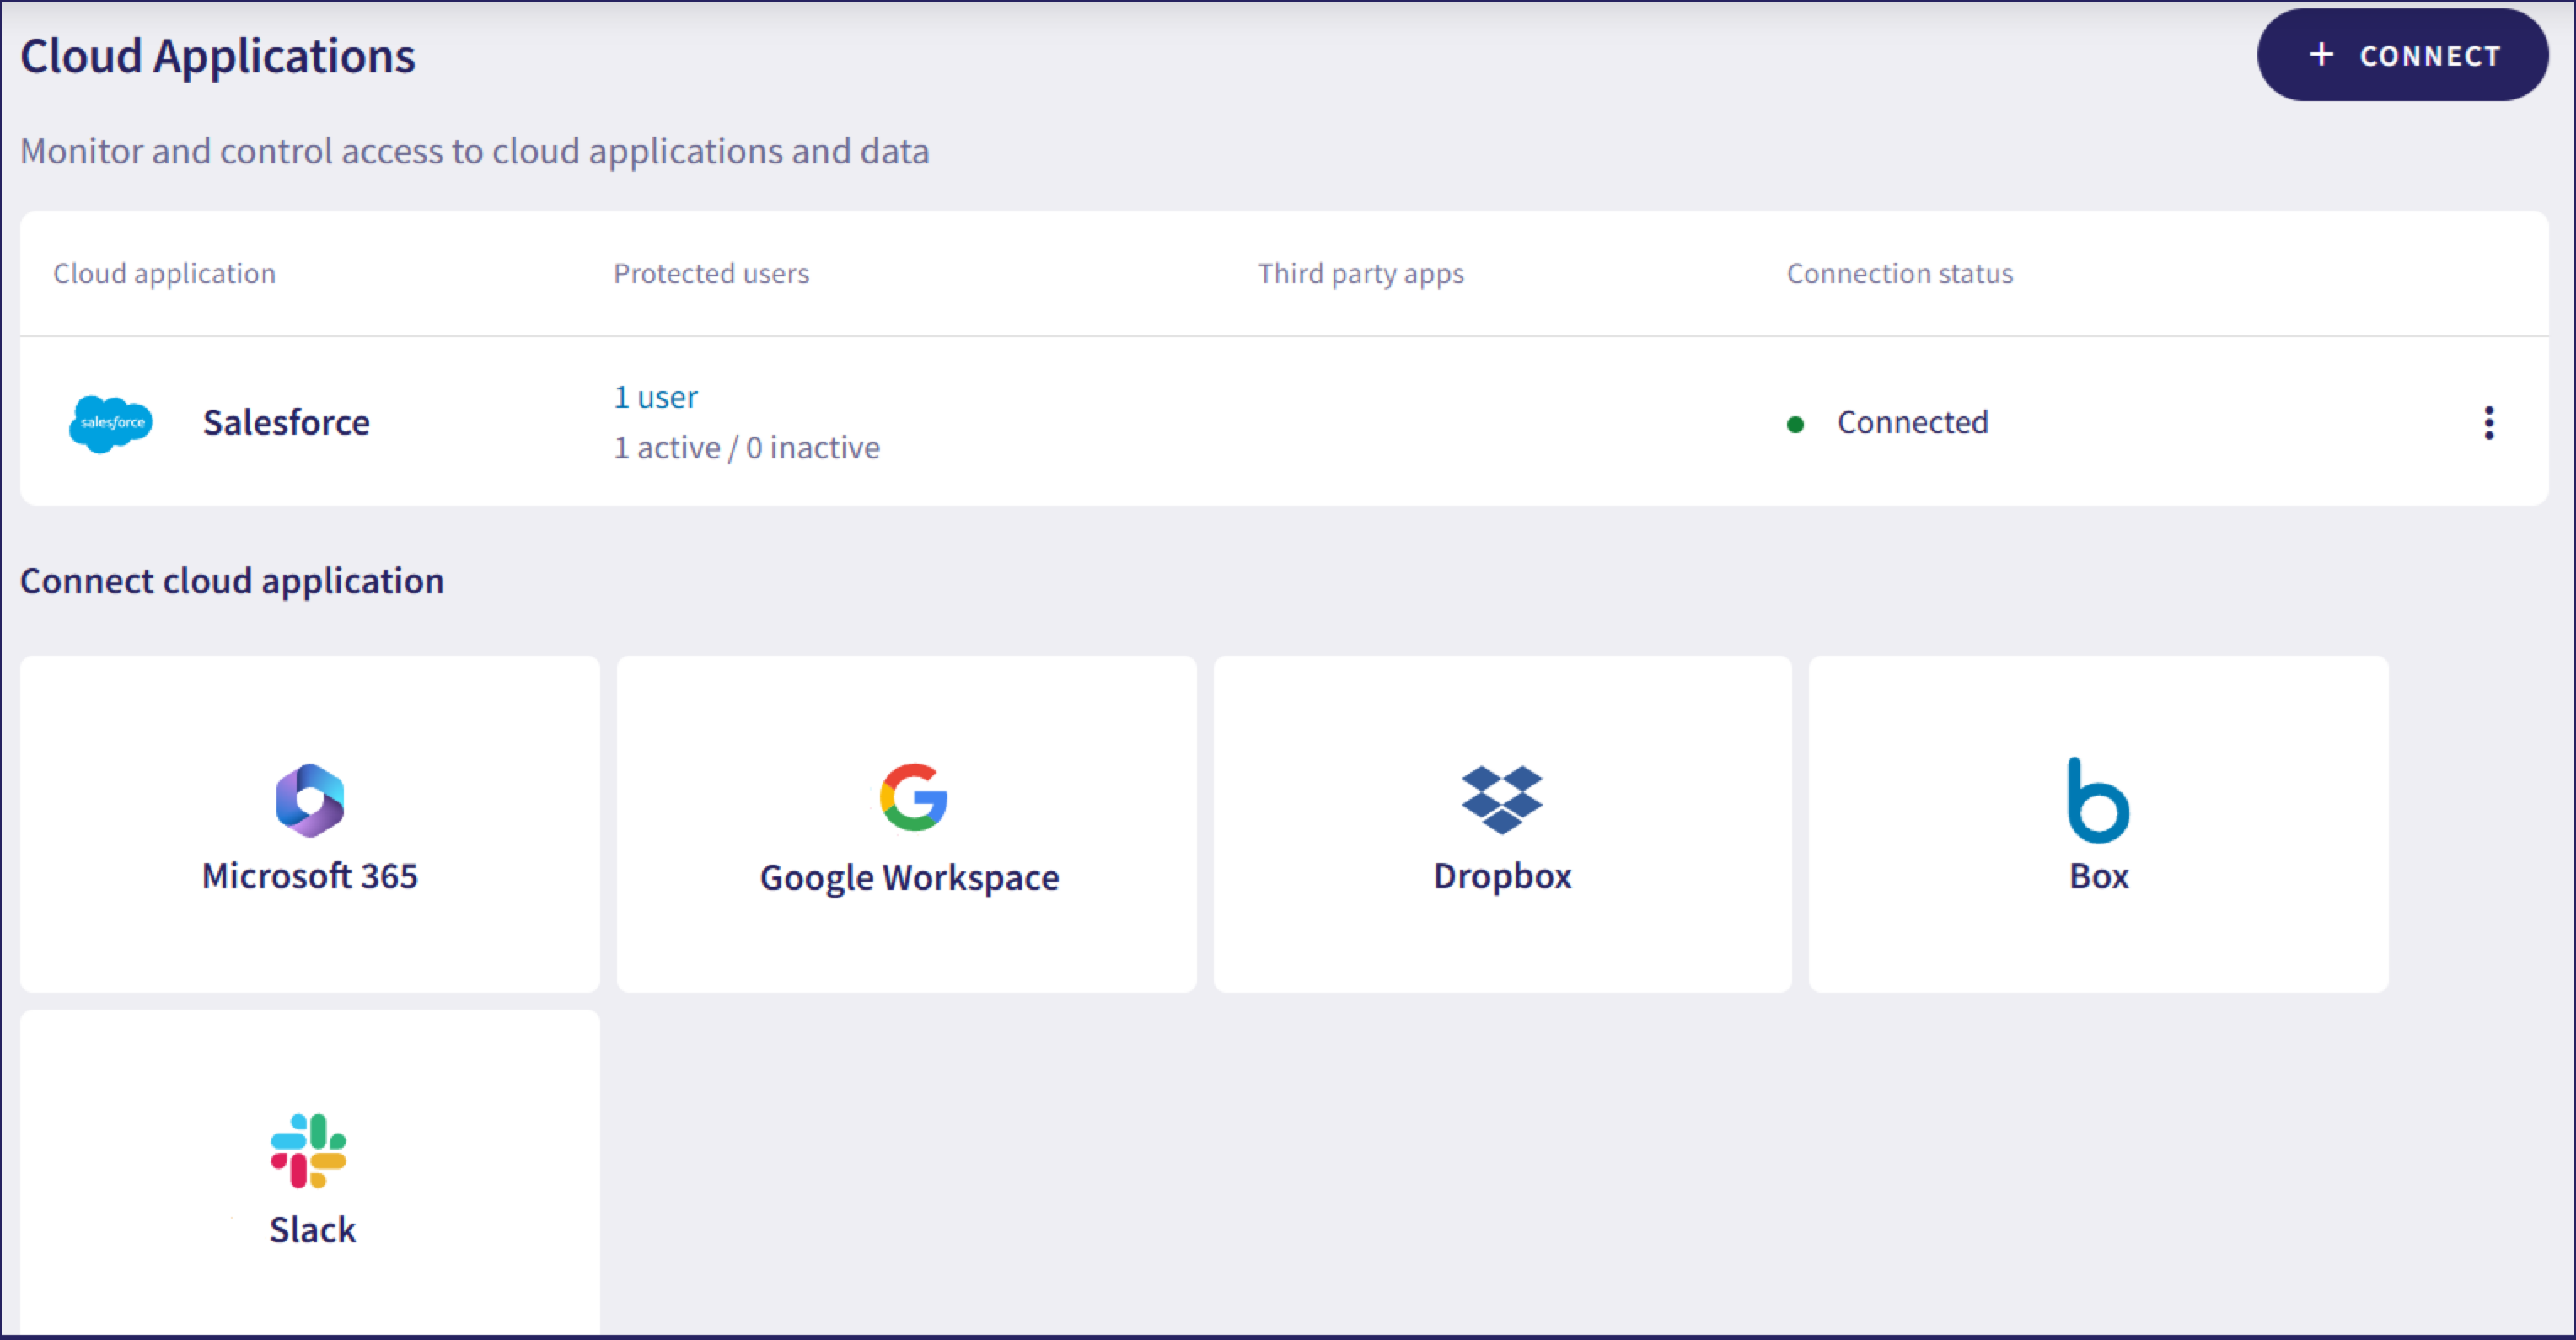
Navigate to Control Panel > Cloud applications:
On the Cloud Applications page, select Salesforce:
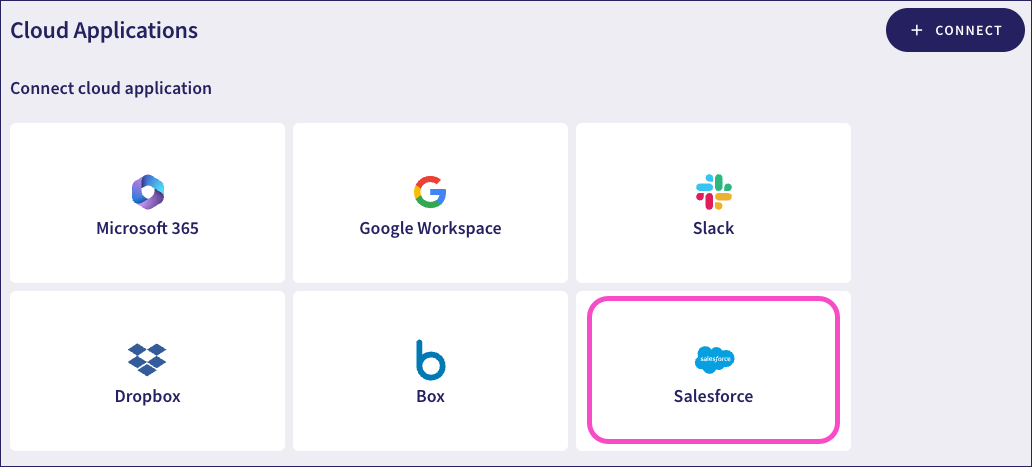
Alternatively, select + CONNECT and then, select Salesforce from the Connect cloud applications dialog that follows.
Coro displays the Connect to Salesforce dialog:
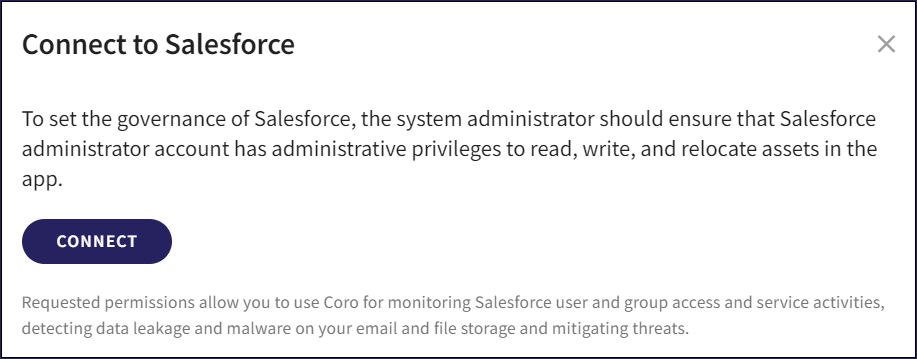
Select CONNECT to sign in to Salesforce.
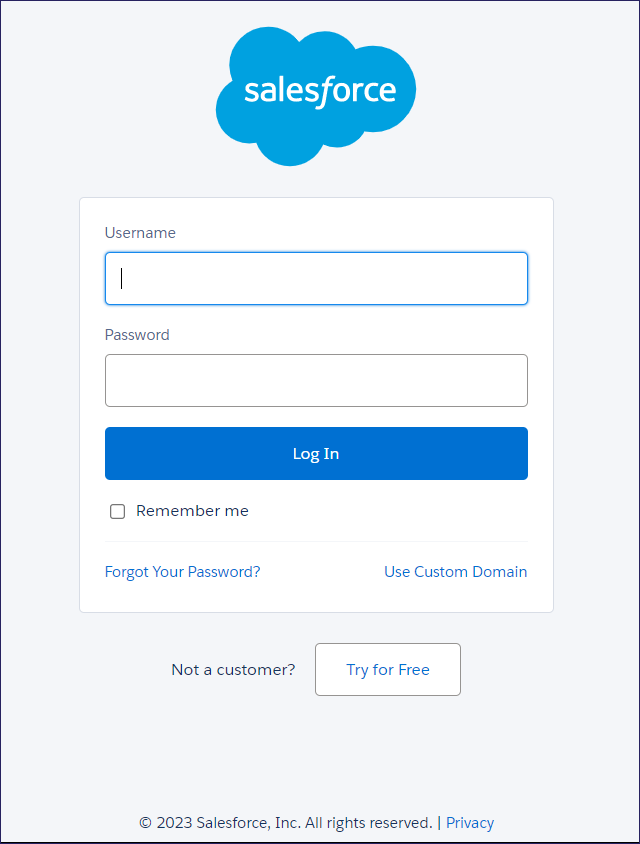
Enter your Salesforce username and password on the Salesforce login portal, and select Log In.
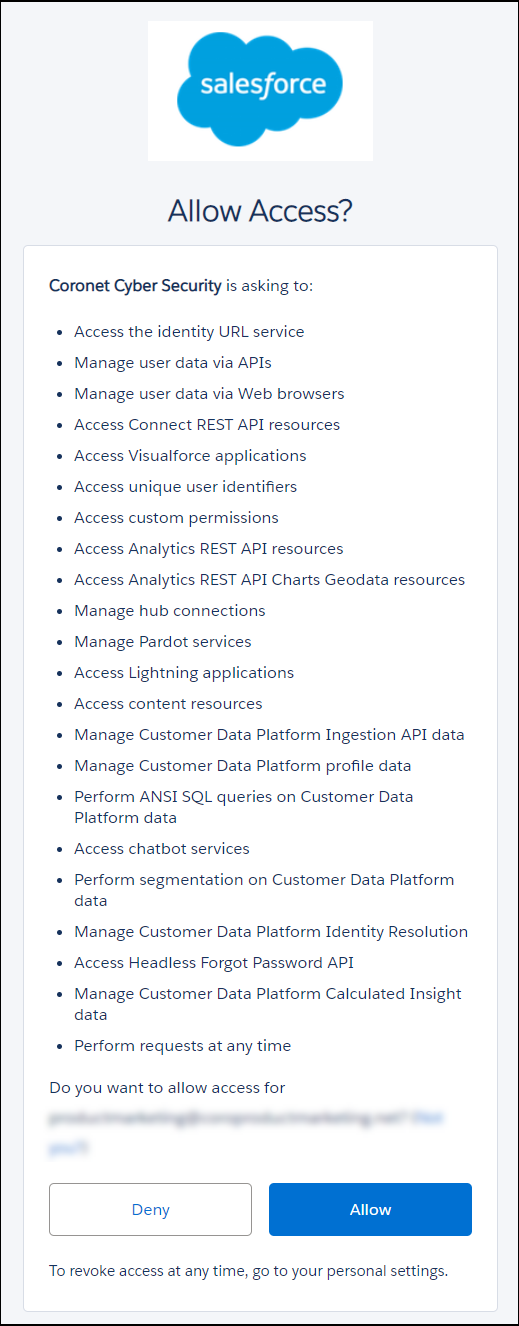
Select Allow to grant Coro permission to your Salesforce account:
Coro connects to Salesforce to obtain details of your user accounts, ready to apply protection:
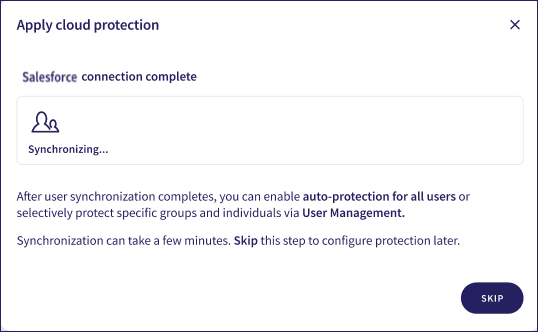
Select SKIP to skip this process and configure protection manually.
After a short wait, Coro displays the number of identified user accounts:

Select AUTO-PROTECT ALL USERS to automatically apply protection to all identified users.
Select SKIP to skip this step and configure protection manually.
ImportantBe aware that your Coro subscription might be subject to a limit on the maximum number of protected users in your workspace. In this scenario, Coro shows the number of users that can be protected under your current limit:

If the number of identified users in this connection would mean you exceed the protection limit, select SKIP and configure protection manually from the User Management page. For more information, see Protection limits.
Salesforce is now connected to Coro and shown as Connected:
To disconnect Salesforce from Coro protection:
Sign in to the Coro console and navigate to Control Panel > Cloud applications.
From the three-dot menu option adjacent to Salesforce, select Disconnect.
In the confirmation dialog that appears, select YES, DISCONNECT.
Salesforce is now disconnected from Coro protection.