Adding users and user groups for protection
Coro protects users in an organization in the following ways:
- Coro generates tickets for protected and protectable users . These tickets are recorded in the Ticket Log . Coro only generates tickets for protectable users when a workspace is in trial mode, or where an MSP admin user has enabled this option for channel and child workspaces. For more details on workspace types and statuses, see The Coro workspace .
- The Actionboard displays activity exclusively for protected users.
- Tickets involving protected users are either automatically resolved by Coro or can be addressed by an admin user with sufficient permissions.
- Where Coro raises tickets for protectable users, this is for information only. Coro does not offer manual or automatic remediation capabilities for these tickets.
- If a ticket involves both protected and protectable users, action is taken only for the protected users. For example, if a phishing email is sent to Bob (protected) and Alice (protectable), Coro moves the email to the designated Suspected folder for Bob, but not for Alice.
- An admin user with sufficient permissions can add users to protection at any time.
To view your protected users and groups, use the Protected Users page.
- Sign into the Coro console .
-
From the sidebar, select
 to access the
Control Panel
.
to access the
Control Panel
.
-
Select
Users
:

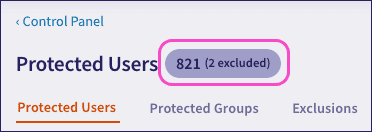
Coro displays the Protected Users page:

On this page, Coro provides a complete list of your protected users, protected user groups, and exclusions. The Protected Users indicator shows all users added to Coro, either individually or through a group. This total includes both protected users and those excluded from protection (shown in brackets):
note
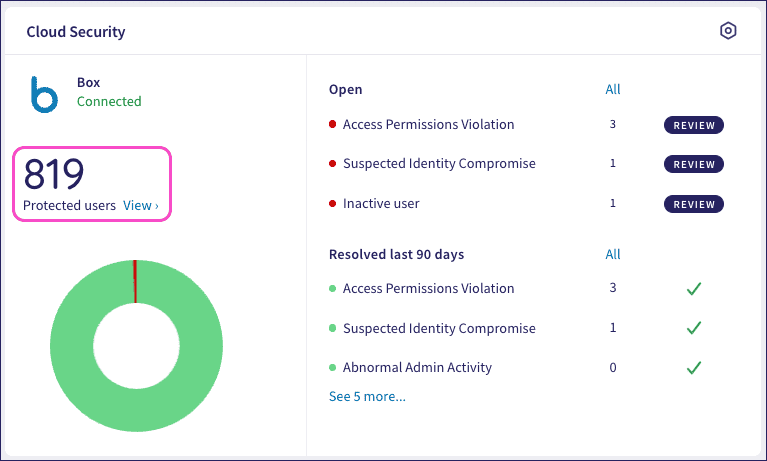
The Cloud Security panel in the Actionboard includes a counter for the number of users who are actively protected by Coro. As a result, this number might differ:
Navigate between views using the following tabs:
Protected Users
Use this tab to view and manage your protected users; that is, all users added for protection through a connected cloud application.
To access the protected users list, select Protected Users:

On this tab, you can:
- View your protected user list
- Filter the list to show only users meeting specific criteria.
- Add new users.
- Remove users from protection.
- Exclude specific users from protection.
Coro lists each user by email address, along with details of how and when they were added, the cloud applications they are connected to, and their status.
Users can be:
- Added individually (labeled Added individually ).
- Part of a group (with the group name displayed).
- A named admin (indicated as admin ).
- A combination: for example, Added individually + 1 group , where a user added individually might also belong to a group. If the user's email address has + n next to it, selecting the n shows the user's aliases.
Where a user is connected through more than one protected application, select the dropdown next to a user's entry to view the status for each application separately:
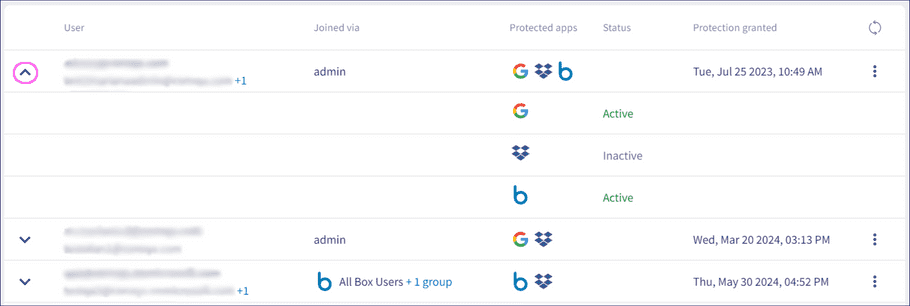
A user's status is Active or Inactive.
The status changes in the following circumstances:
- A user becomes Inactive if they have not been actively using their cloud application account for the configured inactivity period in your workspace (default: 30 days).
- An Inactive user becomes Active when they next sign in or if they perform 35 activities within three days. Examples of an activity include downloading files, deleting files, signing in, and adding someone as an admin.
- When a user is disconnected from a cloud application, they are unprotected and have a status of Inactive .
- When a user reconnects to a cloud application, they are considered protected, and their status becomes Active .
- If you remove a user from exclusion , their status becomes Active .
Important
New users added to protection are automatically given a status of Active, and this remains in place until the configured inactivity period is reached. At that point, if the user has not yet accessed their cloud application account, Coro marks them Inactive.
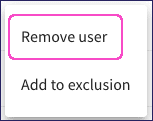
Select the three-dot menu to view the following options for each user:

- Remove user : Remove this user from protection. See Removing users from protection .
- Add to exclusion : Exclude this user from protection. See Exclusions .
Protected Groups
When you connect an application such as Microsoft 365 or Google Workspace to your Coro workspace, you give Coro permission to access user information in that application. This includes defined user groups. Upon connection, Coro offers an option to protect all protectable users within a designated group. If selected, Coro shows the group under Protected Groups, and lists group members under Protected Users.
To access the protected groups list, select Protected Groups:

On this tab, you can:
- View your protected groups.
- Search the list to show only matching groups.
- Add new groups.
- Remove groups from protection.
Select the three-dot menu to view options for each group:

- Remove group : Remove this user group and all associated users from protection. See Removing users from protection .
Synchronizing protected users and groups
Coro synchronizes protected users and groups automatically at 4:00 AM (UTC) each day. Admin users with sufficient permissions can manually trigger synchronization by selecting Synchronize users from cloud apps now from Protected Users or Protected Groups:

Nested groups in Google Workspace and Microsoft 365
Coro protects licensed users within nested groups in Google Workspace and Microsoft 365. If you add a group for protection and that group contains other groups, Coro automatically adds all licensed users in the nested groups to protection alongside the users in the parent group.
For each user added through this mechanism, Coro does not identify the nested group of which the user is a member. Instead, Coro shows all licensed users from nested groups as being members of the parent group you selected for protection.
Exclusions
To add protection for a large user group while excluding specific members, use Exclusions. This approach prevents the need to add group members individually, avoiding blanket protection on the entire group.
To access the excluded users list, select Exclusions:

On this tab, you can:
- View your excluded user list.
- Filter the list to show only users meeting specific criteria.
- Add new users to the exclusion list.
- Remove users from the exclusion list.
To add a new excluded user:
-
Select
+ ADD EXCLUSIONS
.
Coro displays the Add individual users to exclusion list dialog:
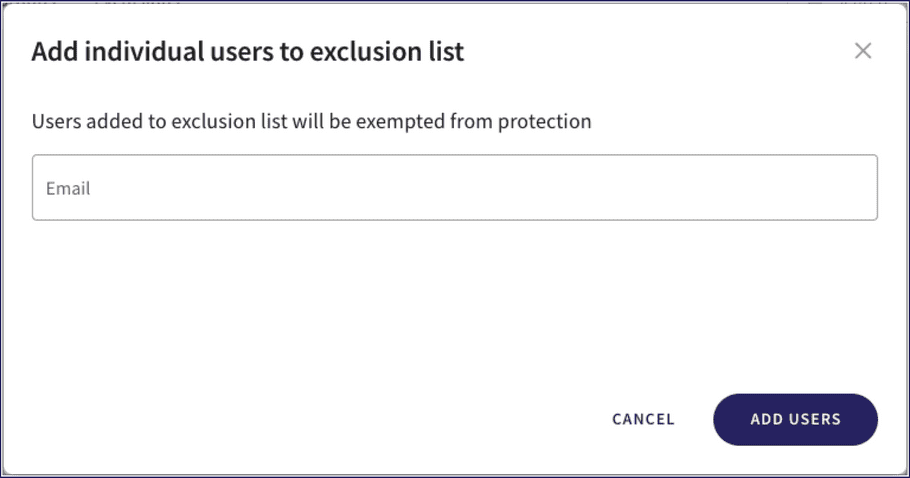
- Specify one or more email addresses for the users you want to exclude. Select Tab after each address to enable Coro to validate it.
- Select ADD USERS to confirm.
note
You cannot exclude admin users from protection. If you specify an admin user email, the user account shows as crossed-out in Exceptions with the message Admin not excluded.
Filtering the list
Coro provides filters and search options relevant to each tab to enable admin users to view only users who match specified criteria. The filters shown here may not appear on all pages.
Filter the user list using the following parameters:
- Joined via : Filters by the method or group through which a user was added. Choose from the general method (added via a CSV bulk import, individually, or as an admin user) or from one of the named user groups identified from your connected cloud applications.
- Protected apps : Filters by the selected protected cloud application(s).
- Status : Filters by user status (active or inactive).
note
If you select more than one application in the Protected app filter, the list shows users who match any of the selected applications.
This filter also includes an option to show users protected through the Coro Inbound Gateway email security add-on.
Use the Search to locate a named user or group:

A search matches leading characters of the user or group name, and does not match searches on the domain.
Select Clear all to remove all of the applied filters:

Adding users to protection
Admin users can add users to protection individually, in groups, or by uploading a comma-separated value (CSV) file of user details. Coro can also automatically add all protectable users registered in a connected cloud application.
Important
User accounts must be able to receive external emails for Coro to automatically identify them as protectable. If you want to extend protection to users with restricted external access, add the user details individually or as part of a CSV file upload.
Adding individual users
To add specific users individually:
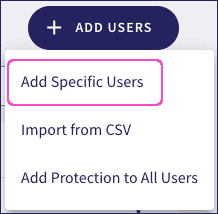
- In Protected Users , select ADD USERS .
-
Select
Add Specific Users
:
Coro displays the Add users to Coro protection dialog:
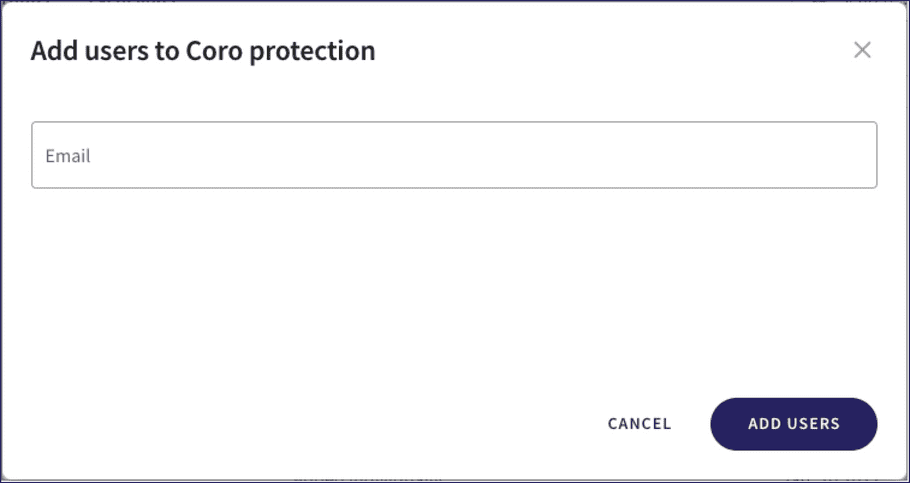
- Enter the email addresses of users you want to protect.
- Select ADD USERS to confirm.
Adding groups of users
To add a group of users:
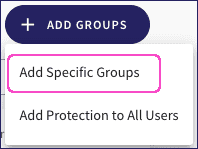
- In Protected Groups , select ADD GROUPS .
-
Select
Add Specific Groups
:
Coro displays the Add groups to Coro protection dialog:
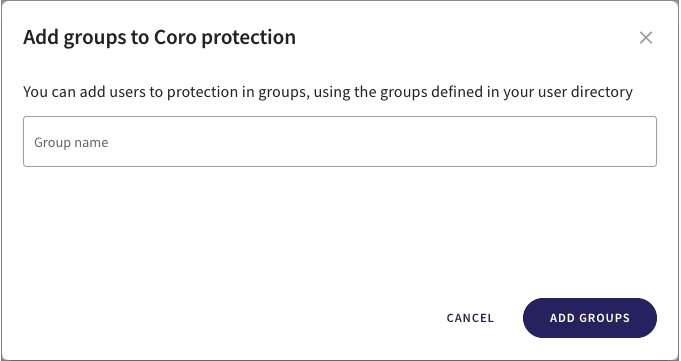
- Enter the names of the user groups you want to protect. Coro attempts to auto-complete group names as you type.
- Select ADD GROUPS to confirm.
Protected Groups displays the added groups, while Protected Users shows individual members of the group.
note
The ADD GROUPS menu also contains a link to Add Protection to All Users. For more information about this option, see Adding protection to all users in a connected cloud application.
Adding users for protection by importing a CSV file
Coro can add users for protection through an imported comma-separated (CSV) file containing a list of user email addresses.
note
To avoid validation issues, Coro provides a downloadable template file linked from the Upload a CSV file dialog.
When creating a CSV file, consider the following:
- Each email address is specified on a separate line.
- The first column of the CSV file must contain the valid email addresses of all users to be added to Coro protection. Additional columns and invalid entries are ignored.
- The maximum CSV file size is 5 MB.
- A maximum of 100,000 records are permitted.
To import users from a CSV file:
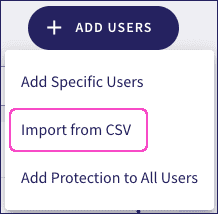
- In Protected Users , select ADD USERS .
-
Select
Import from CSV
:
Coro displays the Upload a CSV file dialog:
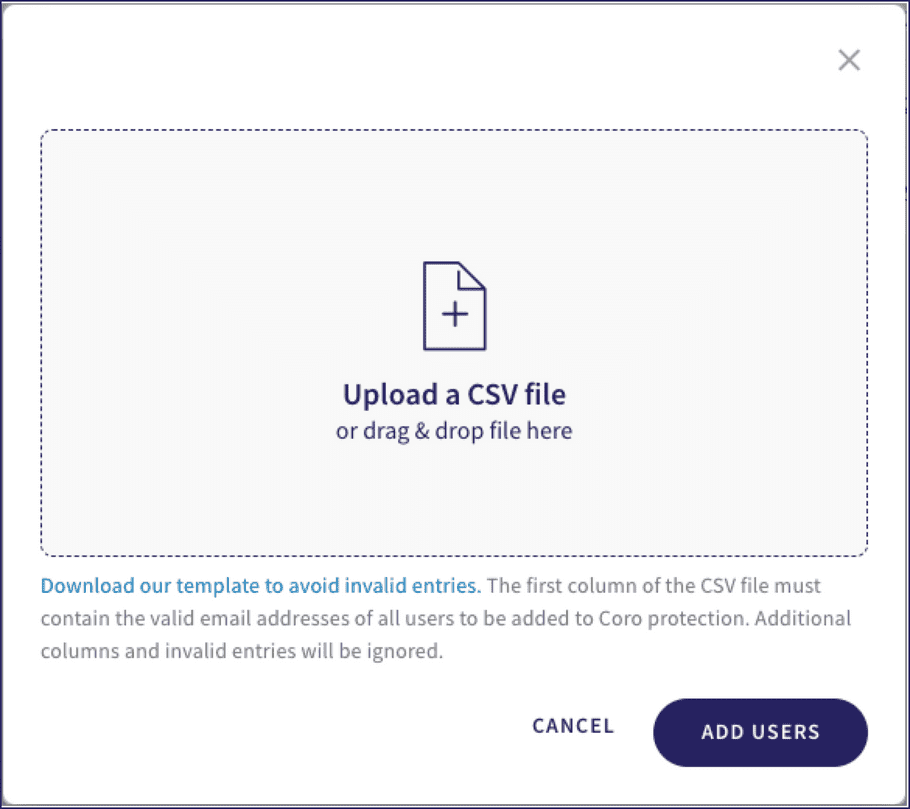
-
Select the
Upload a CSV file
area and locate the required CSV file in the file browser. Alternatively, drag and drop a CSV file into the dialog.
Coro shows the uploaded CSV file in the dialog:
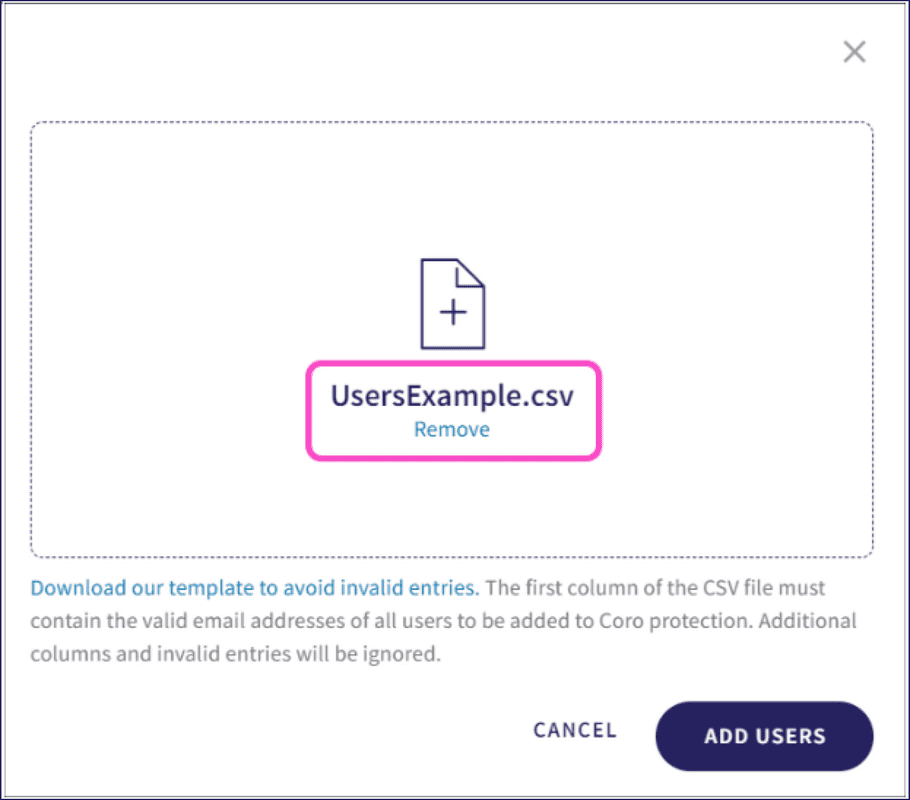
-
Select
ADD USERS
.
Coro displays a confirmation dialog to show that the import is in progress:
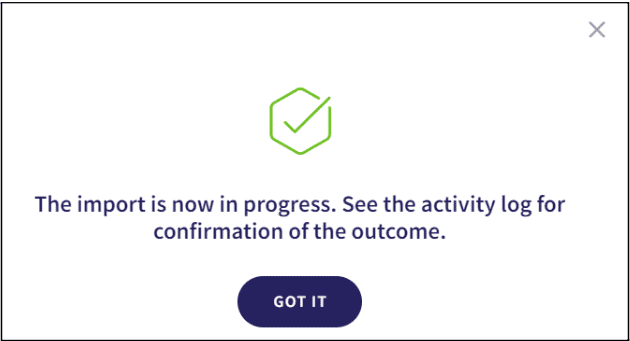
- To acknowledge and complete the process, select GOT IT .
After the import completes, Coro shows a confirmation in the Console and logs the import details in the Activity Log:

Adding protection to all users in a connected cloud application
Coro can add protection to all protectable users identified through a connected cloud application in one action.
To apply protection to all users:
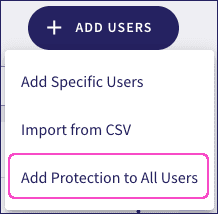
- In Protected Users , select ADD USERS .
-
Select
Add Protection to All Users
:
Coro displays the Add protection to all users dialog, showing the cloud applications you have connected to your Coro Workspace:
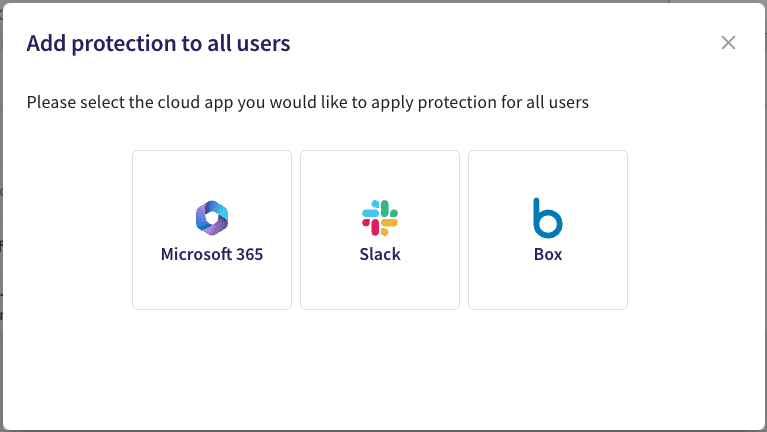
-
Choose one of the connected cloud appications.
Coro presents a confirmation dialog:
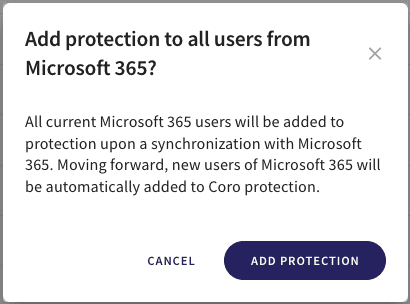
- To complete the process, select ADD PROTECTION .
Removing users from protection
Admin users can remove users from protection in the following ways:
- Individually or in groups from the Protected Users page.
- Automatically, when a user who is removed from a protected group is not a member of any other protected group.
note
A user can be removed from protection individually ONLY if there is no protected group to which the user belongs.
When a group is removed from protection, a user that belongs to the group is removed from protection only if:
- There are no other protected groups that the user belongs to.
- The user has not been added to protection individually.
When a user is removed from a protected group, the user becomes unprotected only if:
- There is no other protected group that the user belongs to.
- The user has not been added to protection individually.
Removing an individual user
To remove a user from protection:
- Select Protected Users .
- Locate the user's email address in the list.
-
Select the three-dot menu, then select
Remove user
:
- Confirm YES, REMOVE .
Coro removes the user from protection based on the rules outlined earlier in this section.
Removing a user group
To remove a user group from protection:
- Select Protected Groups .
- Locate the required user group in the list.
-
Select the three-dot menu, then select
Remove group
:
- Confirm YES, DELETE .
Coro deletes and removes the group from protection based on the rules outlined earlier in this section.
Export CSV
To save the Protected Users list to a CSV file, select Export CSV. Coro presents a message confirming that the export to CSV file is in progress and that it will be available at the Activity Logs page later.
The CSV file has the following fields:
- Alias
- IsAdmin
- CloudApplication
- JoinedVia (as admin, individually, or via a group)
- Group
- ProtectionDate