This article describes how to connect your Box account for Coro protection.
Before you begin, make sure you have the following prerequisites:
- A minimum subscription of Box "Enterprise"
- Full administrator access for your Box subscription
To connect your Box account for Coro protection:
Use this process to create a new application for Coro in the Box developer console.
Perform the following steps:
Sign in to your Box developer console:
https://account.box.com/login?redirect_url=%2Fdevelopers%2Fconsole
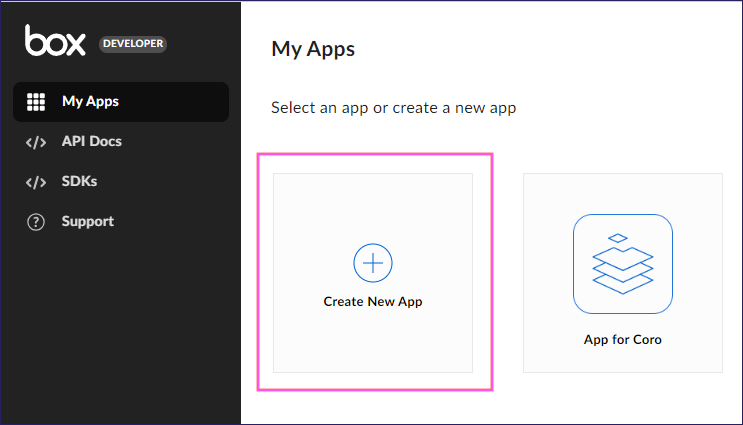
In My Apps, select Create New App:
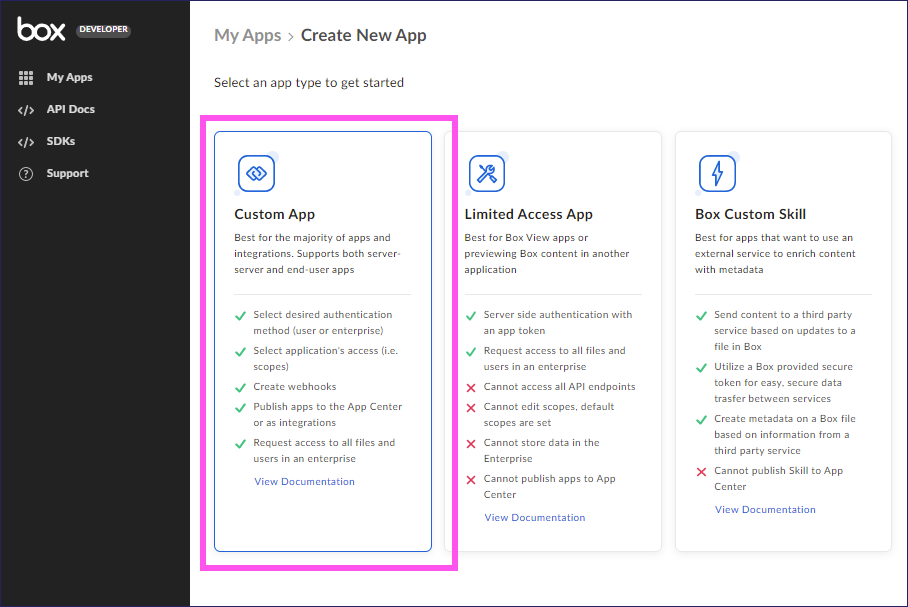
Choose Custom App, then select Next:
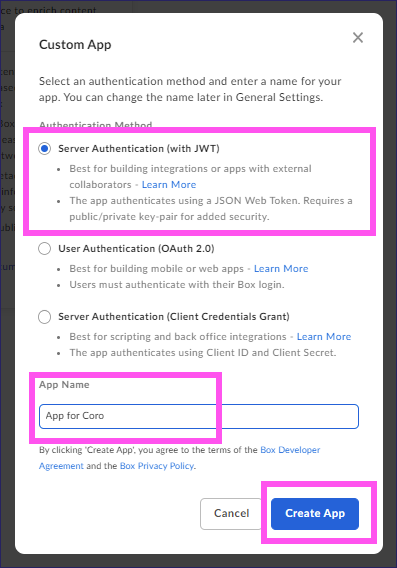
In the Custom App dialog:
- For Authentication Method, choose Server Authentication (with JWT).
- Specify an App Name.
- Select Create App.
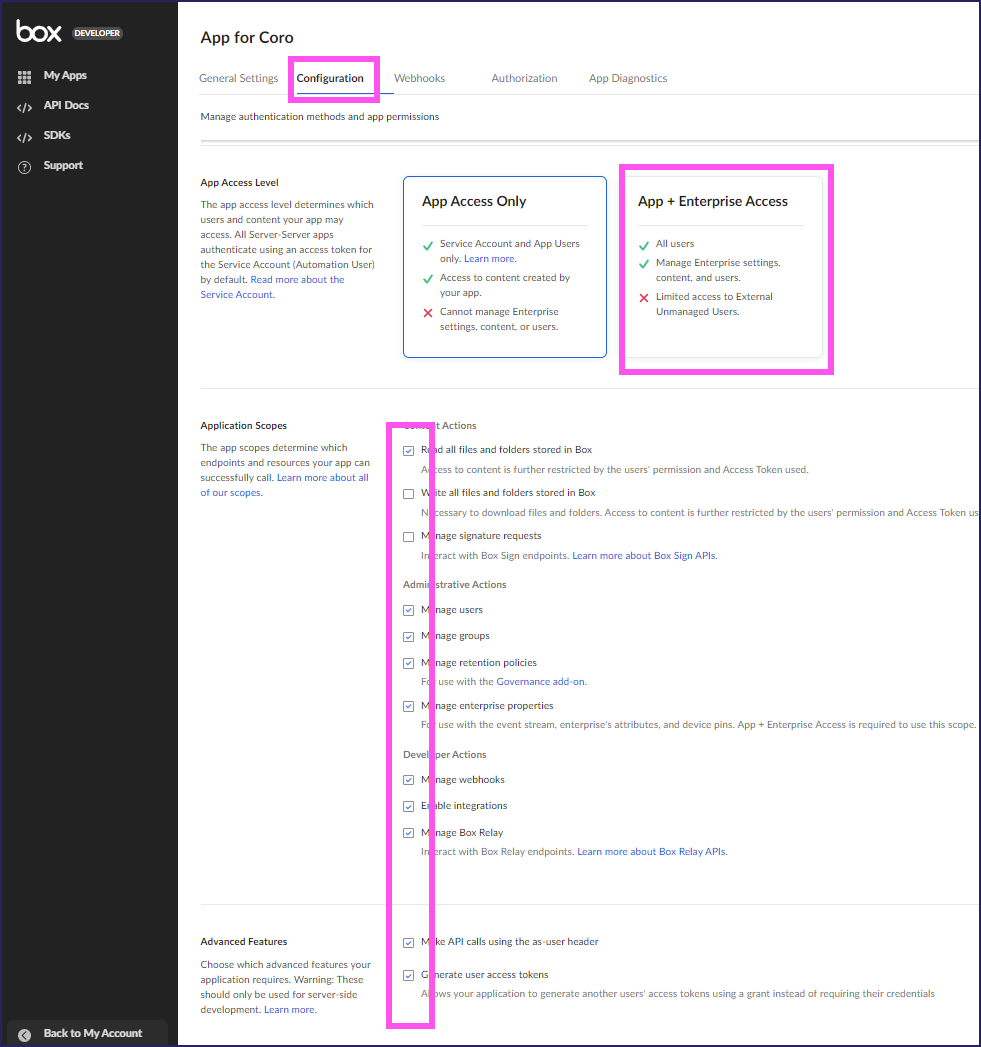
In your new application:
- Select the Configuration tab.
- For App Access Level, select App + Enterprise Access.
- For Application Scopes, set the following permissions:
- In Content Actions, leave all settings as their default values (only Read all files and folders stored in Box is enabled).
- In Administrative Actions and Developer Actions, enable all settings.
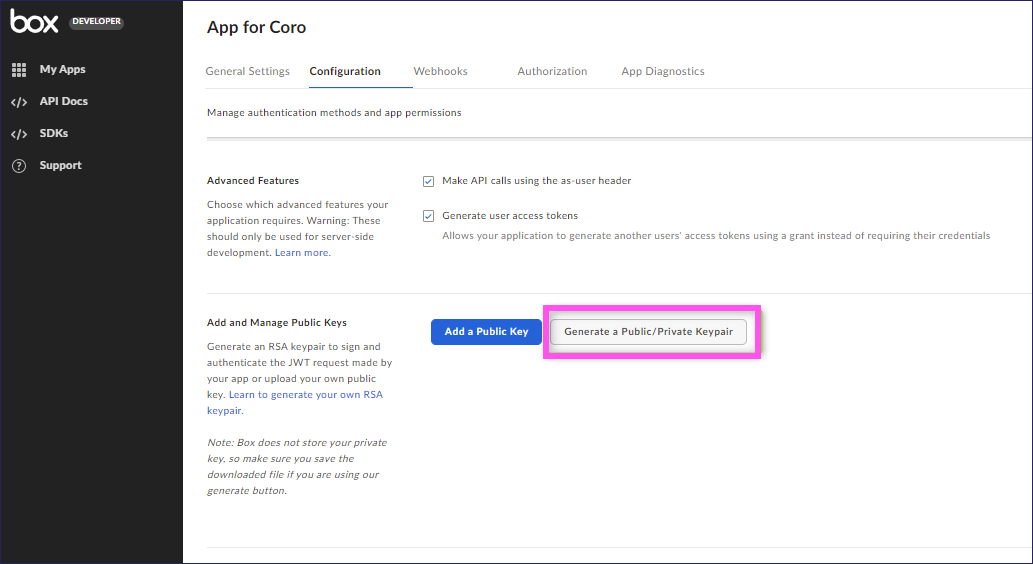
- For Advanced Features, enable all settings:
Select Save Changes at the top-right corner of the screen:

Locate the Add and Manage Public Keys section and select Generate a Public/Private Keypair.
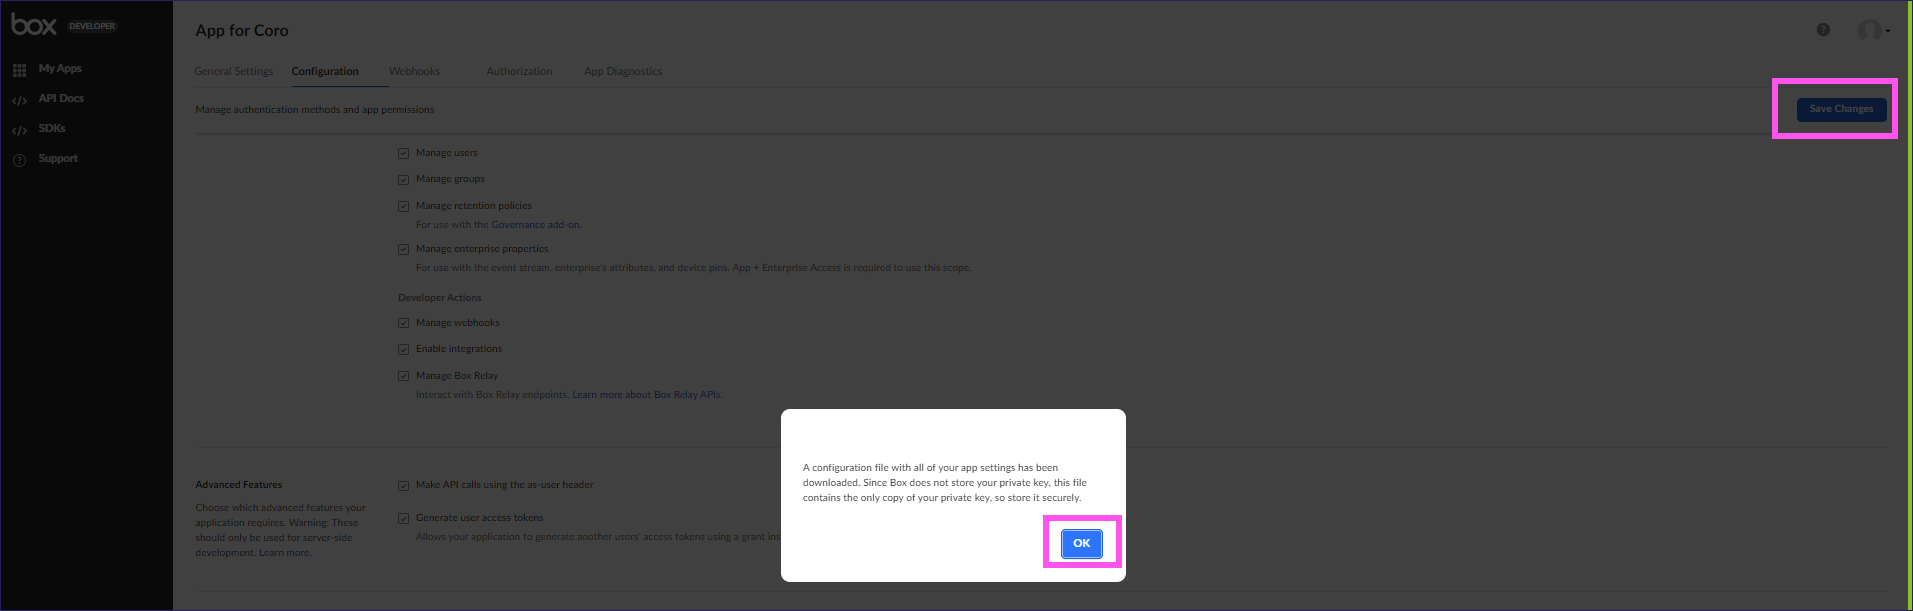
You are required to confirm this operation through 2FA (two-factor-authentication).
Box generates a configuration file for your application.
ImportantSave this file to your local device. Coro uses it to configure access to Box.
Select OK to close the confirmation dialog, then select Save changes at the top-right corner of the screen:
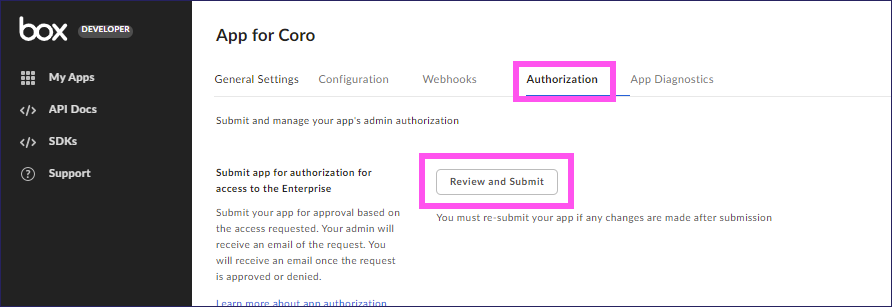
Switch to the Authorization tab and select Review and Submit:
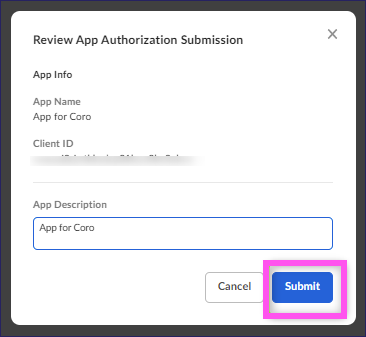
In the Review App Authorization Submission dialog, review the presented App Info, then select Submit:
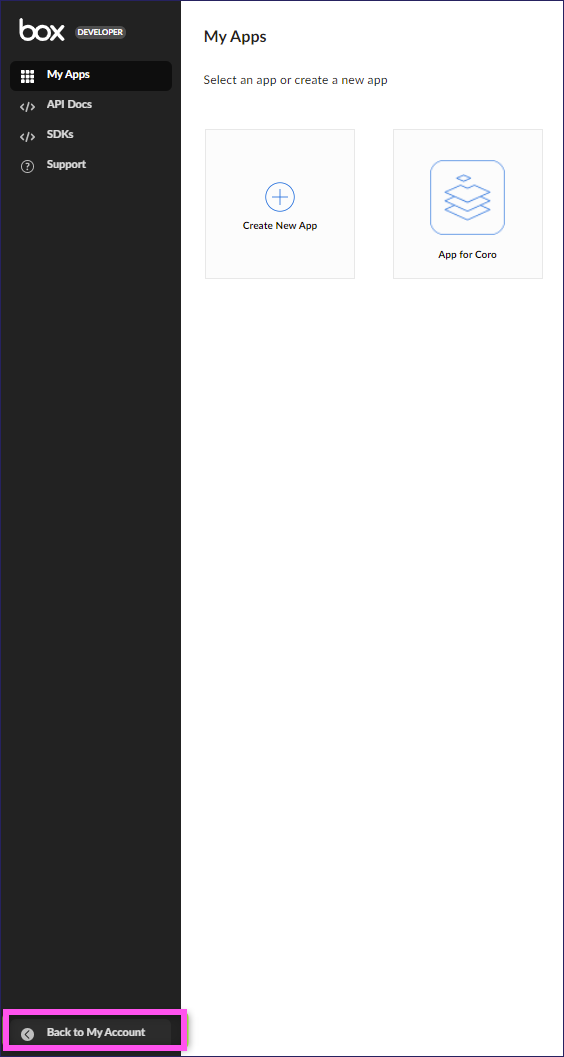
Select Back to My Account:
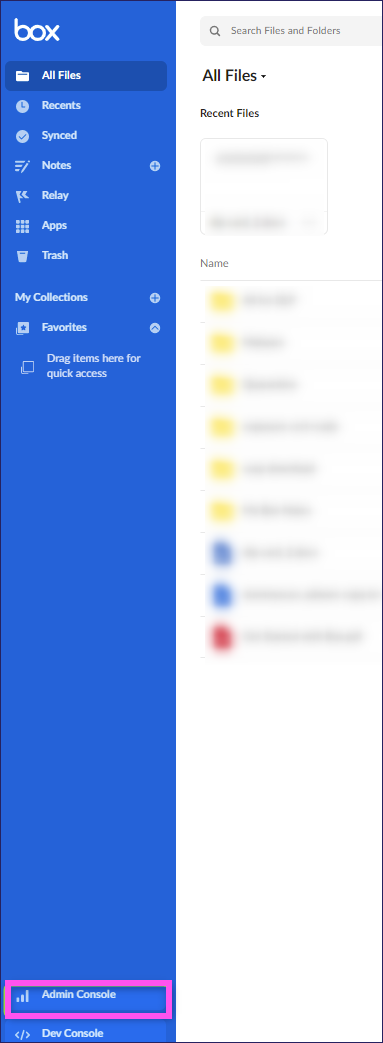
Select Admin Console:
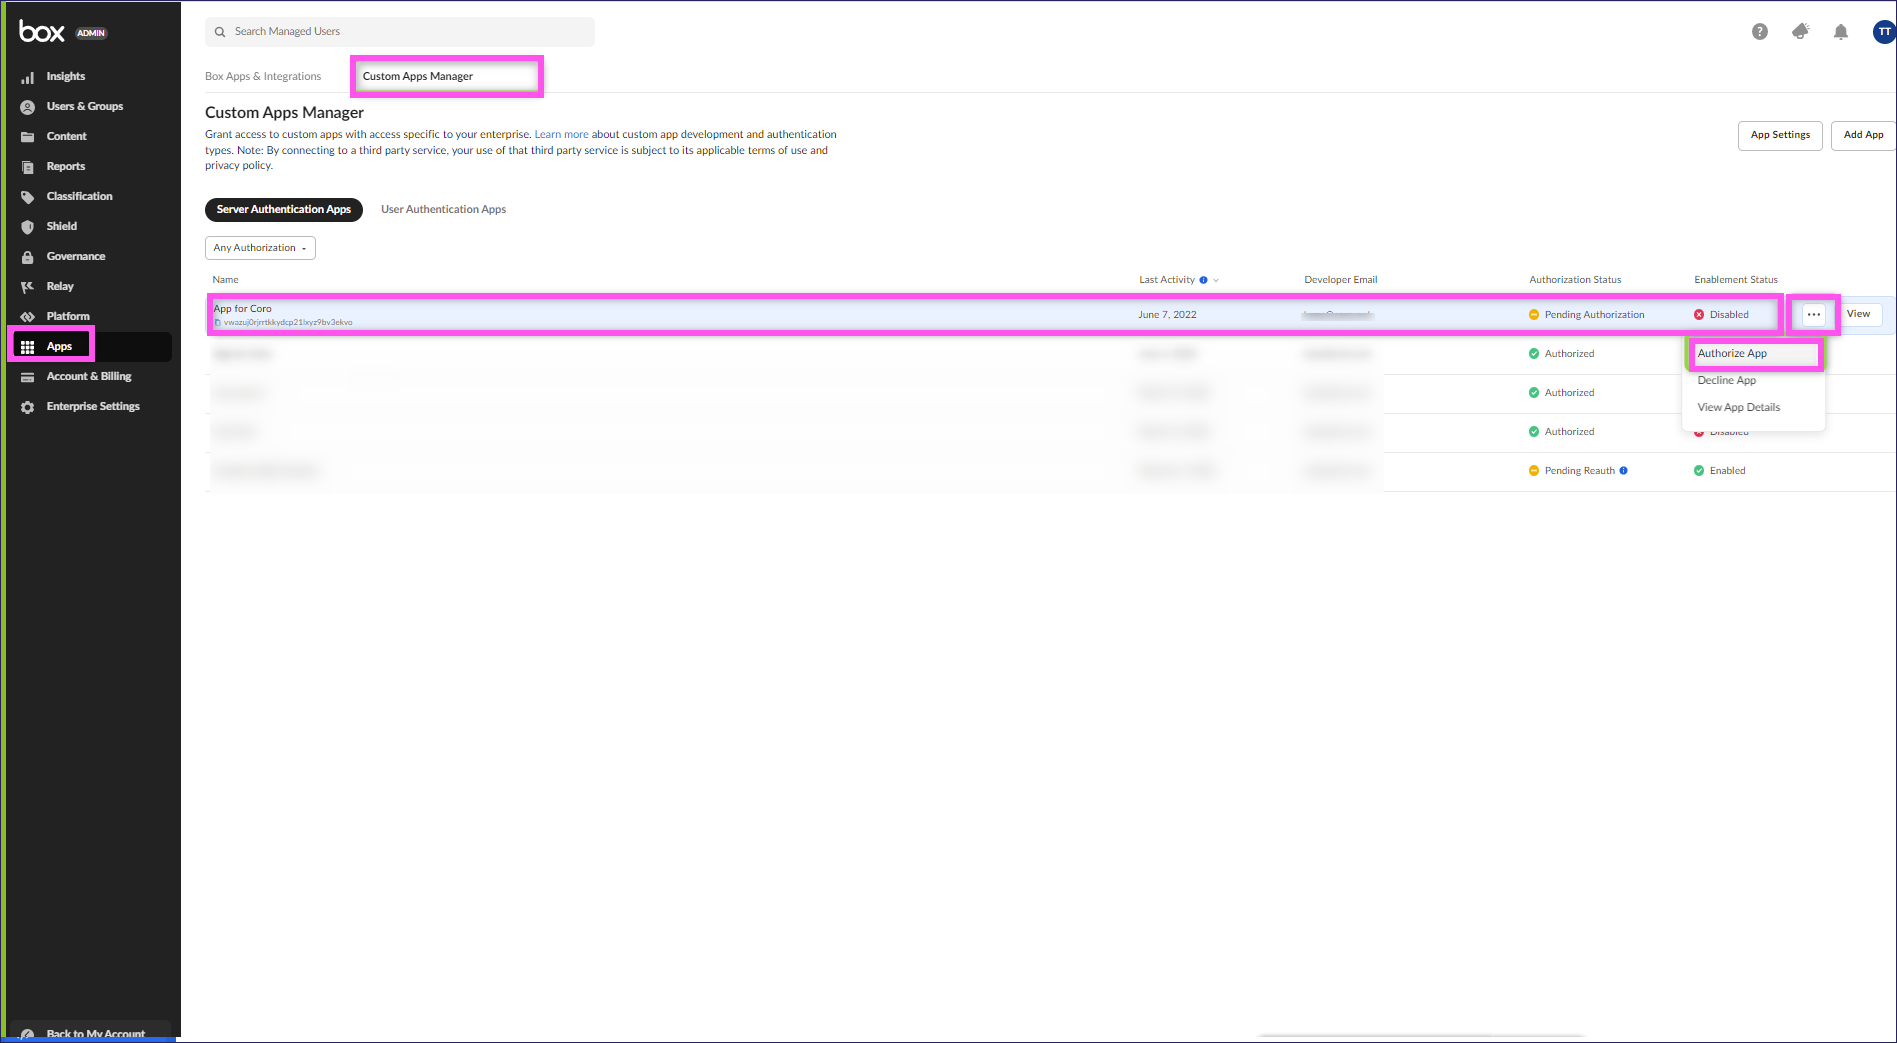
Select Apps from the side menu, then switch to the Custom Apps Manager tab.
Find the record of your newly created Coro application, select the adjacent 3-dots menu, then select Authorize App:
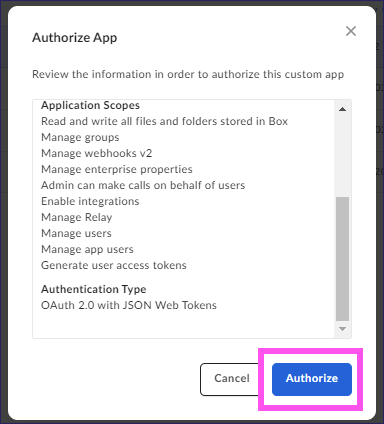
In the Authorize App dialog, check the information is correct and select Authorize:
The process is now complete.
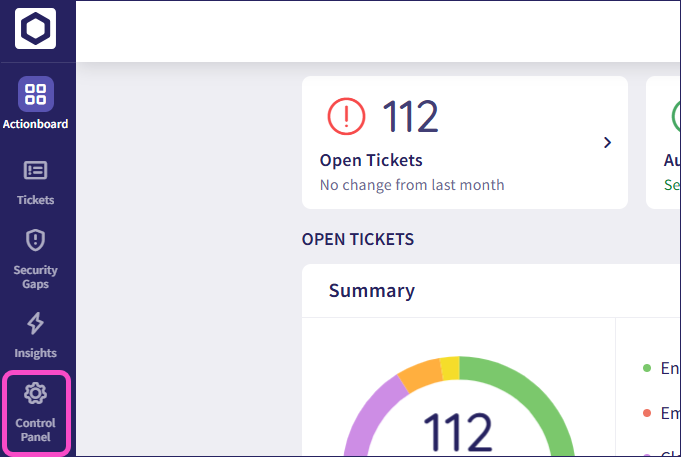
From the sidebar, select Control Panel:
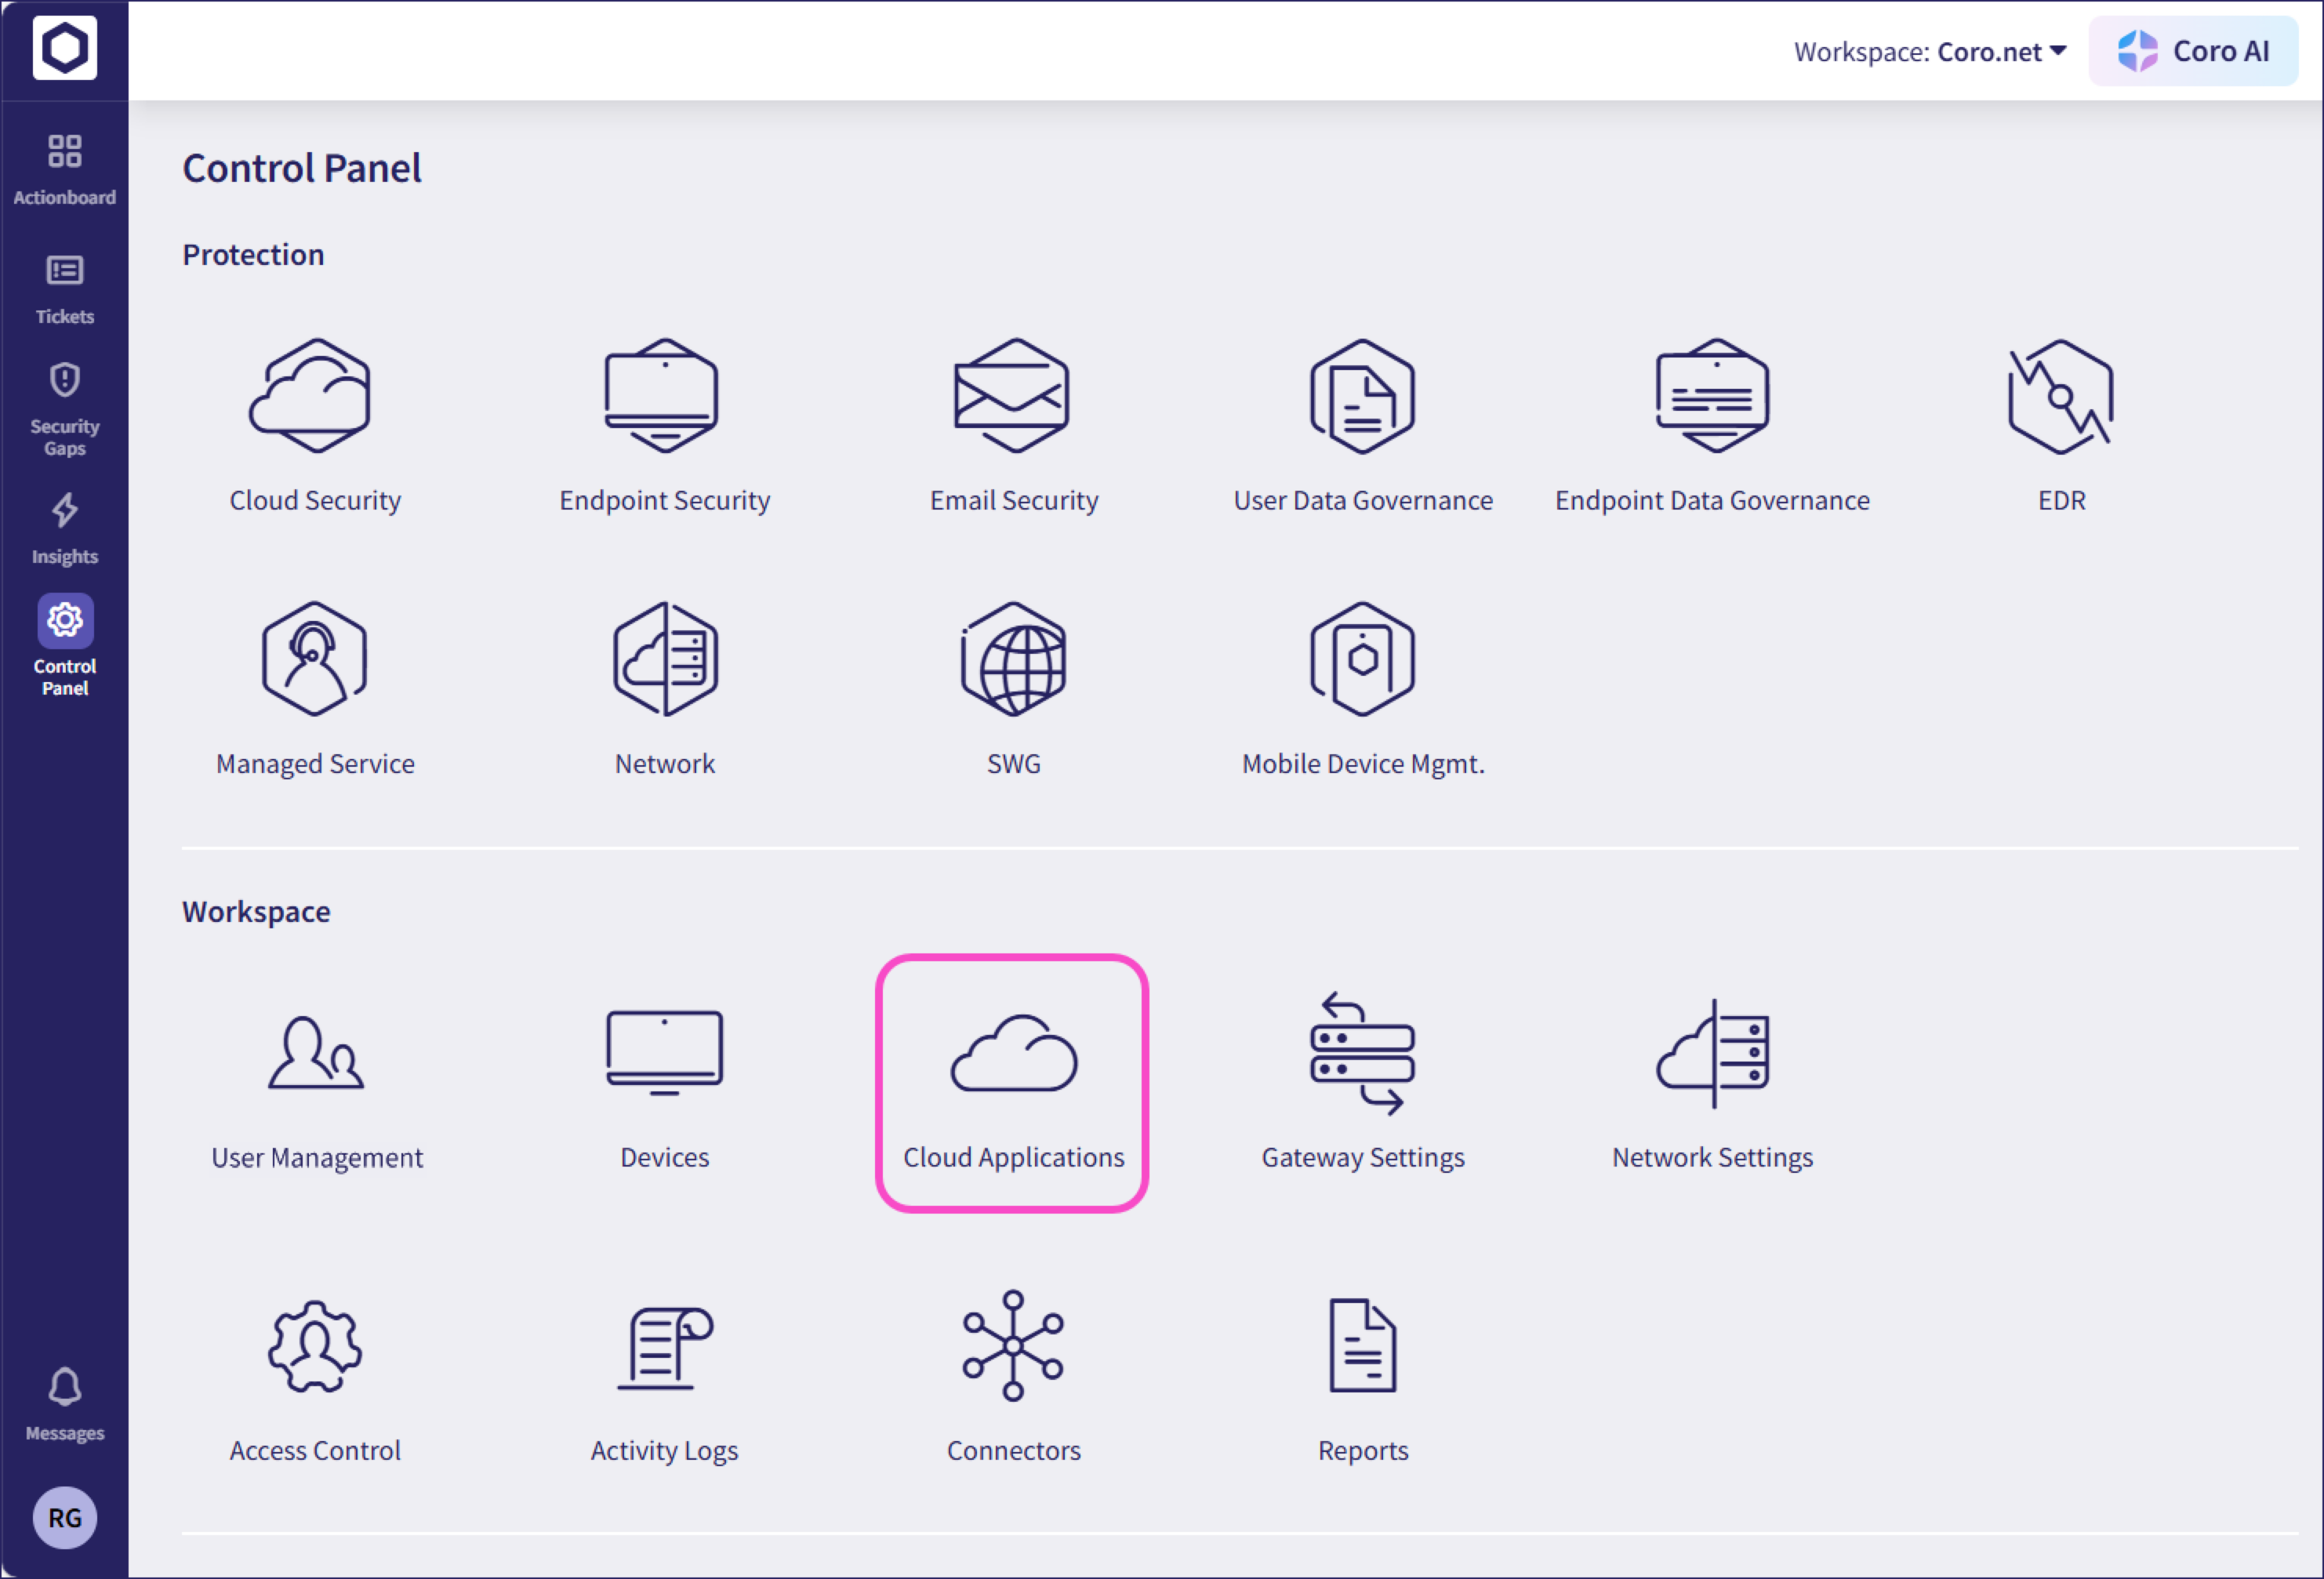
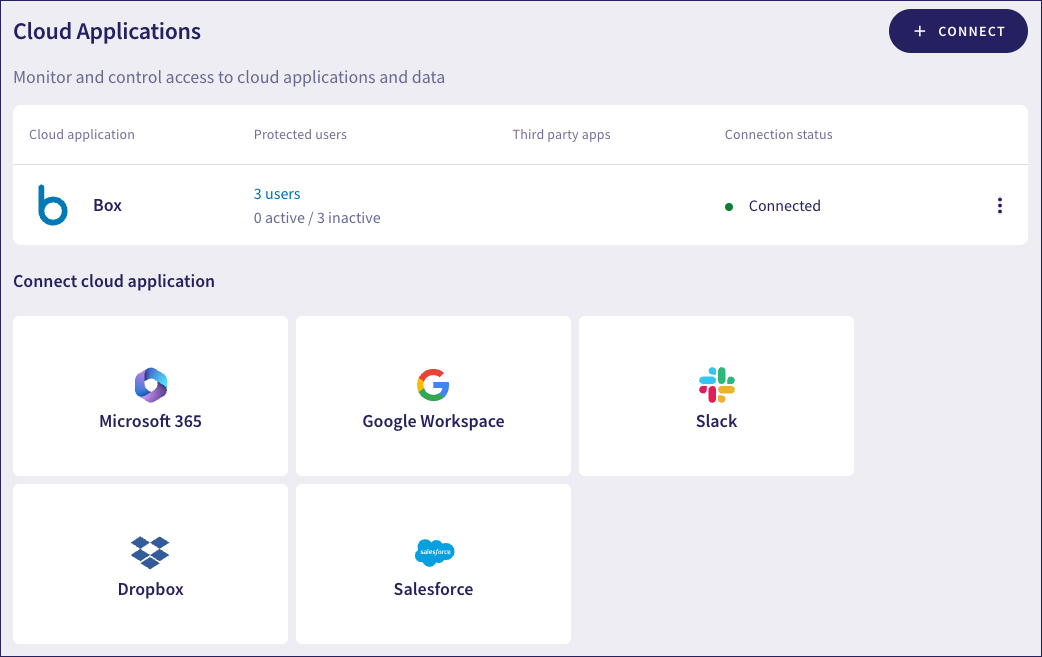
Select Cloud Applications:
On the Cloud Applications page, select Box:
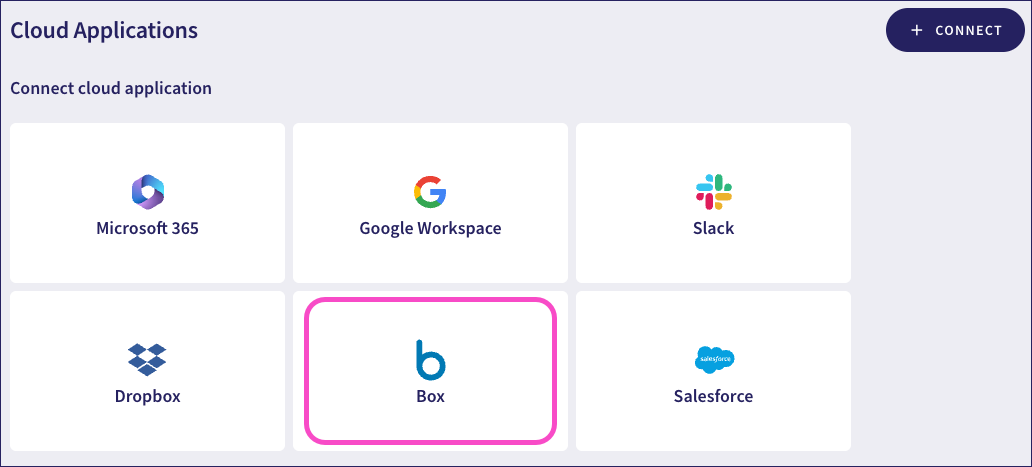
Alternatively, select + CONNECT and then, select Box from the Connect cloud applications dialog that follows.
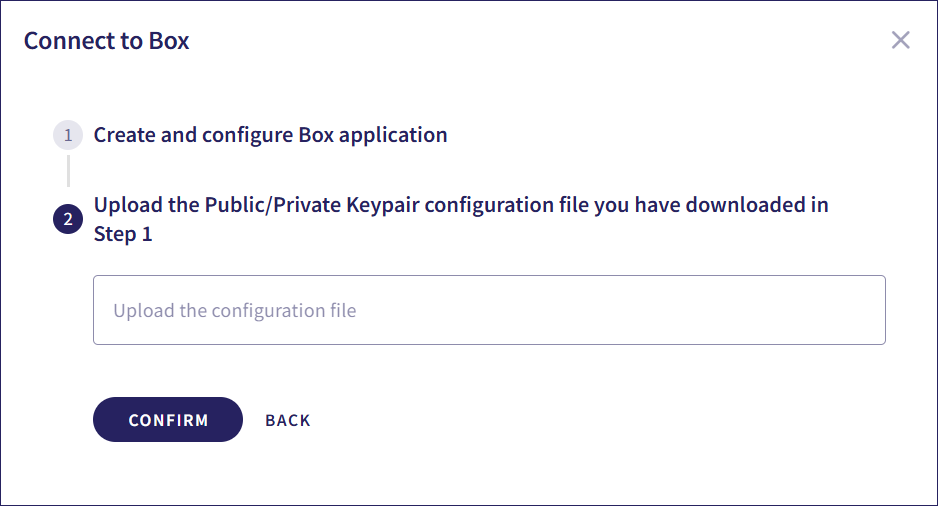
Coro displays the Connect to Box dialog:
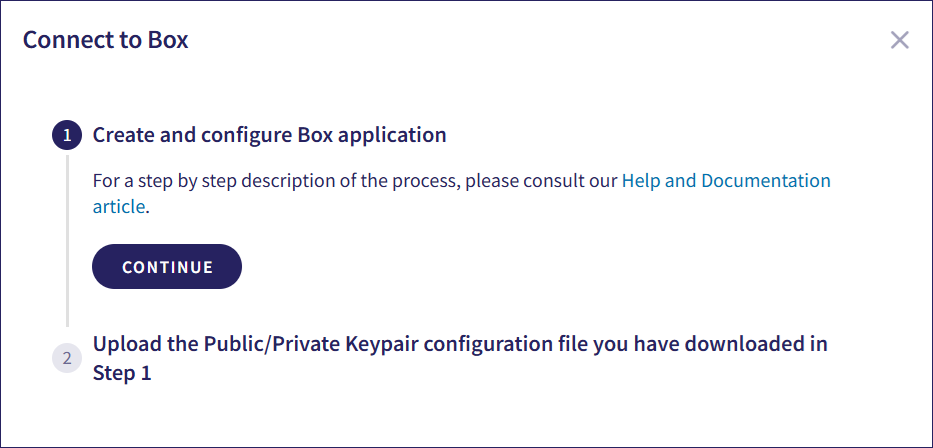
Step 1 requires you to create a new Coro application in Box. For details, see Creating an application in Box.
If you have already created a Coro application in Box, select CONTINUE.
In Step 2, specify the configuration file downloaded as part of the Box application creation process, then select CONFIRM:
Coro connects to Box to obtain details of your user accounts, ready to apply protection:
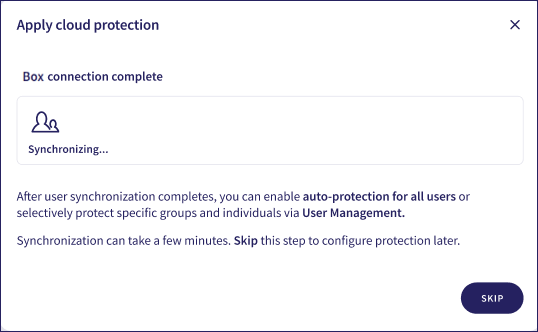
Select SKIP to skip this process and configure protection manually.
After a short wait, Coro displays the number of identified user accounts:
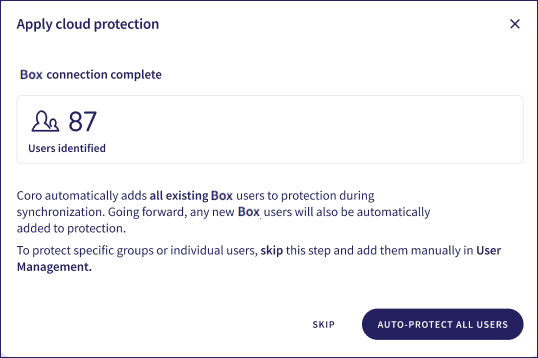
Select AUTO-PROTECT ALL USERS to automatically apply protection to all identified users.
Select SKIP to skip this step and configure protection manually.
ImportantBe aware that your Coro subscription might be subject to a limit on the maximum number of protected users in your workspace. In this scenario, Coro shows the number of users that can be protected under your current limit:

If the number of identified users in this connection would mean you exceed the protection limit, select SKIP and configure protection manually from the User Management page. For more information, see Protection limits.
Box is now connected to Coro and is shown as Connected:
To disconnect Box from Coro protection:
Sign in to the Coro console and go to Control Panel > Cloud applications.
From the three-dot menu adjacent to Box, select Disconnect.
When the confirmation dialog appears, select YES, DISCONNECT.
Box is now disconnected from Coro protection.