From the Virtual Office page, admin users with sufficient permissions can select virtual private network (VPN) or zero trust network access (ZTNA) for their devices. ZTNA delivers granular, identity-based access control, ensuring that only authorized users or devices can access specific resources.
ZTNA is available on macOS, Windows, Android, and iOS.
Activating ZTNA includes all devices in your virtual office.
Add resource access policies before activating ZTNA. Activating ZTNA blocks all connections within the virtual network by default. Only resources configured through the resource policy remain accessible.
To access ZTNA:
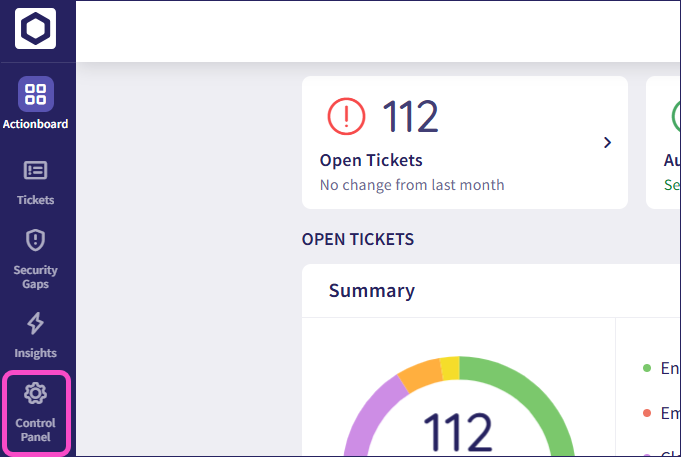
From the sidebar, select Control Panel:
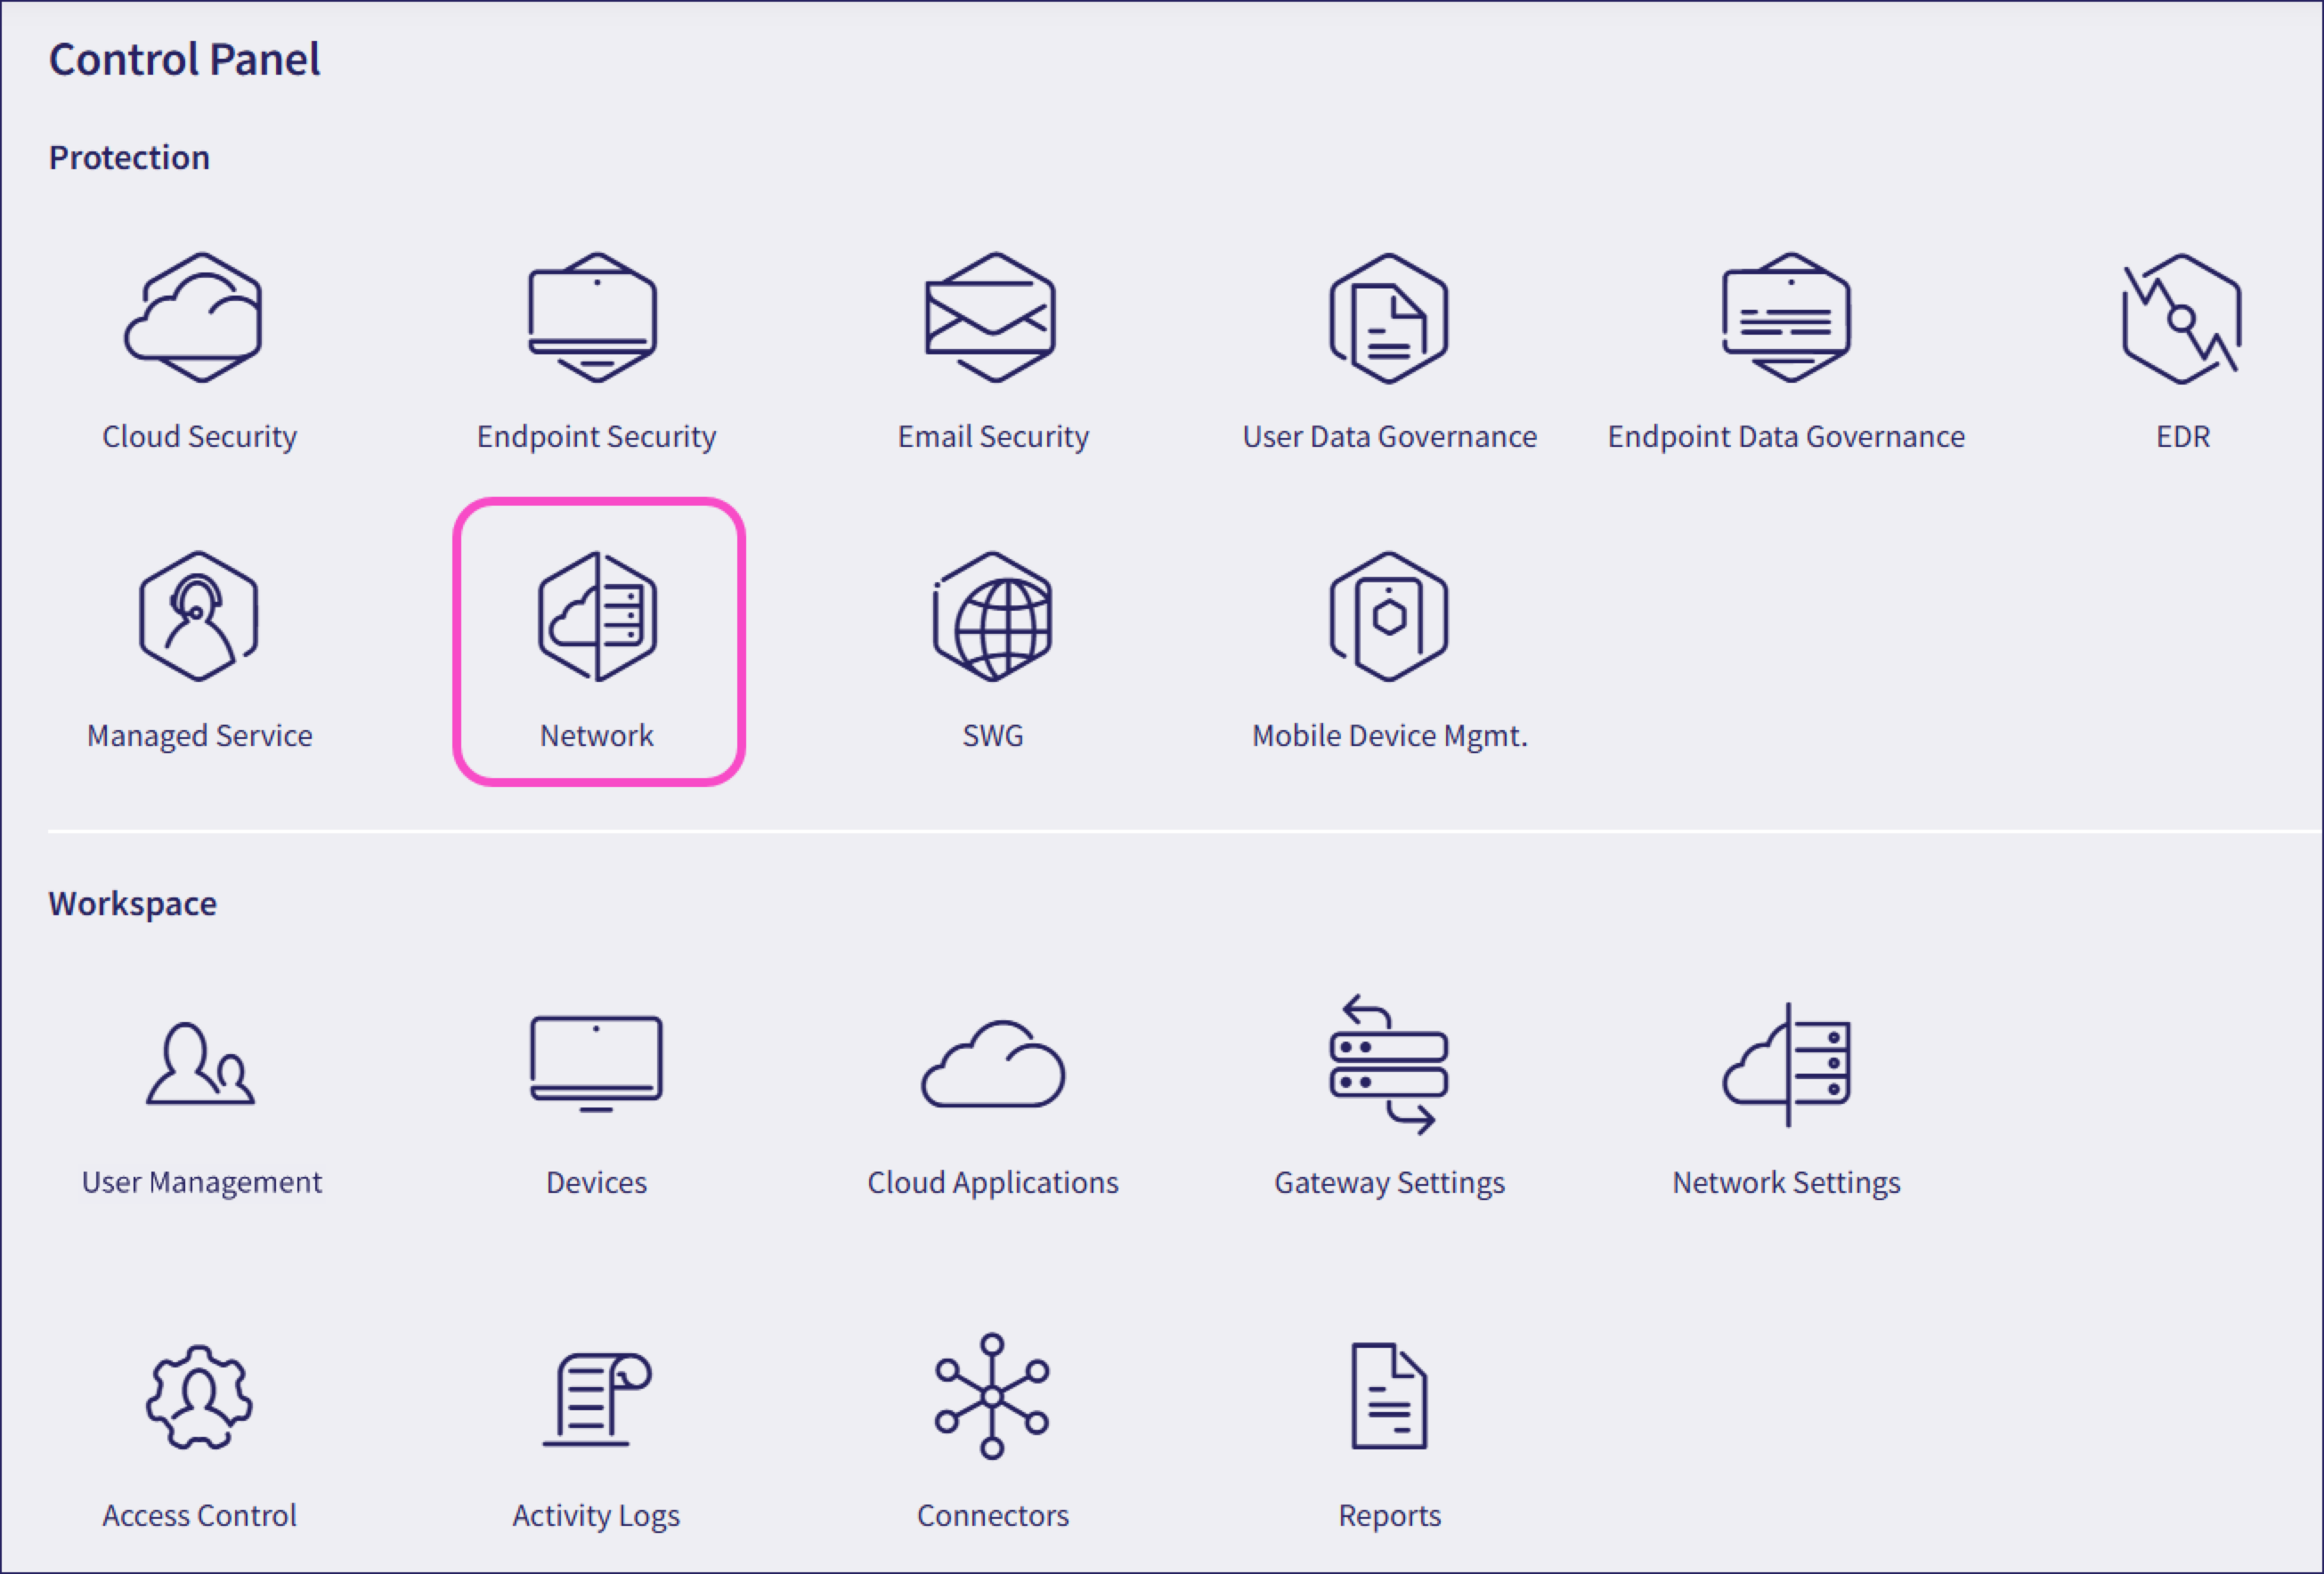
Select Network:
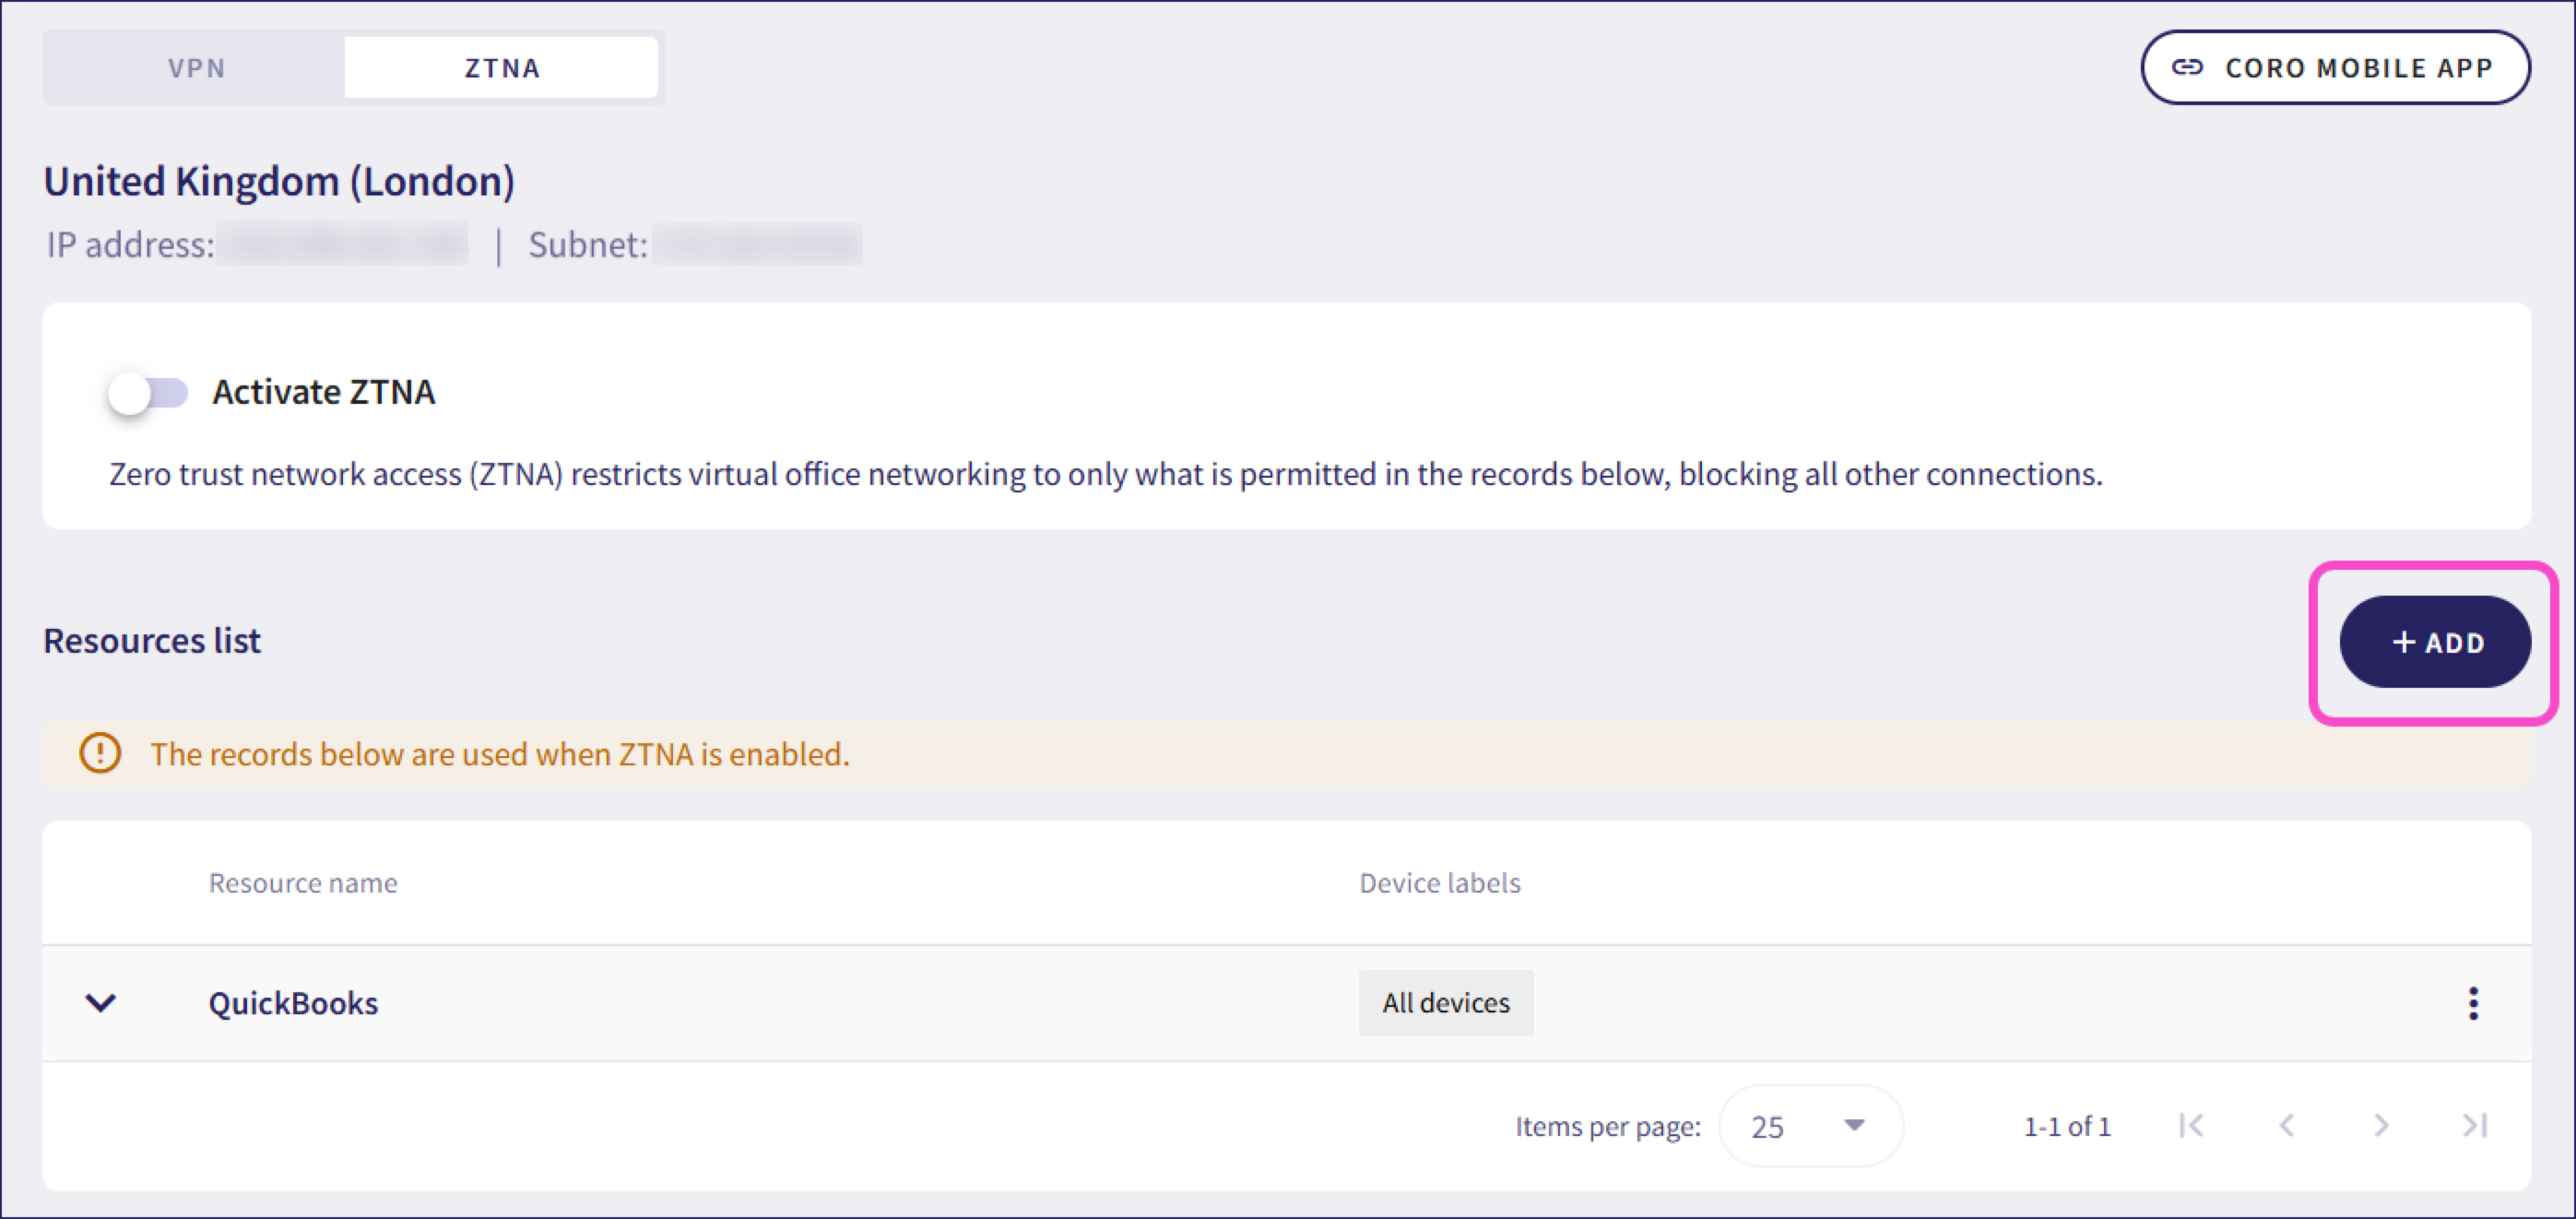
Select Virtual Office > ZTNA:

Coro displays the ZTNA section of your virtual office.
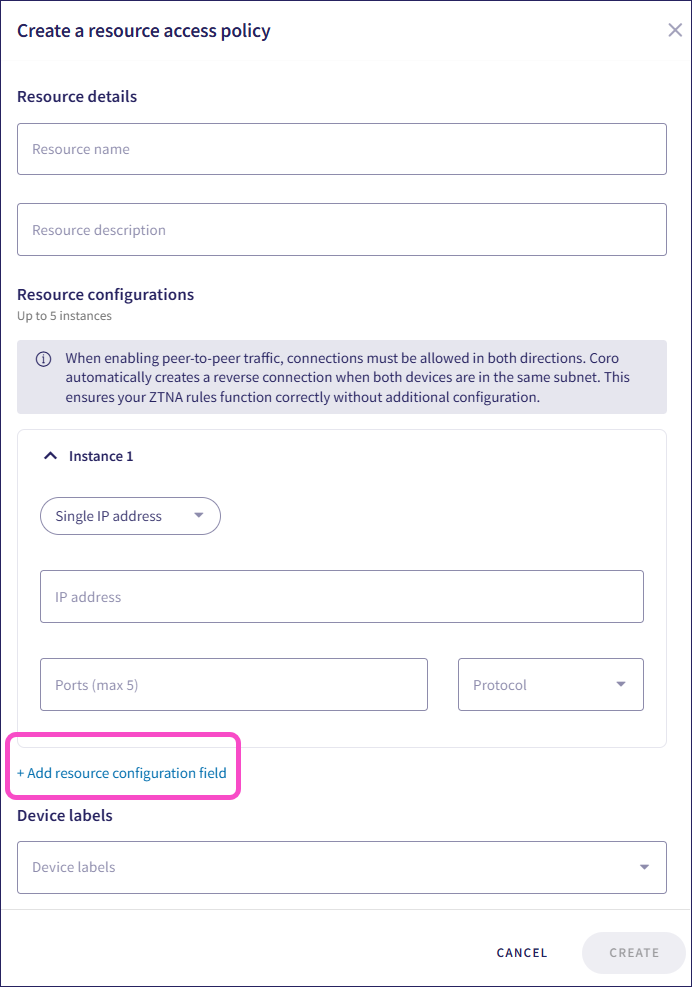
You must add resource access policies before activating ZTNA to define which connections are permitted. Up to five instances can be configured in each resource access policy. Instances include IP addresses, IP addresses and subnets, IP address ranges, and domains. ZTNA restricts virtual office networking to only what is permitted in the resources list, blocking all other connections.
To add and enforce a ZTNA rule, you must:
- Install the Coro Agent on each device to which you want to apply the policy.
- Set up a site-to-site (S2S) tunnel between your Coro workspace and any target networks (either on-premises or cloud-hosted).
To add a resource access policy:
Select +ADD:
Select the label type to which the policy should apply:
- Devices: Select device labels.
- Users: Select user labels.
Coro requires user-based authentication to support user labels.

Enter a resource name and description.
Select the instance type:
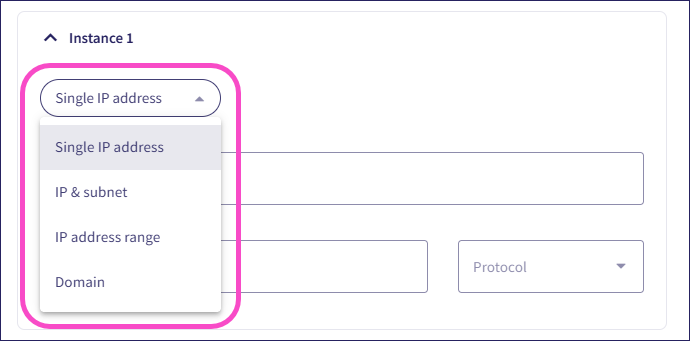
The options include:
- Single IP address: Enter the IP address, ports, and protocol.
- IP address and subnet: Enter the IP address and subnet, ports, and protocol.
- IP address range: Enter the start IP address, end IP address, ports, and protocol.
- Domain: Enter the domain.
To enable access to an application, grant the appropriate permissions within the application itself.
If you are adding more than one instance, select Add resource configuration field. You can add up to five instances:
Select CREATE.
Coro adds the resource access policy to the resources list.
After you have added all your resource access policies, activate ZTNA:

Select the arrow next to a resource policy to view its description and resource configurations:

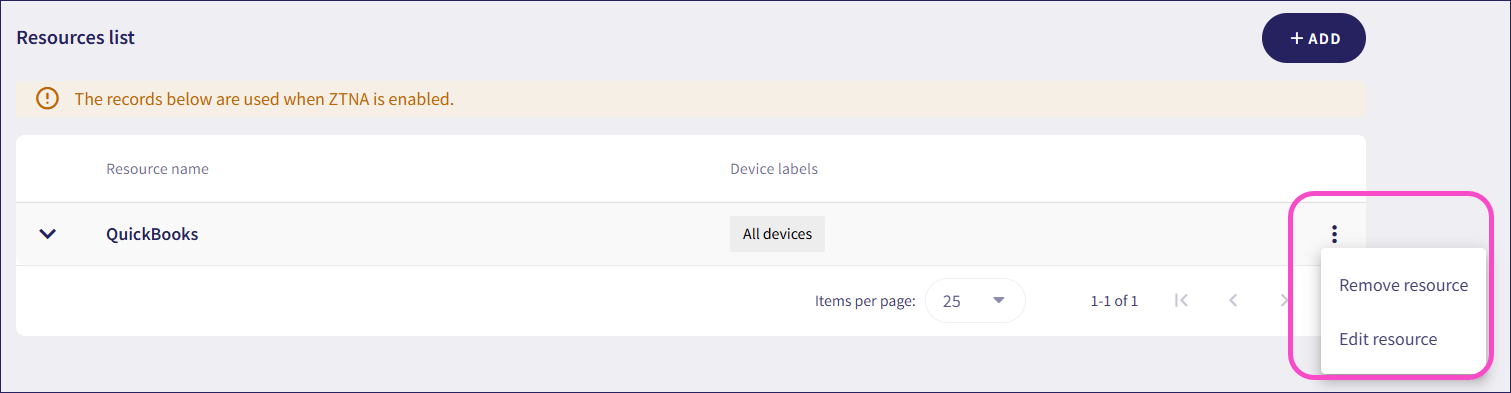
Select the three-dot menu next to a resource policy to edit or remove it: