From the Virtual Office page, admin users with sufficient permissions can select virtual private network (VPN) or zero trust network access (ZTNA) for their devices. VPNs establish a secure and encrypted connection over the internet between devices and a remote server. This connection makes it difficult for hackers or third parties to intercept or access the data being transmitted.
Admin users can select the VPN encryption strength. For more information, see Change the encryption strength.
VPN is available on macOS, Windows, Android, and iOS.
Different VPN policies can be set for each of your devices. The VPN policy options include:
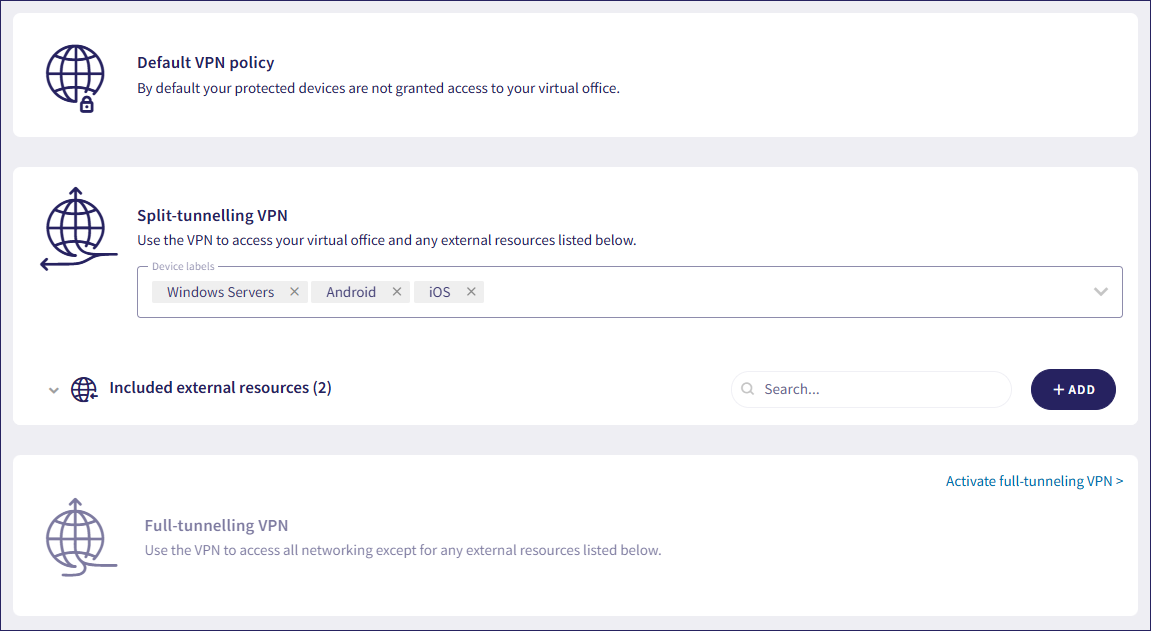
Default VPN policy: Traffic from protected devices doesn't go through the VPN.
Split-tunneling VPN: Devices with this policy use the VPN to access and encrypt your virtual office, as well as any external resources that have been added to the include list. For more information, see Understanding external resources in VPN policies.
Full-tunneling VPN: Devices with this policy use the VPN to access and encrypt all networking including regular internet traffic except for any external resources that have been added to the exclude list. For more information, see Understanding external resources in VPN policies.
To access VPN:
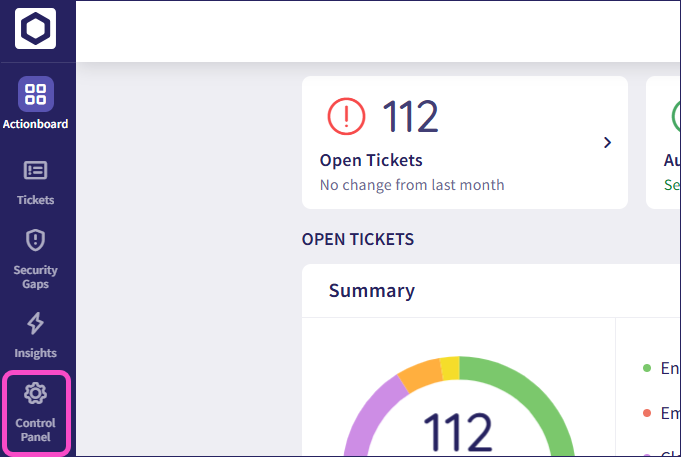
From the sidebar, select Control Panel:
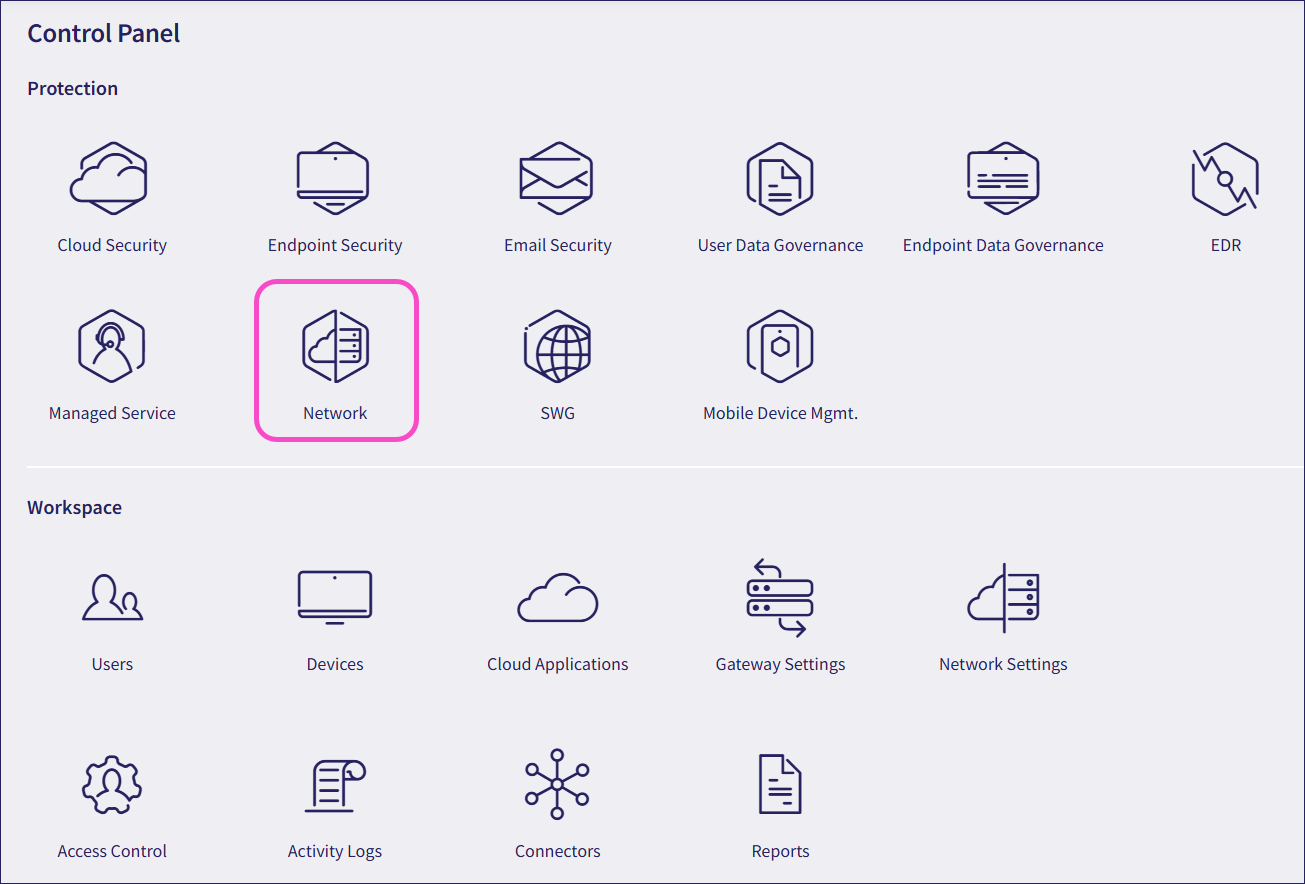
Select Network:
Select Virtual Office > VPN:
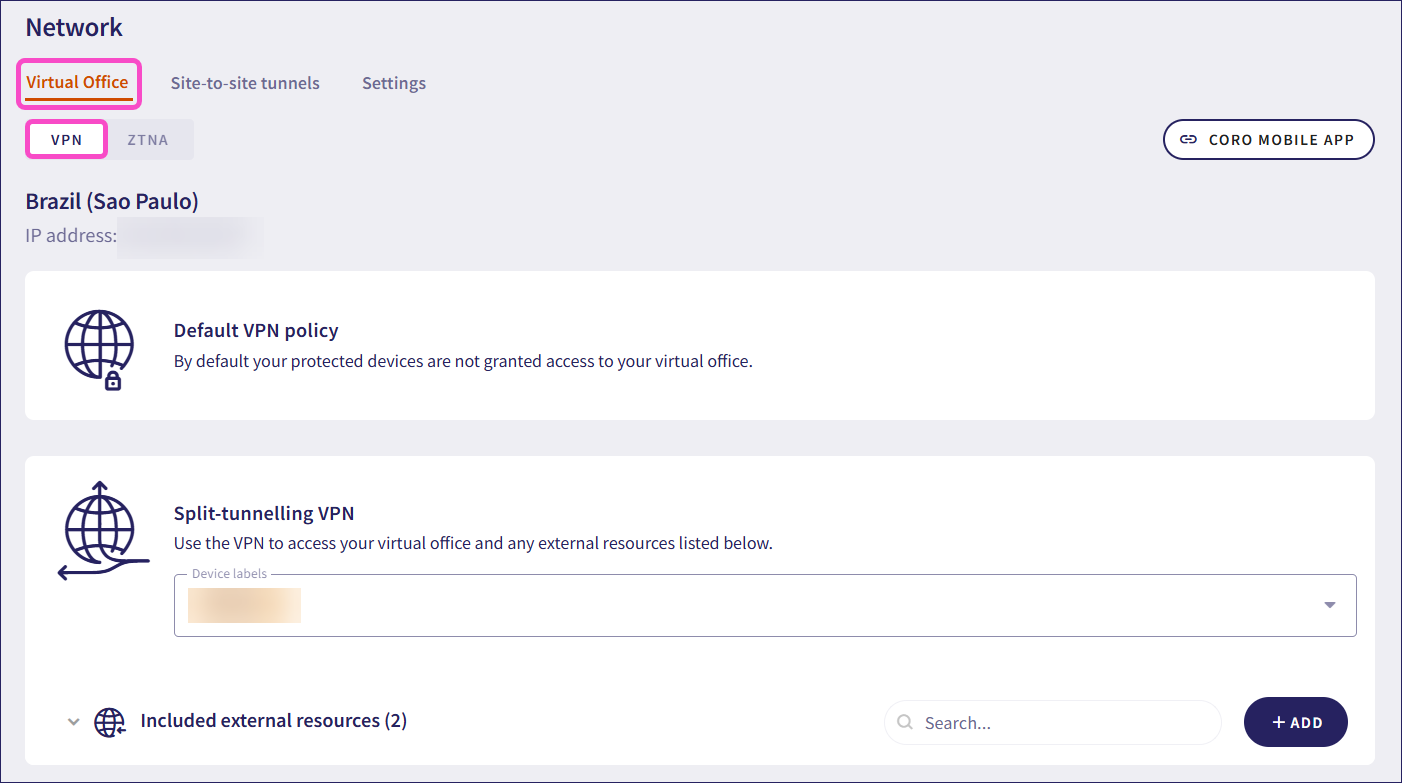
Coro displays the VPN section of your virtual office.
To add specific devices to each VPN policy option:
If not yet created, create device labels for devices which require VPN policies.
To add labels to the full-tunneling VPN for the first time, select Activate full-tunneling VPN:

Add the device label under the desired VPN policy:
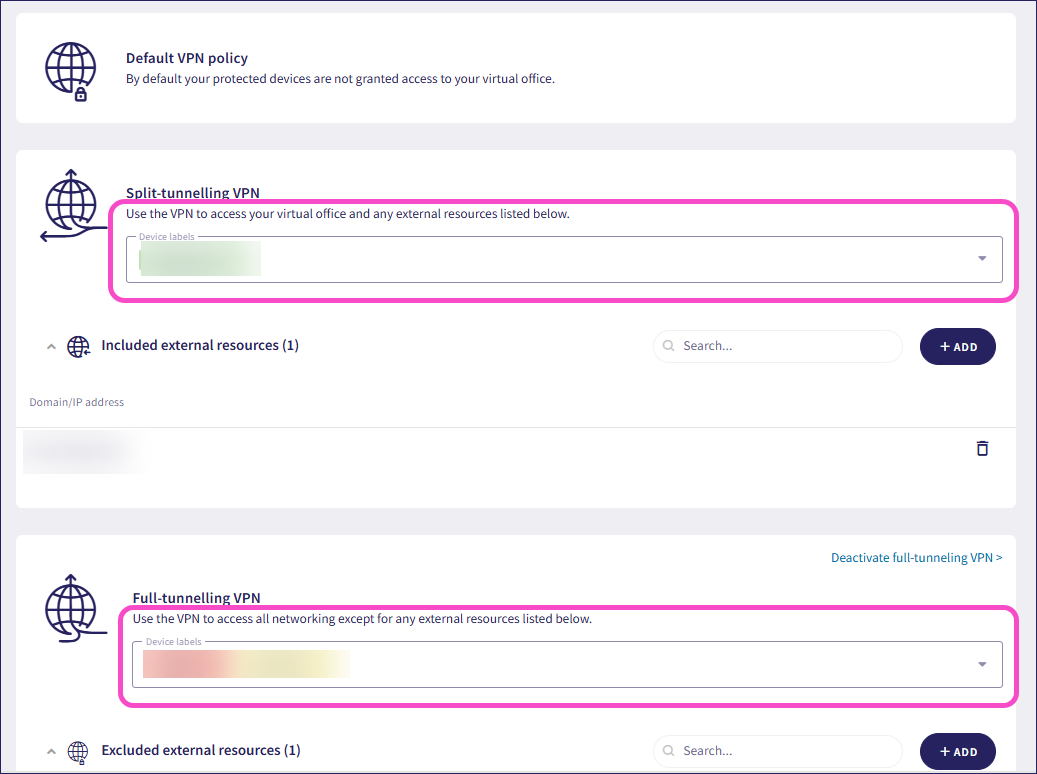
If the same device is added to both split-tunneling and full-tunneling VPN policies, that device is included in the full-tunneling VPN policy.
After devices with specific labels have been added to a VPN policy, and domains or URLs have been added to the include and exclude lists:
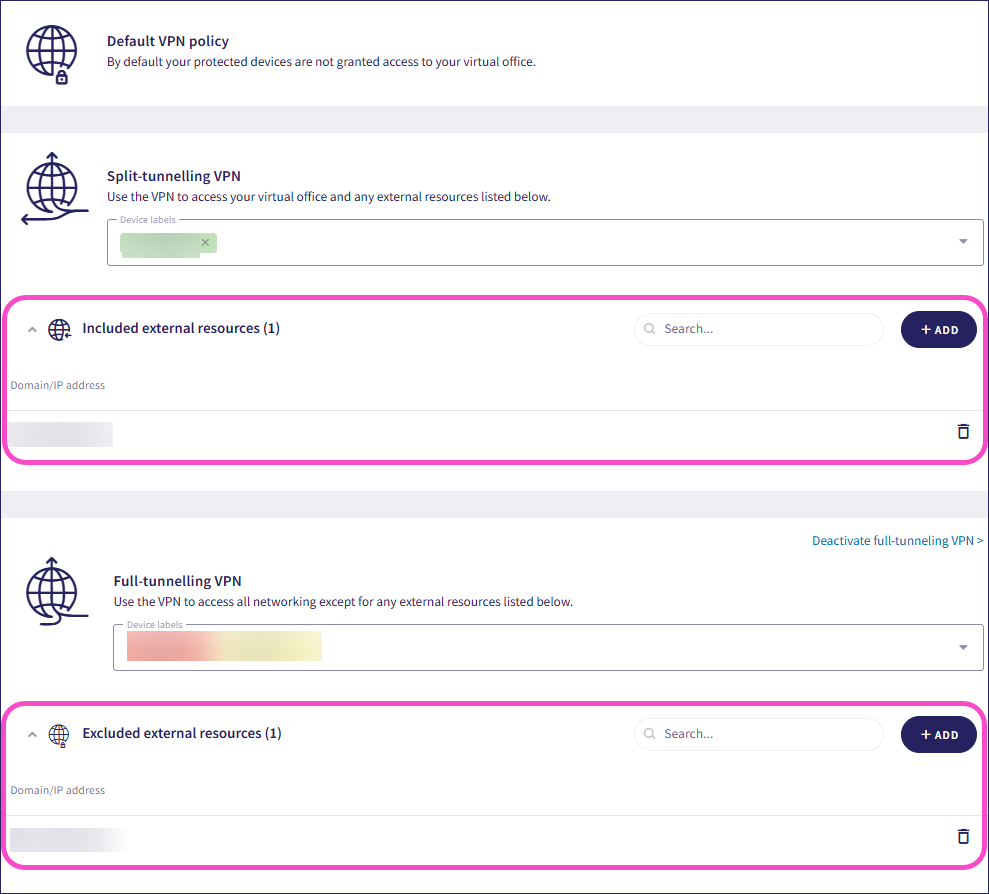
- Any devices added to the split-tunneling VPN can access the virtual office and any external resources added to the include list.
- Any devices added to the full-tunneling VPN can access the virtual office and any external resources except for those added to the exclude list.
The Included external resources and Excluded external resources sections determine whether traffic to specific domains or IP addresses is routed through the VPN or bypasses it. Incorrect configuration can cause traffic to be misrouted or blocked by local network policies.
Coro routes domains or IP addresses in this list through the VPN.
Use this setting when you want specific external traffic to remain encrypted by the Coro VPN while other traffic flows normally through the device’s local connection.
You want to secure traffic to files held on an internal file server at files.internal.company.com.
- Action: Add
files.internal.company.comto the included external resources list. - Result: Access to the internal file server goes through the VPN for secure file transfer. All other internet traffic uses the device’s local connection.
Domains or IP addresses in this list bypass the VPN and go through the local network.
Use this setting when specific services, like those depending on local domain name system (DNS) or regional access, require connection outside of VPN routing.
You want Microsoft Copilot to use your local DNS.
- Action: Add
copilot.microsoft.comto the excluded external resources list. - Result: Copilot traffic bypasses the VPN and connects through the local network. All other traffic goes through the VPN.