If you have questions about using JAMF School or the Composer tool, contact JAMF Support (see https://www.jamf.com/contact/).
For JAMF School documentation, see https://learn.jamf.com/en-US/bundle/jamf-school-documentation/page/Jamf_School_Documentation.html.
To deploy the Coro Agent to your macOS endpoint devices via JAMF School, complete the following processes:
- Meet the listed prerequisites
- Download the Coro Agent .pkg file
- Create and deploy a configuration profile
- Create a deployment package
- Create a deployment policy
- Verify the installation
Make sure you have:
A working JAMF School environment configured for your macOS devices that allows package and configuration profile deployment.
The Composer application downloaded and installed. For more details, see https://getcomposer.org/download/.
To download the Coro Agent .pkg file from the Coro console, perform the following actions:
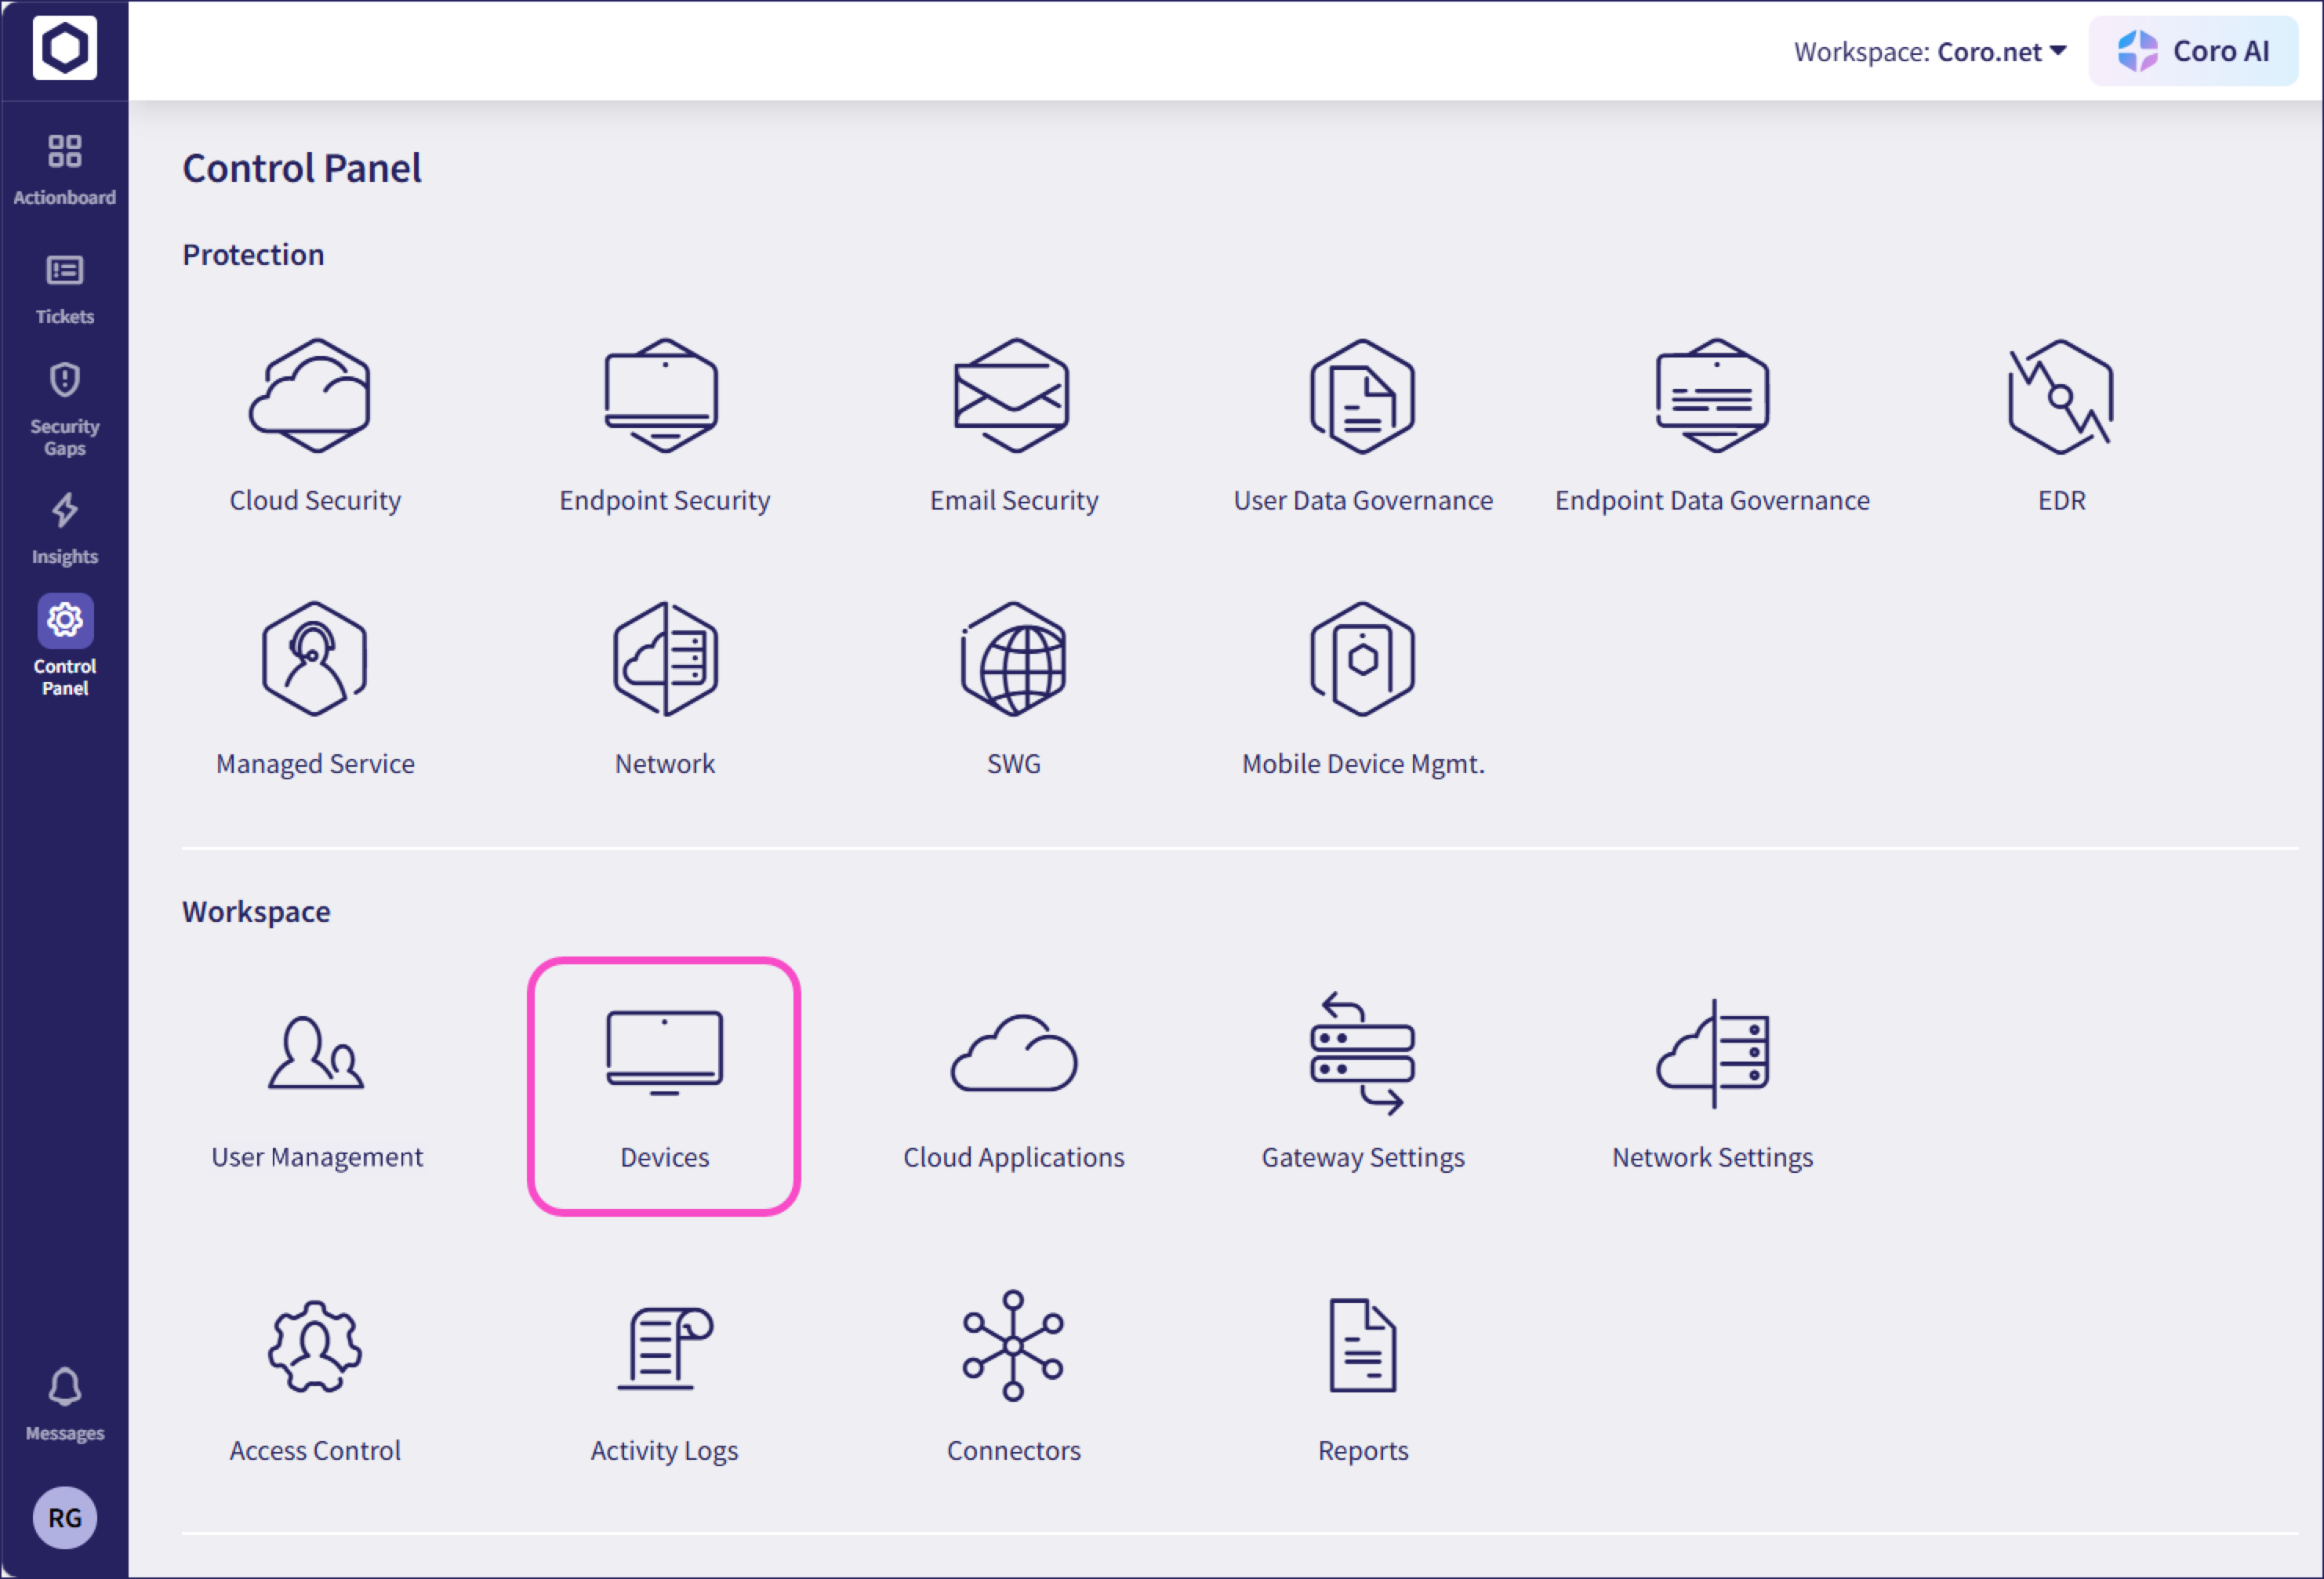
From the sidebar, select Control Panel.
Select Devices:
Select Agent Deployment:
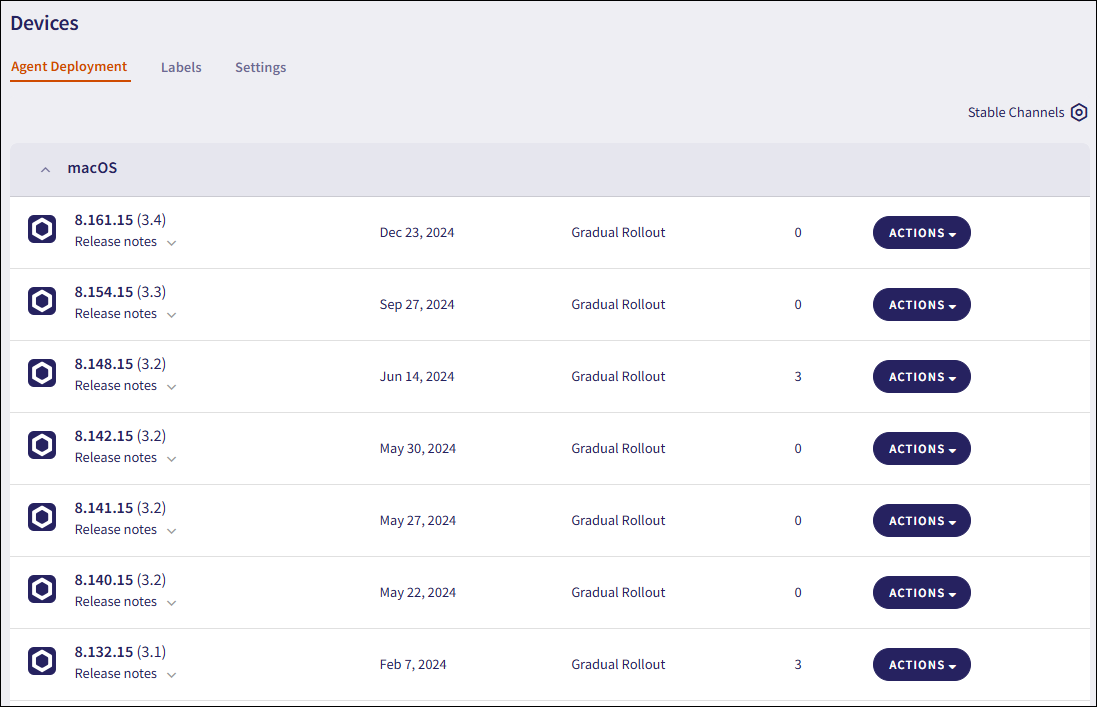
Select Actions > Download adjacent to the desired macOS Agent version:
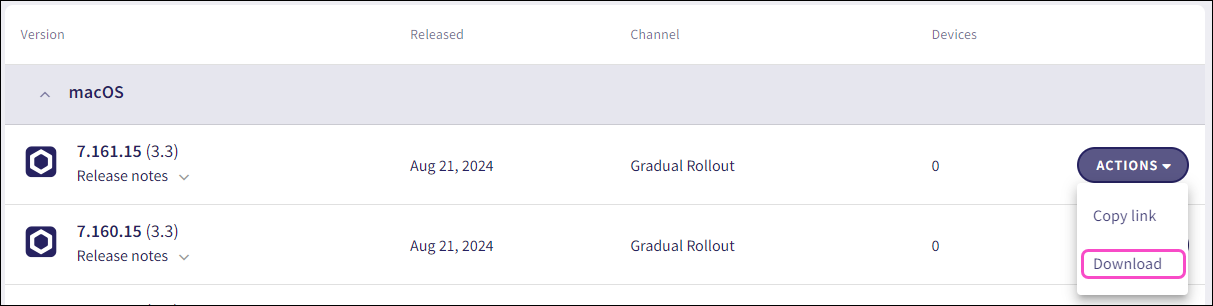
Coro downloads the Agent installer to your local device.
When deploying Coro to macOS devices through JAMF School, administrators can set up Privacy Preference Policy Control (PPPC) profiles to remotely manage automatic approval for app permissions on target devices. To obtain the necessary configuration for PPPC profiles, see Code Requirements for macOS PPPC profiles.
For details of how to configure PPPC profiles, refer to https://learn.jamf.com/en-US/bundle/jamf-school-documentation/page/Jamf_School_Documentation.html.
Create a nested deployment package for Coro, based on the Coro Agent .pkg file (see Prerequisites).
To create the nested package:
Open Finder, select command+shift+g to open the Go to menu, then type in
/tmp.In /tmp, create and name a folder (for example, coro).
Drag the Agent installer package into the folder.
Open Composer. If prompted for a snapshot, select Cancel.
In Finder, drag the folder created in step 2 to the left side of Composer. The cursor changes to include a green plus icon.
In Composer, locate and select the folder created in step 2 and confirm that the Owner is set to
rootand the Group is set towheel.Expand the package on the left side of Composer and select and hold (or right-click) scripts. Select Shell Script, then select post-install.
In the post-install script, replace the content with:
#!/bin/bash installer -pkg /private/tmp/PACKAGENAME.pkg -target /ImportantReplace PACKAGENAME.pkg with the name of the Coro Agent package file.
Select the package on the left side of Composer to save the post-install script.
Select Build as PKG and save to the desktop or another folder location.
See Creating a deployment policy for details of how to deploy the nested package.
If you already have a software distribution policy in place, add the nested .pkg file you created in Creating a deployment package. Otherwise, create a policy to deploy your nested .pkg file .
To create a software distribution policy:
From JAMF School, go to Computers > Policies.
Select + New.
JAMF School displays the Options tab.
Provide a name for the new policy, for example, InstallCoro.
Enable the following Triggers:
Login
Enrollment Complete
Reoccurring Check-in
Set Execution Frequency to Once per Computer.
Enable Automatically re-run policy on Failure. Then, set Retry Event to 3 retry attempts.
From the left panel, select Packages > Configure:
Add the nested .pkg file you created in Creating a deployment package.
From the top, select Scope.
Add the devices and groups to which to distribute the Coro Agent.
Select the User Interaction tab.
Set Deferral to No Deferral Type.
Set Example Policy to deploy Coro .PKG and force install.
JAMF School distributes the .pkg to the devices within the chosen scope, and the previously configured Configuration Profile enables all the necessary extensions and components without requiring an Administrator login. This installs the Coro Agent on the devices.
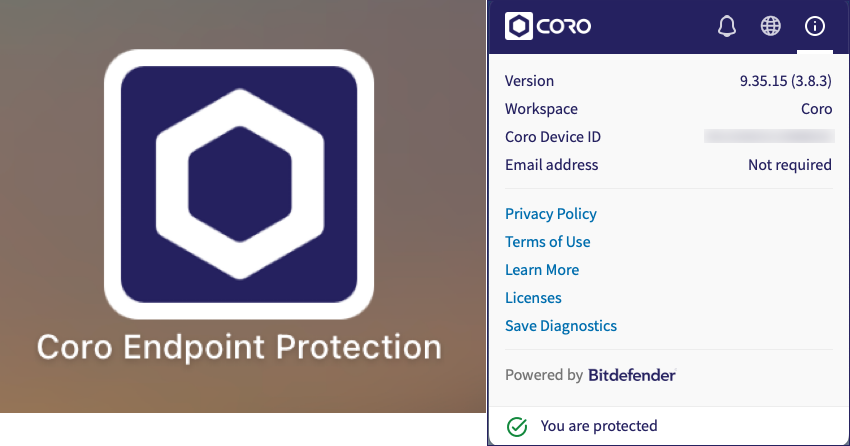
On macOS device, the Coro Agent appears as an application in both the Launchpad and the system tray:
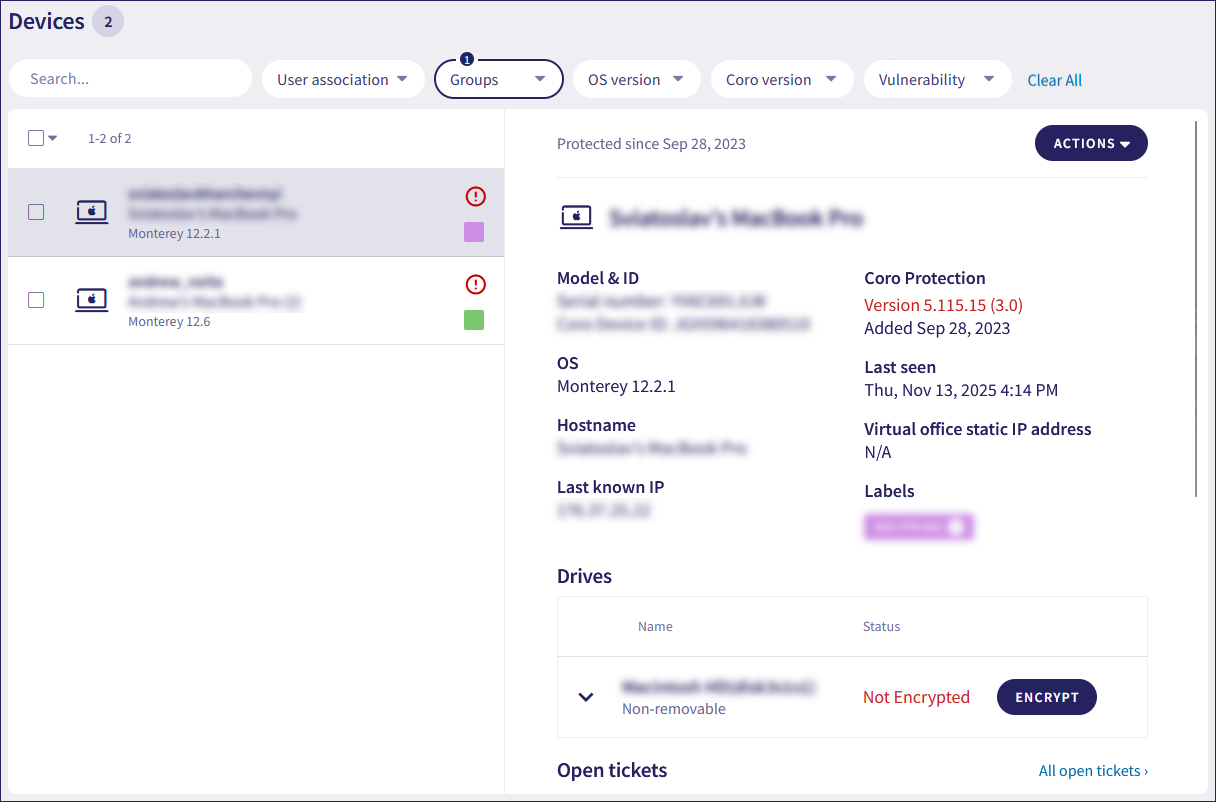
From the Coro console Actionboard, select the Protected Devices panel to view your device: