This guide describes how to deploy the Coro Agent to your Windows endpoint devices through the Datto Remote Monitoring and Management (RMM) platform.
To configure Datto:
Download Coro Agent v2.0.36.1 or later from the Coro console (for instructions, see Deploying Coro on Windows endpoints). Make a note of the name of the installer file, typically in the format
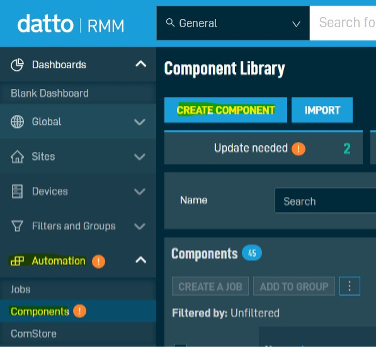
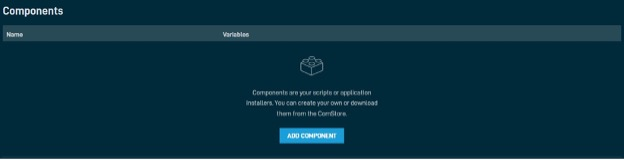
CoroInstaller_[workspace-ID].msi.Access your Datto dashboard, and go to Automation > Components. Select Create component:
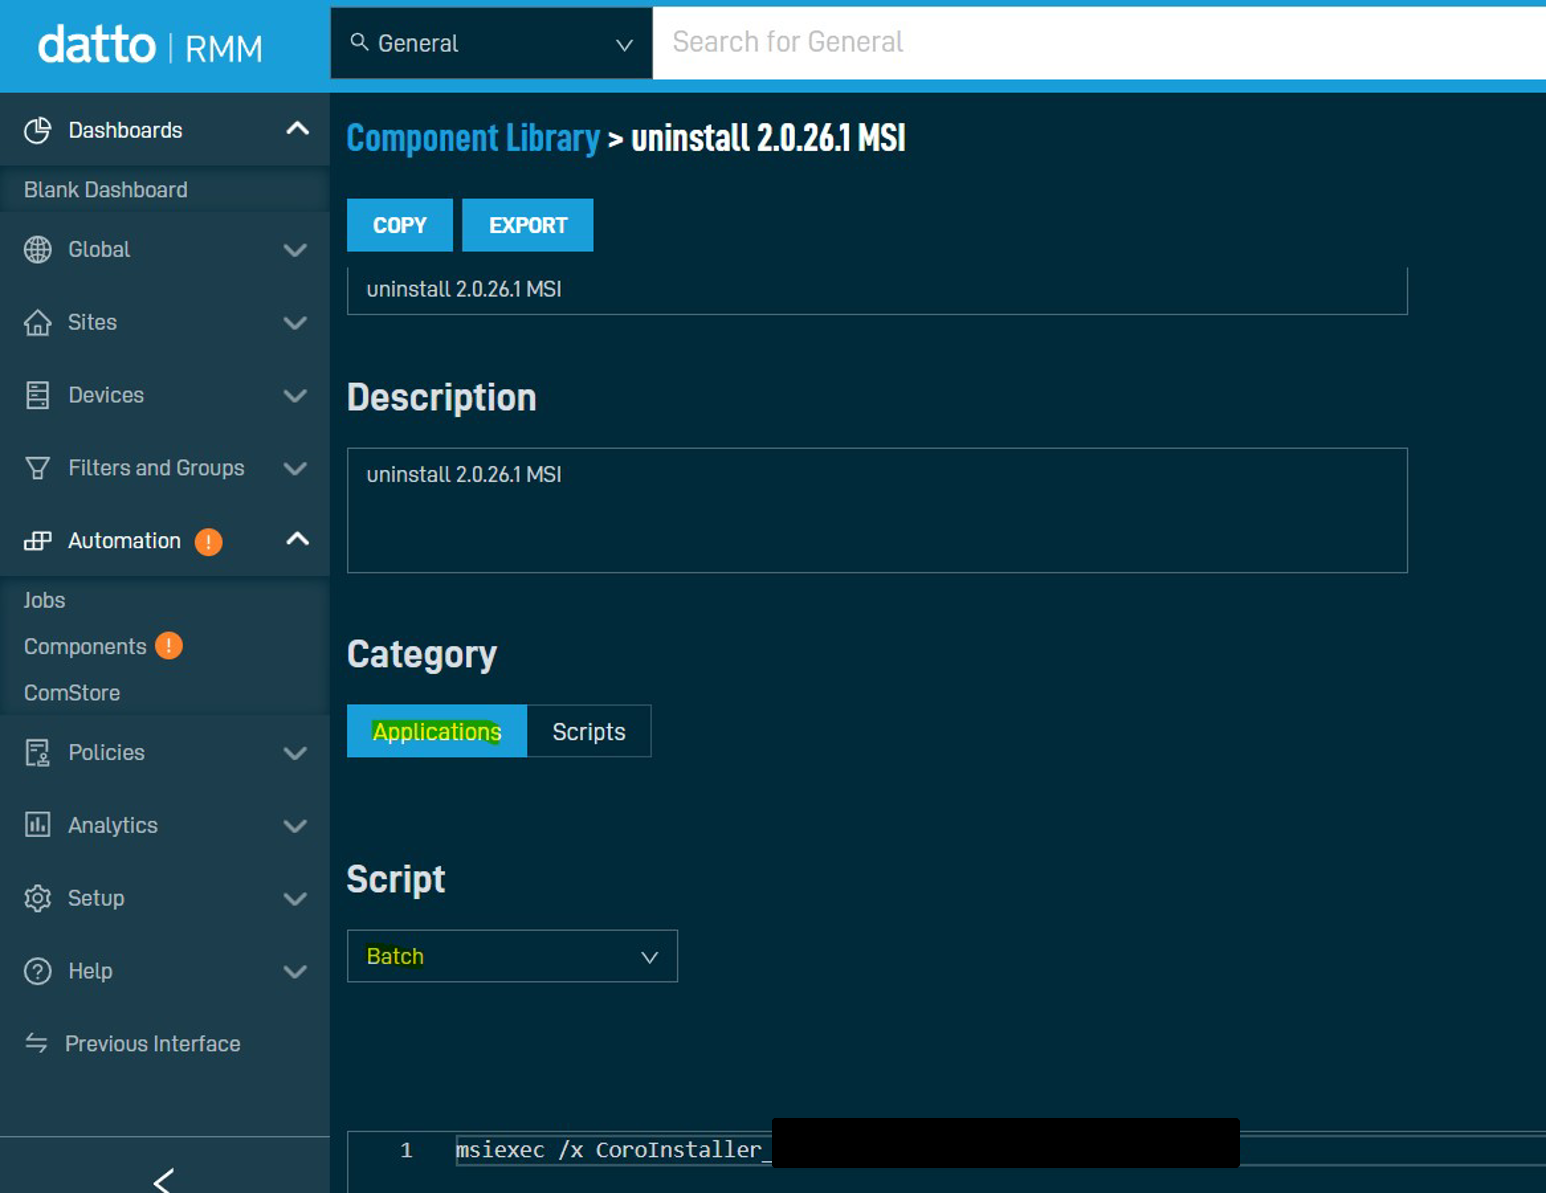
Specify a component name, set the Script type to Batch, and specify the following command string:
msiexec /i CoroInstaller_[Workspace-ID].msi /qnSubstitute CoroInstaller_[Workspace-ID].msi with the real name of your downloaded installer file from step 1.
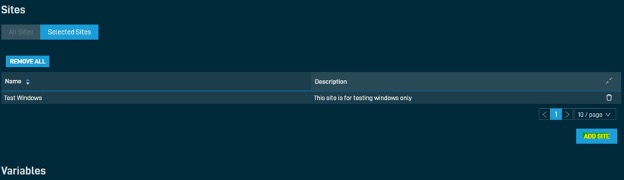
In the Sites section, select ADD SITE. Then, add the groups that require access to the installer:
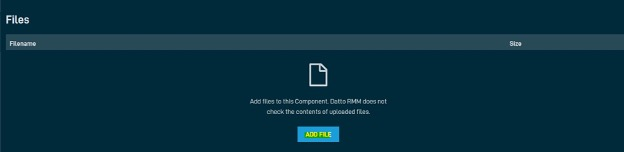
In the Files section, select ADD FILE. Then, choose the Coro Agent installer file you downloaded from the Coro console:
Select CREATE COMPONENT:
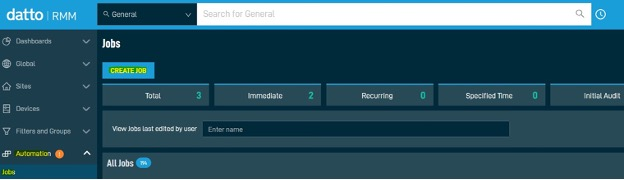
Go to Automation > Jobs, then select CREATE JOB:
Specify a name for the new job.
In the Components section, select ADD COMPONENT:
Choose the component created in the previous steps.
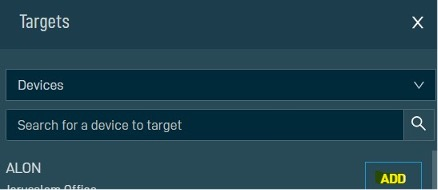
In the Targets section, select ADD TARGET:

Choose the devices or groups for Coro Agent deployment:
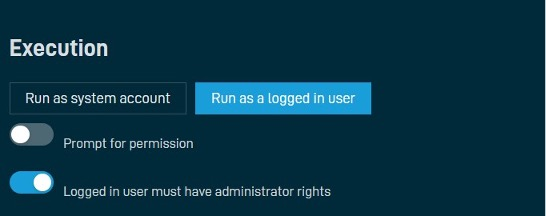
In the Execution section, select Run as logged in user:
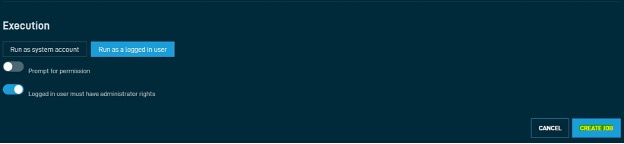
Select CREATE JOB:
As the job deploys, use the Datto dashboard to monitor its progress. The installer runs silently in the background to minimize interruption in productivity.