This guide describes how to deploy the Coro Agent to an endpoint device using ConnectWise Automate.
ConnectWise Automate is a remote monitoring and management (RMM) solution that provides complete access and control over agent and agentless devices across your network. You can remotely access devices, either manually or automatically, without disrupting users while resolving performance and security issues.
The procedure in this section describes:
Use the same process to create a Coro Uninstall script, used to uninstall Coro from endpoint devices via ConnectWise.
Before you begin this guide, make sure you have:
An active Coro subscription
Coro Agent version 2.5.60.1 (3.1) or later installed on your device
A ConnectWise Automate administration account
Access to ConnectWise Automate Control
Devices listed and ready for Coro deployment in ConnectWise Automate
Follow this procedure to create a deployment script, which is used to deploy the Coro Agent on endpoint devices via ConnectWise.
To create a deployment script:
Sign in to ConnectWise Automate using an administrator account.
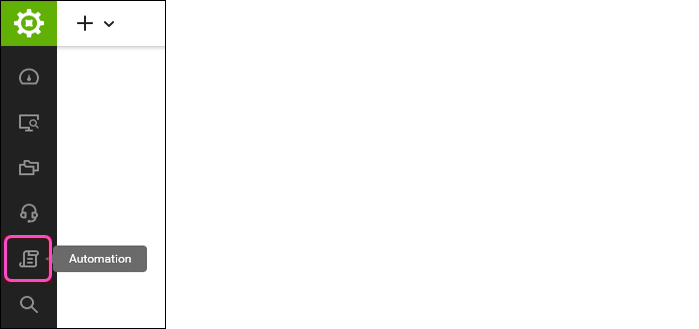
From the main page, select Automation:
ConnectWise displays all available scripts:
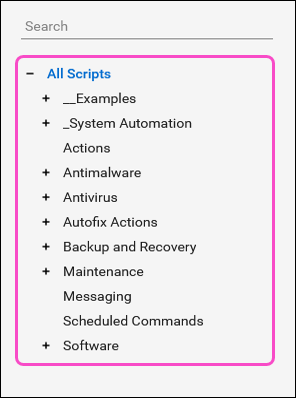
Right-click All Scripts:

Select Create Folder:

ConnectWise creates a new folder.
Name the folder Coro.
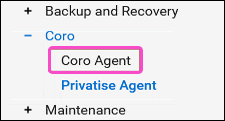
Right-click the Coro subfolder, select Create Folder, and name the folder Coro Agent:
Select the Coro Agent folder, then select + ADD:
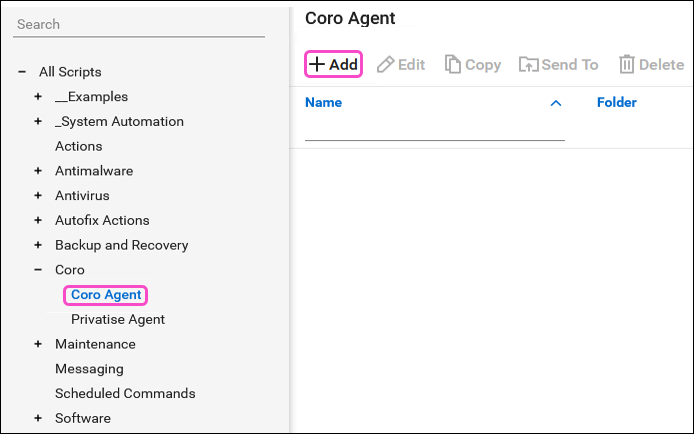
ConnectWise displays the New Script page:
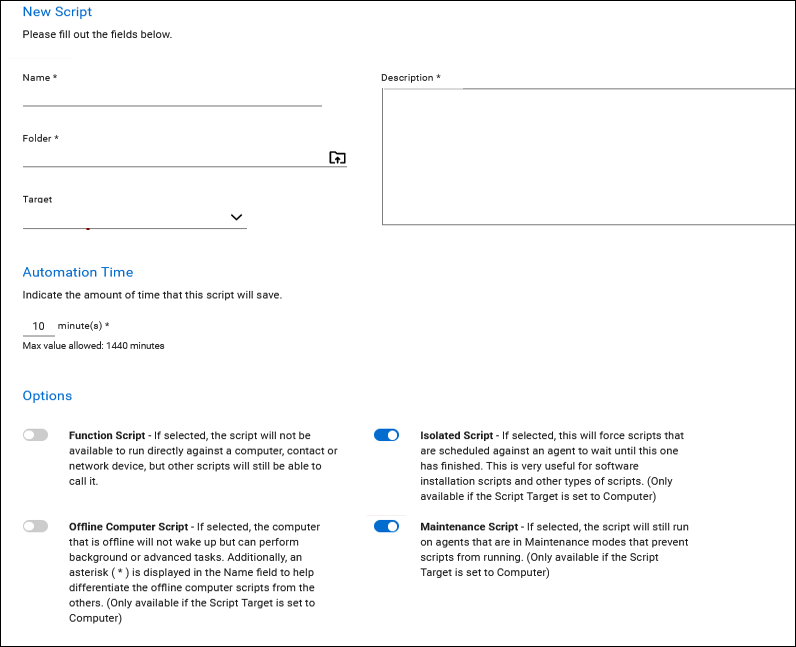
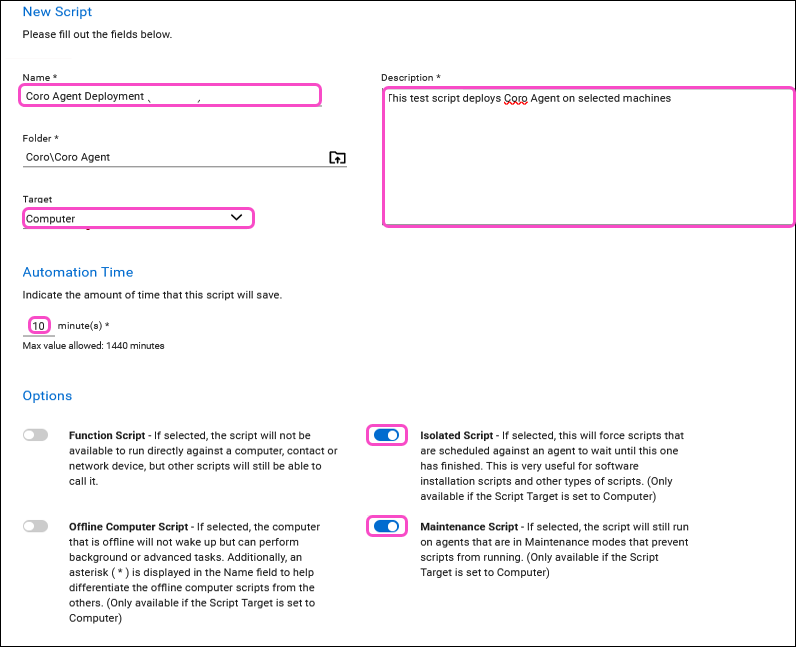
Enter the following deployment script information:
Name: The deployment script name, for example, Coro Agent Deployment.
Description: The description for the deployment script, for example, A script to deploy the Coro Agent on remote devices.
Target: Select Computer to apply the script to a device.
Automation Time: The amount of time the automation script saves. Enter 10 minute(s).
Options: Enable the following options:
Isolated Script: When enabled, ensures scripts that are scheduled against an agent are delayed until this particular script completes execution.
Isolated Script is only available if the script Target is set to Computer.
Maintenance Script: When enabled, ensures the script executes on agents in maintenance modes that typically block script execution.
Maintenance Script is only available if the script Target is set to Computer.
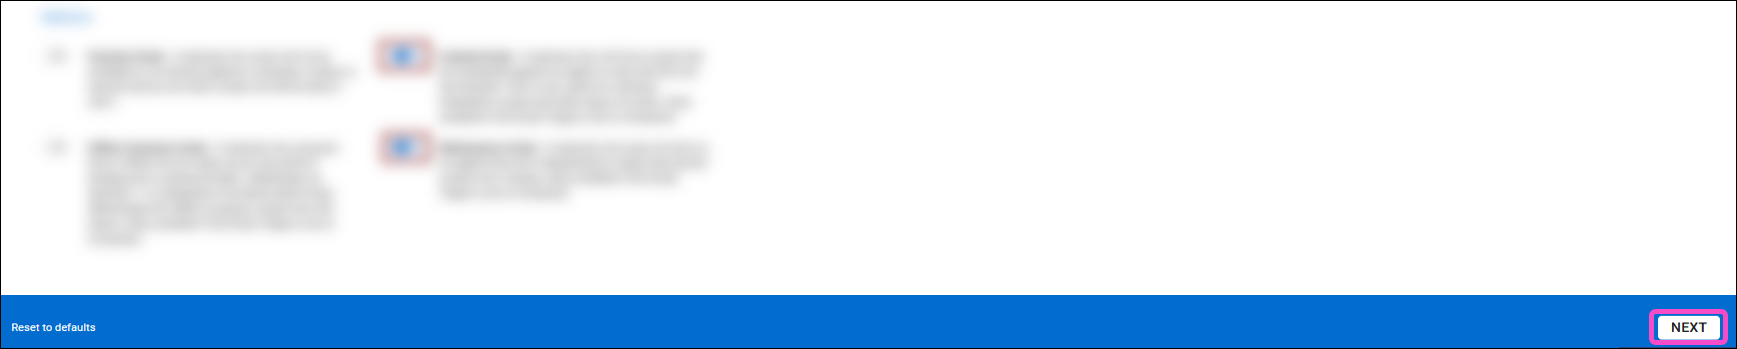
Select NEXT:
Drag the Execute Script action (found under the Command Execution section):
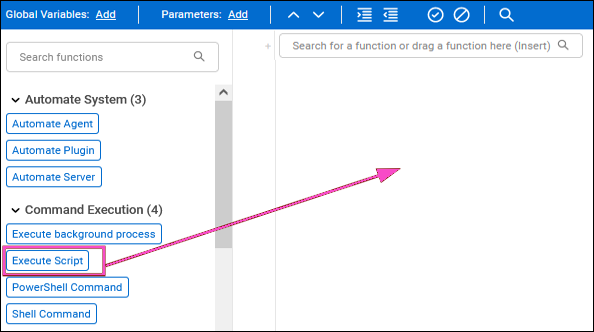
Enter the following script parameter information:
Script Type: Select PowerShell.
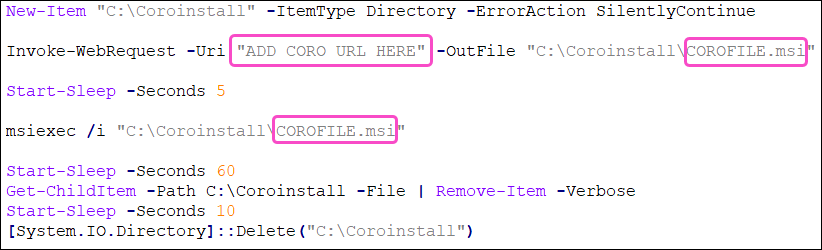
Script Editor: Paste the following Coro deployment script:
Expand for more details
New-Item "C:\Coroinstall" -ItemType Directory -ErrorAction SilentlyContinue
Invoke-WebRequest -Uri "ADD CORO URL HERE" -OutFile "C:\Coroinstall\COROFILE.msi"
Start-Sleep -Seconds 5
msiexec /i "C:\Coroinstall\COROFILE.msi"
Start-Sleep -Seconds 60
Get-ChildItem -Path C:\Coroinstall -File | Remove-Item -Verbose
Start-Sleep -Seconds 10
[System.IO.Directory]::Delete("C:\Coroinstall")
In this script, replace the following with real values:
ADD CORO URL HERE: The download URL for the latest version of the Coro Agent installer for Windows, obtained from the Coro console. For details, see Deploying Coro on windows endpoints.
COROFILE.msi: The unique installer .msi filename embedded in the download URL.
For example, if the download URL is:
https://s3.amazonaws.com/client-repo.coro.net/beta/win/releases/2.0.412.1/CoroInstaller.msi?response-content-disposition=attachment%3B%20filename%3DCoroInstaller_123abc-456def-789abc.msi&AWSAccessKeyId=AKIA5XP6&Signature=y4V3Tq2dU9mE%3D&Expires=2005954595
The installer filename (shown in bold) is then used within the shell script as per the following example:
COROFILE.msi = CoroInstaller_123abc-456def-789abc.msi
 Important
Make sure you do not delete the quotations when replacing the placeholder text for ADD CORO URL HERE.
If you manage multiple workspaces you must create a copy of the standard Coro deployment script and repeat this process for each workspace.
If you are performing an uninstallation, use the following Coro uninstall script:
Expand for more details
$packageToDelete = "Coro*"
$uninstallPath64 = "HKLM:\Software\Microsoft\Windows\CurrentVersion\Uninstall\*"
$registryResult64 = Get-ItemProperty -Path $uninstallPath64 | Where-Object { $_.DisplayName -like $packageToDelete }
$valueReg64 = $registryResult64.UninstallString
$match = [regex]::Match($valueReg64, '\{[^}]+\}')
$uninstallStringReg64 = $match.Value
Start-Process msiexec.exe -PassThru -Wait -ArgumentList "/x $uninstallStringReg64 /qn"
Script Parameters: Leave blank.
Script Credentials: Select Admin.
Variable: Leave blank.
Select SAVE
ConnectWise re-displays the Script Editor page.
Select the Settings tab:
Enable the Execute and Edit options for each User Class:
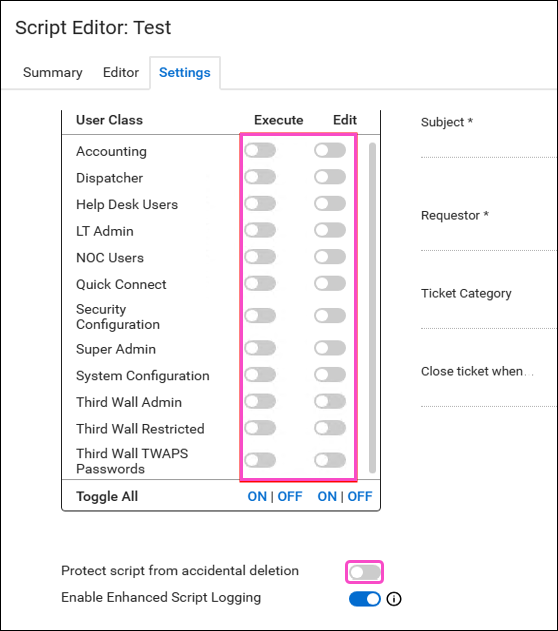
Make sure both Execute and Edit options are enabled to allow all users to edit and execute the script.
Make sure Enable Enhanced Script Logging is enabled to create more detailed logs when the script is executed.
Select SAVE.
ConnectWise displays the Save Script confirmation dialog.
Select YES:

ConnectWise saves the script.
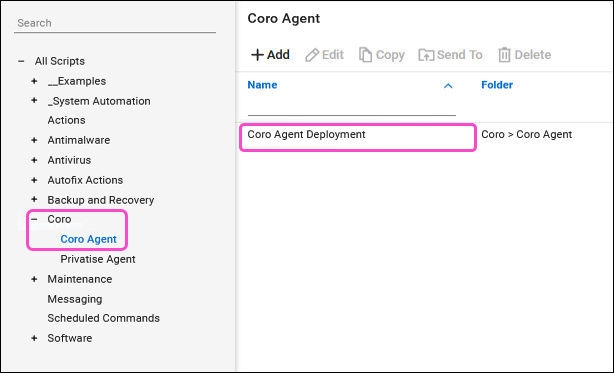
Select Automation:
Expand the Coro folder and select the Coro Agent subfolder. In the right pane, ConnectWise displays the script you created:
Deploy the Coro Agent to required devices via the created deployment script as follows:
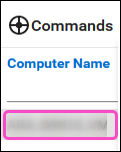
From the main page, select the device(s) from the Computer Name list:
Select Scripts and then select the script from the list:
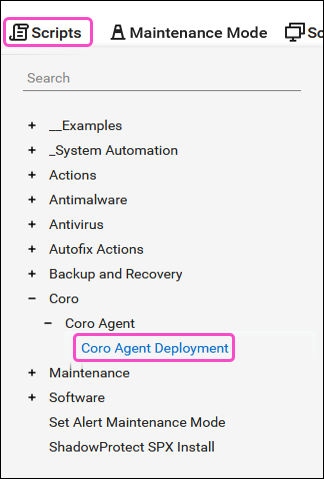
ConnectWise displays a deployment options dialog:
Leave all options as default and select RUN:
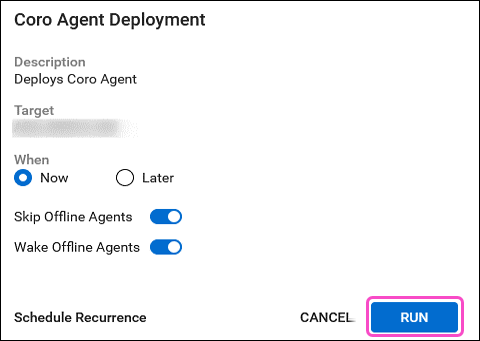
ConnectWise displays message to inform you the script is scheduled to run on the selected device(s).
If the user has insufficient permissions:
Sign out of ConnectWise Automate and then sign back in.
If unsuccessful, ensure the user has the correct script execution permissions:
From the main page, select Settings:
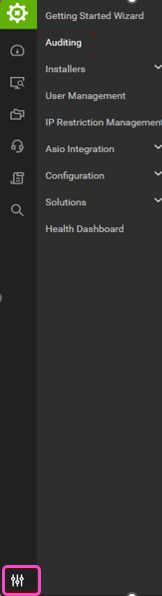
Select User Management.
Make sure the specified user has all necessary permissions.
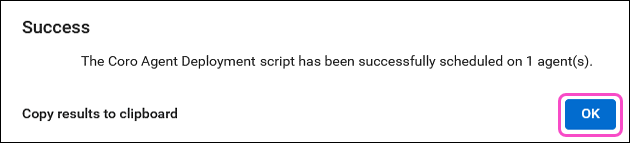
Select OK:
To check the status of the script, select Auditing
The Auditing page appears. An overview of the deployment script is displayed:

The script is ready to be executed for the selected devices. The Coro Agent is deployed immediately upon execution or at the scheduled execution time.