MSP admin users can integrate Coro with Autotask Professional Services Automation (PSA) to report billing data by mapping services (Coro modules) and accounts (managed workspaces).
You can only configure PSA connectors in channel workspaces. For further information, see Workspace overview.
Before you begin this guide, make sure you have:
An Autotask PSA administration account.
Familiarity with the Autotask PSA environment.
Admin user access to a Coro console channel workspace.
To integrate Coro with Autotask, you must configure a PSA connector as follows:
Perform the following steps to configure Autotask:
To sign into your Autotask environment:
Go to https://www.Autotask.net/Mvc/Framework/Authentication.mvc/Authenticate.
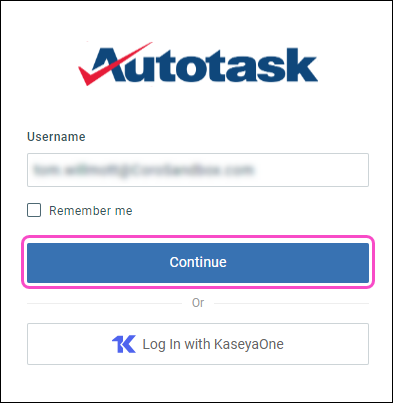
Enter your username, and then select Continue:
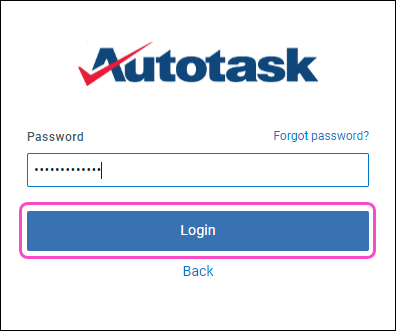
Enter your password, and then select Login:
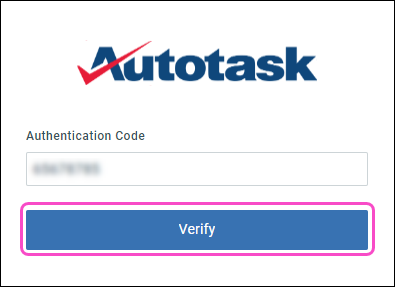
Enter your authentication code, and then select Verify:
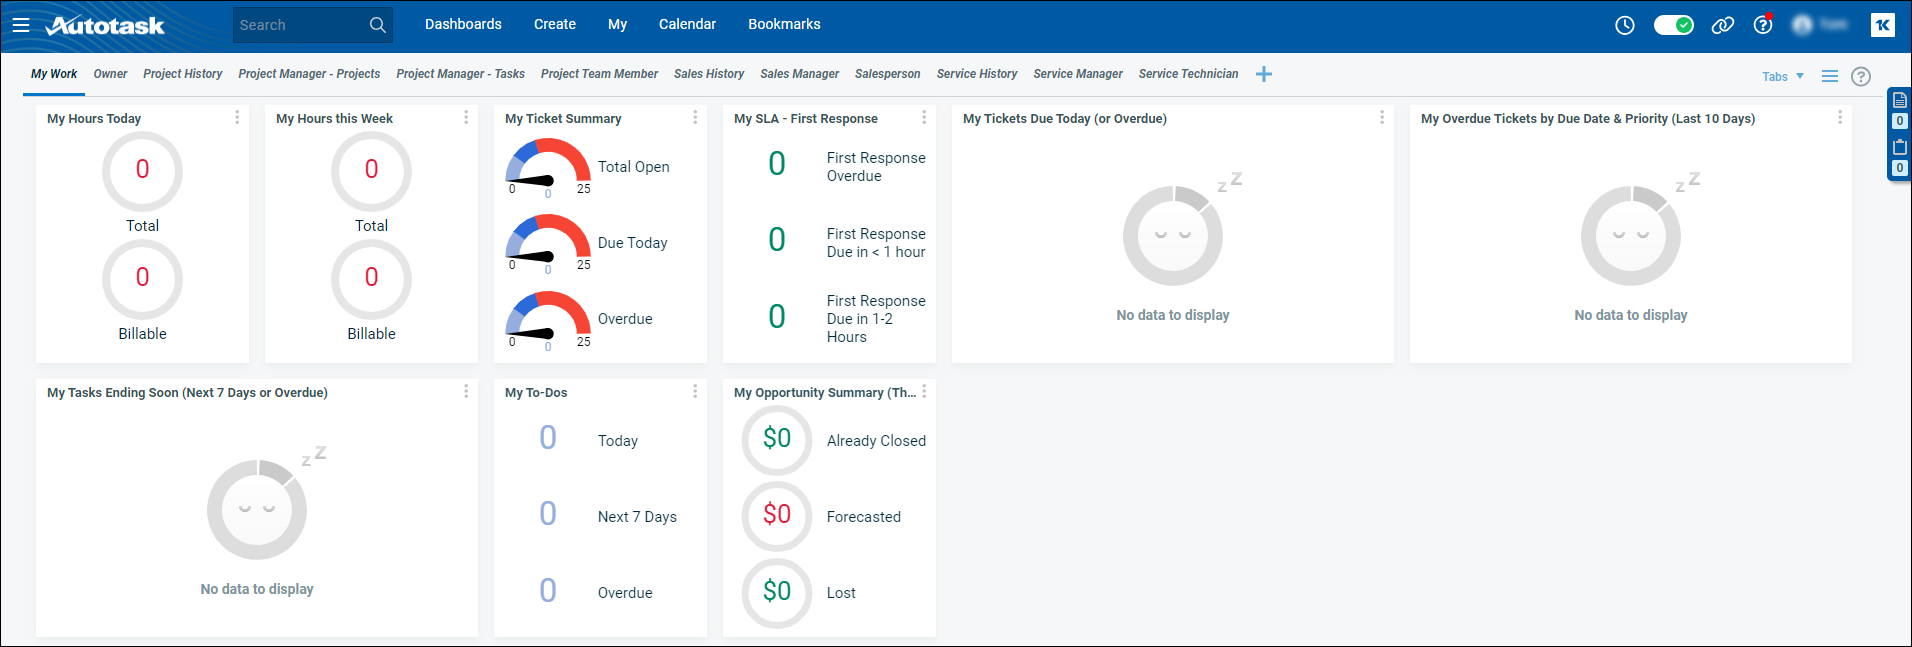
After a successful sign-in, Autotask displays the main dashboard:
Autotask uses a specific user account type called an API member to interact with the platform's API.
To create a new API member:
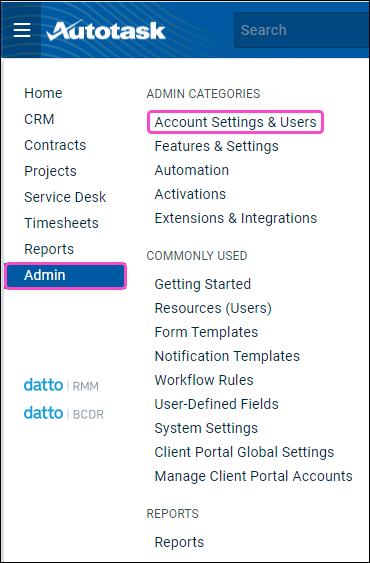
From the navigation menu in the top left corner, select Admin > Account Settings & Users:
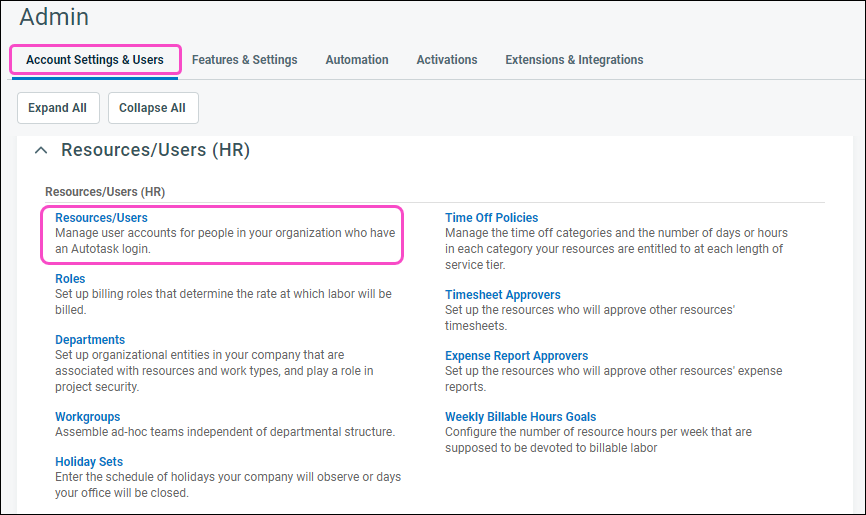
From the Account Settings & Users tab, expand Resources/Users (HR), and then select Resources/Users:
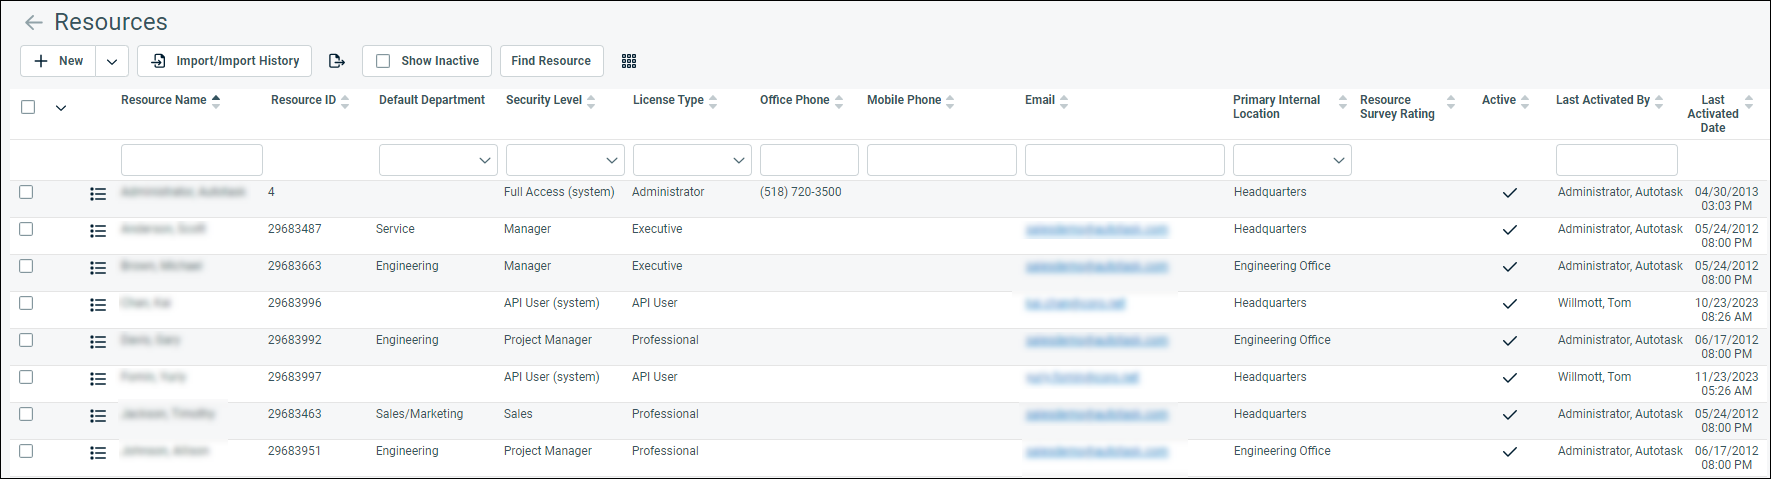
Coro displays the Resources page:
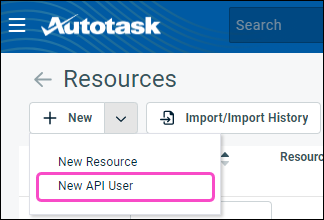
Select + New, and then select New API User:
Coro displays the Add API User dialog:
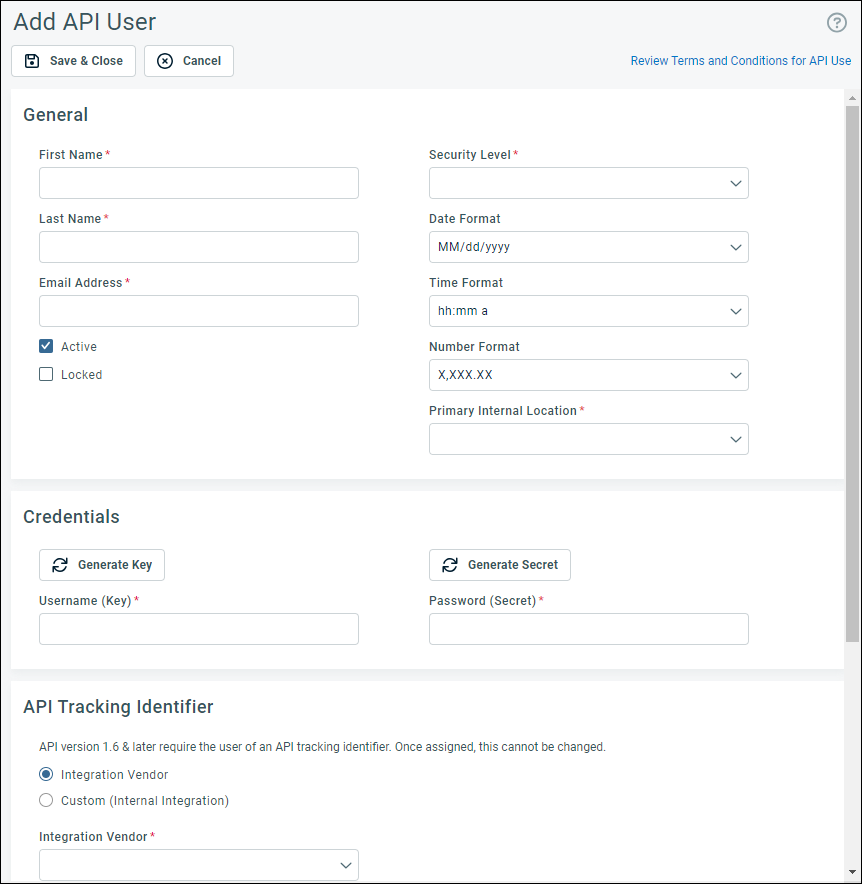
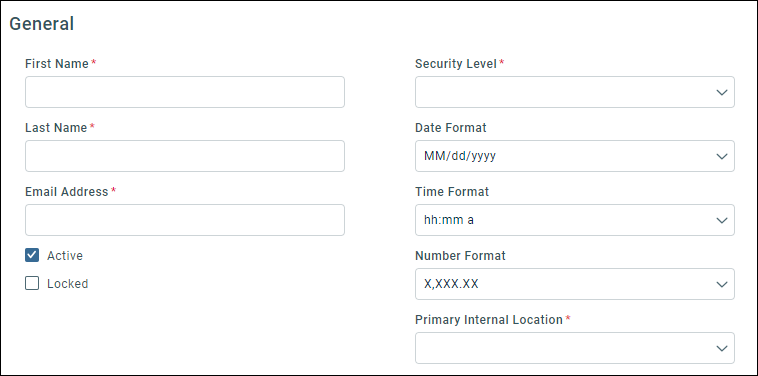
Enter the required fields in the General section:
First Name
Last Name
Email Address
Security Level
Primary Internal Location
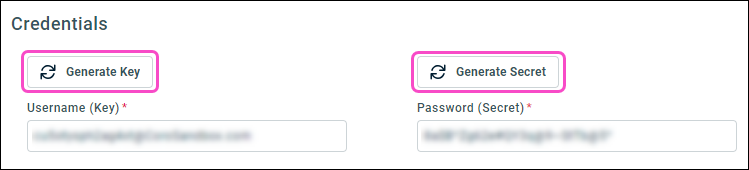
From the Credentials section, select Generate Key to create the Username (Key).
Select Generate Secret to create the Password (Secret):
 Important
Autotask displays the password (secret) only once during creation. You cannot retrieve it later. If you lose your password (secret), you must generate a new one.
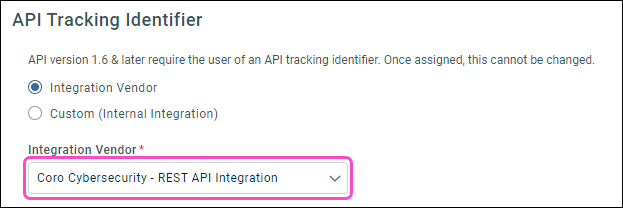
Enter the following fields in the API Tracking Identifier section:
Select Integration Vendor.
Integration Vendor: Select Coro Cybersecurity - REST API Integration.
Select Save & Close:

Coro creates the new API member and adds it to the Resources page list.
After configuring Autotask, perform the following steps to configure the Coro console:
To create an Autotask PSA connector:
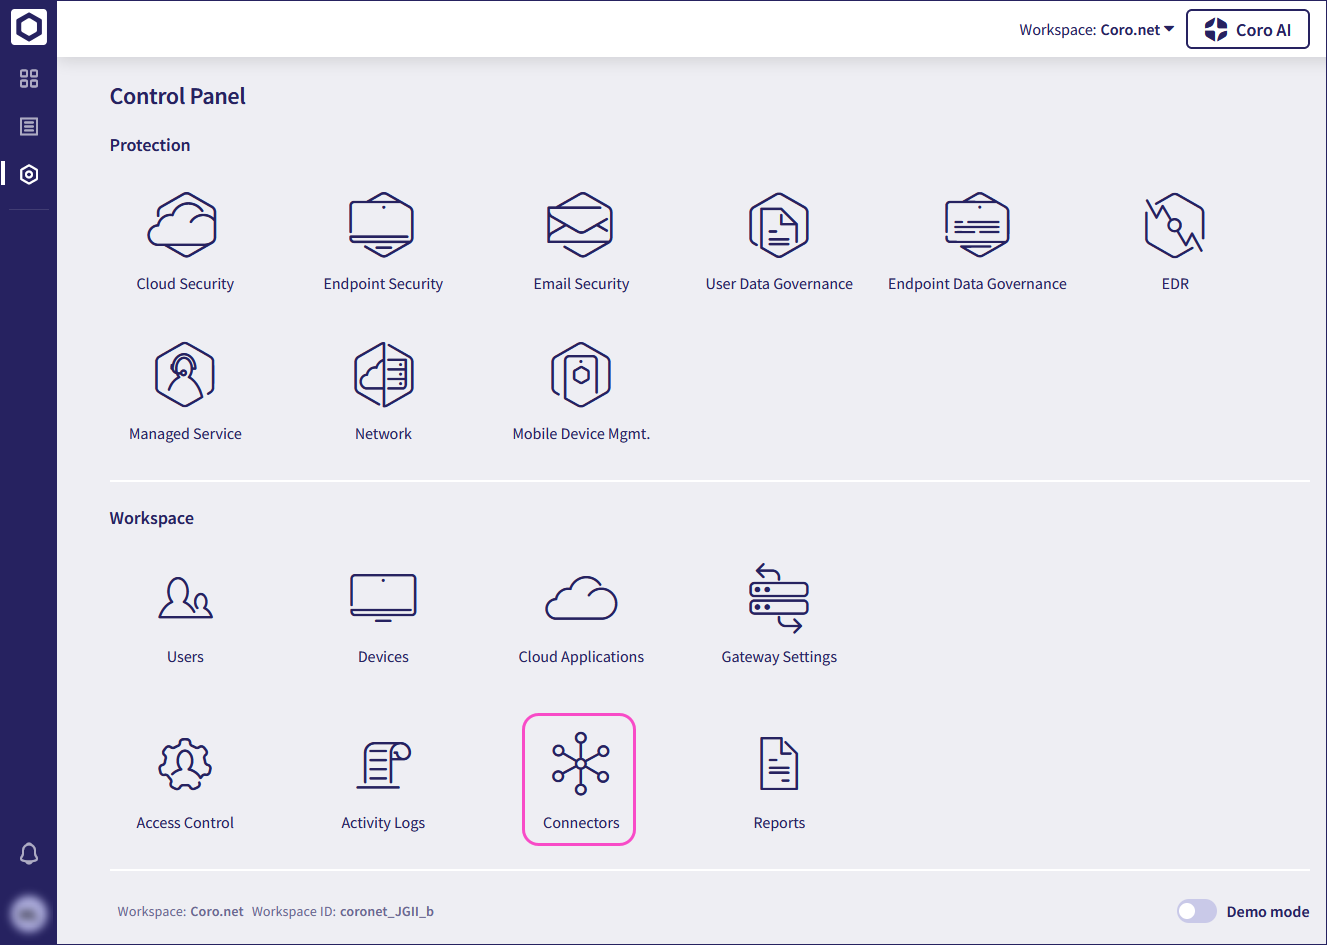
From the sidebar, select Control Panel.
Select Connectors:
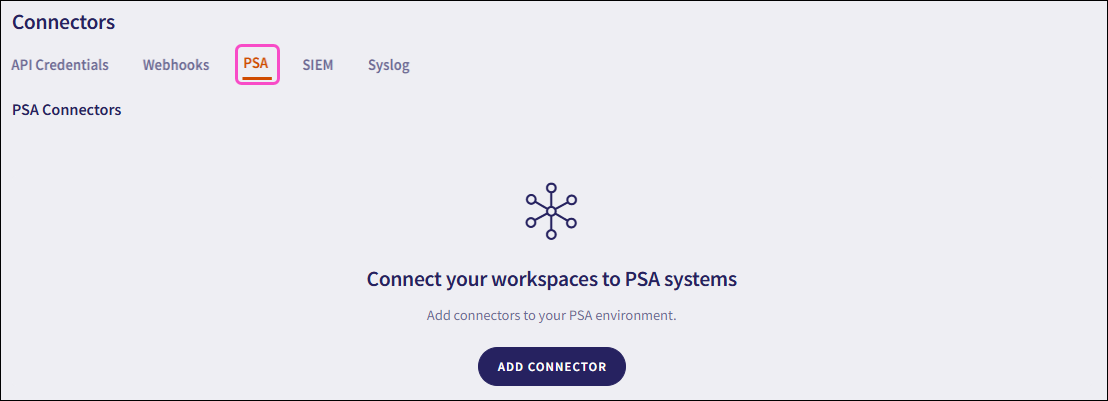
Coro displays the Connectors page.
Select the PSA tab:
Select ADD CONNECTOR:
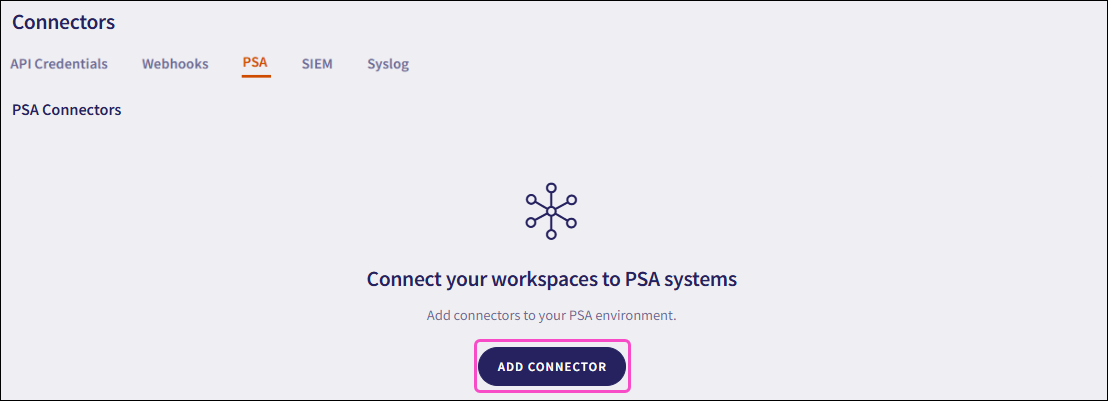
Coro displays the Add PSA Connection dialog.
Select Autotask:
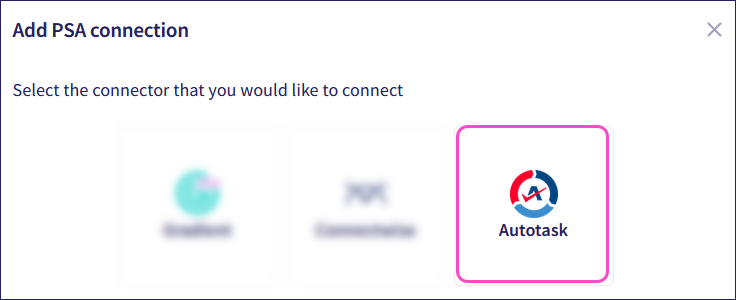
Coro displays the Add Autotask connector dialog:
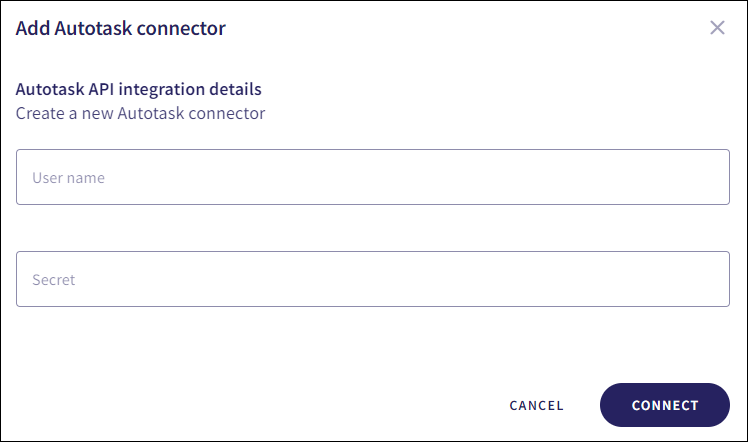
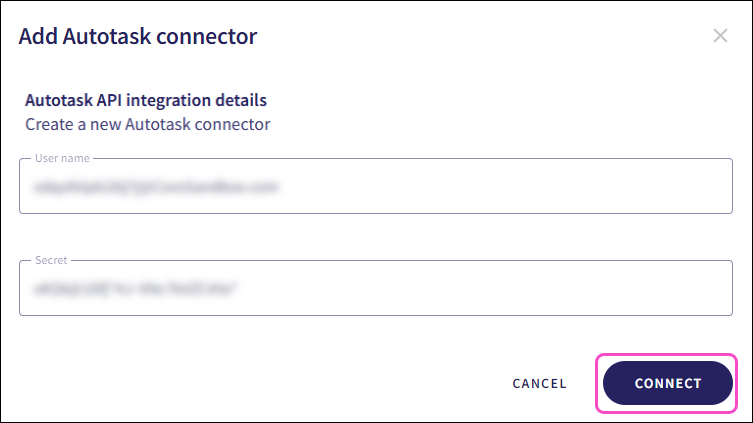
Enter the following:
User name: Enter your Username (Key).
Secret: Enter your Password (Secret).
Select CONNECT:
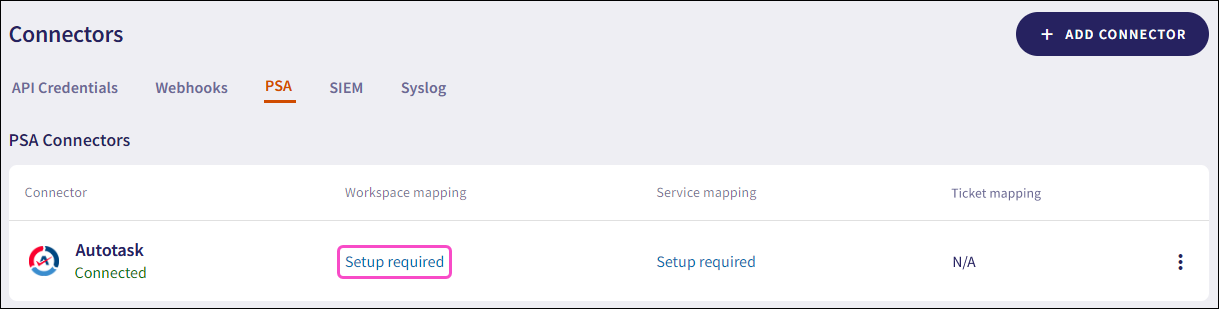
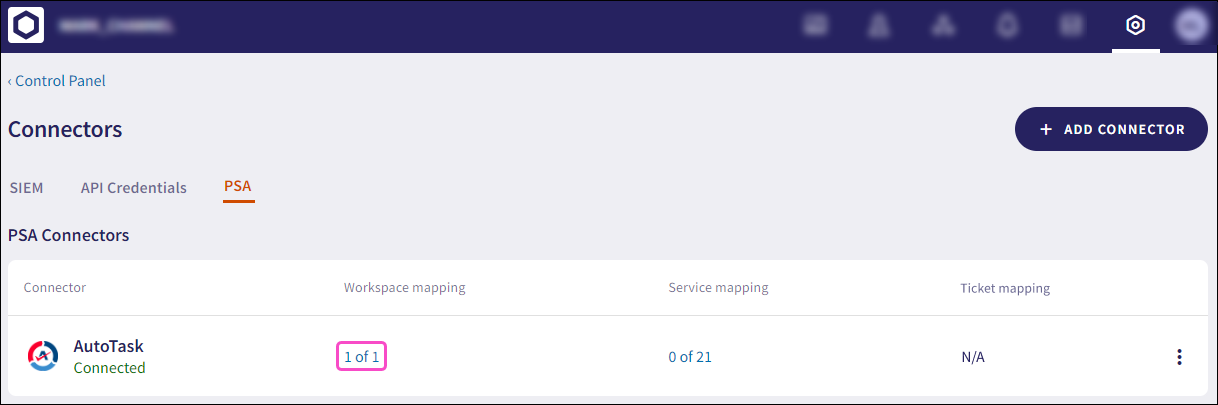
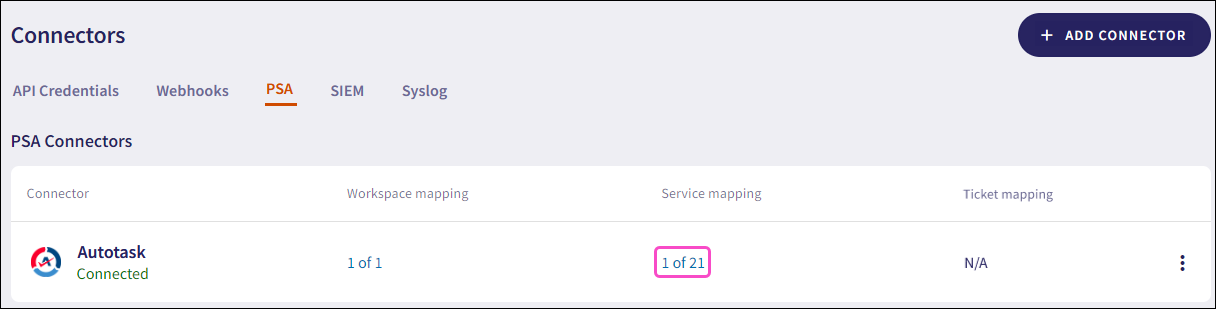
Coro creates the Autotask connector with a Connected status in the PSA Connectors list.
At this point, the Workspace mapping and Service mapping columns display a Setup required status. You can now proceed to map workspaces and services.
Workspace mapping links a Coro workspace to a corresponding Autotask company (account).
Make sure your Autotask data supports a one-to-one mapping between Coro workspaces and Autotask companies. Incorrect mappings might prevent billing data from synchronizing correctly.
To map an Autotask company to a Coro workspace:
From Workspace mapping, select Setup required:
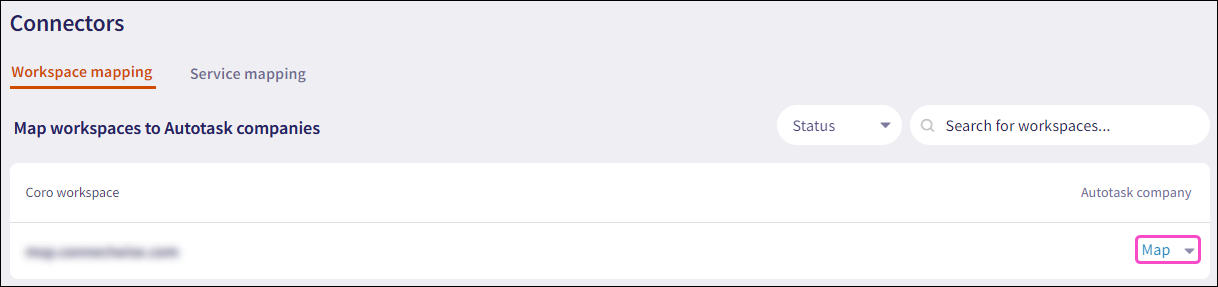
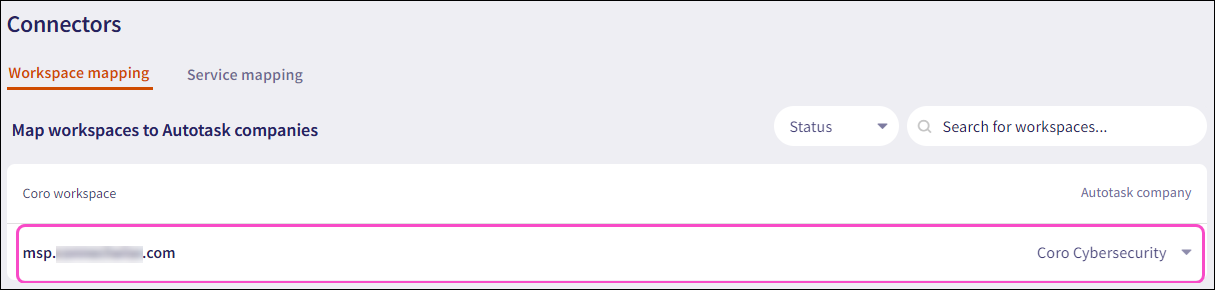
Coro displays the Workspace mapping page:
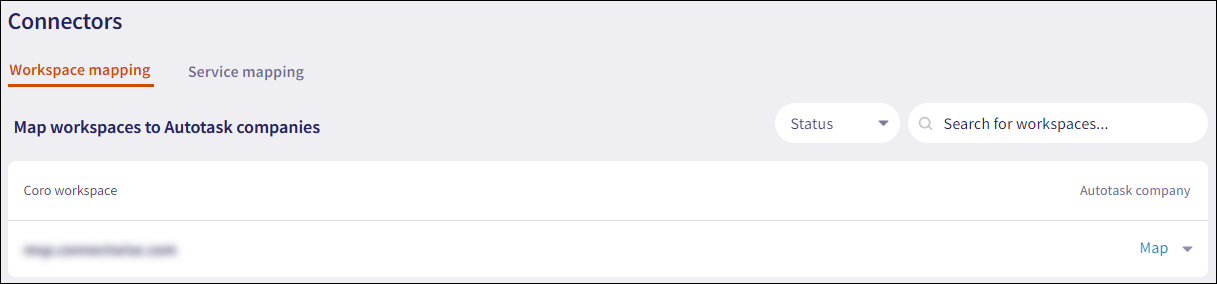
The Coro workspace column displays all Coro workspaces that are linked to the current channel workspace.
From the Autotask company column of the workspace record, select the Map dropdown:
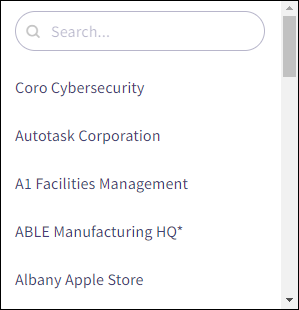
Coro displays a list of Autotask companies:
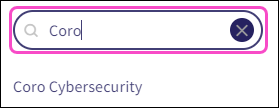
Use the search field to find the required Autotask company:
Select the company from the filtered list:
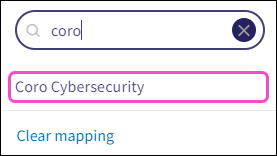
Coro maps the Autotask company to the Coro workspace:
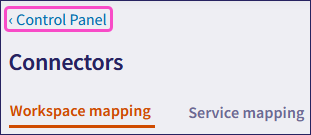
Select ‹ Control Panel to go back to the PSA tab:
The Workspace mapping column now shows that one Coro workspace is mapped to an Autotask company:
After mapping your workspaces, map Coro services to Autotask services. Service mapping links each Coro module or add-on (such as Endpoint Security or Secure Messages) to a corresponding service in Autotask.
Make sure that your Autotask data supports one-to-one mapping between Coro services and Autotask services. Each Autotask company must have a contract that includes only one of each Coro service type.
To map an Autotask service to a Coro service:
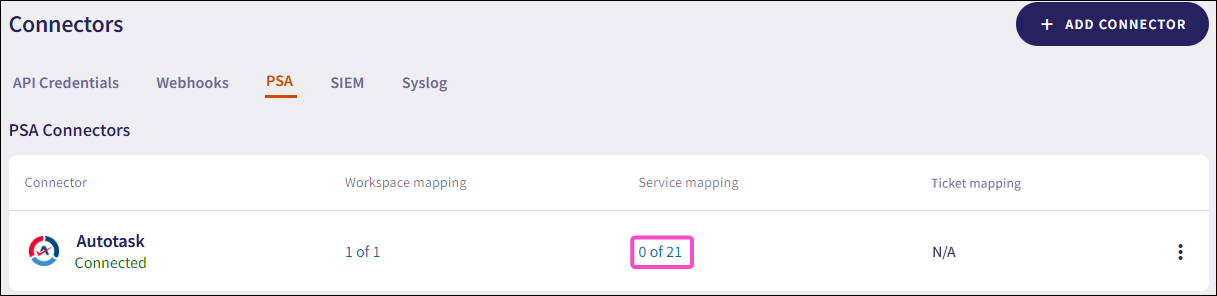
Select the value listed in the Service mapping column:
Coro displays the Service mapping page:

From the Autotask Services column of the workspace record, select the Map dropdown:
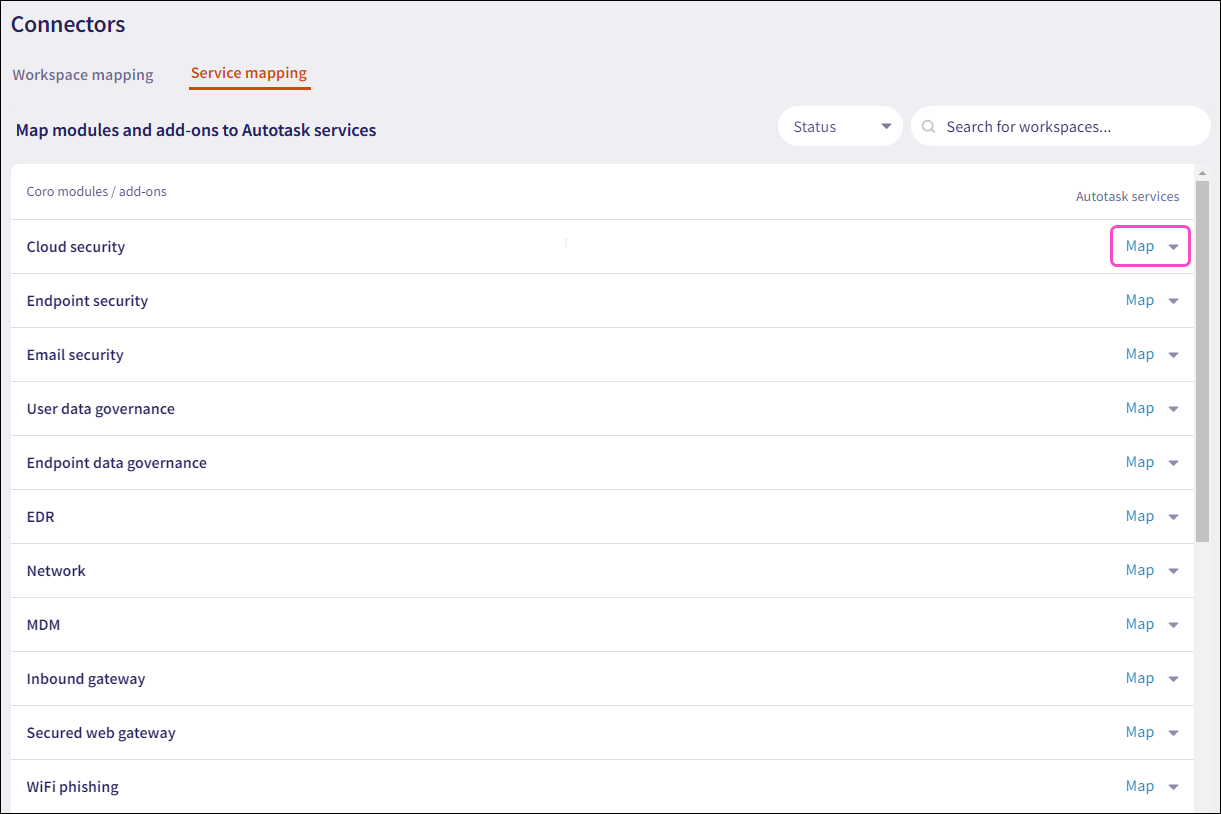
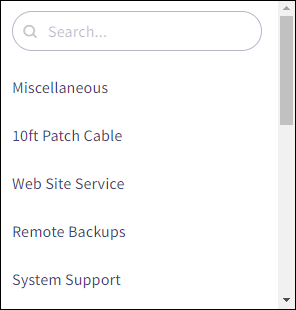
Coro displays a list of Autotask services:
Use the search field to find the required Autotask service:
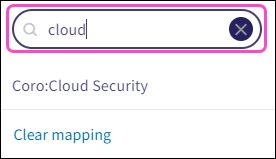
Select the service from the filtered list:
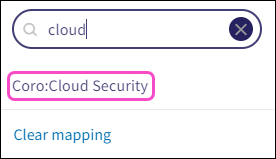
Coro maps the selected Autotask service to the corresponding Coro service:

Select ‹ Control Panel to go back to the PSA tab:
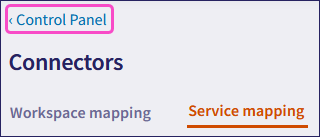
The Service mapping column now shows that one Coro service is mapped to an Autotask service:
After you successfully map workspaces and services, Autotask synchronizes device and user data daily across all your connected workspaces.