Adding a new admin user
This article describes how to add a new admin user to a workspace.
note
Adding a new admin user to a channel workspace does not automatically grant the account Managed Service Provider (MSP) admin user privileges. For more information on upgrading and existing admin user to an MSP admin user, see Adding a new MSP admin user.
To add a new admin user account:
- Sign into the Coro console .
-
From the sidebar, select
 to access the
Control Panel
.
to access the
Control Panel
.
-
Select
Access Control
:

-
Select the
Admin users
tab:

-
Select
+ ADD ADMIN
:

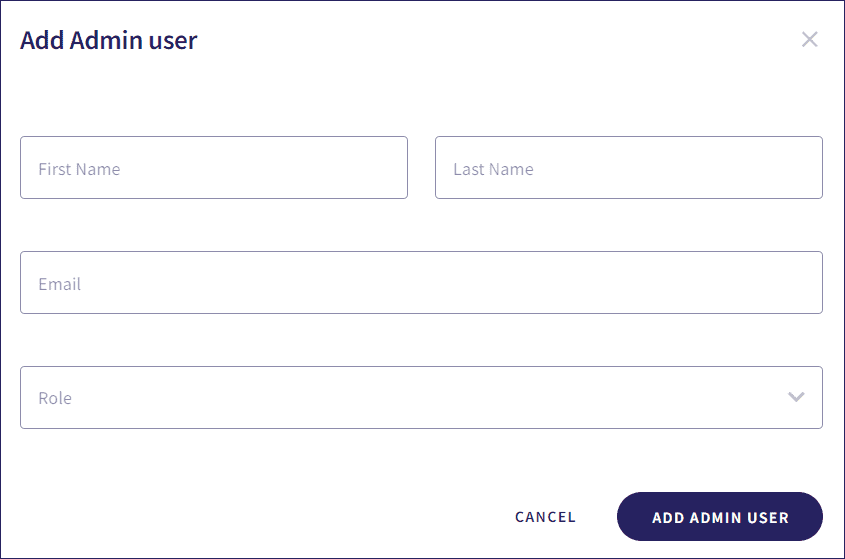
Coro displays the Add admin user dialog:
-
Enter values for:
- First Name : The first name of the admin user
- Last Name : The last name of the admin user
- Email : The email address associated with the admin user, to which the invitation to join the workspace is sent
- Role : The role of the admin user. For more information on roles, see roles
-
Select
ADD ADMIN USER
.
Coro sends an email to the specified address inviting the user to accept the role of workspace admin user. The new admin user account is added to the admin user list, with the status Invited on MMM DD, YYYY.
When the new admin user accepts the invitation, Coro updates the status to Active:

Prior to your new admin user accepting an email invitation, use the three-dot menu for the user to perform these actions:
- Edit admin user : Edit the user details.
- Resend invite : Resend the invite.
- Remove admin user : Remove the user.
- Copy invite link : Copy the invitation link URL to your clipboard.