Multi-factor authentication (MFA) adds a layer of security to your network. It requires protected users to verify their identity using a one-time code before connecting through a VPN or ZTNA. This article explains how to enable MFA in the Coro console and how protected users can complete setup on their devices.
Coro supports MFA on macOS, Windows, Android, and iOS.
To enable MFA in the console:
Go to Control Panel > Network > Settings:

Locate and add device labels to the Multi-factor authentication (MFA) section:
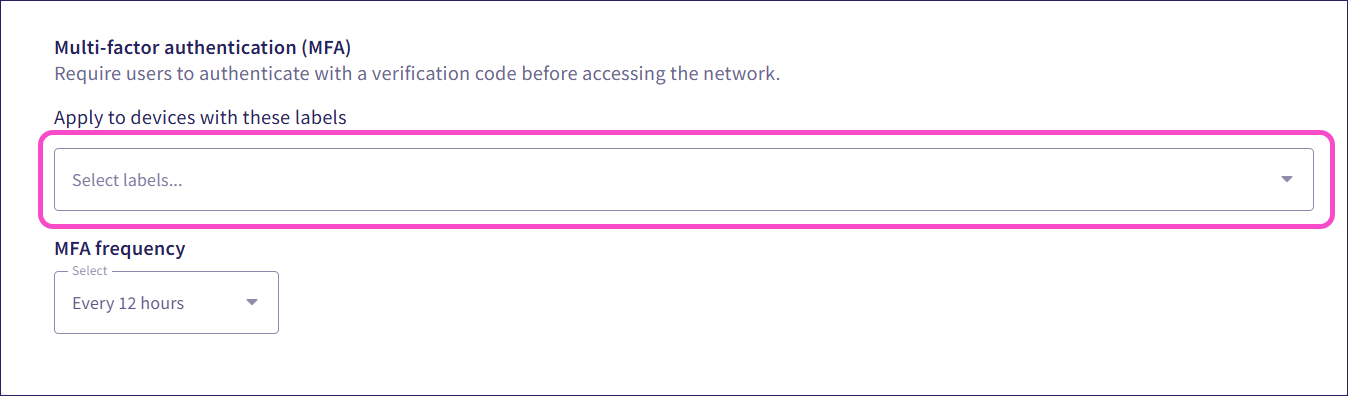
Select the MFA frequency, between three and 24 hours:

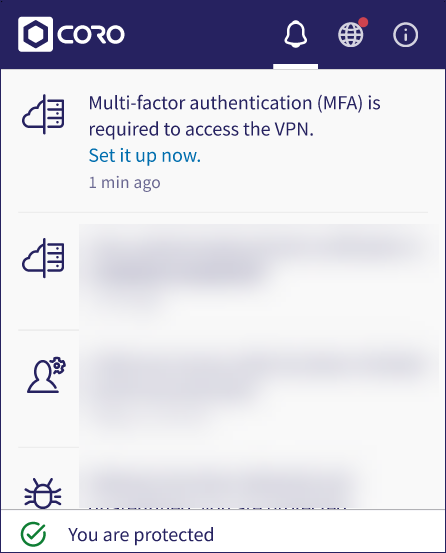
Coro sends a notification to the Coro Agent app of every device you add to set up MFA:
To set up MFA on protected devices:
From the Coro Agent app of each device you add to MFA, enter the email address you use for your Coro workspace, and then select CONTINUE:
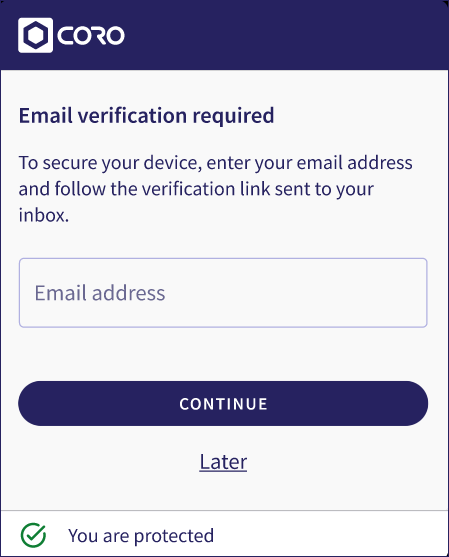
From your email, verify your email address.
Open any authenticator app.
From the authenticator app, scan the QR code or copy the key in the Coro Agent app:
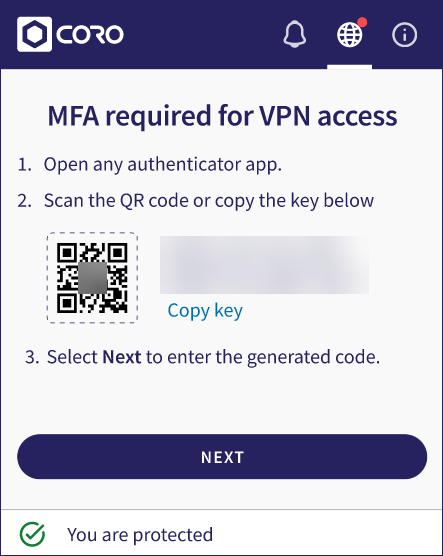
Select NEXT.
Enter the six-digit code from the authenticator app into the Coro Agent app:
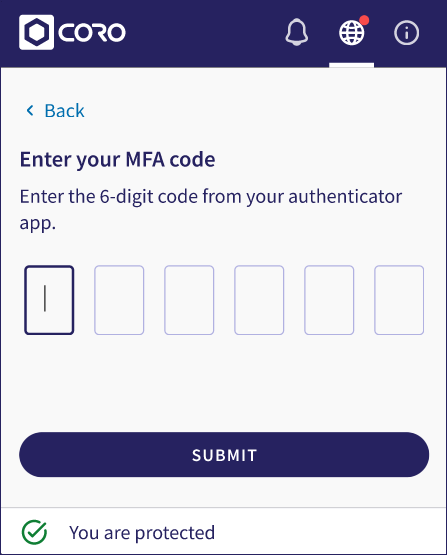
Select SUBMIT.
Coro sets up and enables MFA.