Coro enables you to remotely encrypt internal and external drives on Windows and macOS devices.
When you apply encryption:
- Drive encryption takes place in the background.
- A device does not have to be online at the time you apply encryption. Encryption starts the next time the device is online.
Coro supports encryption on macOS internal drives and external Apple File System (APFS) drives.
Coro uses an implementation of FileVault to encrypt macOS drives. See Apple's FileVault documentation for more details:
- macOS 15 (https://support.apple.com/en-za/guide/mac-help/mh11785/15.0/mac/15.0)
- macOS 14 (https://support.apple.com/en-za/guide/mac-help/mh11785/14.0/mac/14.0)
Documentation for other macOS versions is also available.
Coro supports encryption on Windows internal and external drives, including:
- Drives with suspended encryption.
- Drives encrypted using BitLocker's used space option.
Coro uses an implementation of Microsoft BitLocker to encrypt Windows drives. See Microsoft's BitLocker documentation (https://learn.microsoft.com/en-us/windows/security/operating-system-security/data-protection/bitlocker/) for more details.
Coro supports:
Before encrypting drives, make sure your devices meet the requirements for their operating system (OS).
Before you start, make sure:
The Coro Agent is running on the endpoint device.
The Coro Endpoint Security module is active.
FileVault is installed on the device.
You have admin user access to your Coro workspace.
Bulk drive encryption requires MSP admin user access.
Before you start, make sure:
The Coro Agent is running on the endpoint device.
The Coro Endpoint Security module is active.
BitLocker is installed on the device.
A Trusted Platform Module (TPM) is installed on the device.
The system drive is first in the boot sequence.
You have admin user access to your Coro workspace.
Bulk drive encryption requires MSP admin user access.
Admin users with sufficient permissions encrypt drives on individual devices within a workspace.
Managed Service Provider (MSP) admin users with sufficient permissions can also encrypt drives on individual devices across parent (channel) and child workspaces.
To activate and manage single-drive encryption, use the Coro console. The method you use depends on your Endpoint Security device posture configuration.
Where you have configured an Unencrypted Endpoint Drive device policy for your devices, Coro creates Unencrypted endpoint drive tickets in the Ticket Log each time such a drive is identified. See Encrypting drives from the Ticket Log.
Alternatively, use the Devices page to browse all devices, then select the Unencrypted Endpoint Drive vulnerability to see all affected drives. See Encrypting drives from the Devices page.
Admin users and MSP admin users encrypt individual drives from the Ticket Log.
To encrypt a drive from the Ticket Log:
From the sidebar, select Tickets:
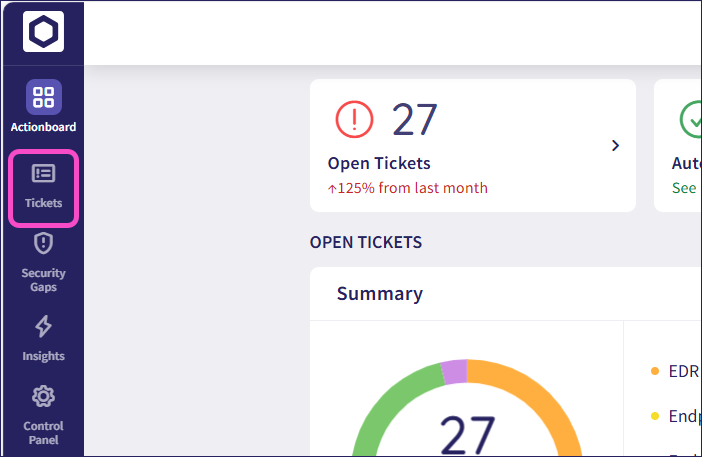
Coro displays the Ticket Log:
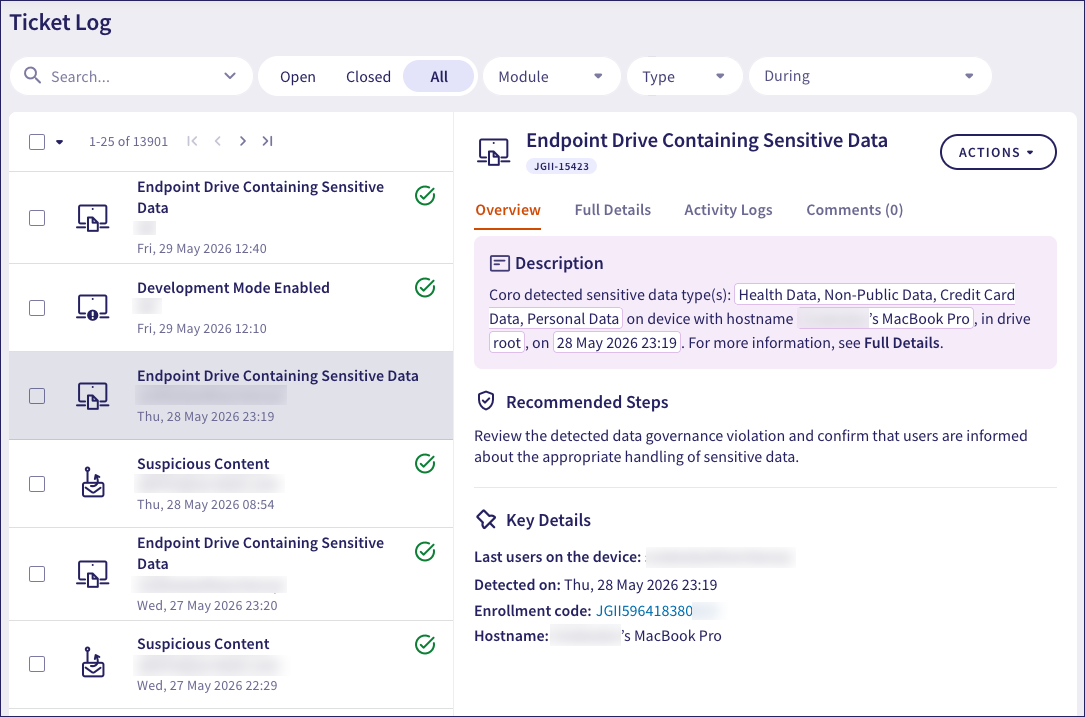 Important
MSP admin users can also access the Global Ticket Log to view tickets across parent (channel) and child workspaces.
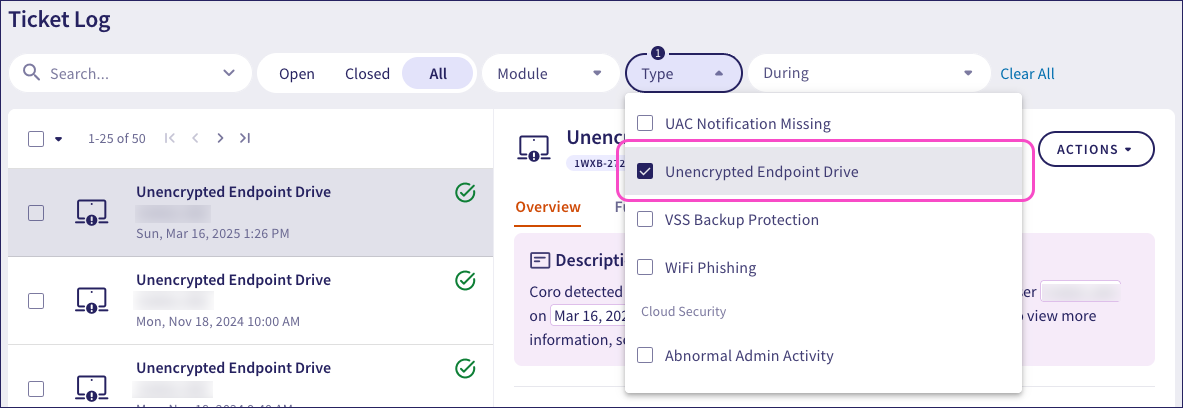
In the Type dropdown, select Unencrypted Endpoint Drive from the Endpoint Security section to show only those tickets indicating unencrypted drives:
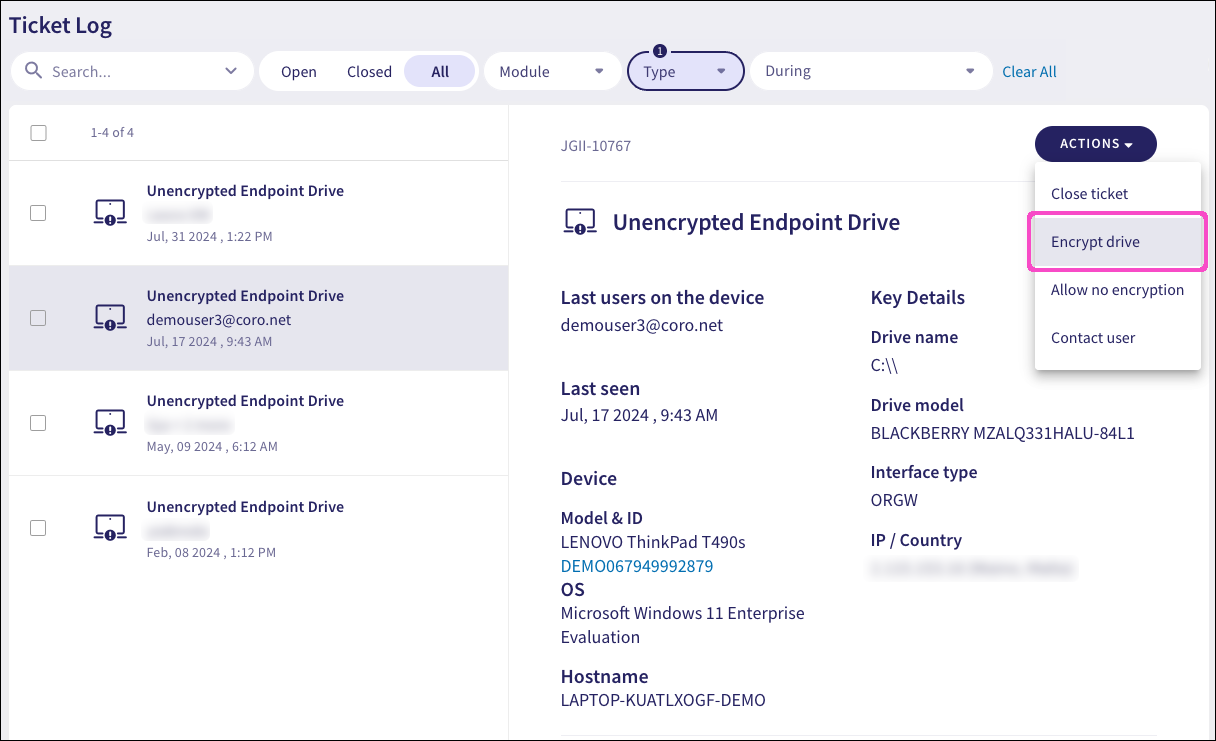
From the left pane, select the ticket referencing the drive you want to encrypt. Then, from the right pane, select ACTIONS > Encrypt drive:
Coro displays a confirmation message:
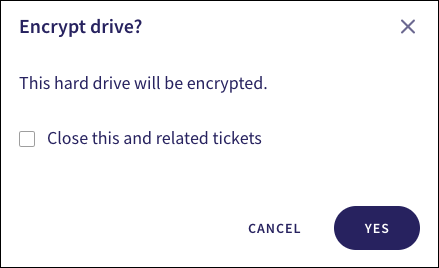
(Optional) Select Close this and related tickets to automatically close this and all related open tickets.
Select YES.
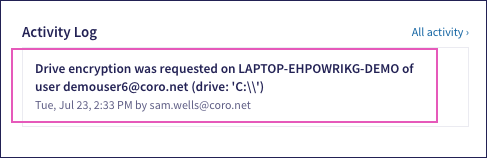
After encryption is triggered, Coro displays a confirmation message:

Coro updates the corresponding ticket's Activity Log:
If you are satisfied that unencrypted drives in this device are low risk and do not require encryption, select ACTIONS > Allow no encryption to stop further warnings.
Admin users and MSP admin users can also encrypt individual drives from the Devices page.
To encrypt a drive from the Devices page:
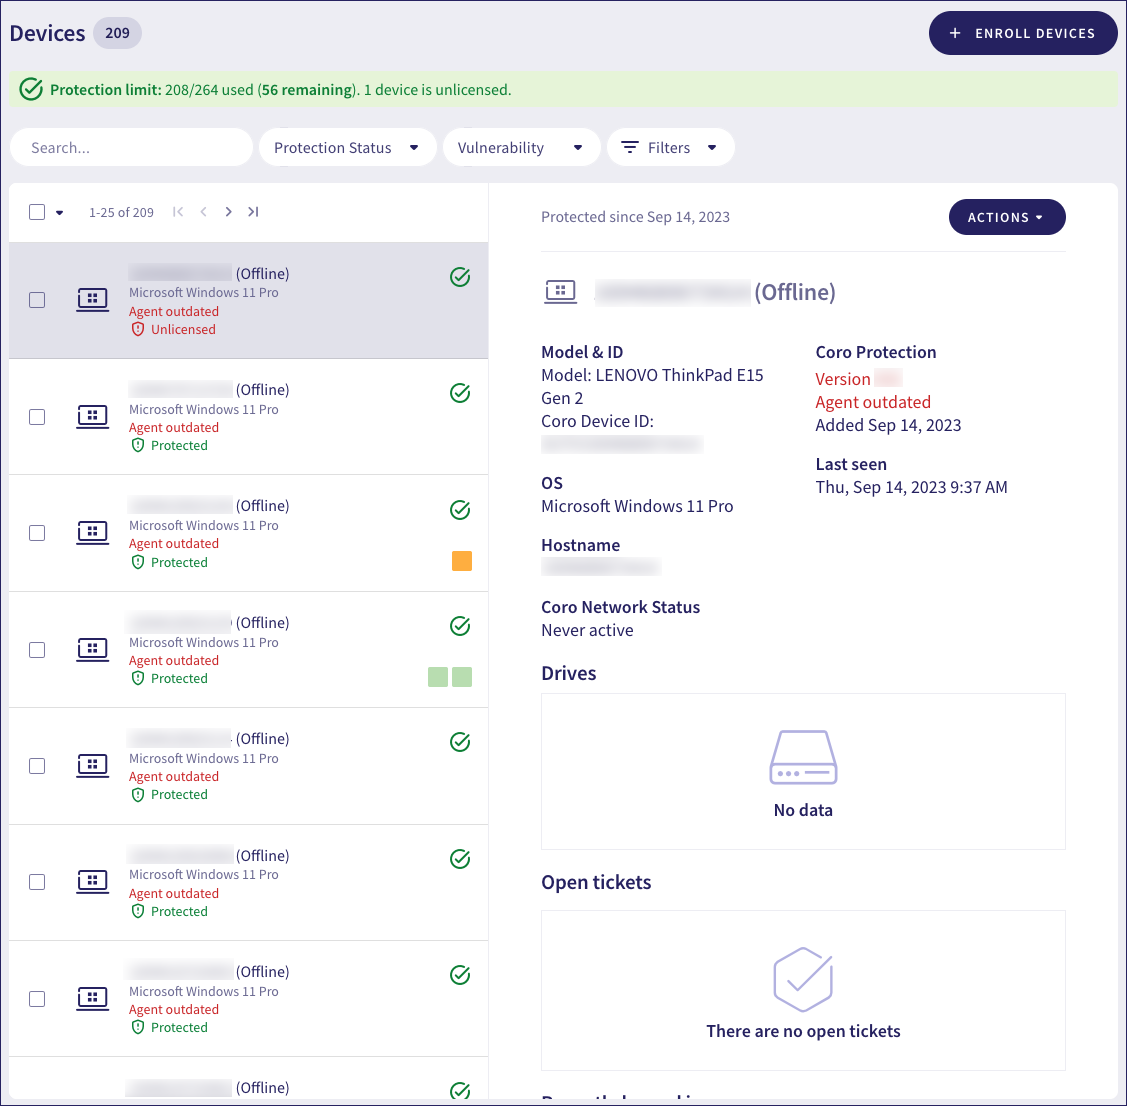
From the Actionboard, select the Protected Devices panel:

Coro displays the Devices page:
 Important
MSP admin users can also access the global devices page to encrypt individual drives across parent (channel) and child workspaces.
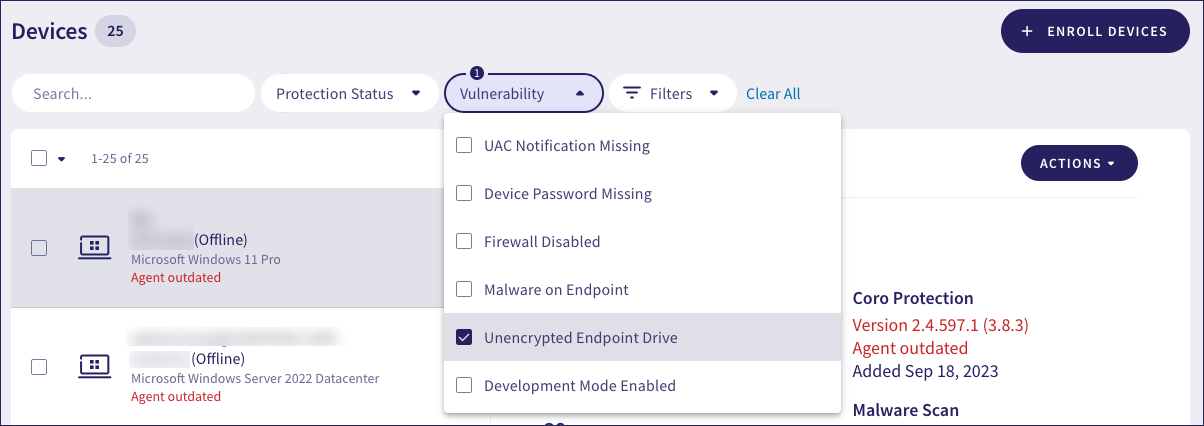
In the Vulnerability dropdown, select Unencrypted Endpoint Drive:
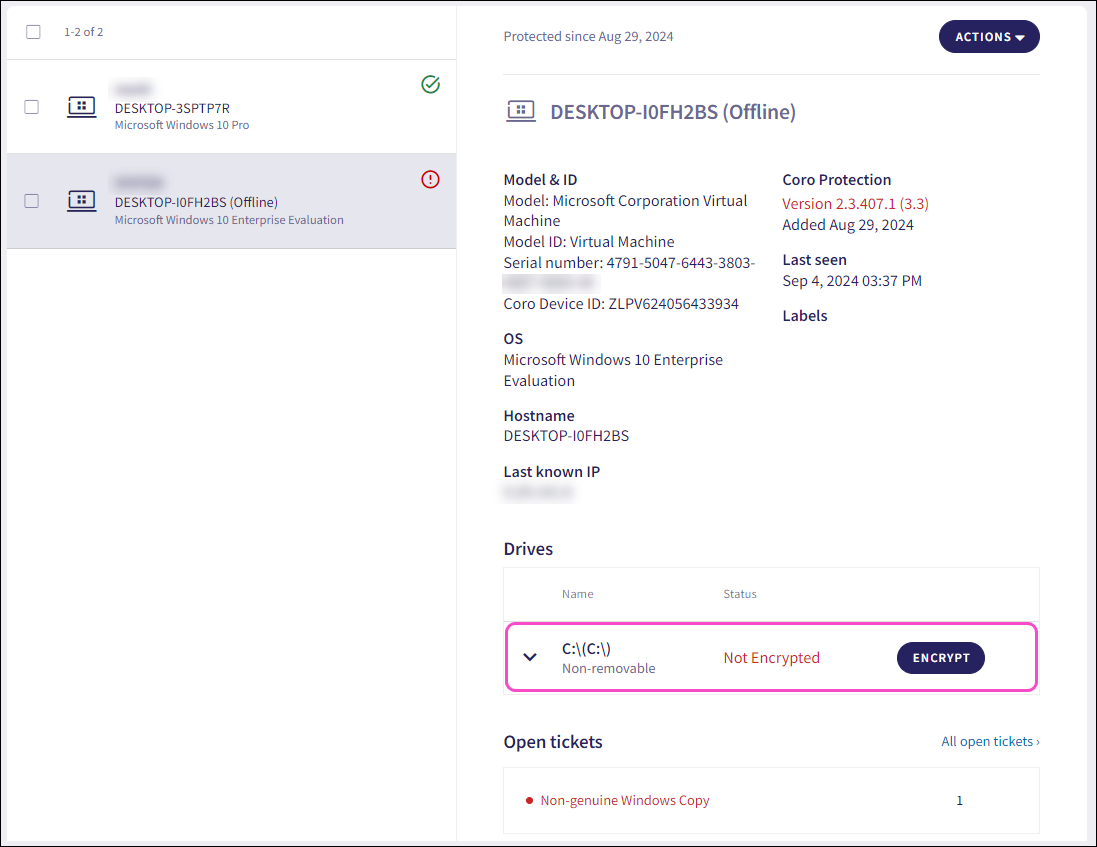
From the left pane, select the device containing the drive you want to encrypt. Then, from the right pane, locate the affected drive from the Drives section and select ENCRYPT:
Follow the confirmation prompt to activate encryption.
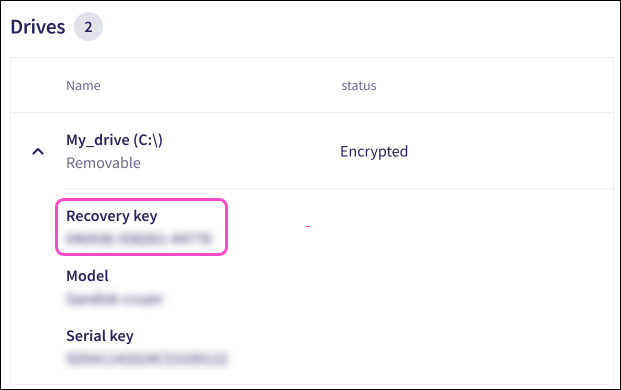
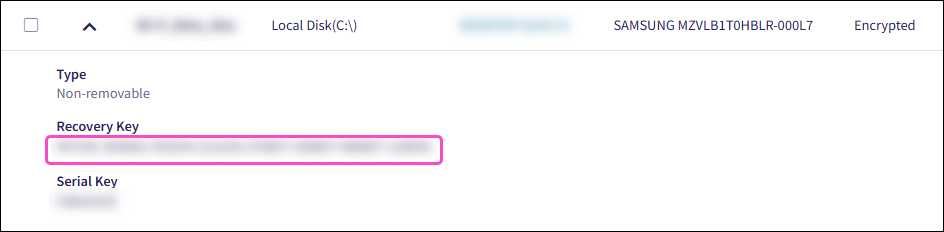
After encryption is complete, expand the Drives section to view the recovery key:
 important
Coro manages and displays recovery keys for encrypted drives. It:
Displays the recovery key for encrypted drives after they are unlocked with the correct password.
Does not display the recovery key for locked encrypted drives.
Displays the recovery key for drives it encrypts and for unlocked drives encrypted by third-party software.
ImportantWhen a device user decrypts a drive, Coro removes the recovery key from the expanded Drives section.
MSP admin users can also encrypt drives in bulk across all devices in parent (channel) and child workspaces. This centralizes encryption management and gives organization-wide visibility into device encryption status.
MSP admin users bulk encrypt drives from the global devices page.
To bulk encrypt drives:
Select Drives:
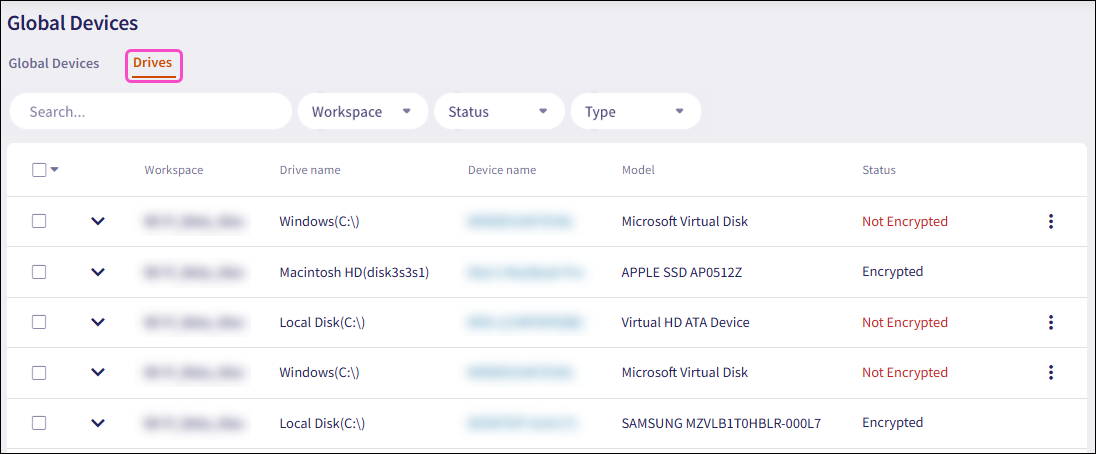
Select the checkboxes next to the drives you want to encrypt.
To include or exclude every drive on the current page, use the checkbox at the top of the list:

To include or exclude every drives across all pages, select the dropdown next to the checkbox, then choose an action:

If you include drives that are already encrypted, Coro only encrypts those that are not yet encrypted.
From the top of the global drives list, select the ACTIONS dropdown:

Select Encrypt drive:

To encrypt a single drive, select the three-dot menu for the drive, and then select Encrypt drive.
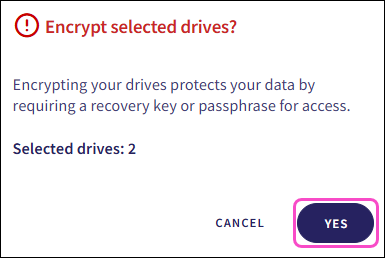
Coro displays a confirmation dialog.
Verify your drive selections and then select YES to activate encryption for the selected drives:
After encryption is complete, expand a drive’s record to view its recovery key.
 important
Coro manages and displays recovery keys for encrypted drives as follows:
Coro displays the recovery key for encrypted drives after they are unlocked with the correct password.
Coro does not display the recovery key for locked encrypted drives.
Coro displays the recovery key for drives it encrypts and for unlocked drives encrypted by third-party software.
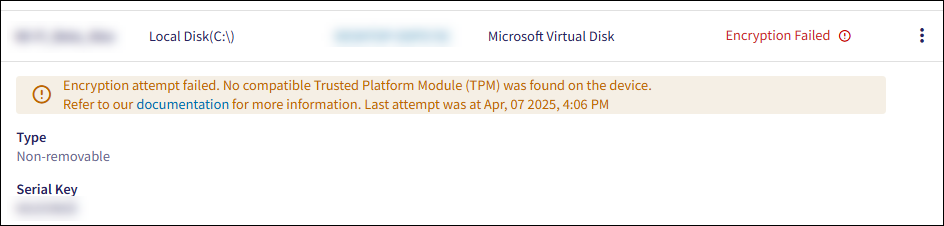
When an encryption attempt fails, Coro displays a detailed reason and provides a link to the Coro product documentation for further troubleshooting:
 Important
When a device user decrypts a drive, Coro automatically removes the recovery key from the drive’s record in the expanded list.
This section outlines common issues that can prevent drive encryption from completing. Use the subsections below to identify the cause and follow the recommended steps to resolve the issue.
This section applies to Windows devices.
Coro's remote drive encryption relies on a Trusted Platform Module (TPM) being enabled on the endpoint device. Without a TPM, Coro does not support BitLocker drive encryption.
If your device does not have TPM enabled, the following message appears in the Coro Activity Log:

To check your device's TPM status, perform the following steps on the target device:
Windows 10 and 11:
- Go to Start > Settings > Update & Security > Windows Security > Device Security.
Windows 8 and 8.1:
- Go to Start > Control Panel, then search for Windows Defender. Locate Device Security.
- Depending on your Windows version, you might need to search for Security to locate TPM information.
Windows 7:
- Go to Start > Control Panel.
- Depending on whether you are using Windows Defender or third-party security software, go to System and Security or Action Center.
If your device has a TPM, select Security processor details for more information. If there is no information, your TPM may have been disabled. Coro recommends that you contact your computer's manufacturer for guidance on re-enabling it.
If your TPM is enabled and functioning:
Go to the Security processor details page.
Select Security processor troubleshooting and then select Clear TPM.
Restart your device and try the encryption process again.
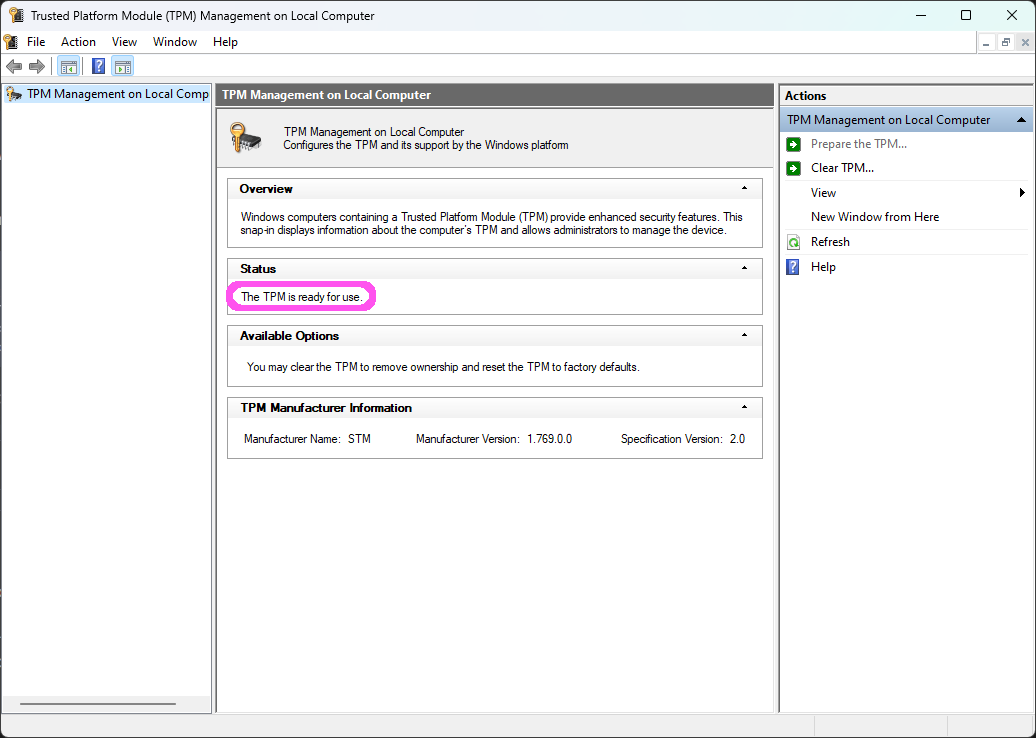
Alternatively, to check if your device has a TPM module, enter tpm.msc in the Windows search box or command prompt. From the list of search results, locate and open the "tpm.msc" application. If the device has a TPM, the TPM Management on Local Computer dialog shows The TPM is ready for use, as follows:
The information provided in this section is adapted from the Microsoft BitLocker FAQ.
This section provides information for various issues that might be encountered when activating encryption for Windows system drives.
Some changes to the device can cause the Trusted Platform Module (TPM) to block BitLocker from unlocking the operating system (OS) drive. This results in an integrity check failure.
Common causes include:
- Moving the encrypted drive to a different device.
- Installing a new motherboard.
- Changing security or encryption settings.
- Modifying boot components or boot configuration data.
- Turning off, disabling, or clearing the TPM.
Encryption on Windows drives must be suspended for some software and system updates. For example:
- Firmware updates.
- Updates to applications that modify the BIOS configuration.
- Updates to secure boot databases manually.
- Updates to BIOS firmware, drivers, or applications.
BitLocker helps protect your device from unauthorized access. In some cases, BitLocker may start in recovery mode when you try to start the operating system (OS) drive.
This can happen if:
- You change the boot order to start from another drive before the device’s OS drive.
- You add or remove hardware components.
- You remove, reinsert, or completely deplete the smart battery on a portable device.
BitLocker might repeatedly prompt for a recovery key if the device detects an external drive in the boot list, even when no drive is connected.
This typically happens because boot support for Preboot for TBT and USB-C/TBT is enabled by default in the BIOS. To stop the recovery prompts, disable this setting in the BIOS.
You might also encounter this issue in the following situations:
- When connecting the device to a docking station.
- When using a Trusted Platform Module (TPM) version earlier than TPM 2.0. To resolve this, upgrade the TPM to the latest supported version.
This section provides information for various issues that might be encountered when activating encryption for macOS system drives.
Encryption on macOS drives must be suspended for some software and system updates. For example:
- Firmware updates.
- Updates to applications that modify the UEFI configuration.
- Updates to secure boot databases manually.
- Updates to UEFI firmware, drivers, or applications.