Coro can automatically add and protect all identified users and groups registered in connected cloud applications. Admin users can also manually add users to Coro either individually or in bulk to address scenarios where users cannot be automatically identified.
Your workspace subscription might include a limit on user protection which can dictate the number of users allowed protection at any one time. If you exceed this limit, Coro can restrict enabling protection for further users.
User accounts must be able to receive external emails for Coro to automatically identify them as protectable. If you want to extend protection to users with restricted external access, add the user details individually or as part of a CSV file upload.
Coro protects users in an organization in the following ways:
Coro generates tickets for protected and protectable users. These tickets are recorded in the Ticket Log. Coro only generates tickets for protectable users when a workspace is in trial mode, or where an MSP admin user has enabled this option for channel and child workspaces. For more details on workspace types and statuses, see The Coro workspace.
The Actionboard displays activity exclusively for protected users.
Tickets involving protected users are either automatically resolved by Coro or can be addressed by an admin user with sufficient permissions.
Where Coro raises tickets for protectable users, this is for information only. Coro does not offer manual or automatic remediation capabilities for these tickets.
If a ticket involves both protected and protectable users, action is taken only for the protected users. For example, if a phishing email is sent to Bob (protected) and Alice (protectable), Coro moves the email to the designated Suspected folder for Bob, but not for Alice.
An admin user with sufficient permissions can enable protection for one or more users at any time, subject to any protection limits that apply to your subscription.
Coro can add protection to all protectable users that it identifies through a connected cloud application in one action. When you connect a cloud application, Coro offers to enable this feature during the setup process. As new users are registered in your cloud application after the initial connection, Coro synchronizes all new identified user records into your workspace on a regular basis and applies protection automatically (subject to protection limits). To learn more, see Connecting cloud applications to Coro.
If you did not initially select this option, you can enable it from the User Management page:
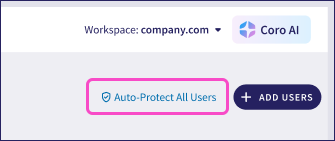
From User Management, select the Users tab.
Select Auto-Protect All Users:
Coro displays the Add protection to all users dialog, showing the cloud applications you have connected to your Coro Workspace:
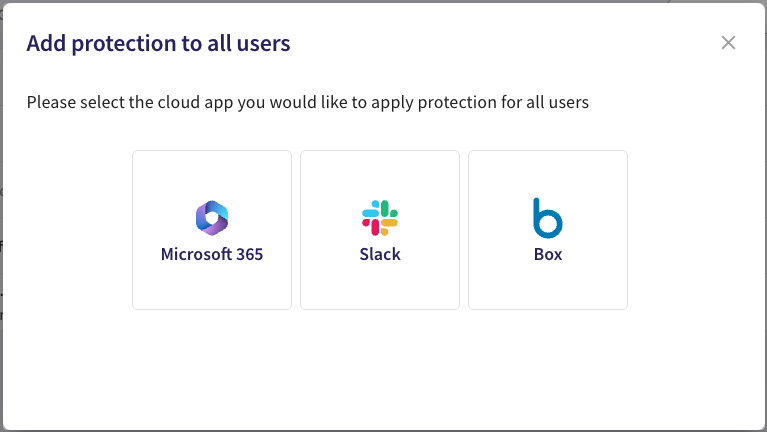
Choose one of the connected cloud applications.
Coro presents a confirmation dialog:
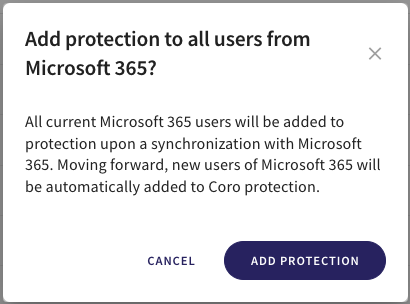
To complete the process, select ADD PROTECTION.
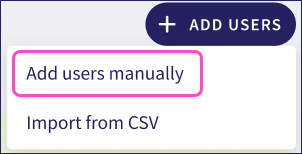
To add specific users individually:
From User Management, select the Users tab.
Select ADD USERS > Add users manually:
Coro displays the Add users manually dialog:
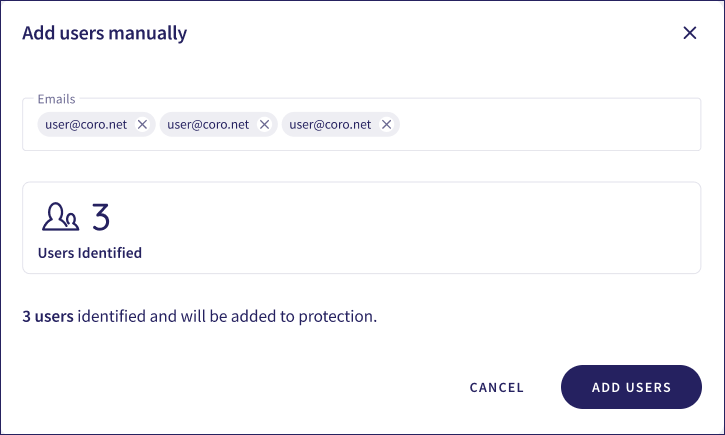
Enter the email addresses of users you want to protect.
Select PROTECT USERS to confirm.
You can add users for protection through an imported comma-separated (CSV) file containing a list of user email addresses.
To avoid validation issues, Coro provides a downloadable template file linked from the Upload a CSV file dialog.
When creating a CSV file, ensure the following:
- Each email address is specified on a separate line.
- The first column of the CSV file must contain the valid email addresses of all users to be added to Coro protection. Additional columns and invalid entries are ignored.
- The maximum CSV file size is 5 MB.
- A maximum of 100,000 records are permitted.
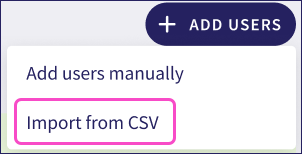
To import users from a CSV file:
From User Management, select the Users tab.
Select ADD USERS > Import from CSV:
Coro displays the Upload a CSV file dialog:
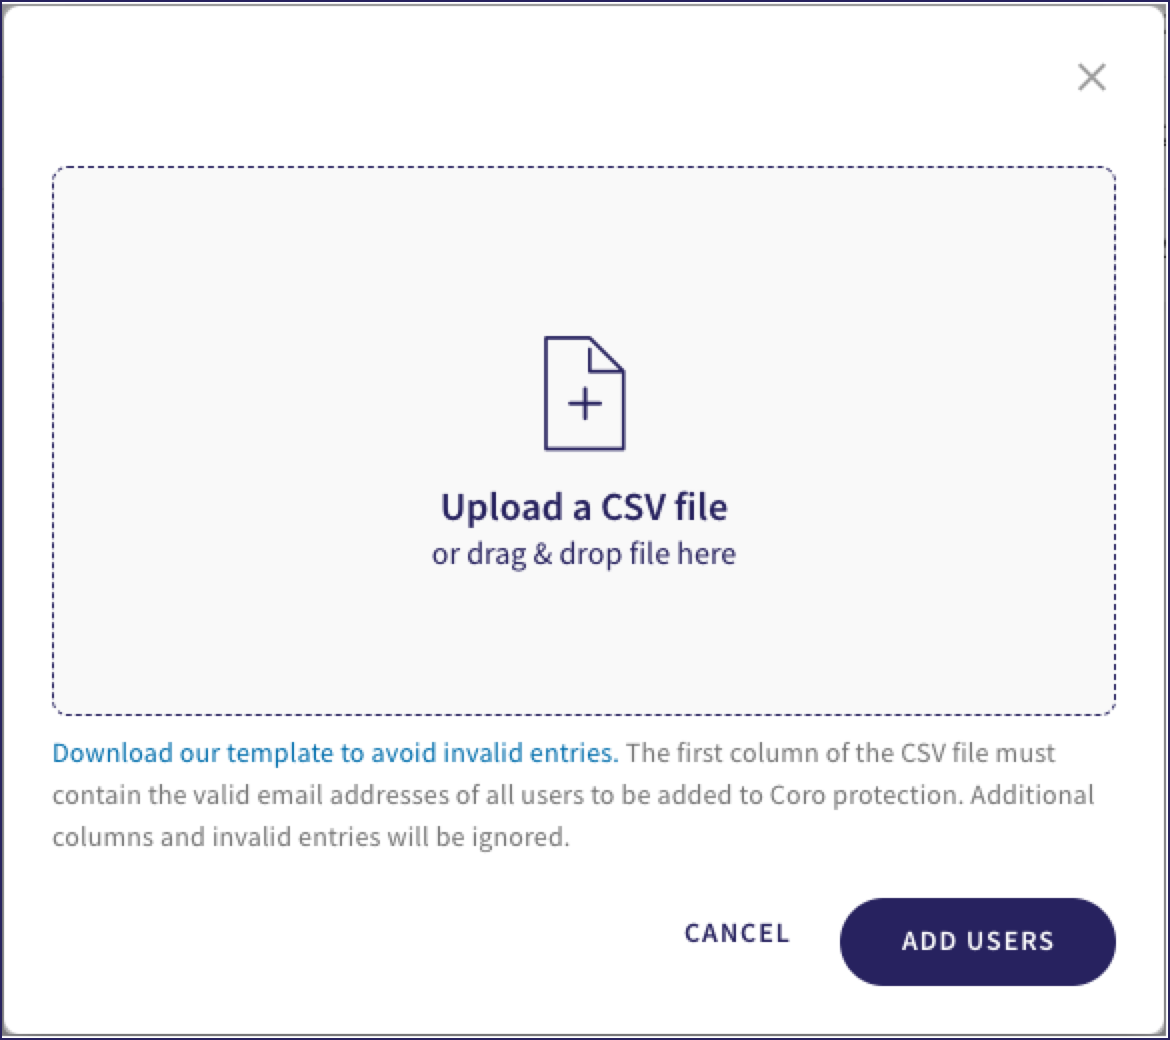
Select the Upload a CSV file area and locate the required CSV file in the file browser. Alternatively, drag and drop a CSV file into the dialog.
Coro shows the uploaded CSV file in the dialog:
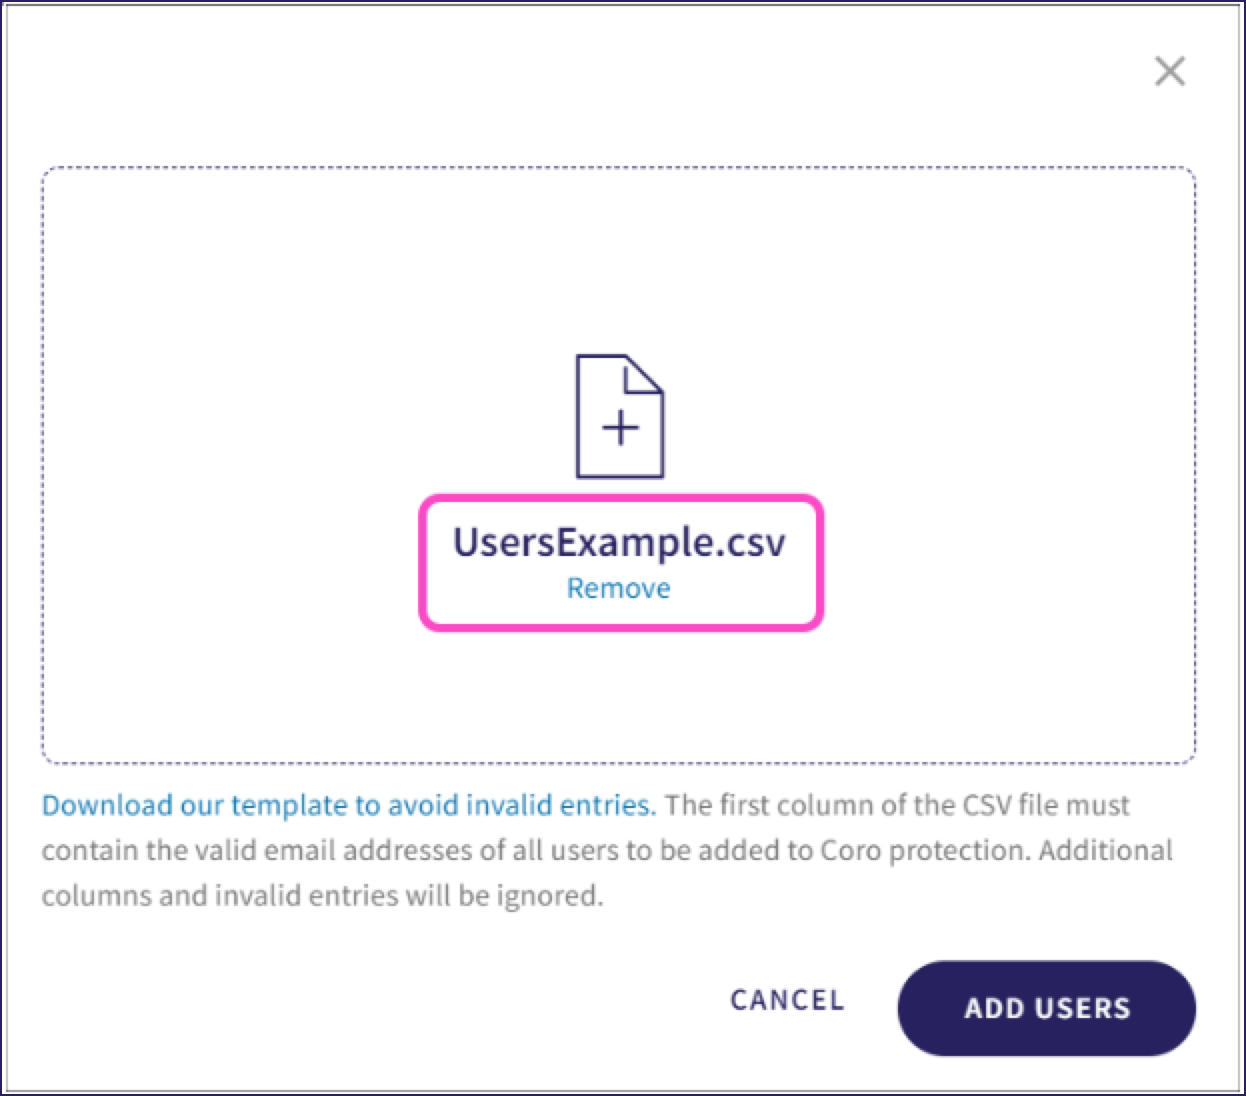
Select ADD USERS.
Coro displays a confirmation dialog to show that the import is in progress:
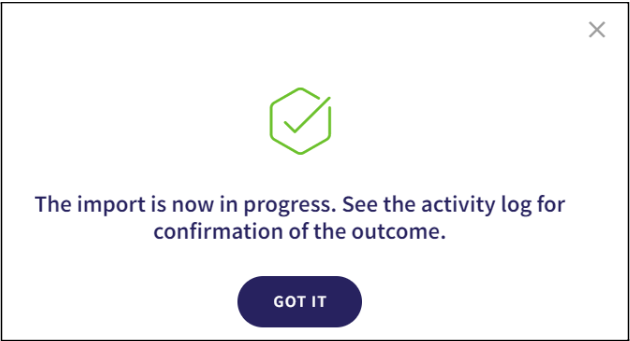
To acknowledge and complete the process, select GOT IT.
After the import completes, Coro shows a confirmation in the console and logs the import details in the Activity Log:
