Coro can protect Microsoft 365 shared mailboxes via the Email Security module's API-based protection, or through Coro's Inbound Gateway email proxy.
API-based email protection requires you to first license shared mailbox addresses in Microsoft 365 before you can add them for protection in Coro. If your workspace is configured to use Coro’s Inbound Gateway, Coro can automatically protect a shared mailbox address, whether licensed or unlicensed, by just adding it to protection manually.
To protect a shared mailbox:
If you are using API-based protection, first verify your shared mailbox is licensed in Microsoft 365. Skip this step if you are using the Inbound Gateway.
Then, for all scenarios, add the shared mailbox for protection in Coro.
For Coro to effectively protect shared mailboxes, make sure that your account is appropriately licensed by Microsoft 365. This ensures that Coro can apply security measures to the mailbox and provide the necessary protection.
To ensure your shared mailbox is appropriately licensed by Microsoft 365:
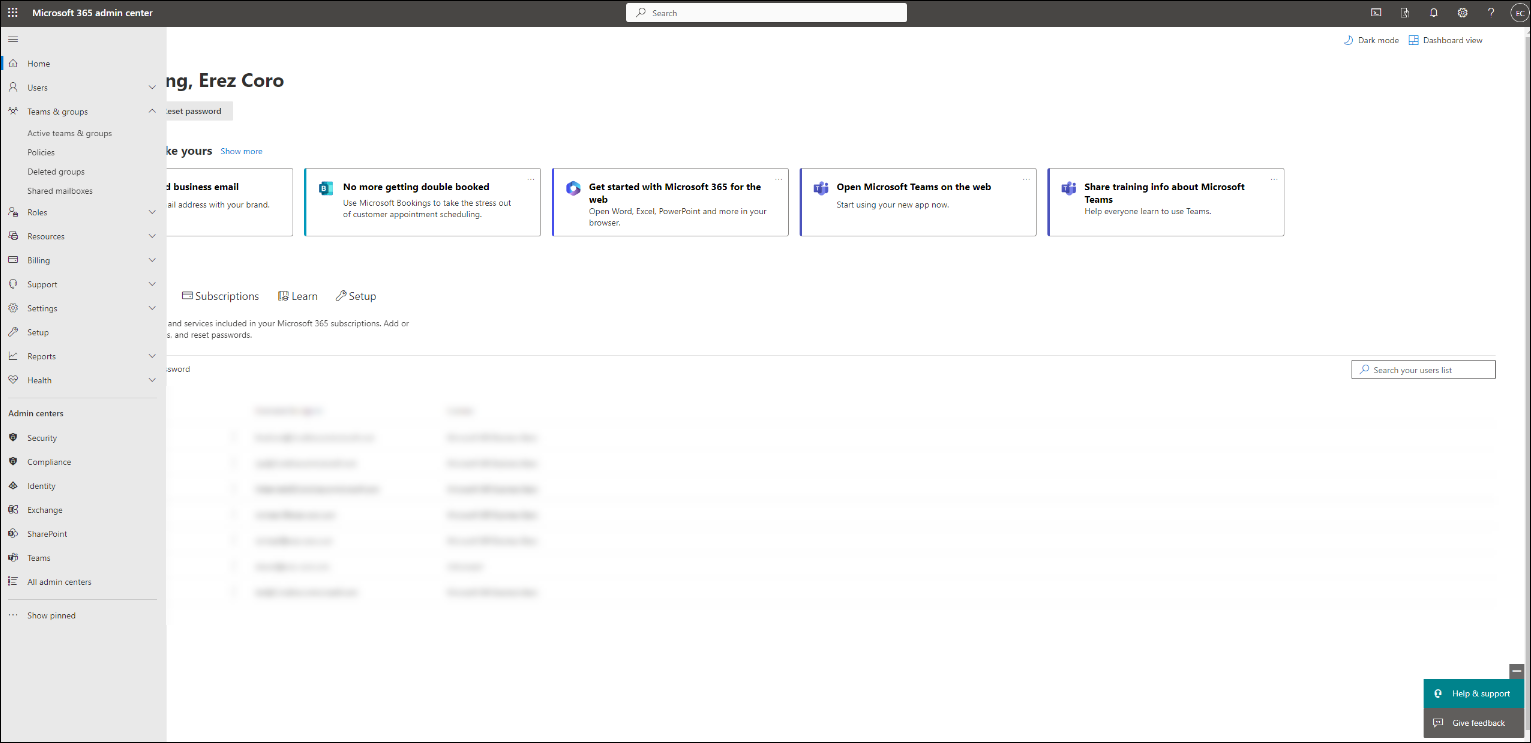
Sign in to your Microsoft 365 admin center:
Select Identity (previously Azure):
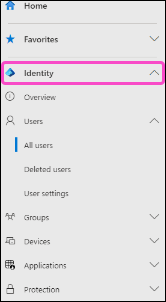
Select Users > All Users:

Use Search to Locate the shared mailbox:
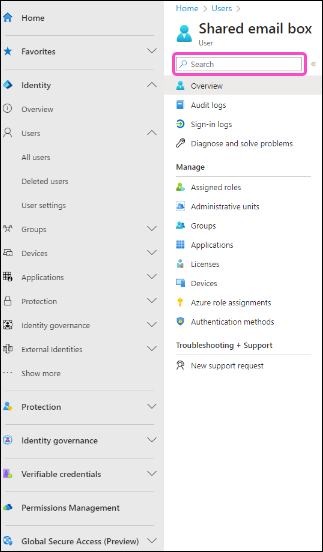
Select the username displayed next to Identities:

Select the Properties tab:
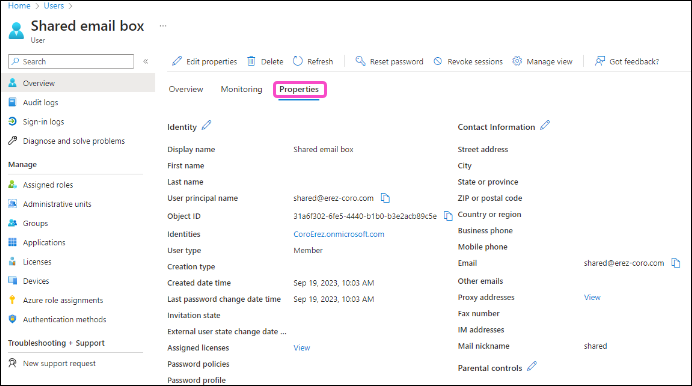
Locate the Usage Location field:
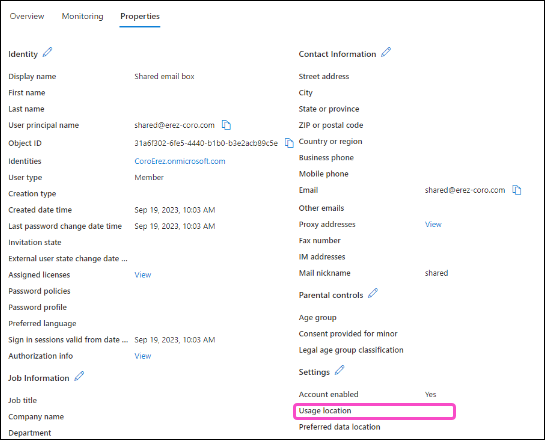
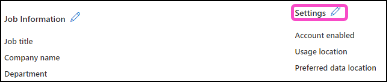
If Usage Location is blank, select Settings:
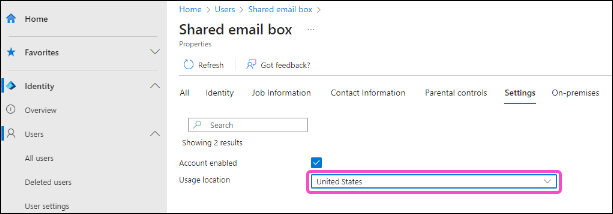
Coro displays the Settings page:

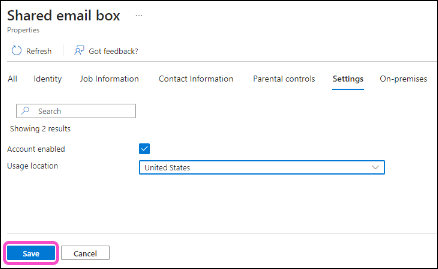
Select a location from the Usage location dropdown:
Select Save:
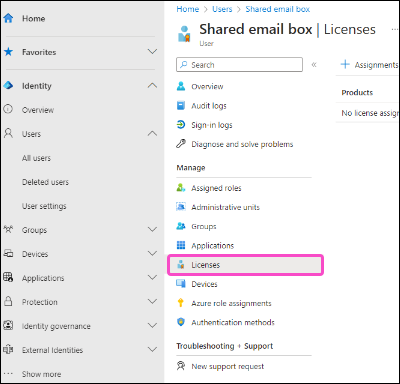
Select Licenses:
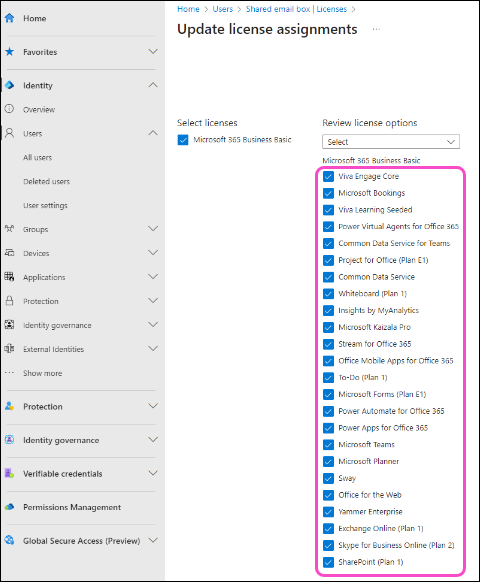
Select the Microsoft 365 license to assign to the shared mailbox:

Select the Microsoft 365 license options to assign to the shared mailbox:
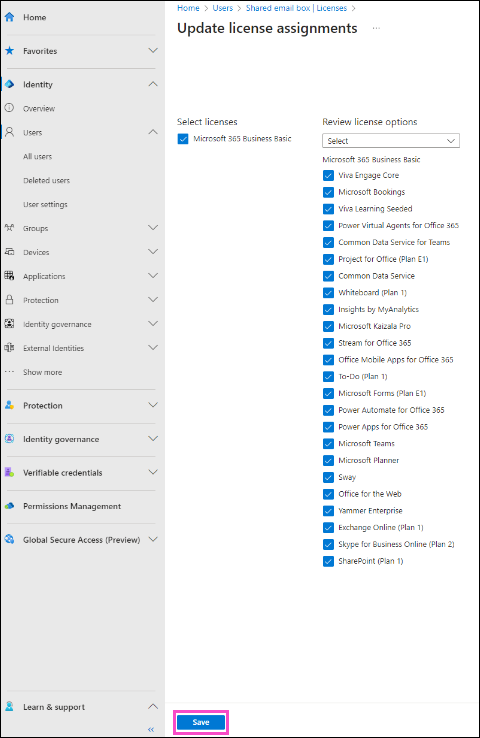
Select Save:
Refresh the page to confirm that the license is successfully attached to your shared mailbox.
If you are using API-based email protection, make sure you have first verified that the shared mailbox is licensed.
To add the shared mailbox email address to protection, follow the steps below:
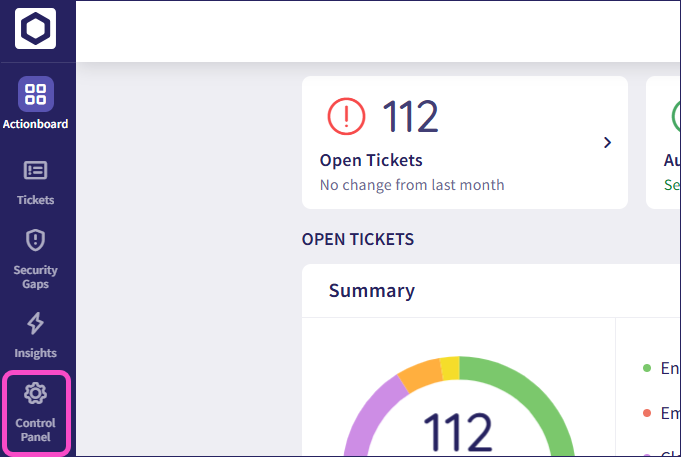
From the sidebar, select Control Panel:
Select User Management:
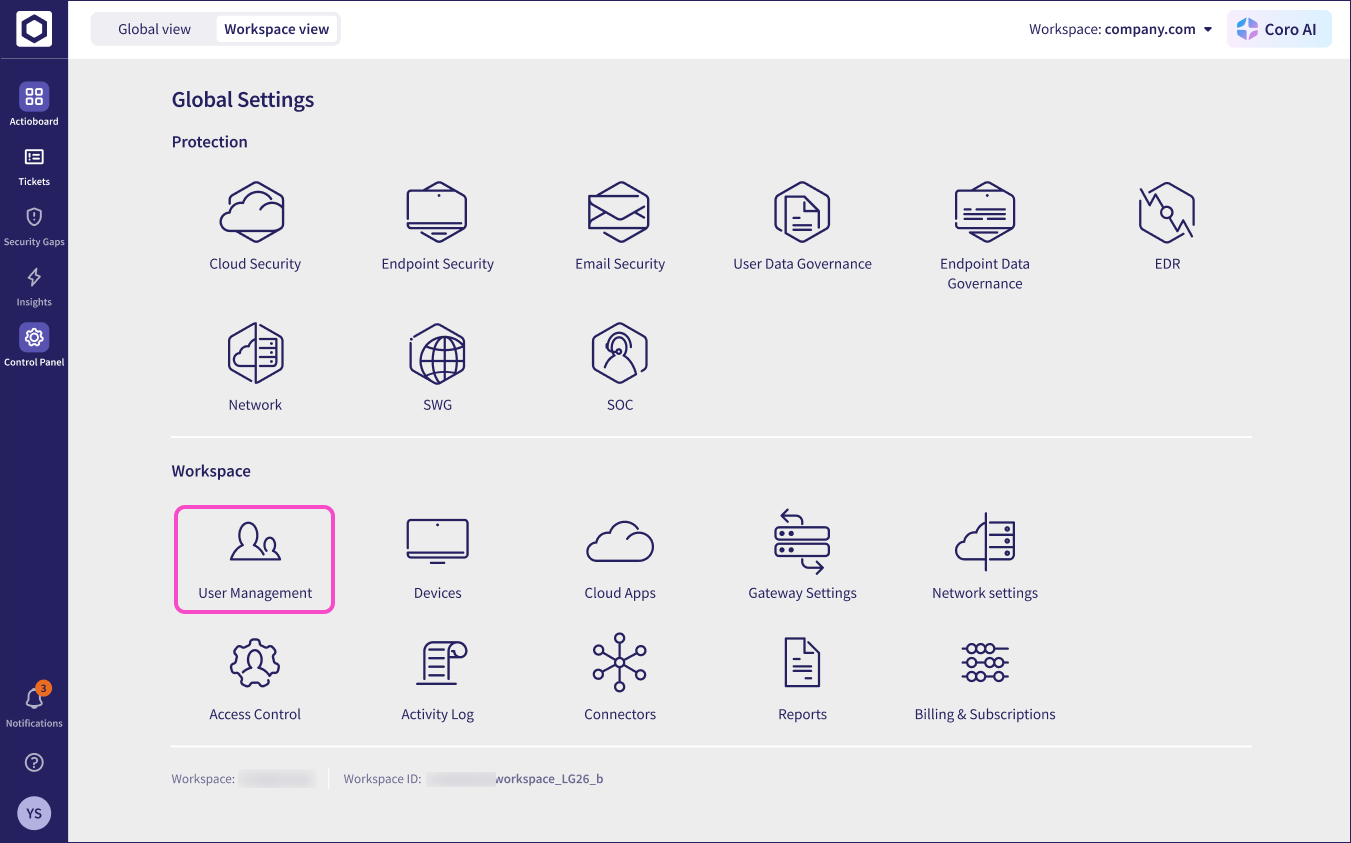
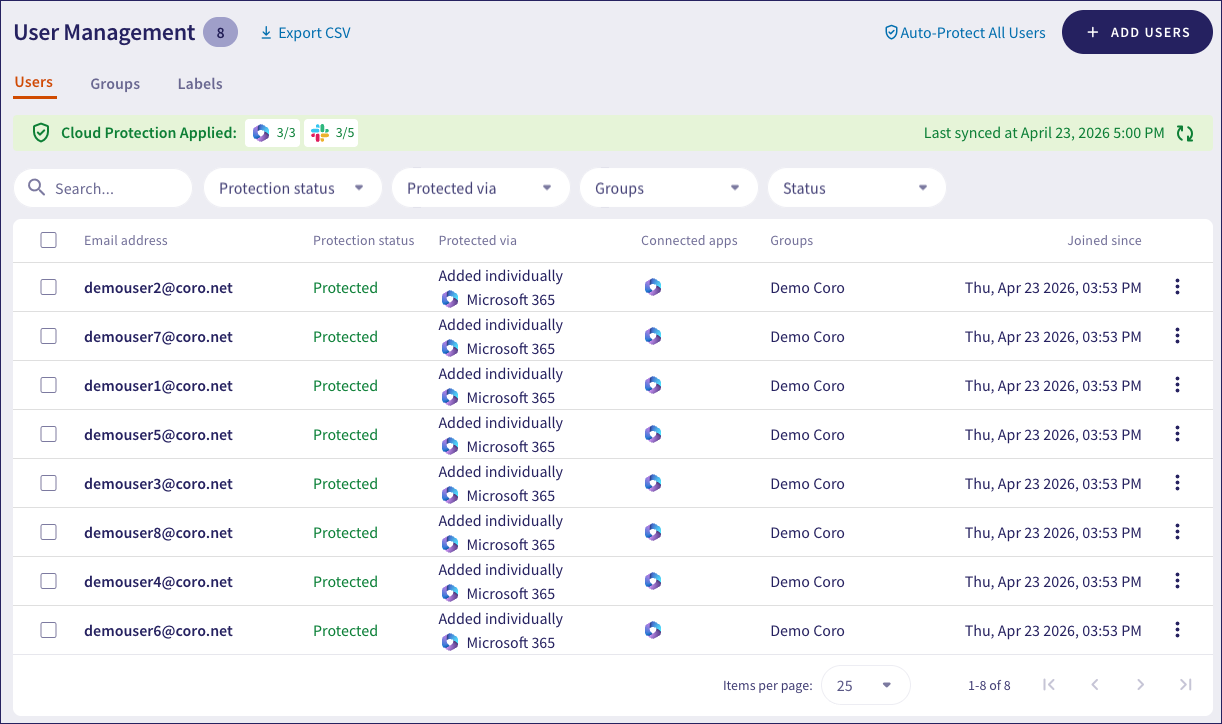
Coro displays the User Management page:
Add the shared mailbox to Coro using one of the following methods:
Synchronize protected users with Microsoft 365:
If you have previously added protection for all users, or if the shared mailbox is a member of a protected group, select Sync:
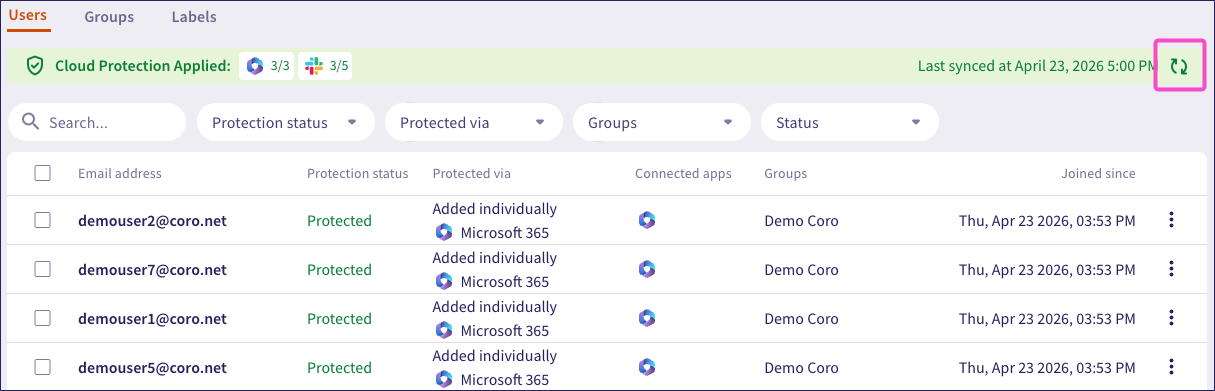
Coro synchronizes with Microsoft 365 to add and protect the shared mailbox.
Add the shared mailbox email address manually:
Select ADD USERS > Add Specific Users:
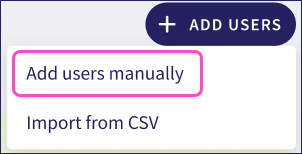
Coro displays the Add users to Coro protection dialog:
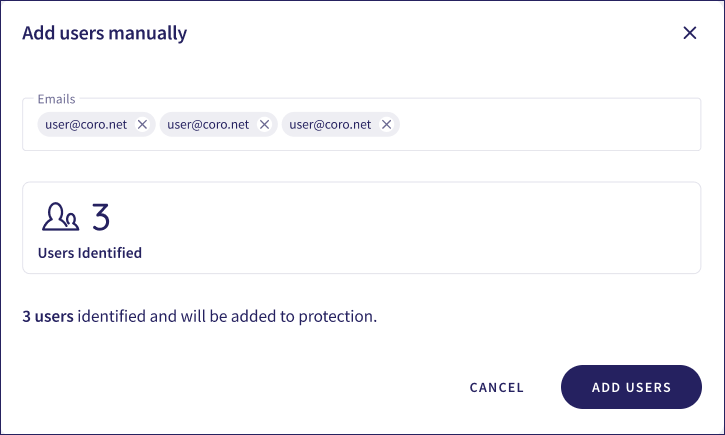
Enter the shared mailbox email address.
Select ADD USERS to confirm.