Coro integrates with Security Information and Event Management (SIEM) platforms and provides real-time access to ticket data, enabling integration with existing workflows.
The following example shows the JSON structure Coro sends to SIEM platforms for a Domain Impersonation ticket:
{
  "id": "OLvX-1479",
  "workspaceId": "coronmicrosofteom_OLvX_b",
  "ticketType": "emailPhishing",
  "ticketDetails": {
    "affectedUser": "user1.test@myyahoo.com",
    "service": "office365Enforcement",
    "locations": [],
    "emailMetadata": {
      "subject": "test",
      "senderEmail": "user1.test@myyahoo.com",
      "senderIp": "192.0.2.0",
      "recipients": [
        "testuser1@coro.onmicrosoft.com"
      ],
      "processedMessages": [
        {
          "messageId": "AAkALgAAAAAAHYQD6EapmEc2byAcQAC-Elv8AklmbFzgKuZeaN9sWir-hpwwAB8FbapwAA"
        }
      ]
    },
    "filesMetadata": [],
    "firstEventTime": 1713774078429,
    "lastEventTime": 1713774078429,
    "creationTime": 1713774078447,
    "processed": true,
    "processedTime": 1713774078429,
    "ticketTrigger": "domainImpersonation"
  }
}
Coro currently supports the following integrations:
Integrate Fluency (https://fluencysecurity.com) with Coro to collect ticket data related to an event.
To configure a Fluency connector:
From the sidebar, select Control Panel.
Under Workspace, select Connectors:
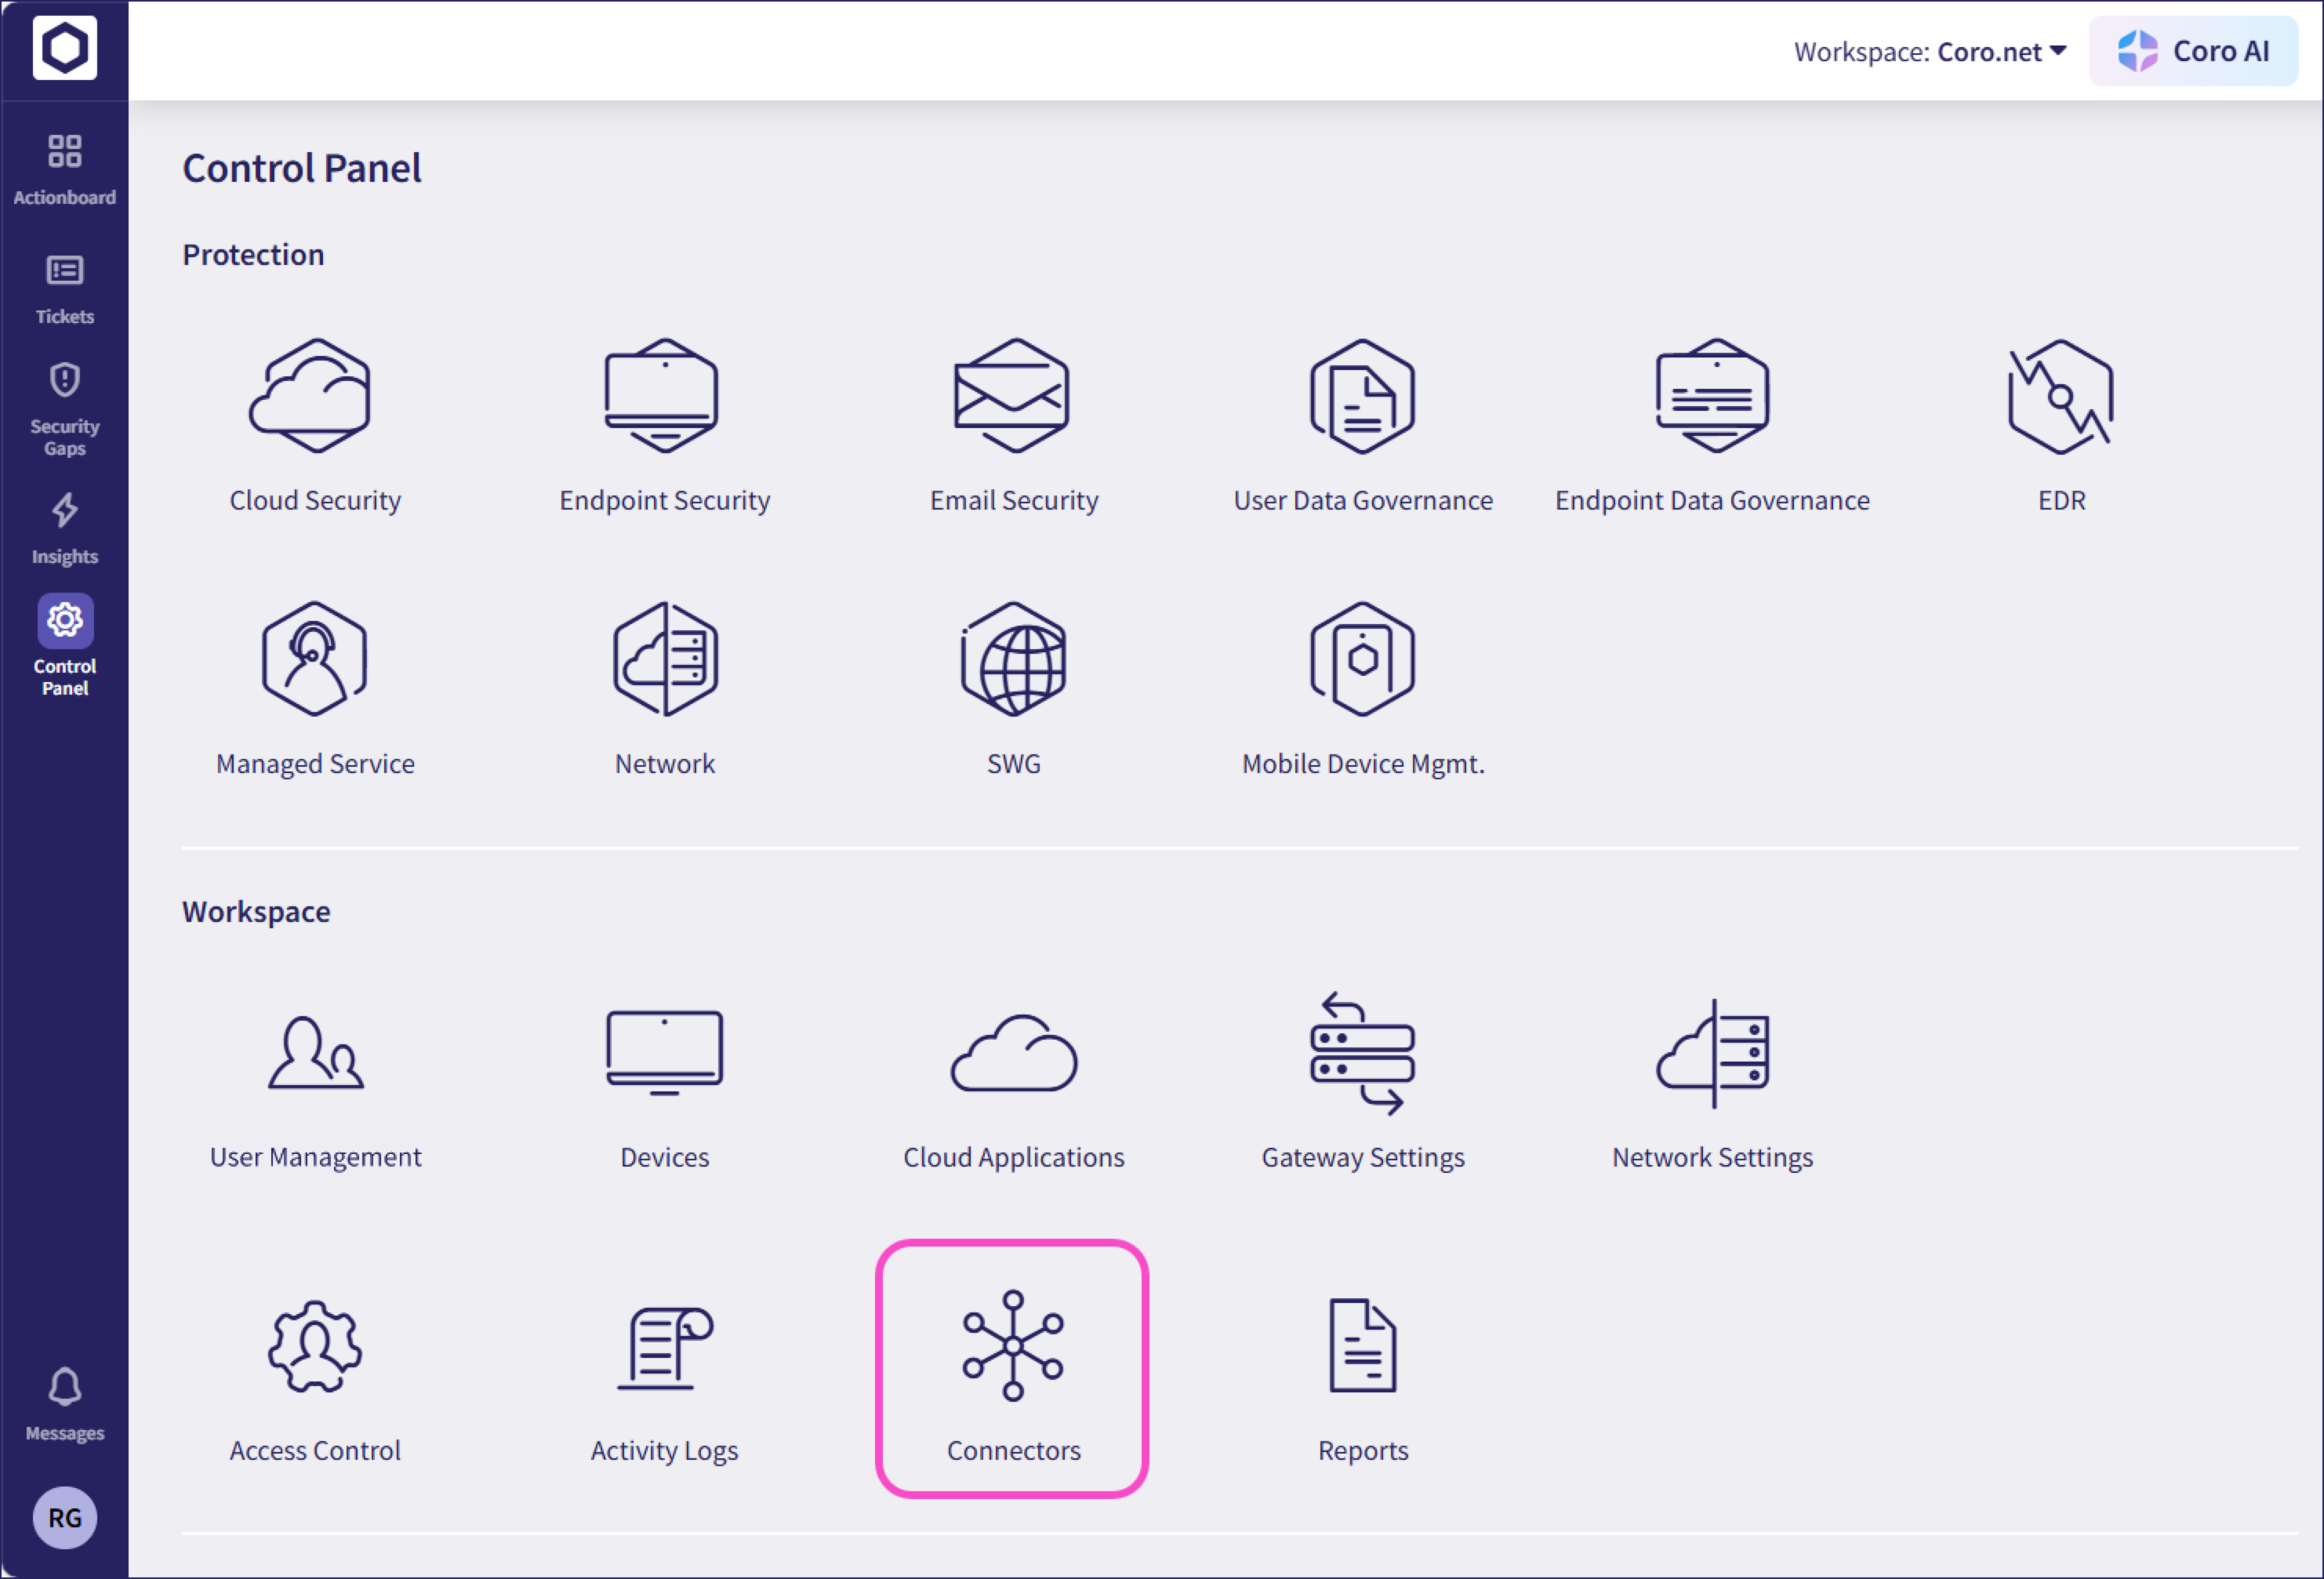
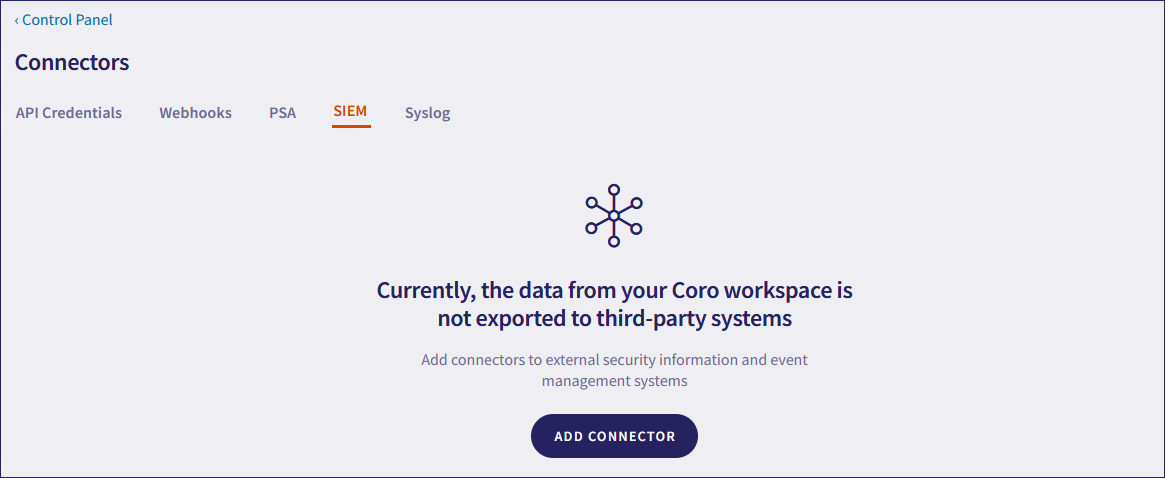
Coro displays the Connectors page.
Select SIEM:

Select ADD CONNECTOR.
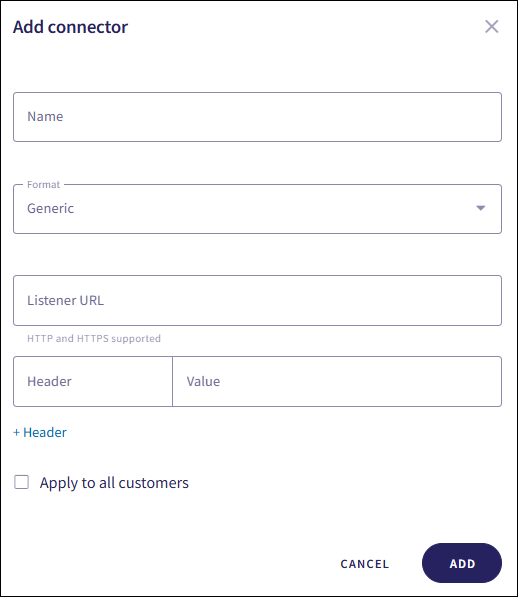
Coro displays the Add connector dialog:
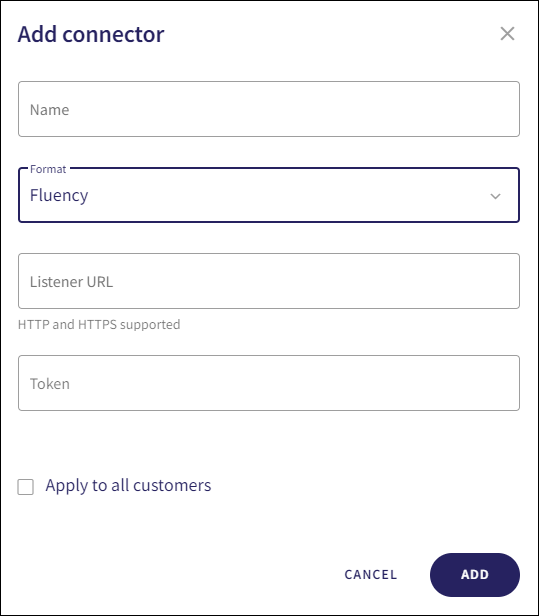
Configure the following connection settings:
Name: Enter a suitable connector name.
Format: Select Fluency.
Listener URL: Enter the URL endpoint provided by your SIEM platform.
Token: Enter the access token provided by your SIEM platform.
Apply to all customers: (MSP admin users only) Enable this option to automatically create the connector in all descendant workspaces linked to the channel workspace. Each descendant workspace then forwards events to the configured SIEM provider.
Select ADD:

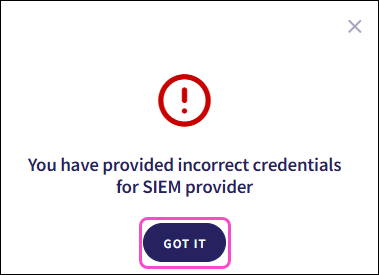
Coro sends a test event to verify your configuration. If the configuration is incorrect, Coro displays an error dialog. Select GOT IT to return to the Connectors page. Coro does not save the configuration:
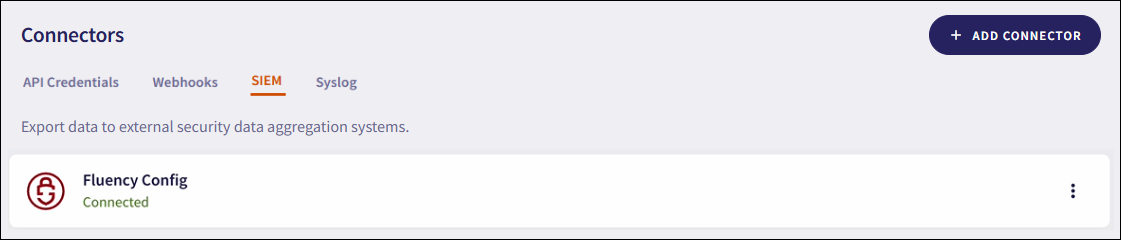
If the configuration is correct, Coro creates the connector with a status of Connected:
For MSP channel workspaces, Coro adds the connector to the channel workspace and, if Apply to all customers is enabled, to all connected descendant workspaces.
Coro sends event data and metadata to the configured SIEM in real time. If the SIEM is unavailable, Coro cannot collect or send event data.
Coro supports generic webhook integrations to collect ticket data related to an event and send it from the Coro console to a specified URL endpoint, such as the REST API of an internal IT system.
To configure a generic webhook connector:
From the sidebar, select Control Panel.
Under Workspace, select Connectors:
Coro displays the Connectors page.
Select SIEM:
Select ADD CONNECTOR.
Coro displays the Add connector dialog:
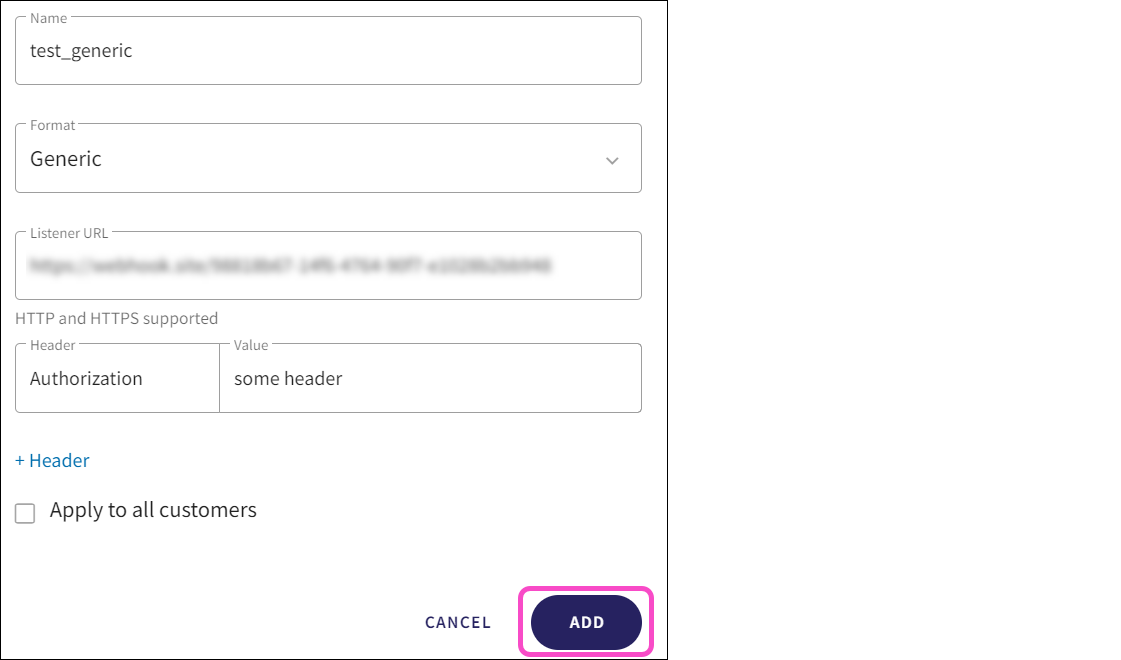
Configure the following connection settings:
Name: Enter a suitable connector name.
Format: Select Generic.
Listener URL: Enter the webhook endpoint provided by your internal IT system.
Apply to all customers: (MSP admin users only) Enable this option to automatically create the connector in all descendant workspaces linked to the channel workspace. Each descendant workspace then forwards events to the configured SIEM provider.
(Optional) To configure request headers, such as for authentication or custom metadata, select + Header:
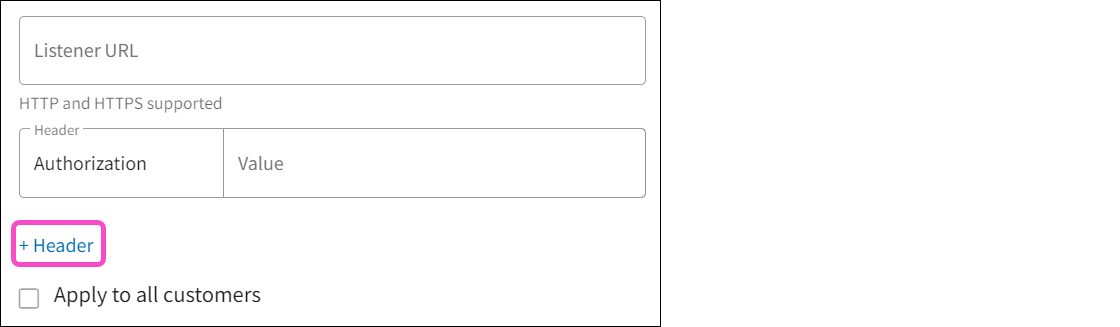
Headers allow your webhook to send additional information, such as an authorization token, along with the request.
To protect sensitive information, Coro encrypts all headers before storing them.
Select Add:
Coro sends a test event to verify your configuration. If the configuration is incorrect, Coro displays an error dialog. Select GOT IT to return to the Connectors page. Coro does not save the configuration:
If the configuration is correct, Coro creates the connector with a status of Connected:
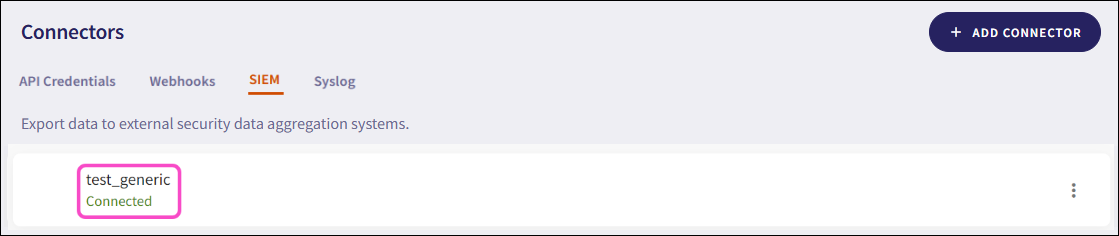
For MSP channel workspaces, Coro adds the connector to the channel workspace and, if Apply to all customers is enabled, to all connected descendant workspaces.
Coro sends event data and metadata to the configured SIEM in real time. If the SIEM is unavailable, Coro cannot collect or send event data.
Integrate Microsoft Sentinel (https://www.microsoft.com/en-us/security/business/siem-and-xdr/microsoft-sentinel) with Coro to collect ticket data related to an event.
Coro sends SIEM data to Azure Monitor using the HTTP Data Collector API, which is then imported into Microsoft Sentinel.
To configure a Microsoft Sentinel connector, your Microsoft 365 account must have admin permissions.
To configure a Microsoft Sentinel connector:
From the sidebar, select Control Panel.
Under Workspace, select Connectors:
Coro displays the Connectors page.
Select SIEM:
Select ADD CONNECTOR.
Coro displays the Add connector dialog:

Configure the following connection settings:
Name: Enter a suitable connector name.
Format: Select Azure Sentinel.
Workspace ID: Enter a valid Microsoft Sentinel workspace ID.
Primary Key: Enter a valid API key.
Log Type: Enter the name of the custom log where Microsoft Sentinel stores the incoming events.
Coro sets the default value to Coro.
Apply to all customers: (MSP admin users only) Enable this option to automatically create the connector in all descendant workspaces linked to the channel workspace. Each descendant workspace then forwards events to the configured SIEM provider.
Select ADD.
Coro sends a test event to verify your configuration. If the configuration is incorrect, Coro displays an error dialog. Select GOT IT to return to the Connectors page. Coro does not save the configuration:
If the configuration is correct, Coro creates the connector with a status of Connected:

For MSP channel workspaces, Coro adds the connector to the channel workspace and, if Apply to all customers is enabled, to all connected descendant workspaces.
Coro sends event data and metadata to the configured SIEM in real time. If the SIEM is unavailable, Coro cannot collect or send event data.
Integrate Splunk (https://www.splunk.com/en_us/products/enterprise-security.html) with Coro to collect ticket data related to an event.
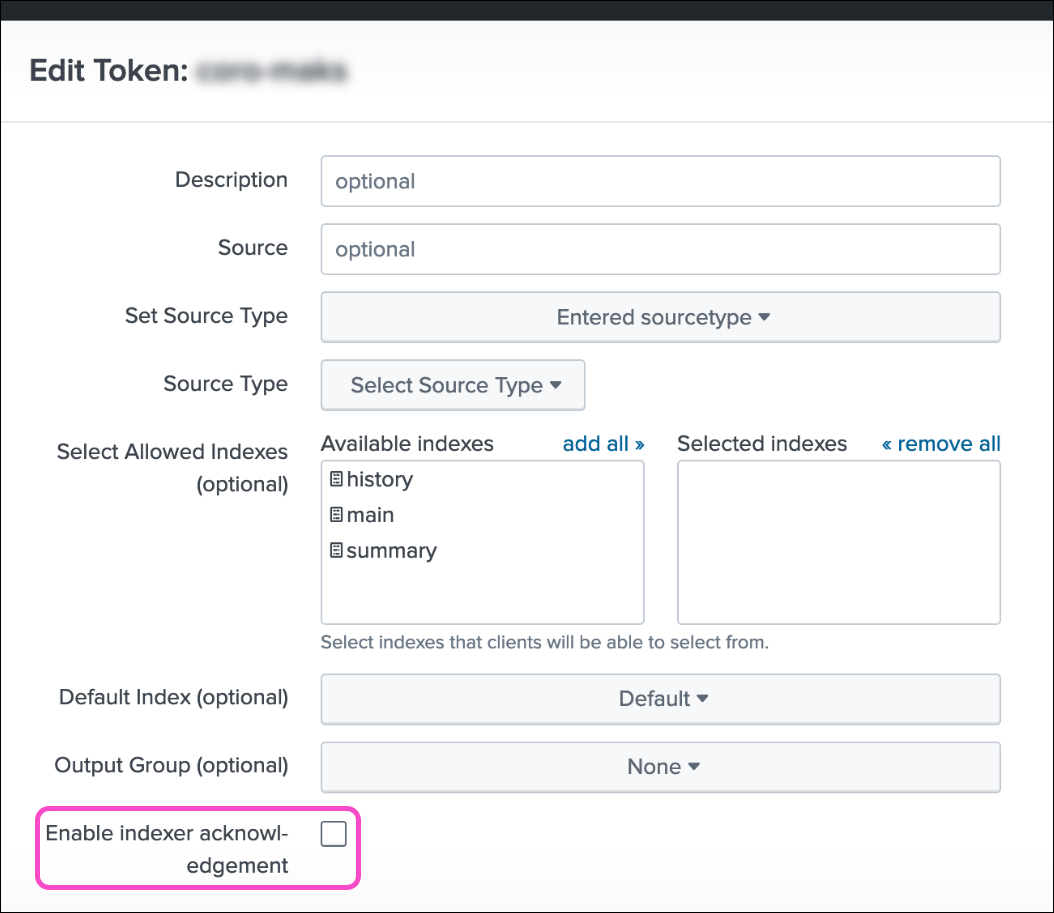
Coro sends SIEM data to Splunk via HTTP event collector (HEC) REST API endpoints.
Disable Enable indexer acknowledgment when configuring an HEC on the Splunk Cloud Platform:
To configure a Splunk connector:
From the sidebar, select Control Panel.
Under Workspace, select Connectors:
Coro displays the Connectors page.
Select SIEM:
Select ADD CONNECTOR.
Coro displays the Add connector dialog:
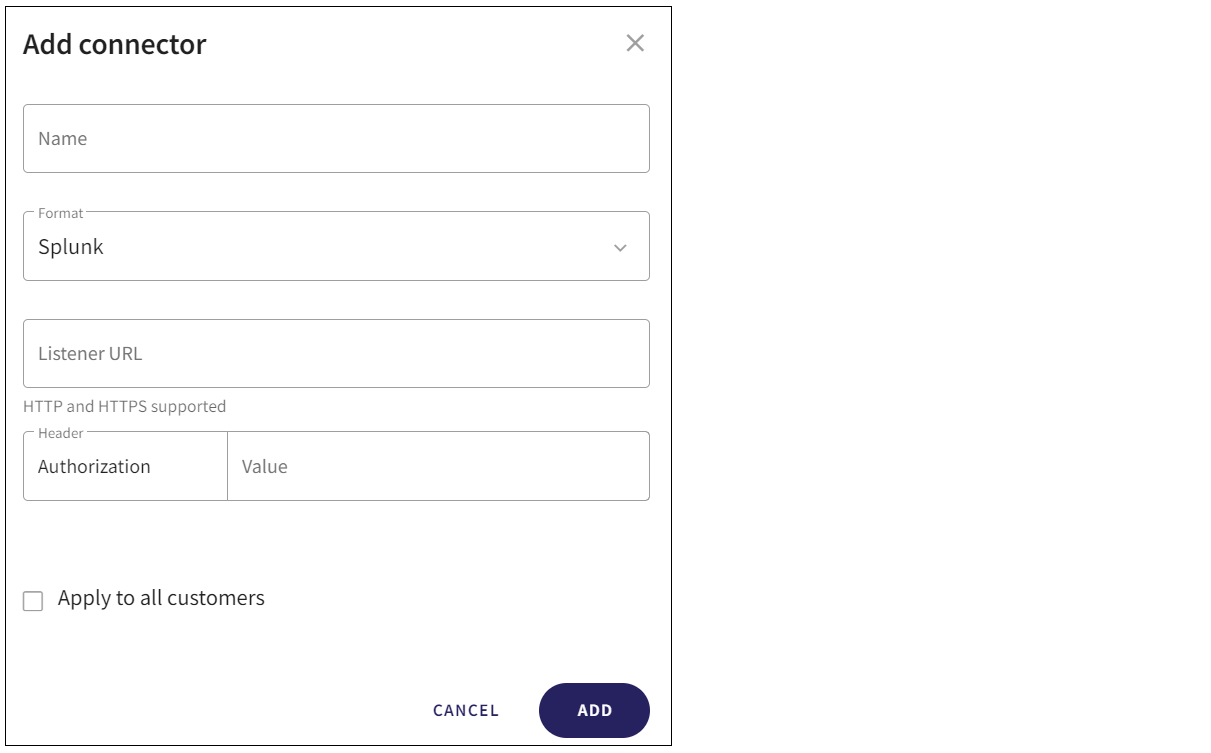
Configure the following connection settings:
Name: Enter a suitable connector name.
Format: Select Splunk.
Listener URL: Enter the URL endpoint provided by your SIEM platform.
ImportantThe Listener URL must be in the format: http(s)://Public IP Address of Splunk/services/collector.
Example value:
https://192.0.2.0:8088/services/collectorThe Listener URL must match the SSL configuration (Enable SSL option) in your Splunk cloud platform HEC settings:
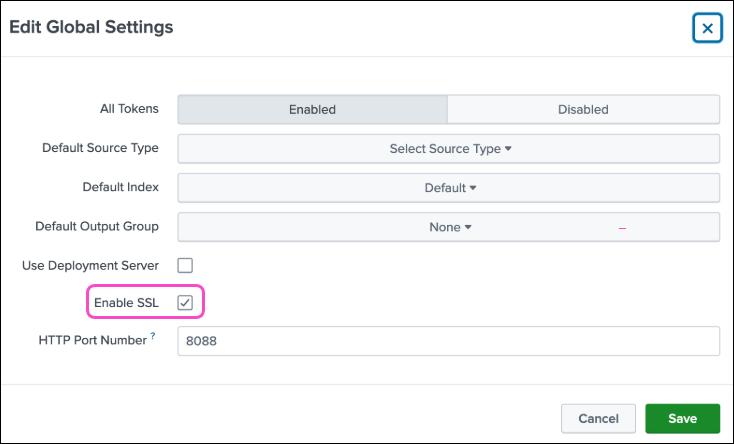
If Enable SSL is enabled, use https://
If Enable SSL is disabled, use http://

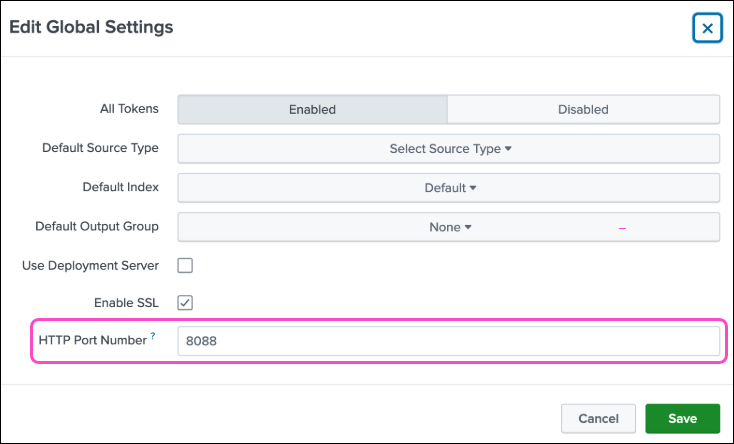
The port number part of the Listener URL must match the HTTP Port Number value in your Splunk cloud platform HEC settings:

Authorization: Enter the authorization header provided by your SIEM platform.
ImportantThe Authorization header must be in the format: Splunkf <Authorization_token>.
Example value:
Splunkf 9b30ab7-85bf-4dd5-8fd9-b42bb3a74163.Apply to all customers: (MSP admin users only) Enable this option to automatically create the connector in all descendant workspaces linked to the channel workspace. Each descendant workspace then forwards events to the configured SIEM provider.
Select ADD.
Coro sends a test event to verify your configuration. If the configuration is incorrect, Coro displays an error dialog. Select GOT IT to return to the Connectors page. Coro does not save the configuration:
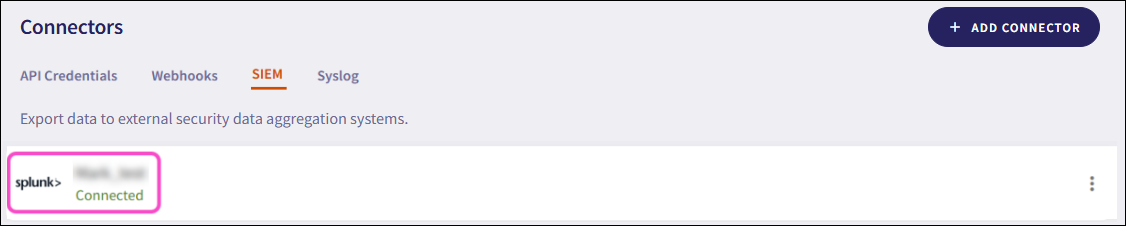
If the configuration is correct, Coro creates the connector with a status of Connected:
For MSP channel workspaces, Coro adds the connector to the channel workspace and, if Apply to all customers is enabled, to all connected descendant workspaces.
Coro sends event data and metadata to the configured SIEM in real time. If the SIEM is unavailable, Coro cannot collect or send event data.
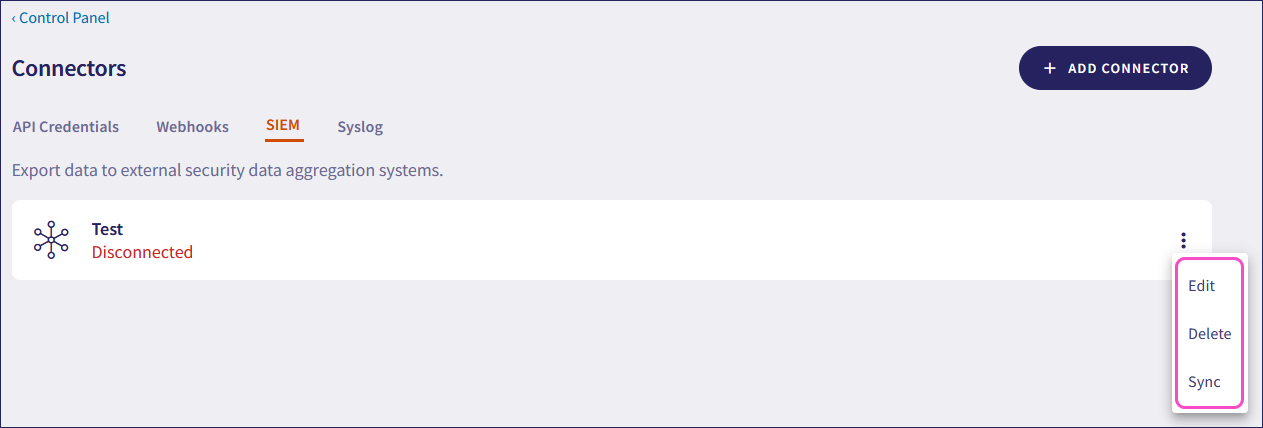
After you configure a connector, Coro monitors its connection to the SIEM provider. If the endpoint becomes unavailable, Coro waits two hours before retrying the connection. If the retry fails, Coro disconnects the connector and updates its status to Disconnected:

Use the three-dot menu of a configured connector to:
Edit: Modify the configuration settings of the connector.
Delete: Delete the connector configuration.
For MSP channel workspaces, Coro deletes the connector from the channel workspace and all connected descendant workspaces.
Sync: Manually retry the connector configuration by sending a test event to verify connectivity with the SIEM provider.
Connector actions are only available in regular workspaces and MSP channel workspaces.