As part of a virtual office, Coro includes the ability for customers to configure VPNs together with site-to-site VPN tunnels.
This guide describes how to establish a site-to-site VPN tunnel between Coro and a Cisco Meraki appliance through the Cisco Meraki platform, and how to configure Coro to integrate with Cisco Meraki's firewall.
To configure a Cisco Meraki site-to-site VPN tunnel, complete the following processes:
Before you start, make sure you have the following:
Access as an admin user to the Coro console for your workspace.
An active subscription (or trial) for the Coro Network module.
Access to the Cisco Meraki Dashboard.
Verify that your Cisco Meraki firewall allows inbound and outbound traffic for the following Coro Network subnets:
- 10.8.0.0/16
- 10.9.0.0/16
- 10.10.0.0/16
Alternatively, configure firewall policies to permit only the specific ports and protocols used by the VPN tunnel.
Configure Cisco Meraki to allow traffic from inside and outside the network:
The Cisco Meraki configuration method is the same whether Virtual MX (VMX) is hosted on Azure/AWS or is a physical device.
Sign in to your Cisco Meraki Dashboard.
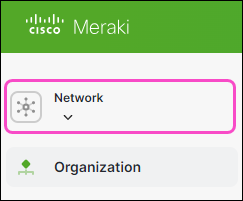
Select Network:
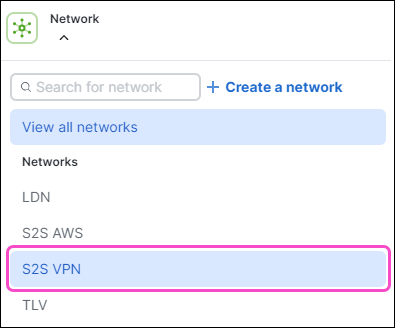
Select your preferred VMX appliance:
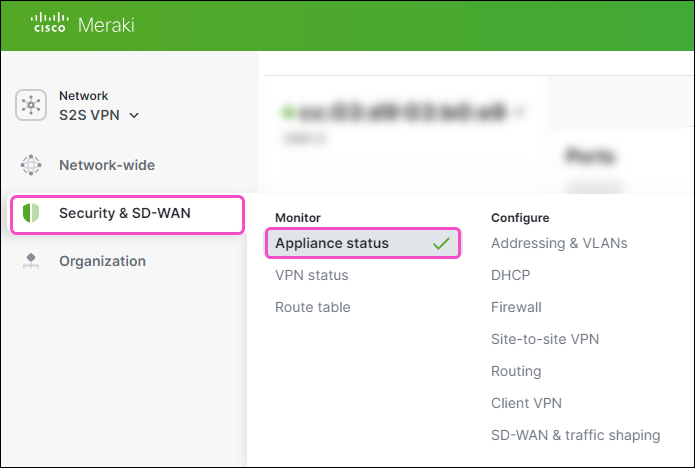
Go to Security & SD-WAN > Appliance status:
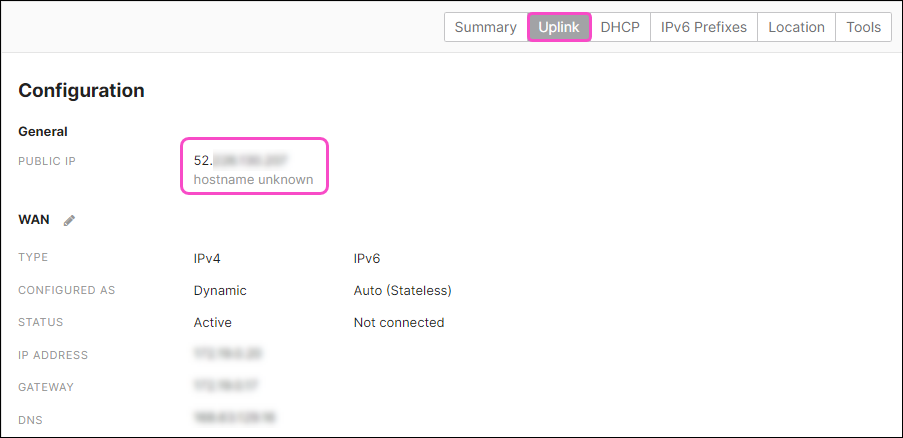
Select Uplink and note the PUBLIC IP address value:
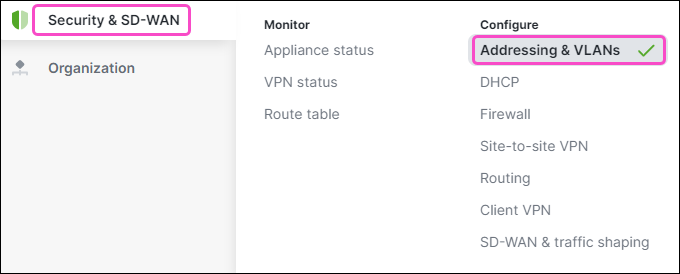
Go to Security & SD-WAN > Addressing and VLANs:
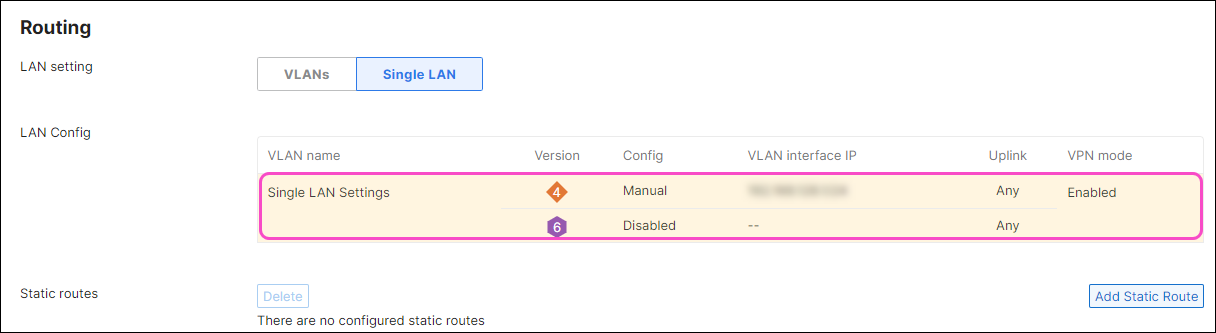
Under Routing, select the LAN Config table:
Cisco Meraki displays the Configure Single LAN dialog:
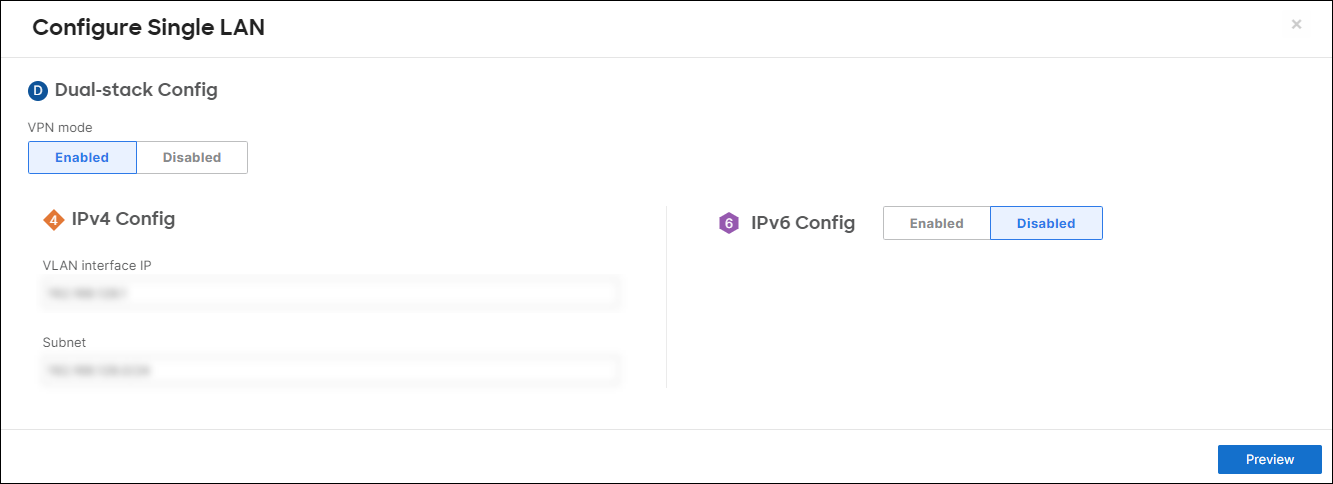
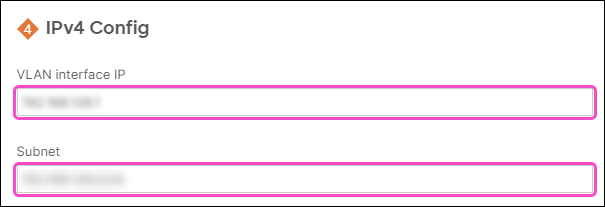
Note the Subnet and VLAN interface IP values, which are set to your internal IP address:
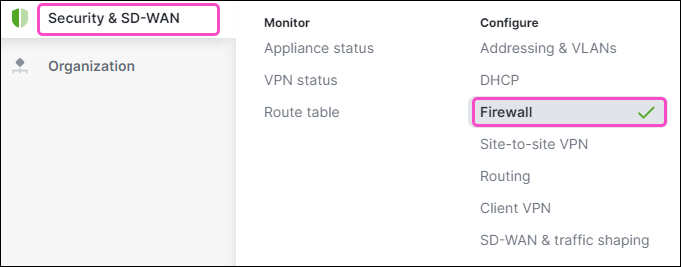
Go to Security & SD-WAN > Firewall:
For both Inbound rules and Outbound rules, make sure Source is set to Any for the Allow policy. Leave the Deny policy at their default values:
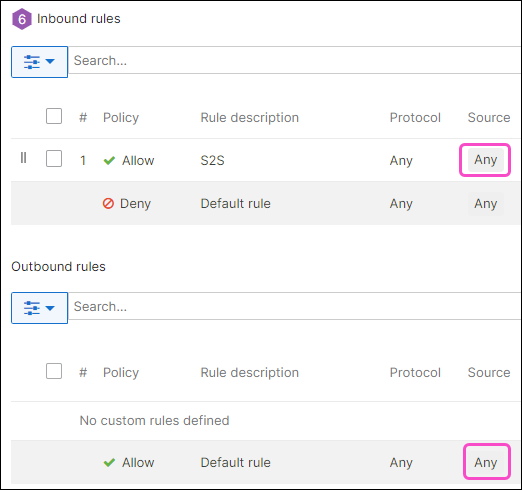 Important
If your setup requires changing these settings, ensure they do not block Coro's IP address.
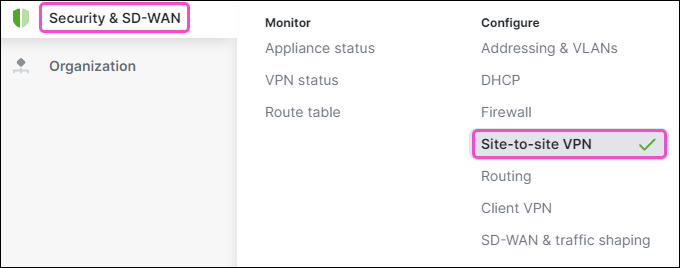
Go to Security & SD-WAN > Site-to-site VPN:
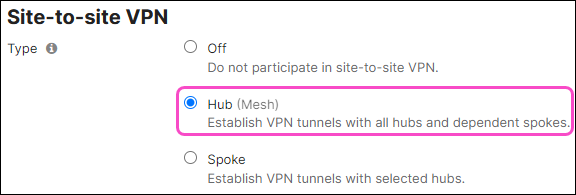
Configure Site-to-site VPN and VPN settings options:
Type: Select Hub (Mesh):
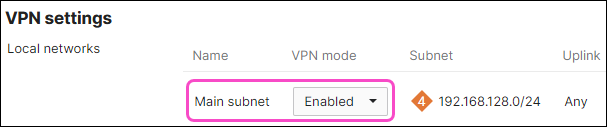
Local networks: Set VPN mode to "Enabled" for the Main subnet:
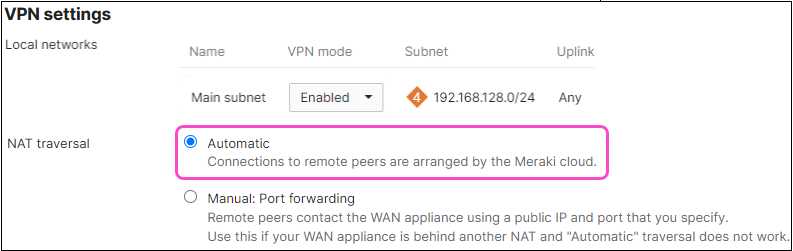
NAT Traversal: Select Automatic:
Remote VPN Participants: Leave as default.
BGP & OSPF settings: Leave as default.
Configure Organization-wide settings:
Select Add a peer.
Cisco Meraki adds a new row to the Non-Meraki VPN peers table:
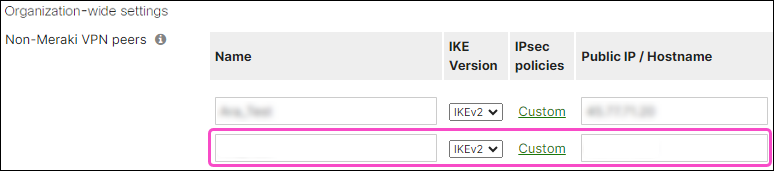
Enter the following settings:
Name: Enter a peer connection name.
IKE Version: Select "IKEv2".
IPSec Policies: Select the Default link.
Cisco Meraki displays an IPsec policy configuration dialog:

In the Phase 1 section, make sure your settings match the following:
Field Value Encryption Select "AES-256" Authentication Select "SHA256" Pseudo-random Function Select "SHA256" Diffie-Hellman group Select "14" Lifetime (seconds) Enter "28800" In the Phase 2 section, make sure your settings match the following:
Field Value Encryption Select "AES-256" and "AES-128" Authentication Select "SHA256" and "SHA1" PFS group Select "Off" Lifetime (seconds) Enter "28800" To save your settings, select Update.
Cisco Meraki now displays the IPSec Policies link as Custom:

Public IP/Hostname: Enter the Coro public IP address shown in the Coro console.
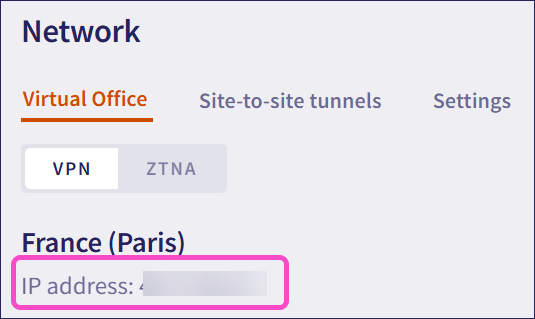
To retrieve the Coro public IP address:
From the sidebar, select Control Panel.
Select Network:
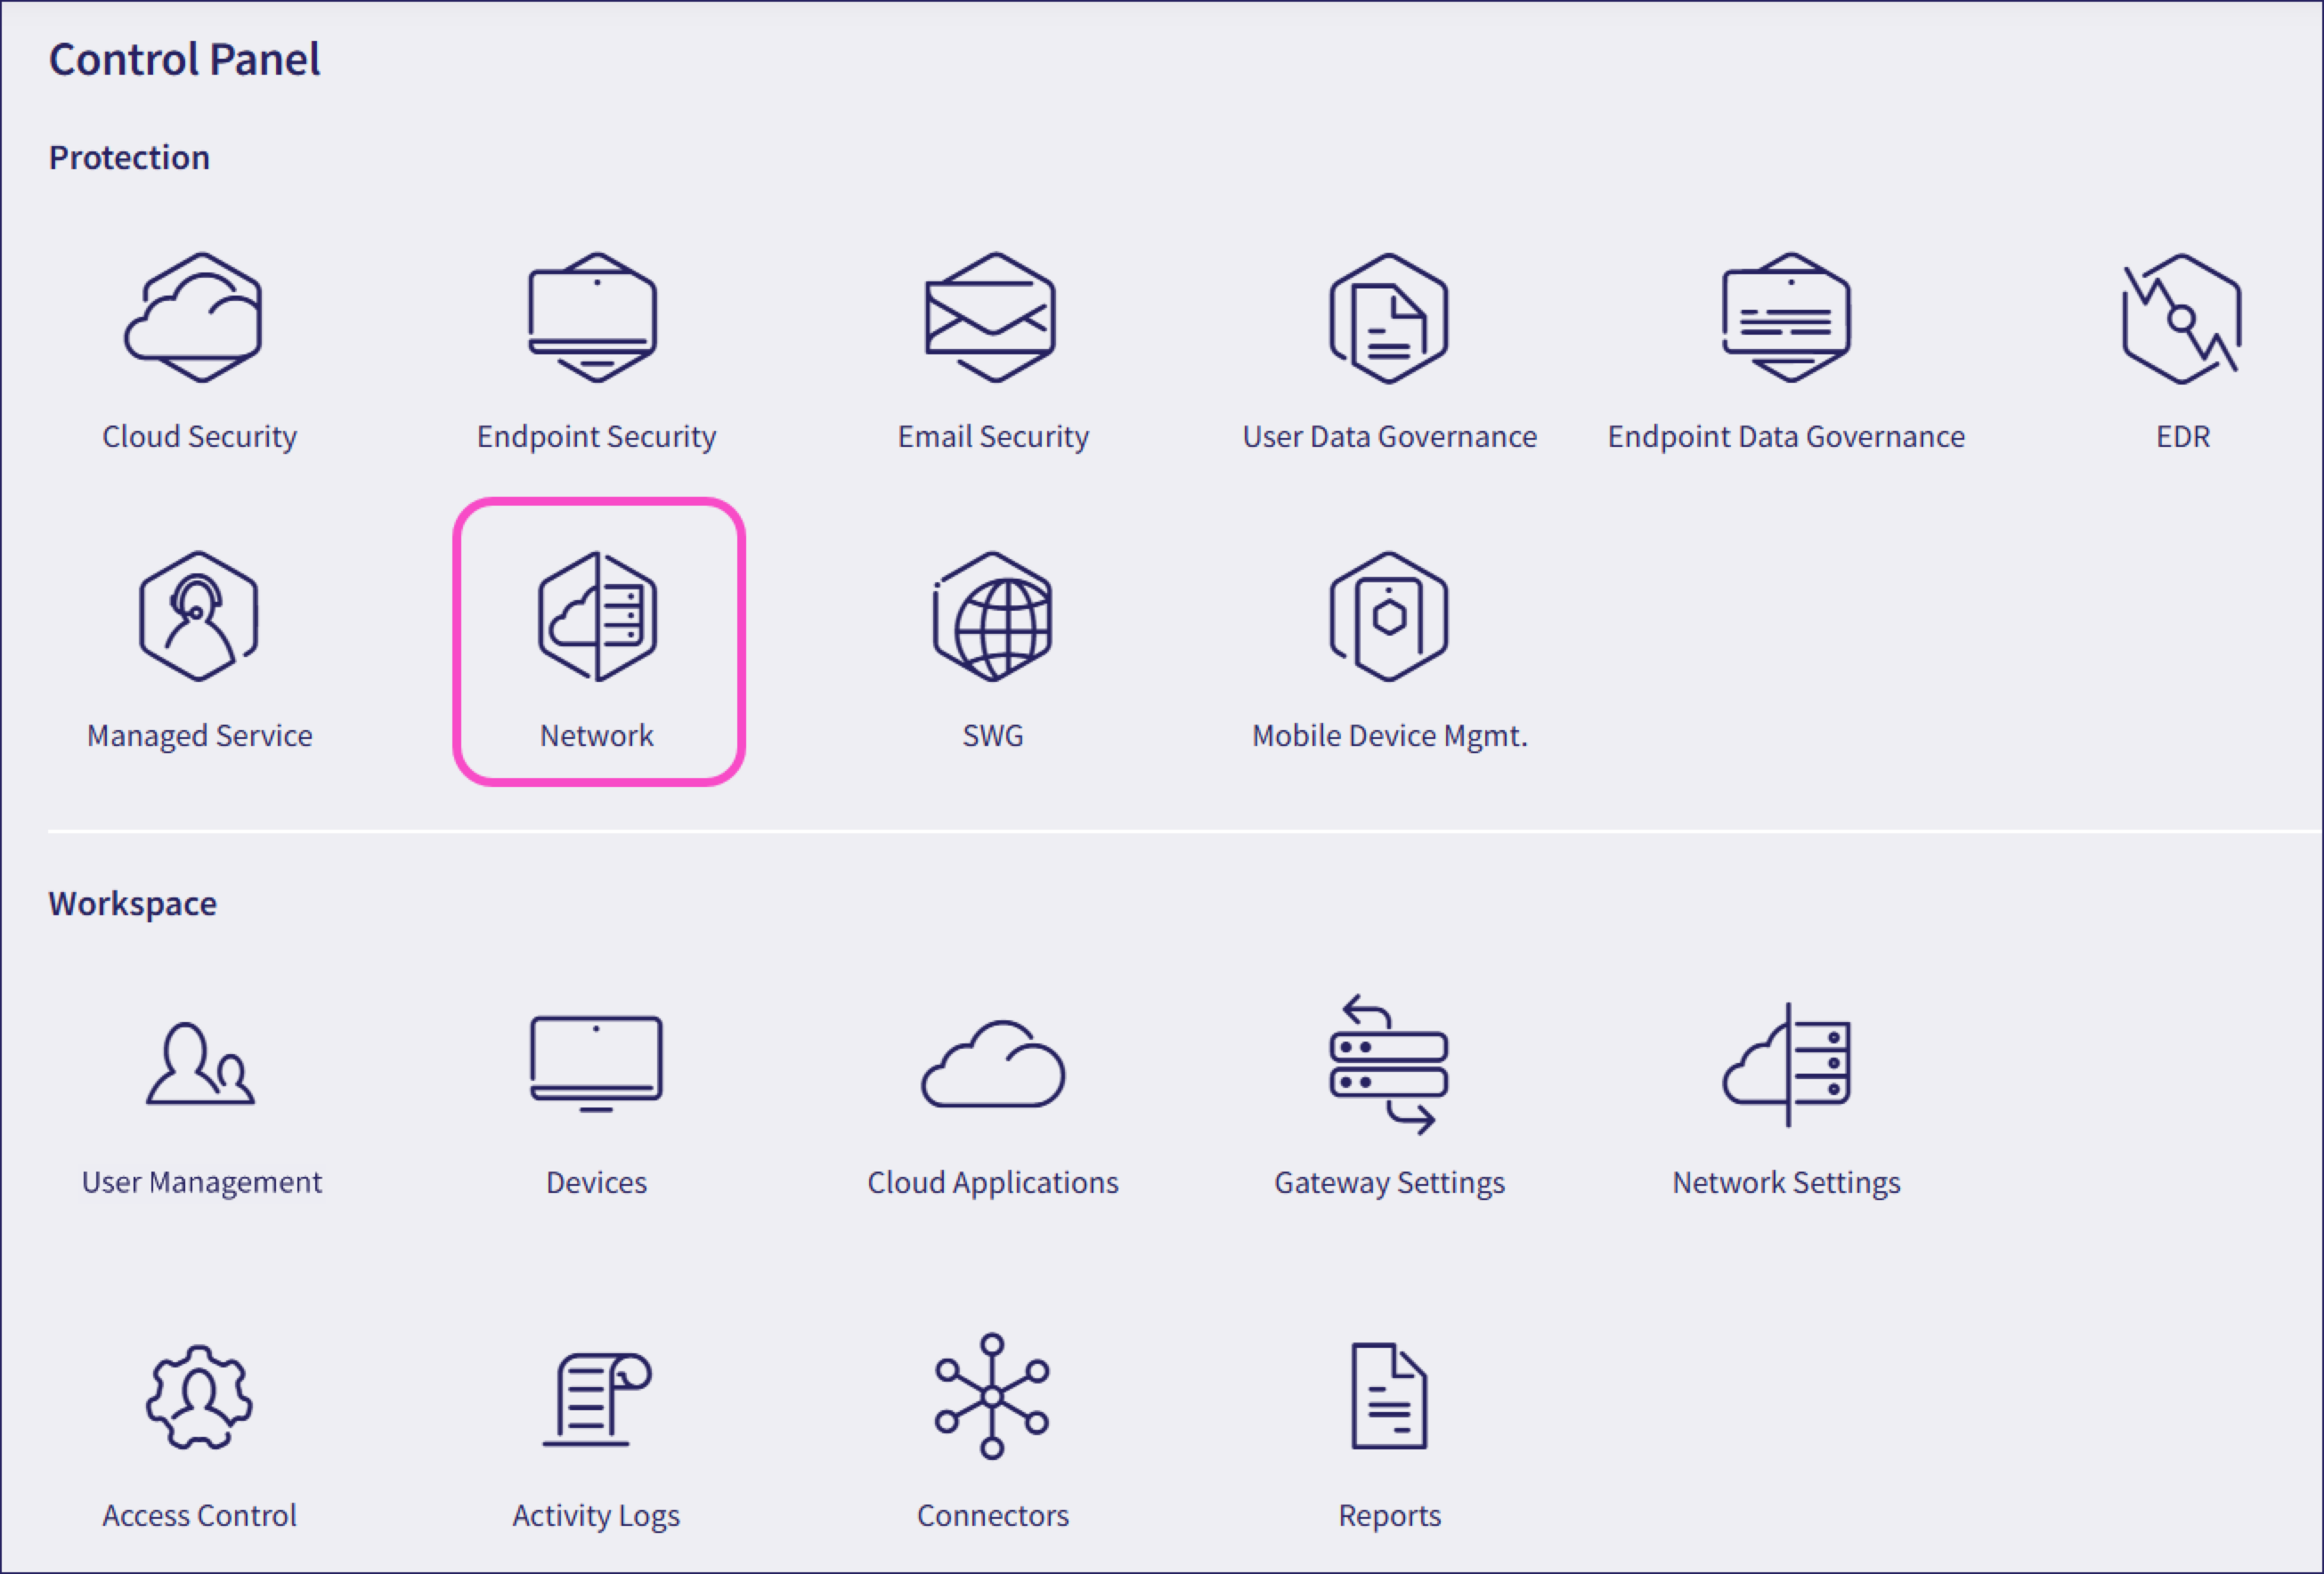
Coro displays the Coro public IP address on the Virtual Office page:
Local ID: Enter the public IP address of Cisco Meraki's VMX appliance retrieved here.
Remote ID: Enter the Coro public IP address retrieved for Public IP/Hostname.
Private subnets: Enter 10.8.0.0/16, 10.9.0.0/16, 10.10.0.0/16.
Preshared key: Enter a shared password (secret) or generate a new one.
Availability: Select All networks.
Inbound firewall logging: Select Enable to allow for more granular control over network security and traffic management.
Site-to-site outbound firewall: Make sure the policy is set to "Allow":

Select Save Changes to save your settings:
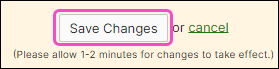
Allow one to two minutes for your changes to take effect.
Configure Coro with details of your site-to-site tunnel and firewall:
From the sidebar, select Control Panel.
Select Network:
Select Site-to-site tunnels:
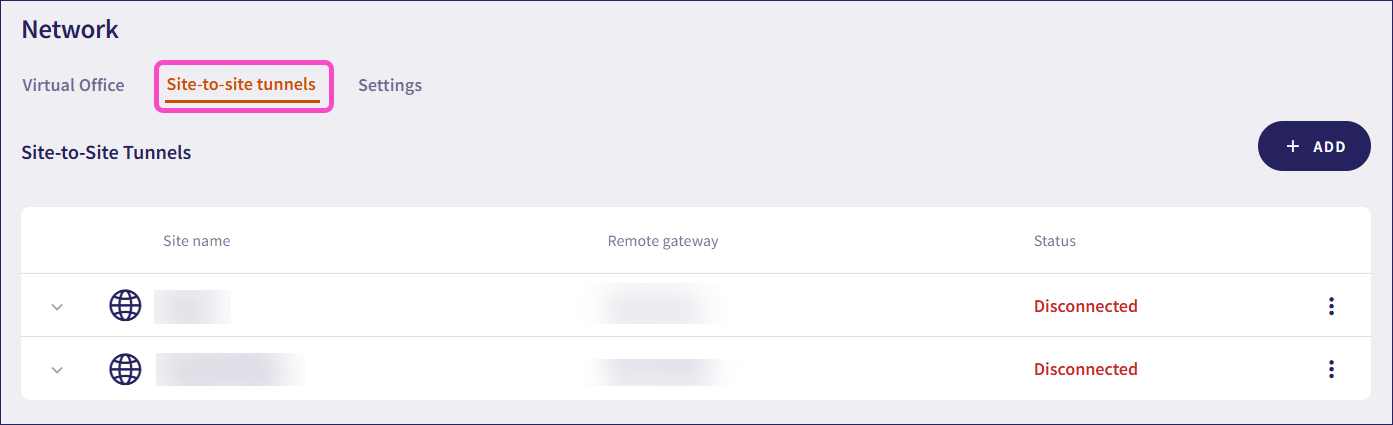
Select + ADD to add a new site-to-site tunnel configuration.
Configure your Site details:

Avoid using special characters or spaces in your site details or preshared key.
- Site name: Enter a name for your site-to-site tunnel.
- Site description: Enter a short description for the tunnel.
- Remote gateway IP: Enter Cisco Meraki's public IP address obtained here.
- Remote network IP: Enter Cisco Meraki's subnet obtained here.
- Preshared key: Enter the preshared key used here.
- Lifetime key: Enter "28800".
In the same dialog, configure the Firewall settings:
- Remote Network Mask: Enter Cisco Meraki's subnet obtained here.
- IKE Version: Select "IKEv2".
- Phase 1 Encryption: Select "AES256-SHA256-D14".
- Phase 2 Encryption: Select "AES256-SHA256-D14".
- Aggressive Mode: Select "No".
To save your configuration, select SAVE.