To create a new application, sign in to your Box developer console:
https://account.box.com/login?redirect_url=%2Fdevelopers%2Fconsole
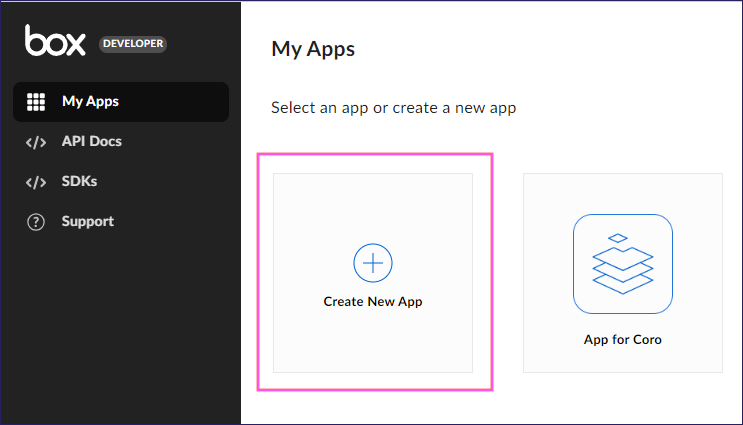
In My Apps, select Create New App:
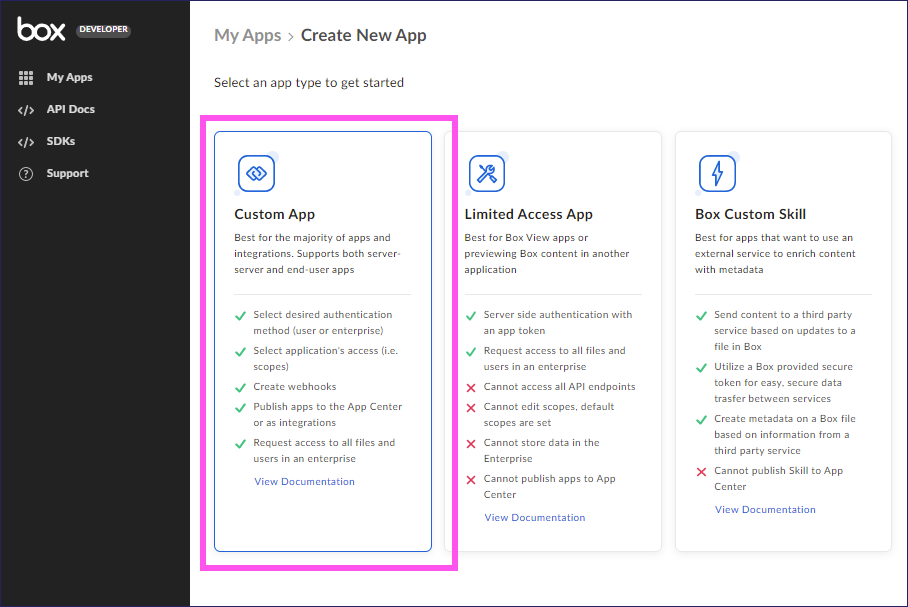
Choose Custom App, then select Next:
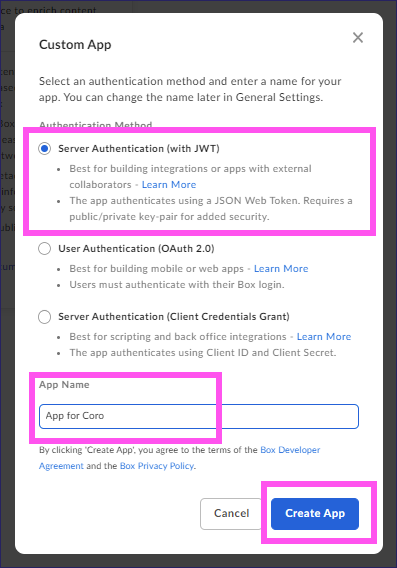
Choose Server Authentication (with JWT), type in a name for the Coro application in the App Name field, and select Create app:
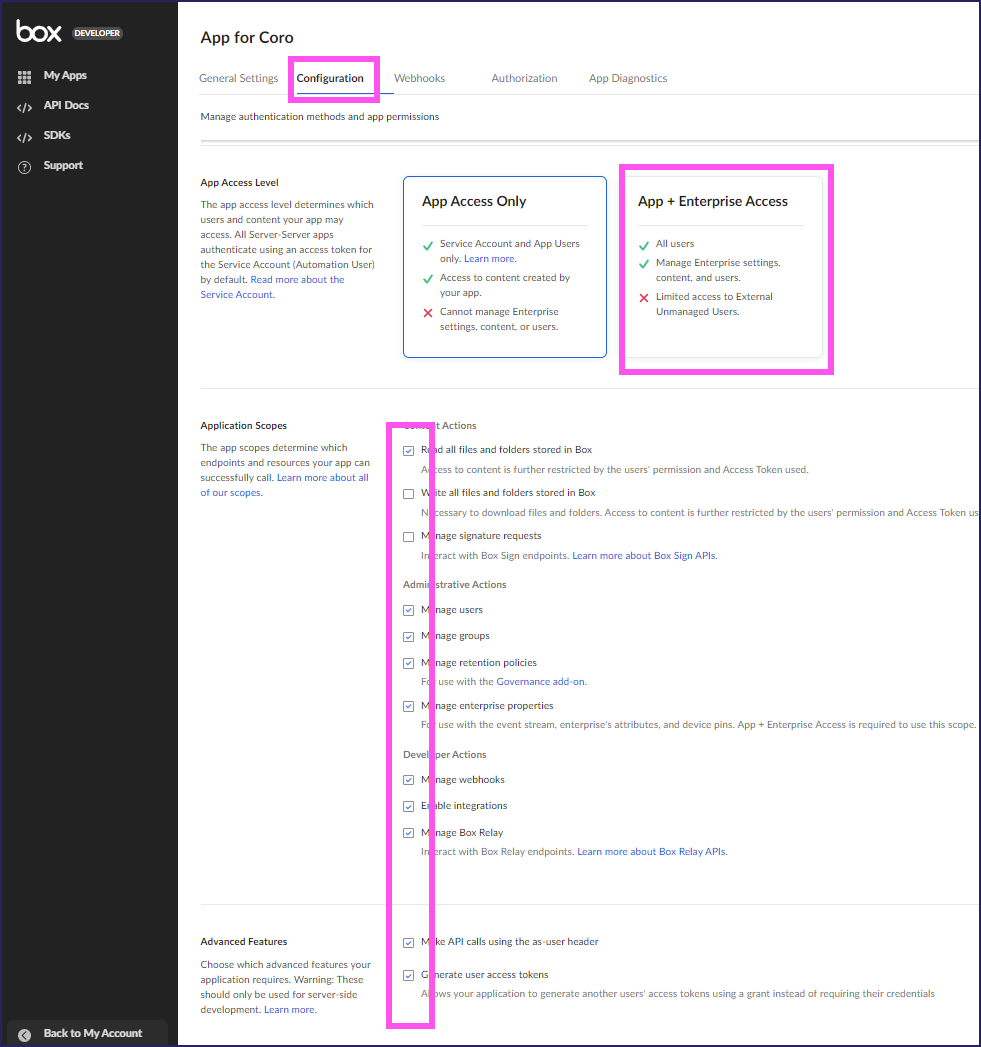
Switch to the Configuration tab and set the following permissions:
- In the App Access Level section, select App + Enterprise Access.
- In the Application Scopes/Content actions section, leave as default (only Read all files and folders stored in Box is checked).
- In the Application Scopes/Administrative actions and Application Scopes/Developer options sections, check all options.
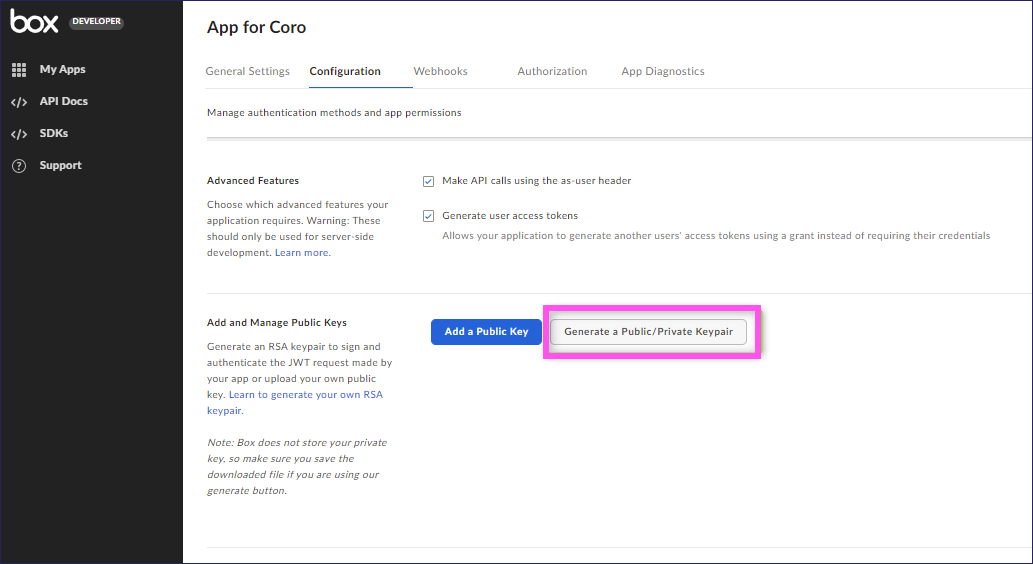
- In the Advanced Features section, check all options:
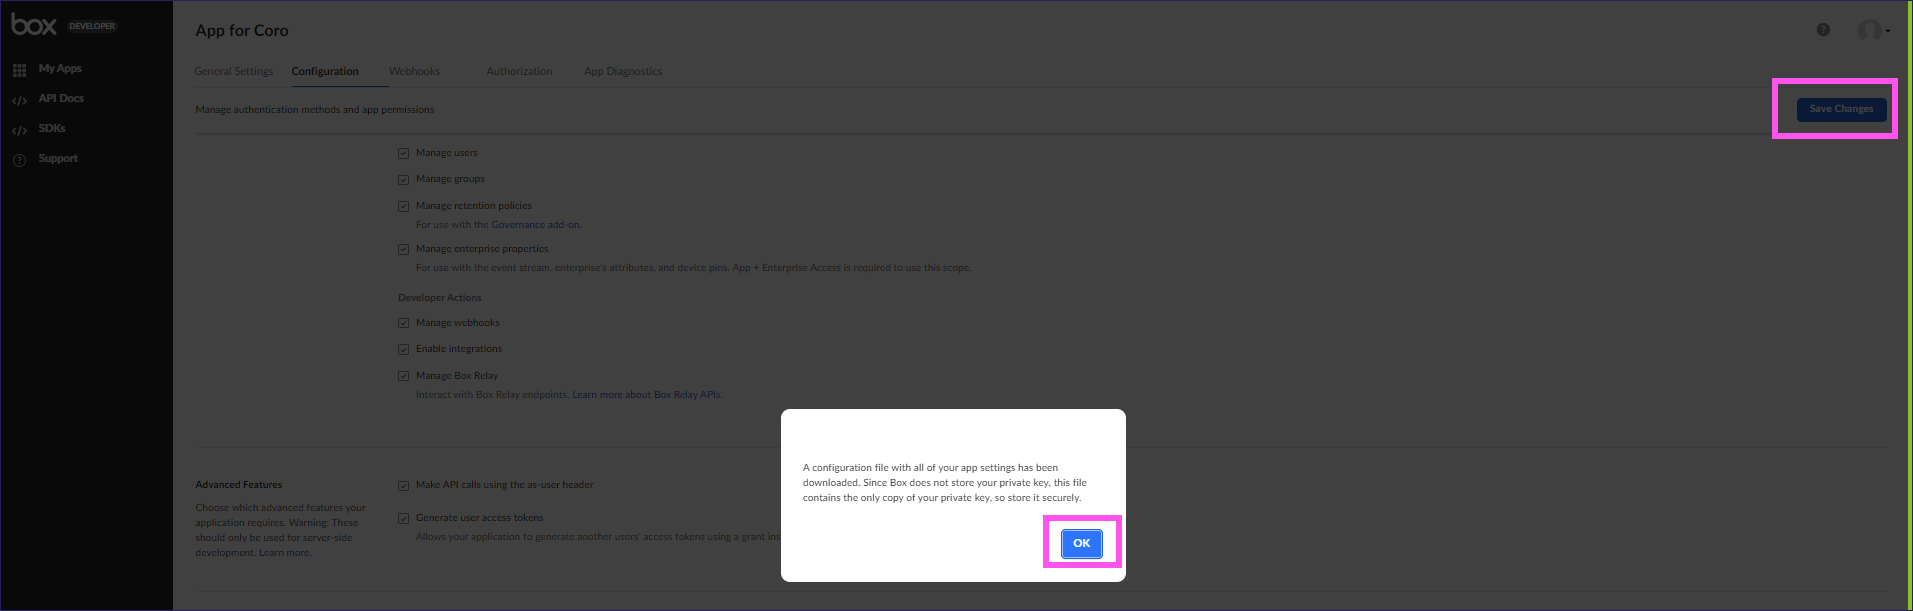
Select Save changes at the top-right corner of the screen:

Scroll down to the Add and Manage Public Keys section and select Generate a Public/Private keypair.
You will be required to confirm the operation with 2FA (two-factor-authentication) process.
Save the configuration file that has been downloaded. This file is used later in the Coro console as a configuration file (Stage 3). Select OK to close the message and re-select Save changes:
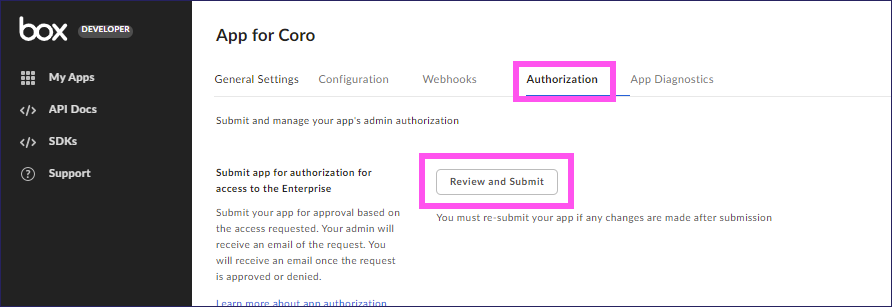
Switch to the Authorization tab and select Review and Submit:
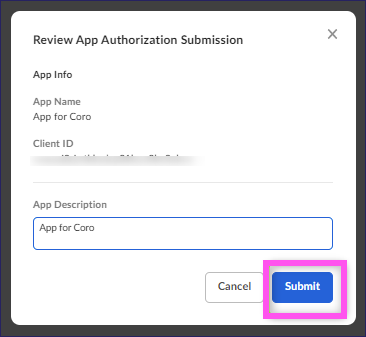
Select Submit at the opened window:
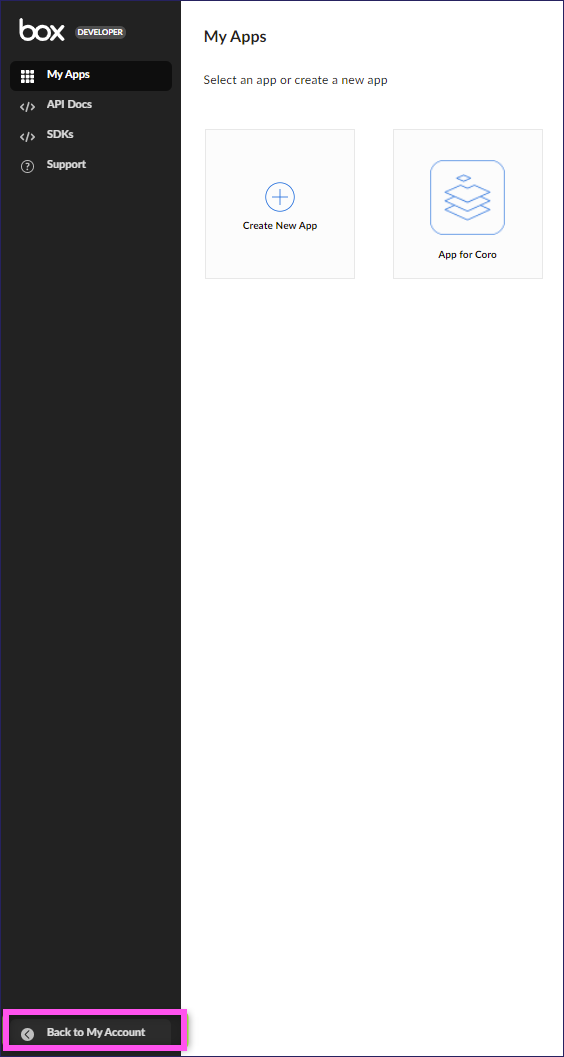
Select Back to My Account at the bottom-left corner of the screen:
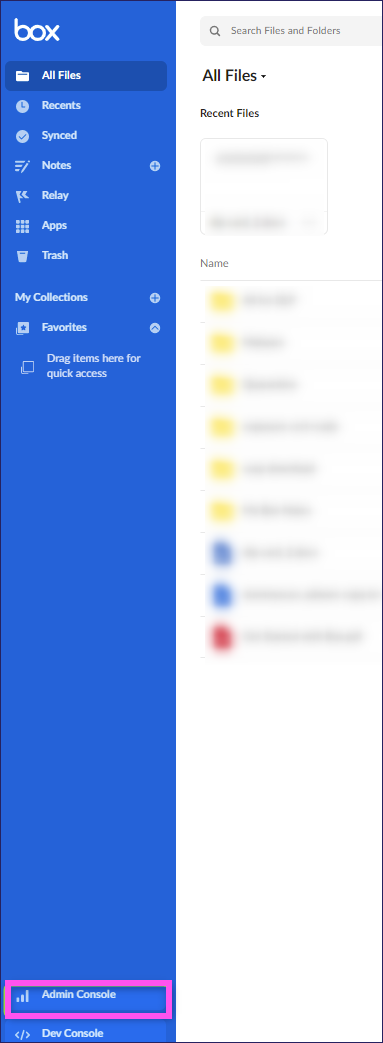
Select Admin Console at the bottom-left corner of the screen to navigate to your Box admin screen:
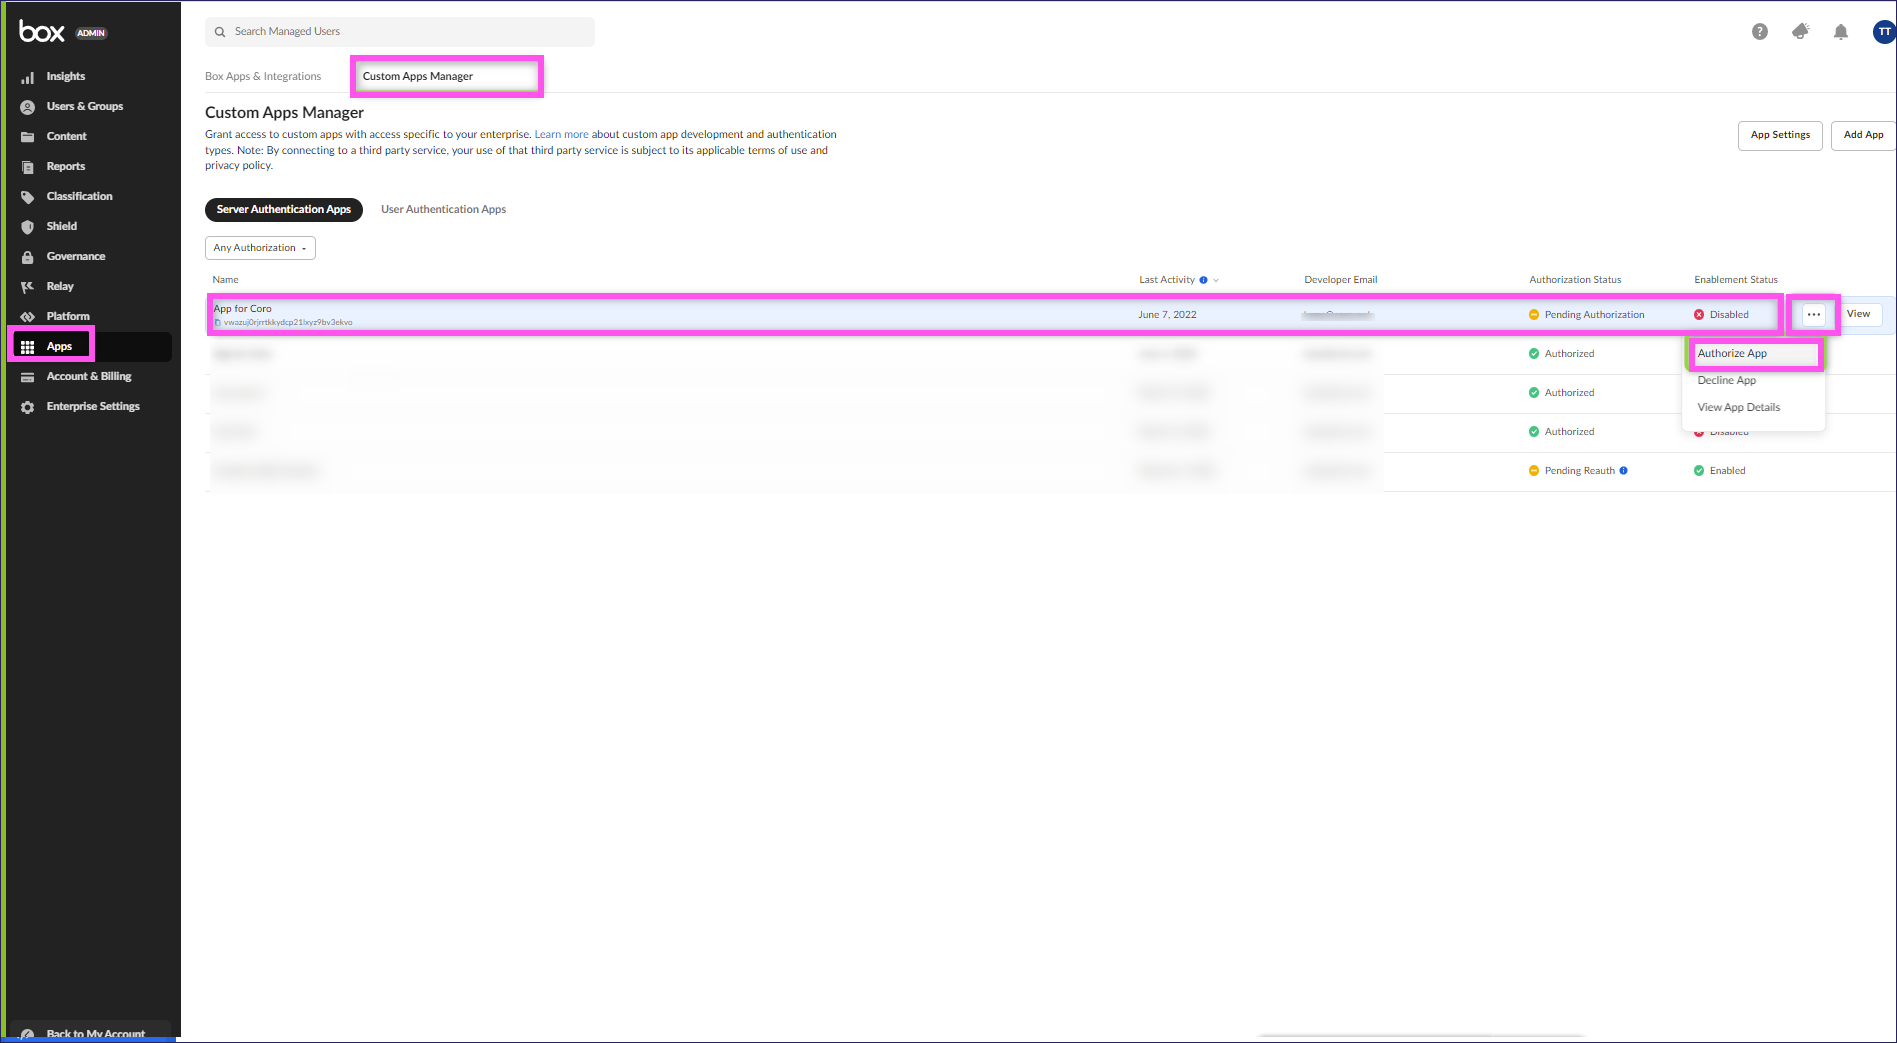
Select Apps on the left-side menu and switch to the Custom Apps Manager tab.
Find the record of your newly created Coro application, select the three-dot menu on the right side of the line and select Authorize App:
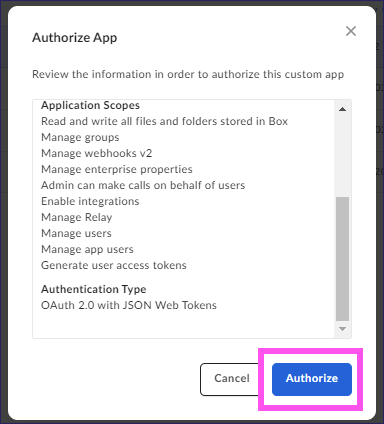
Select Authorize in the opened window:
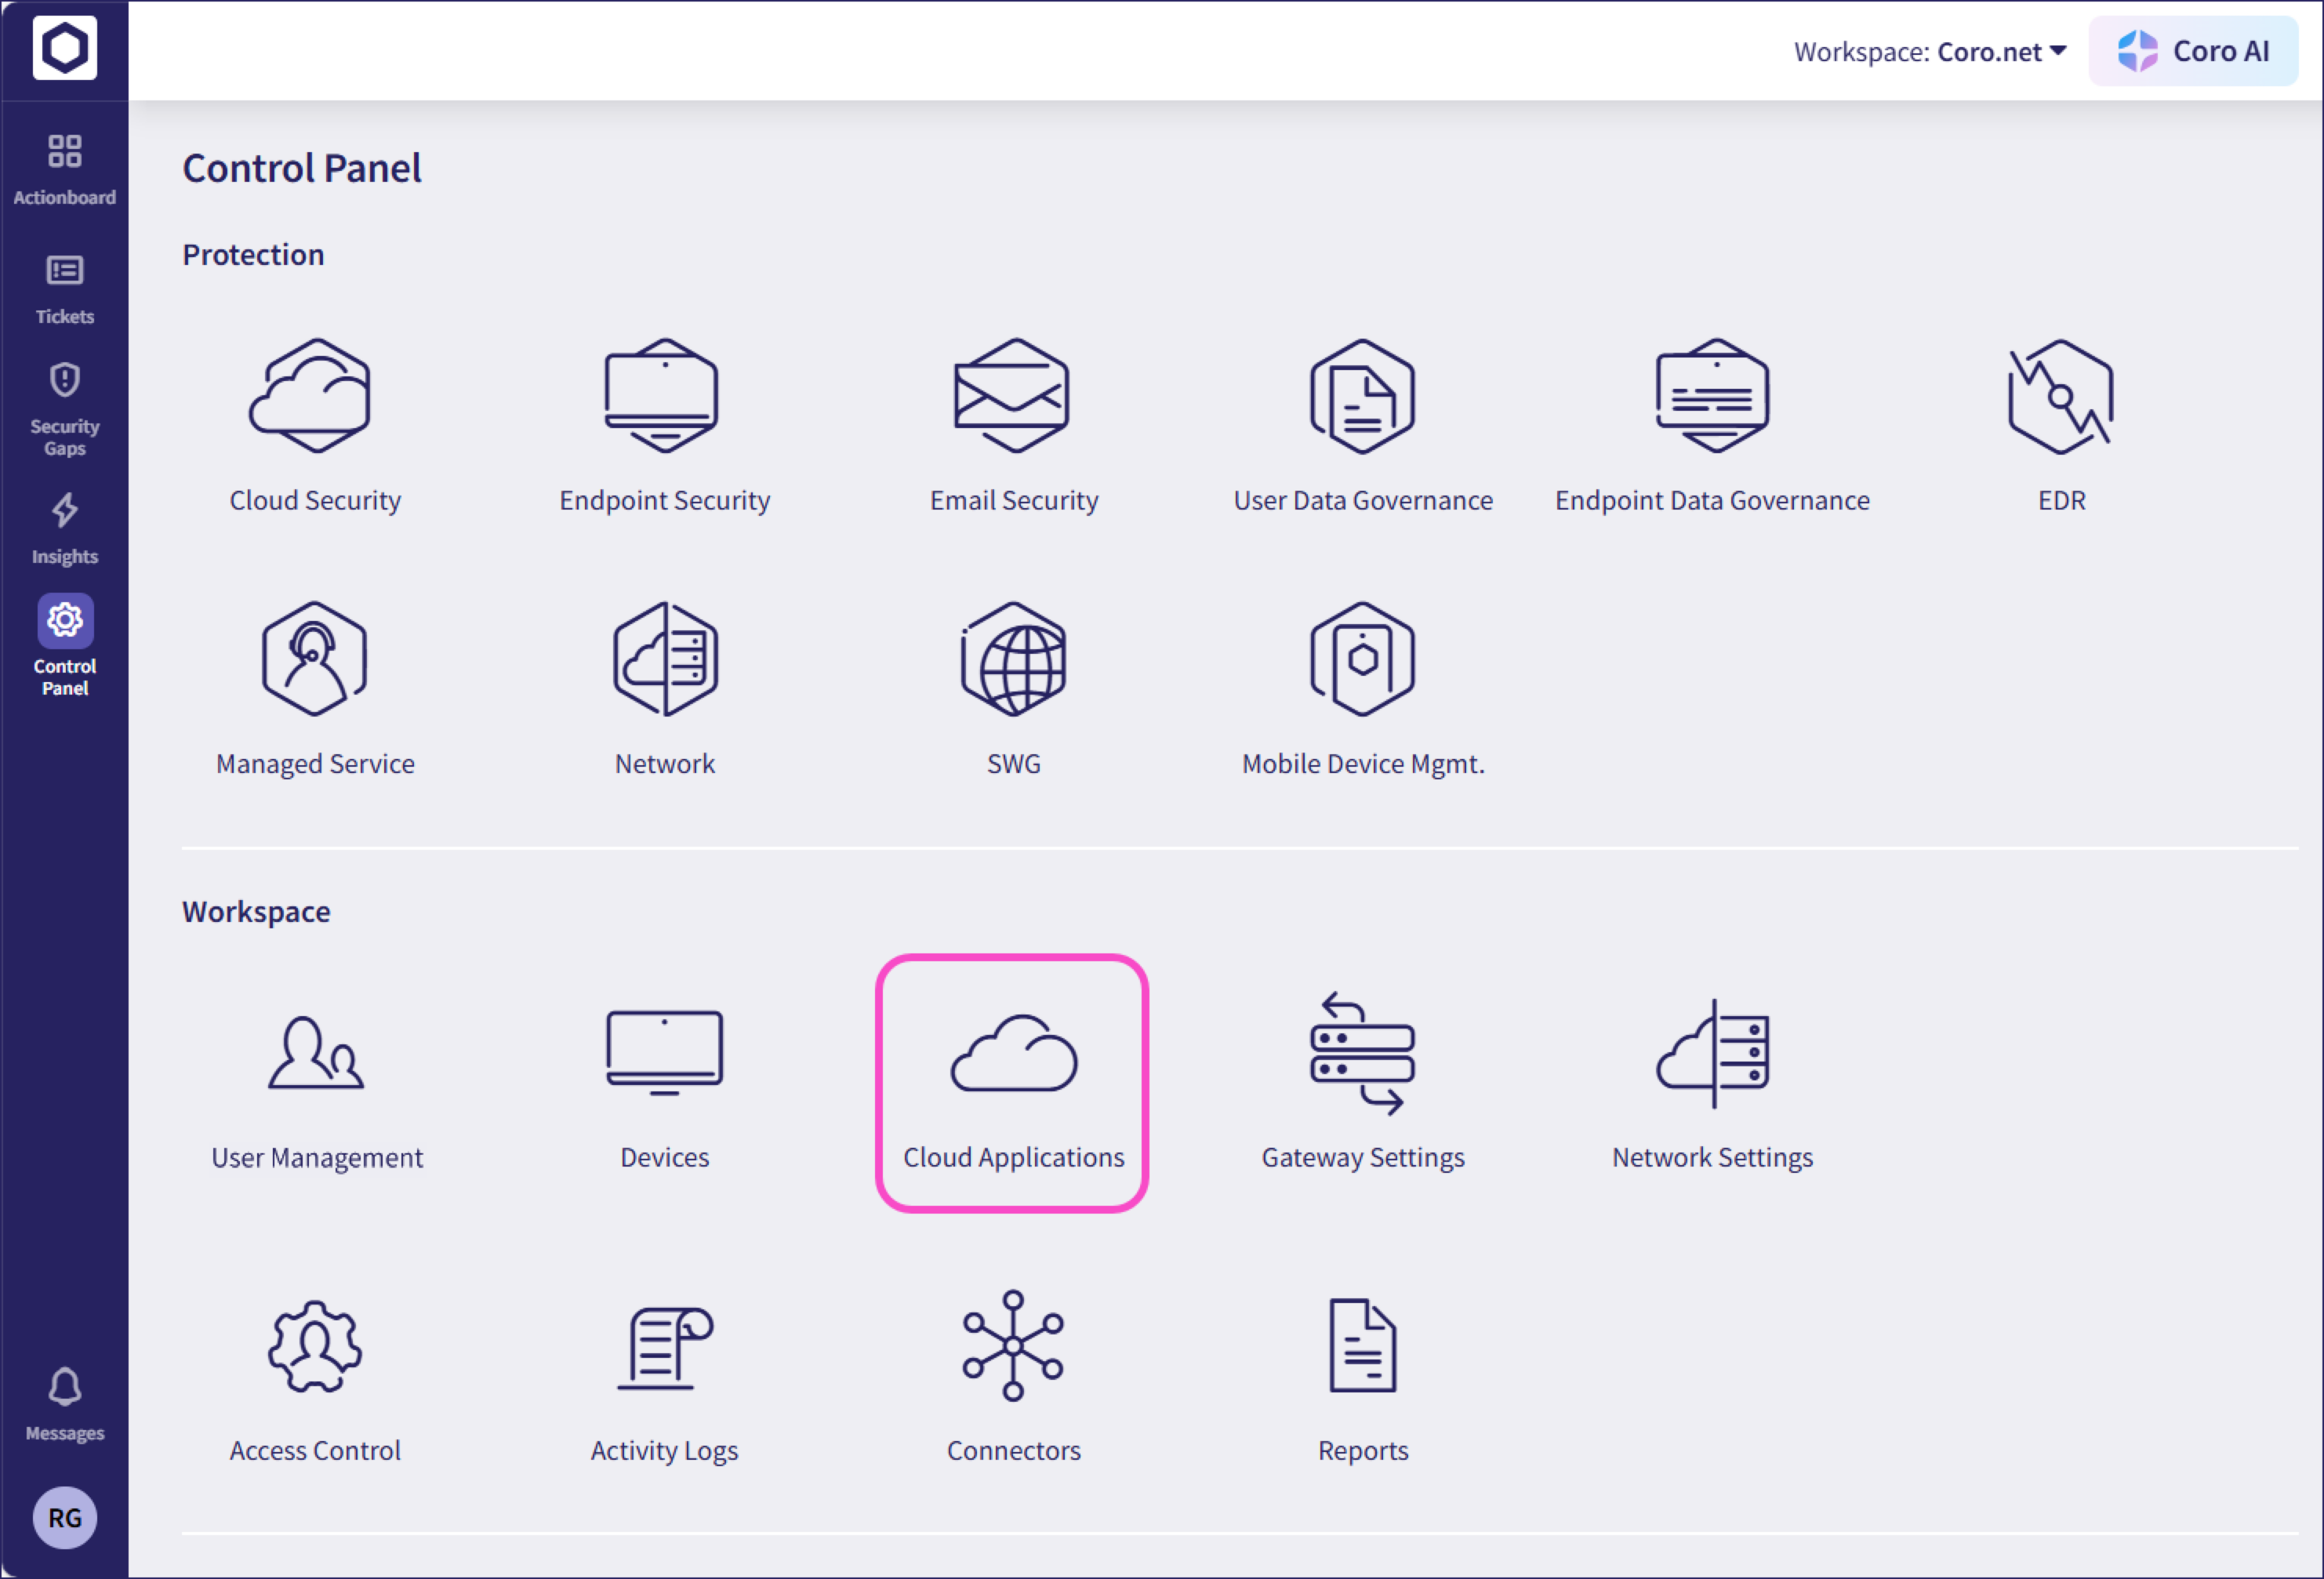
From the sidebar, select Control Panel.
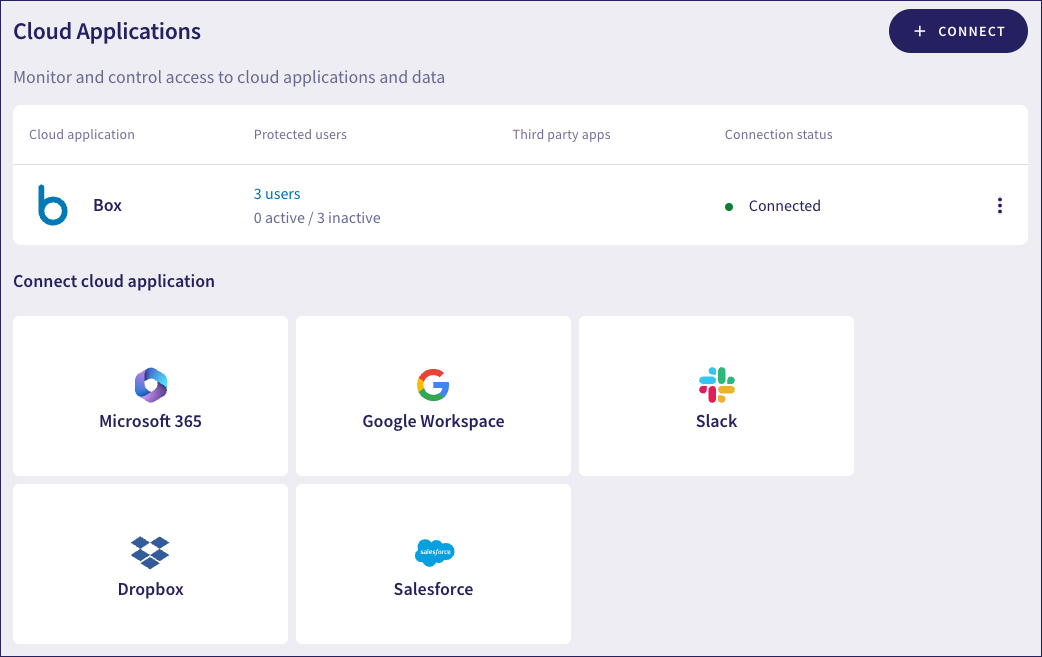
Select Cloud Applications:
On the Cloud Applications page, select Box:
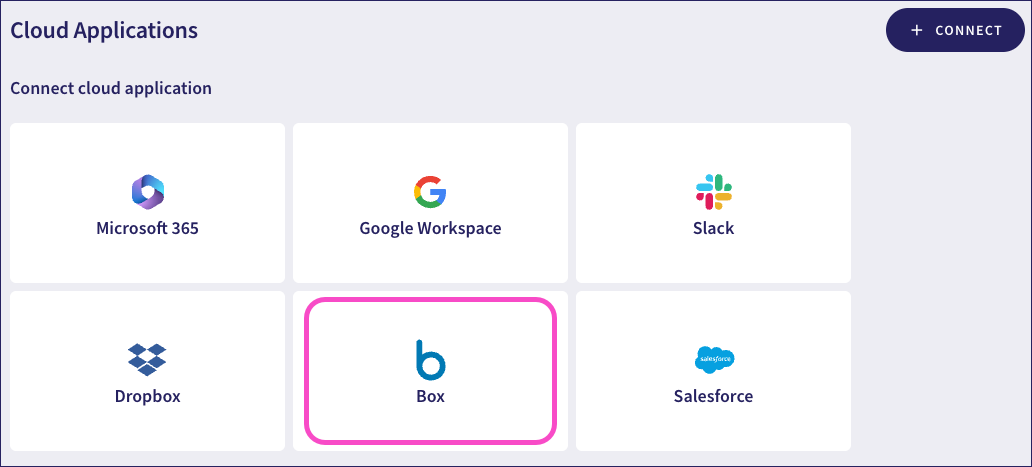
Alternatively, select + CONNECT to start the process. Then, select Box from the app selection dialog that follows.
The Connect to Box dialog appears:
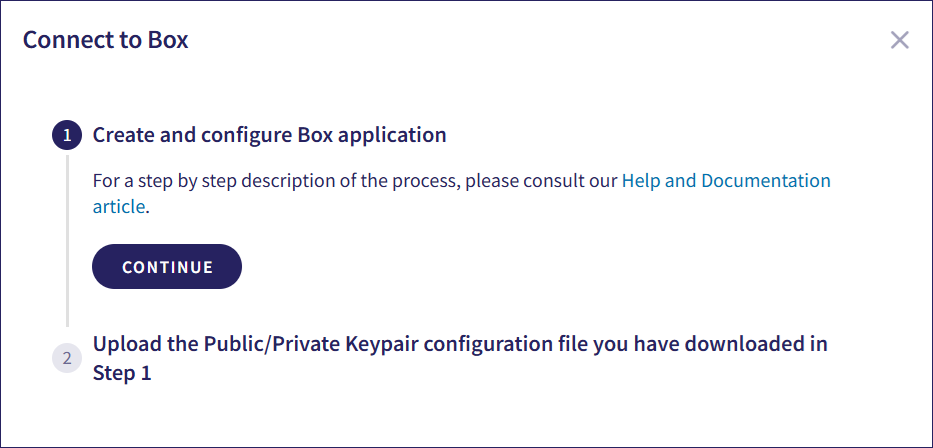
Step 1 requires you to create a new Coro application in Box, as described in Stage 1 and Stage 2.
If you have already created a Coro application in Box, select CONTINUE.
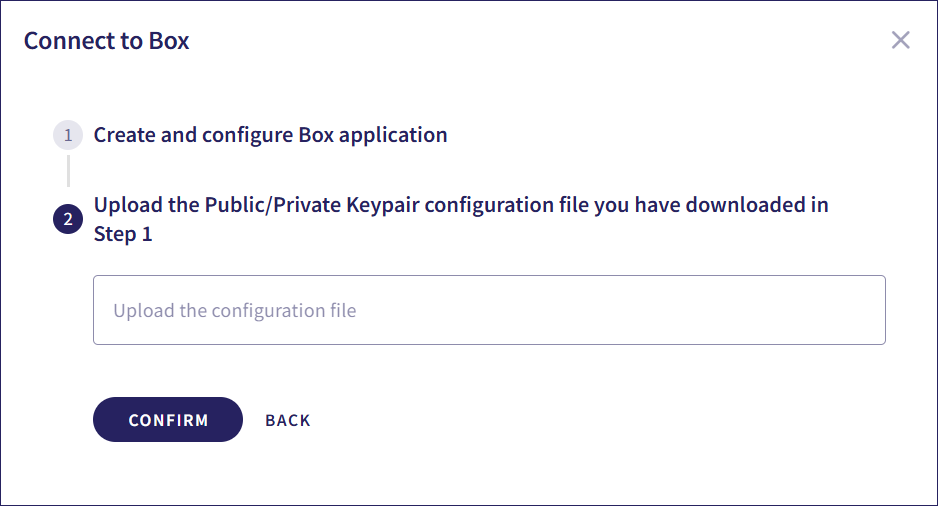
In Step 2, specify the configuration file downloaded as part of Stage 2, then select CONFIRM:
Box is now connected to Coro and is shown as Connected:
For further assistance, contact Coro Support.