Installing the Coro Outlook add-in for a GoDaddy hosted email service
For organizations that host their email solution with GoDaddy, Coro's Outlook add-in can be installed on your users' endpoint devices.
To enable the Coro Outlook add-in, follow these steps:
- Sign in to your GoDaddy account ( https://account.godaddy.com ).
-
From the GoDaddy console, go to
Email & Office
:

-
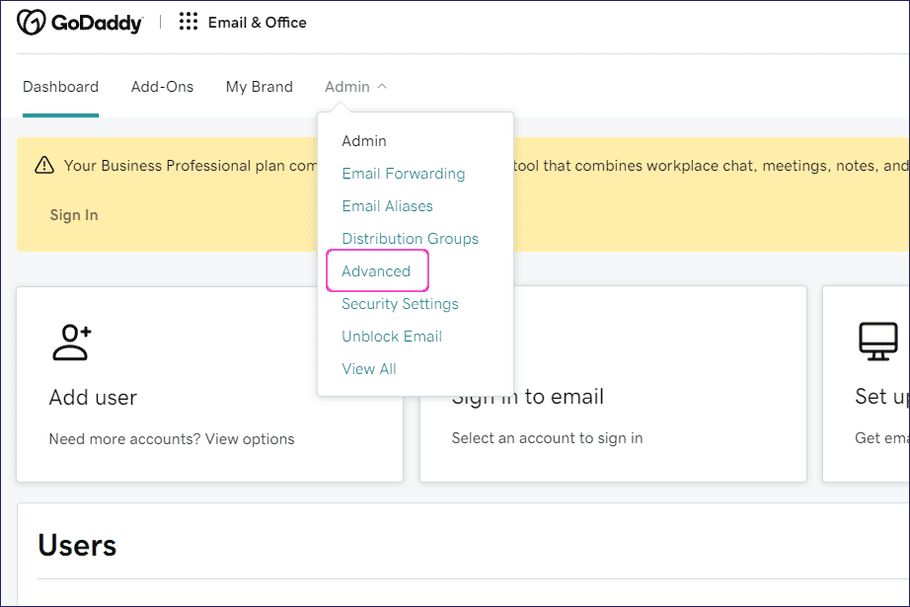
From the
Email & Office
dashboard, select
Admin > Advanced
:
-
From
Advanced Admin Centers
, select
Exchange > Sign In
:

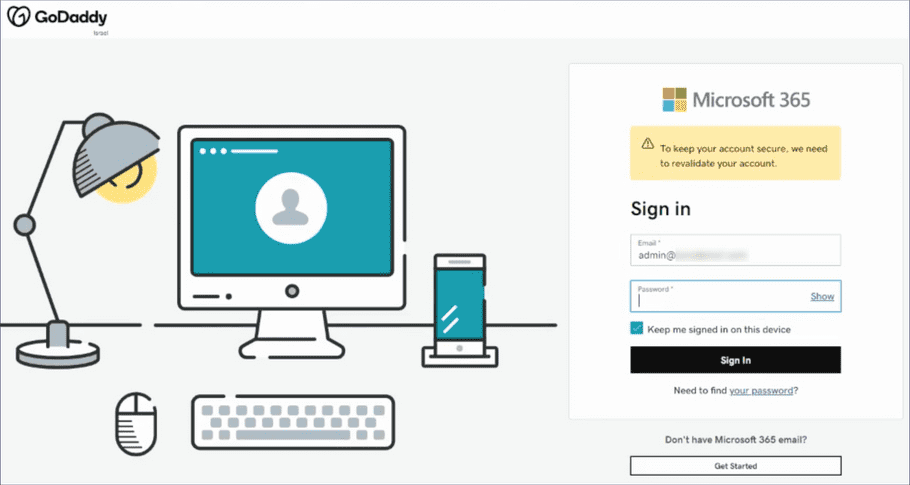
-
Sign in with your Exchange admin account credentials:
-
In the
Exchange Admin Center
, go to
Organization -> Add-Ins
:

-
From
Add-ins
, select the
+
menu, then select
Add from URL
:

Exchange displays the Add from URL dialog.
-
Enter the Coro Outlook add-in URL:
https://365-add-in.secure.coro.net/manifest.prod.xmlThen, select install to continue:

-
After installation completes, locate Coro in the Add-ins list and select
Edit
.
Exchange displays the Edit Add-in settings dialog.
-
Configure the following settings:
- Enable Make this add-in available to users in your organization .
- Set Specify user defaults to the option that best fit your organization's needs.
Select Save to save your changes:

The process is complete.
To verify that installation was successful, locate Coro in the Add-Ins for Outlook dialog within the Outlook app:

Users can access Coro through the email message menu:
