The Secure Messages Gmail add-in secures outbound email messages with attachments when sent by any of your users via their Google Workspace account. Alternatively, users can send, receive, and manage secure messages directly from the Secure Message web portal.
Sending a message in Gmail using the Secure Messages add-in is optional. You can continue to send unsecured messages through Gmail, as normal, without using the add-in. For more information, see Using the Gmail add-in.
The Secure Messages Gmail add-in is compatible with both the web and mobile platforms of Gmail.
Make sure you meet the following prerequisites to use the Secure Messages add-in:
- The Email Security module is enabled in your workspace.
- The Secure Messages add-on is enabled in your workspace.
Admin users can deploy the Secure Messages Gmail add-in to devices through Google Workspace. Coro provides a direct link to the Secure Messages for Gmail add-in page in Google Workspace Marketplace in the console.
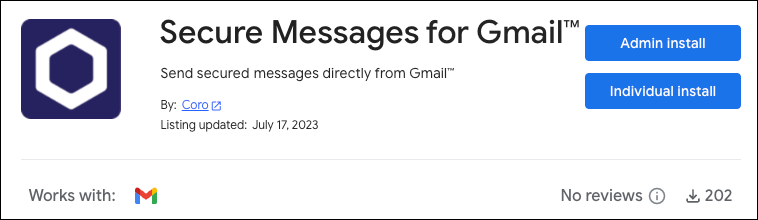
To view the Secure Messages for Gmail Google Workspace Marketplace page:
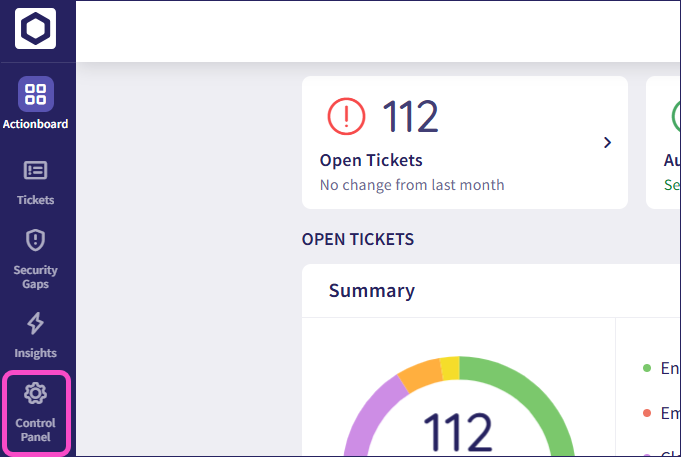
From the sidebar, select Control Panel:
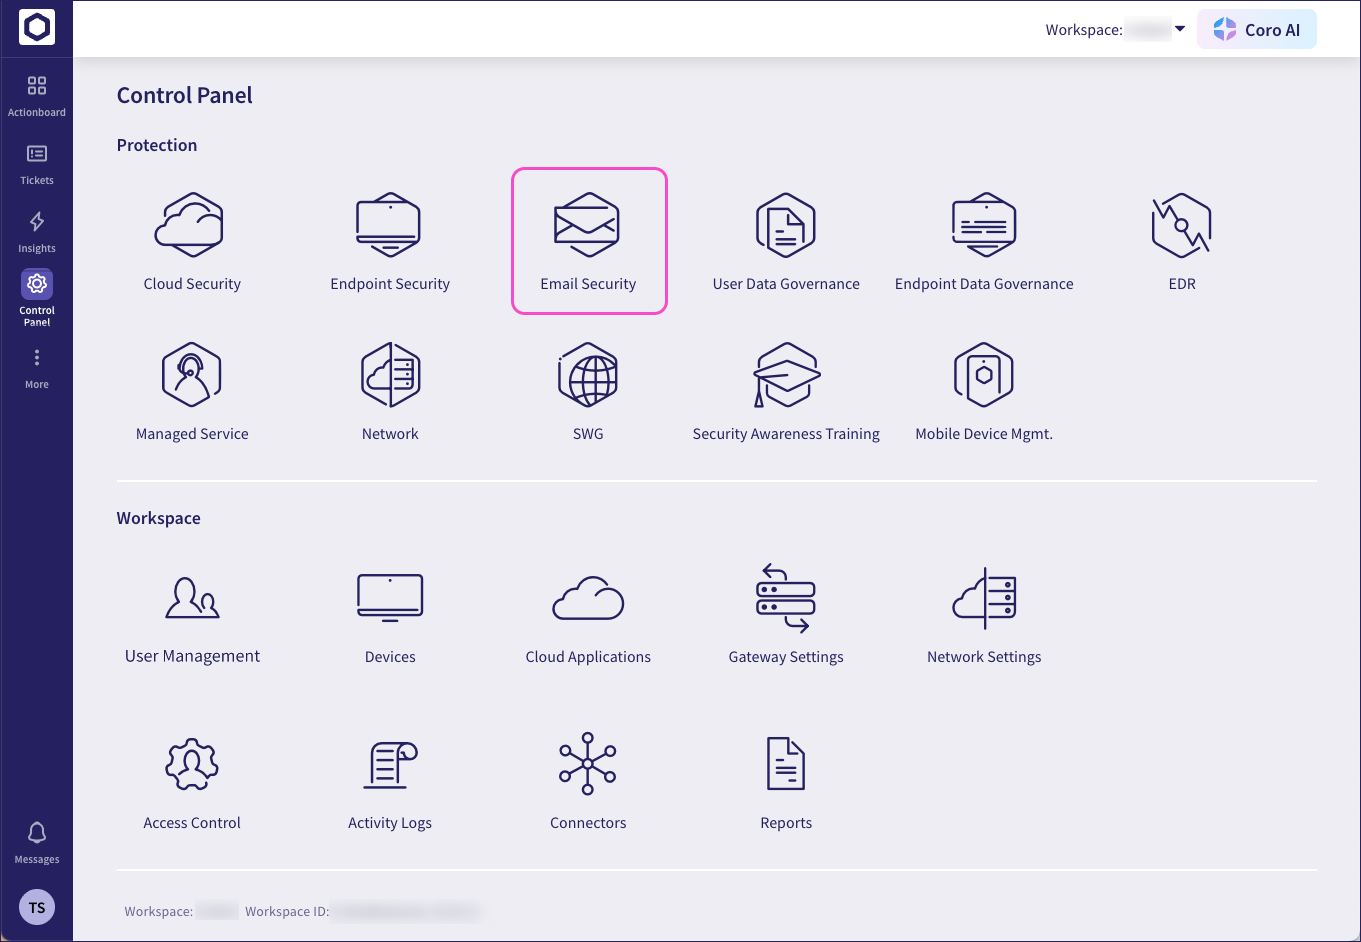
Select Email Security:
From the Email Security configuration page, select Secure Messages:
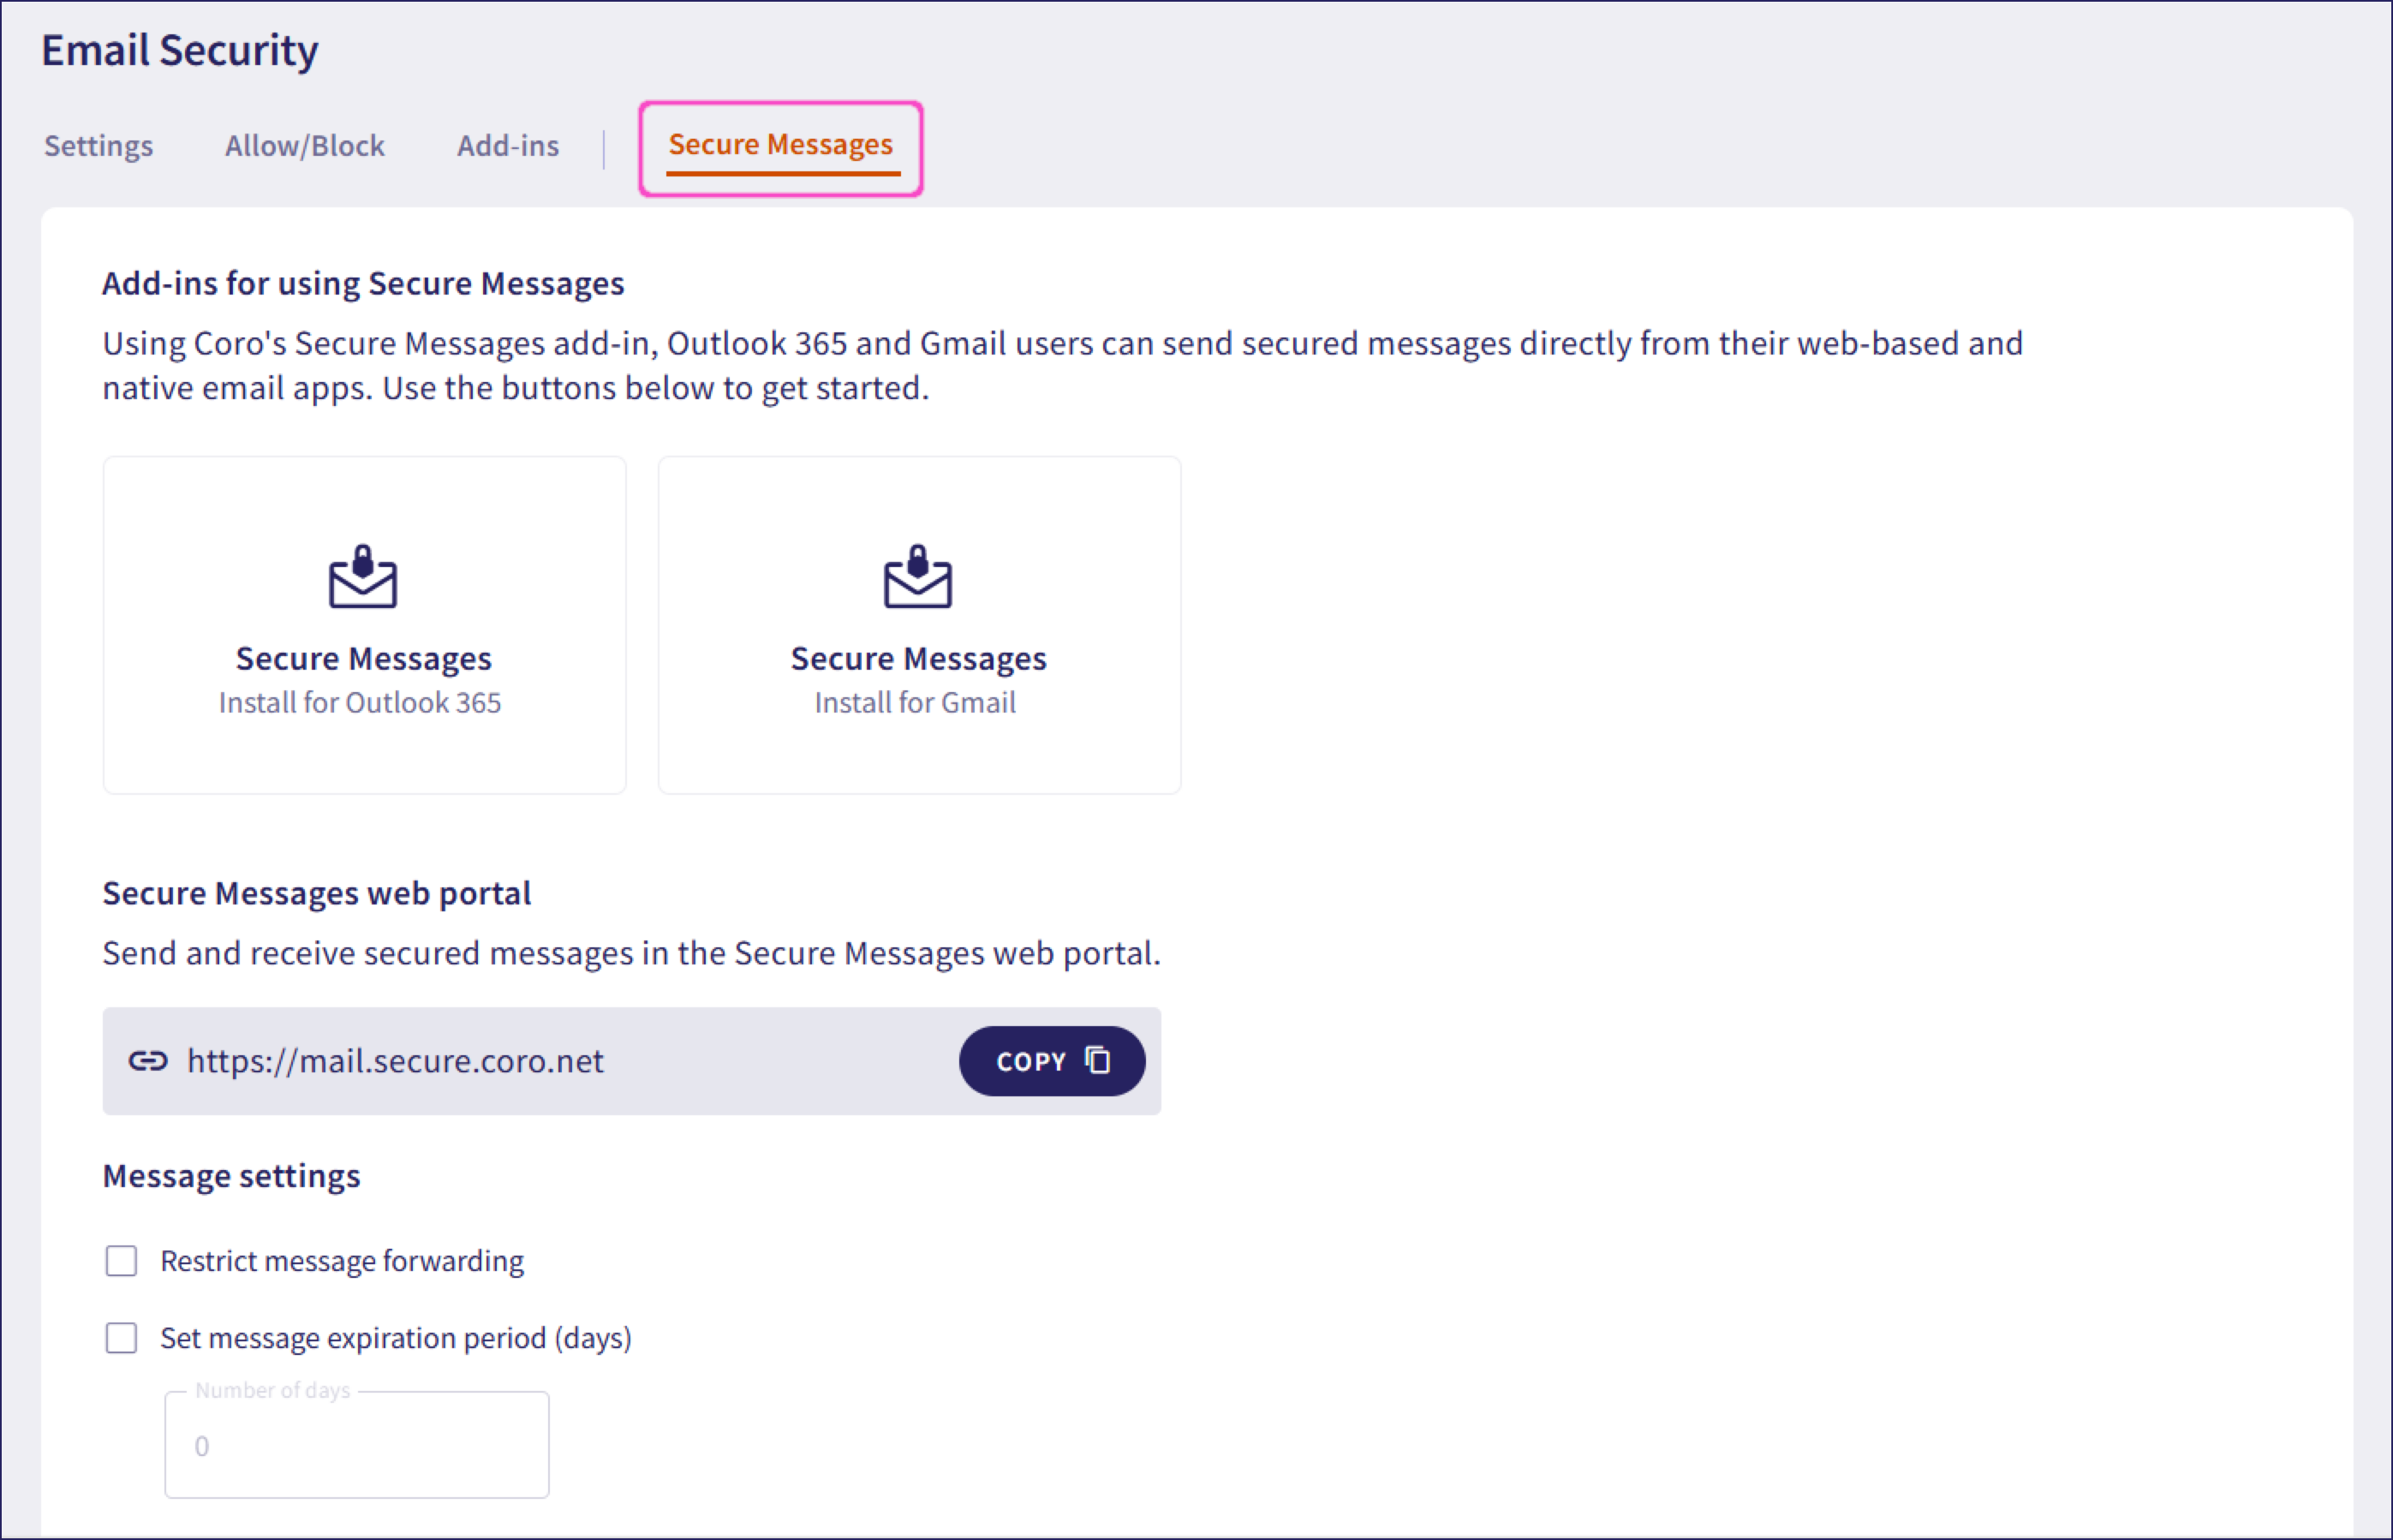
The Secure Messages tab is only enabled if the Secure Messages add-on is enabled for your workspace.
Select Install for Gmail:
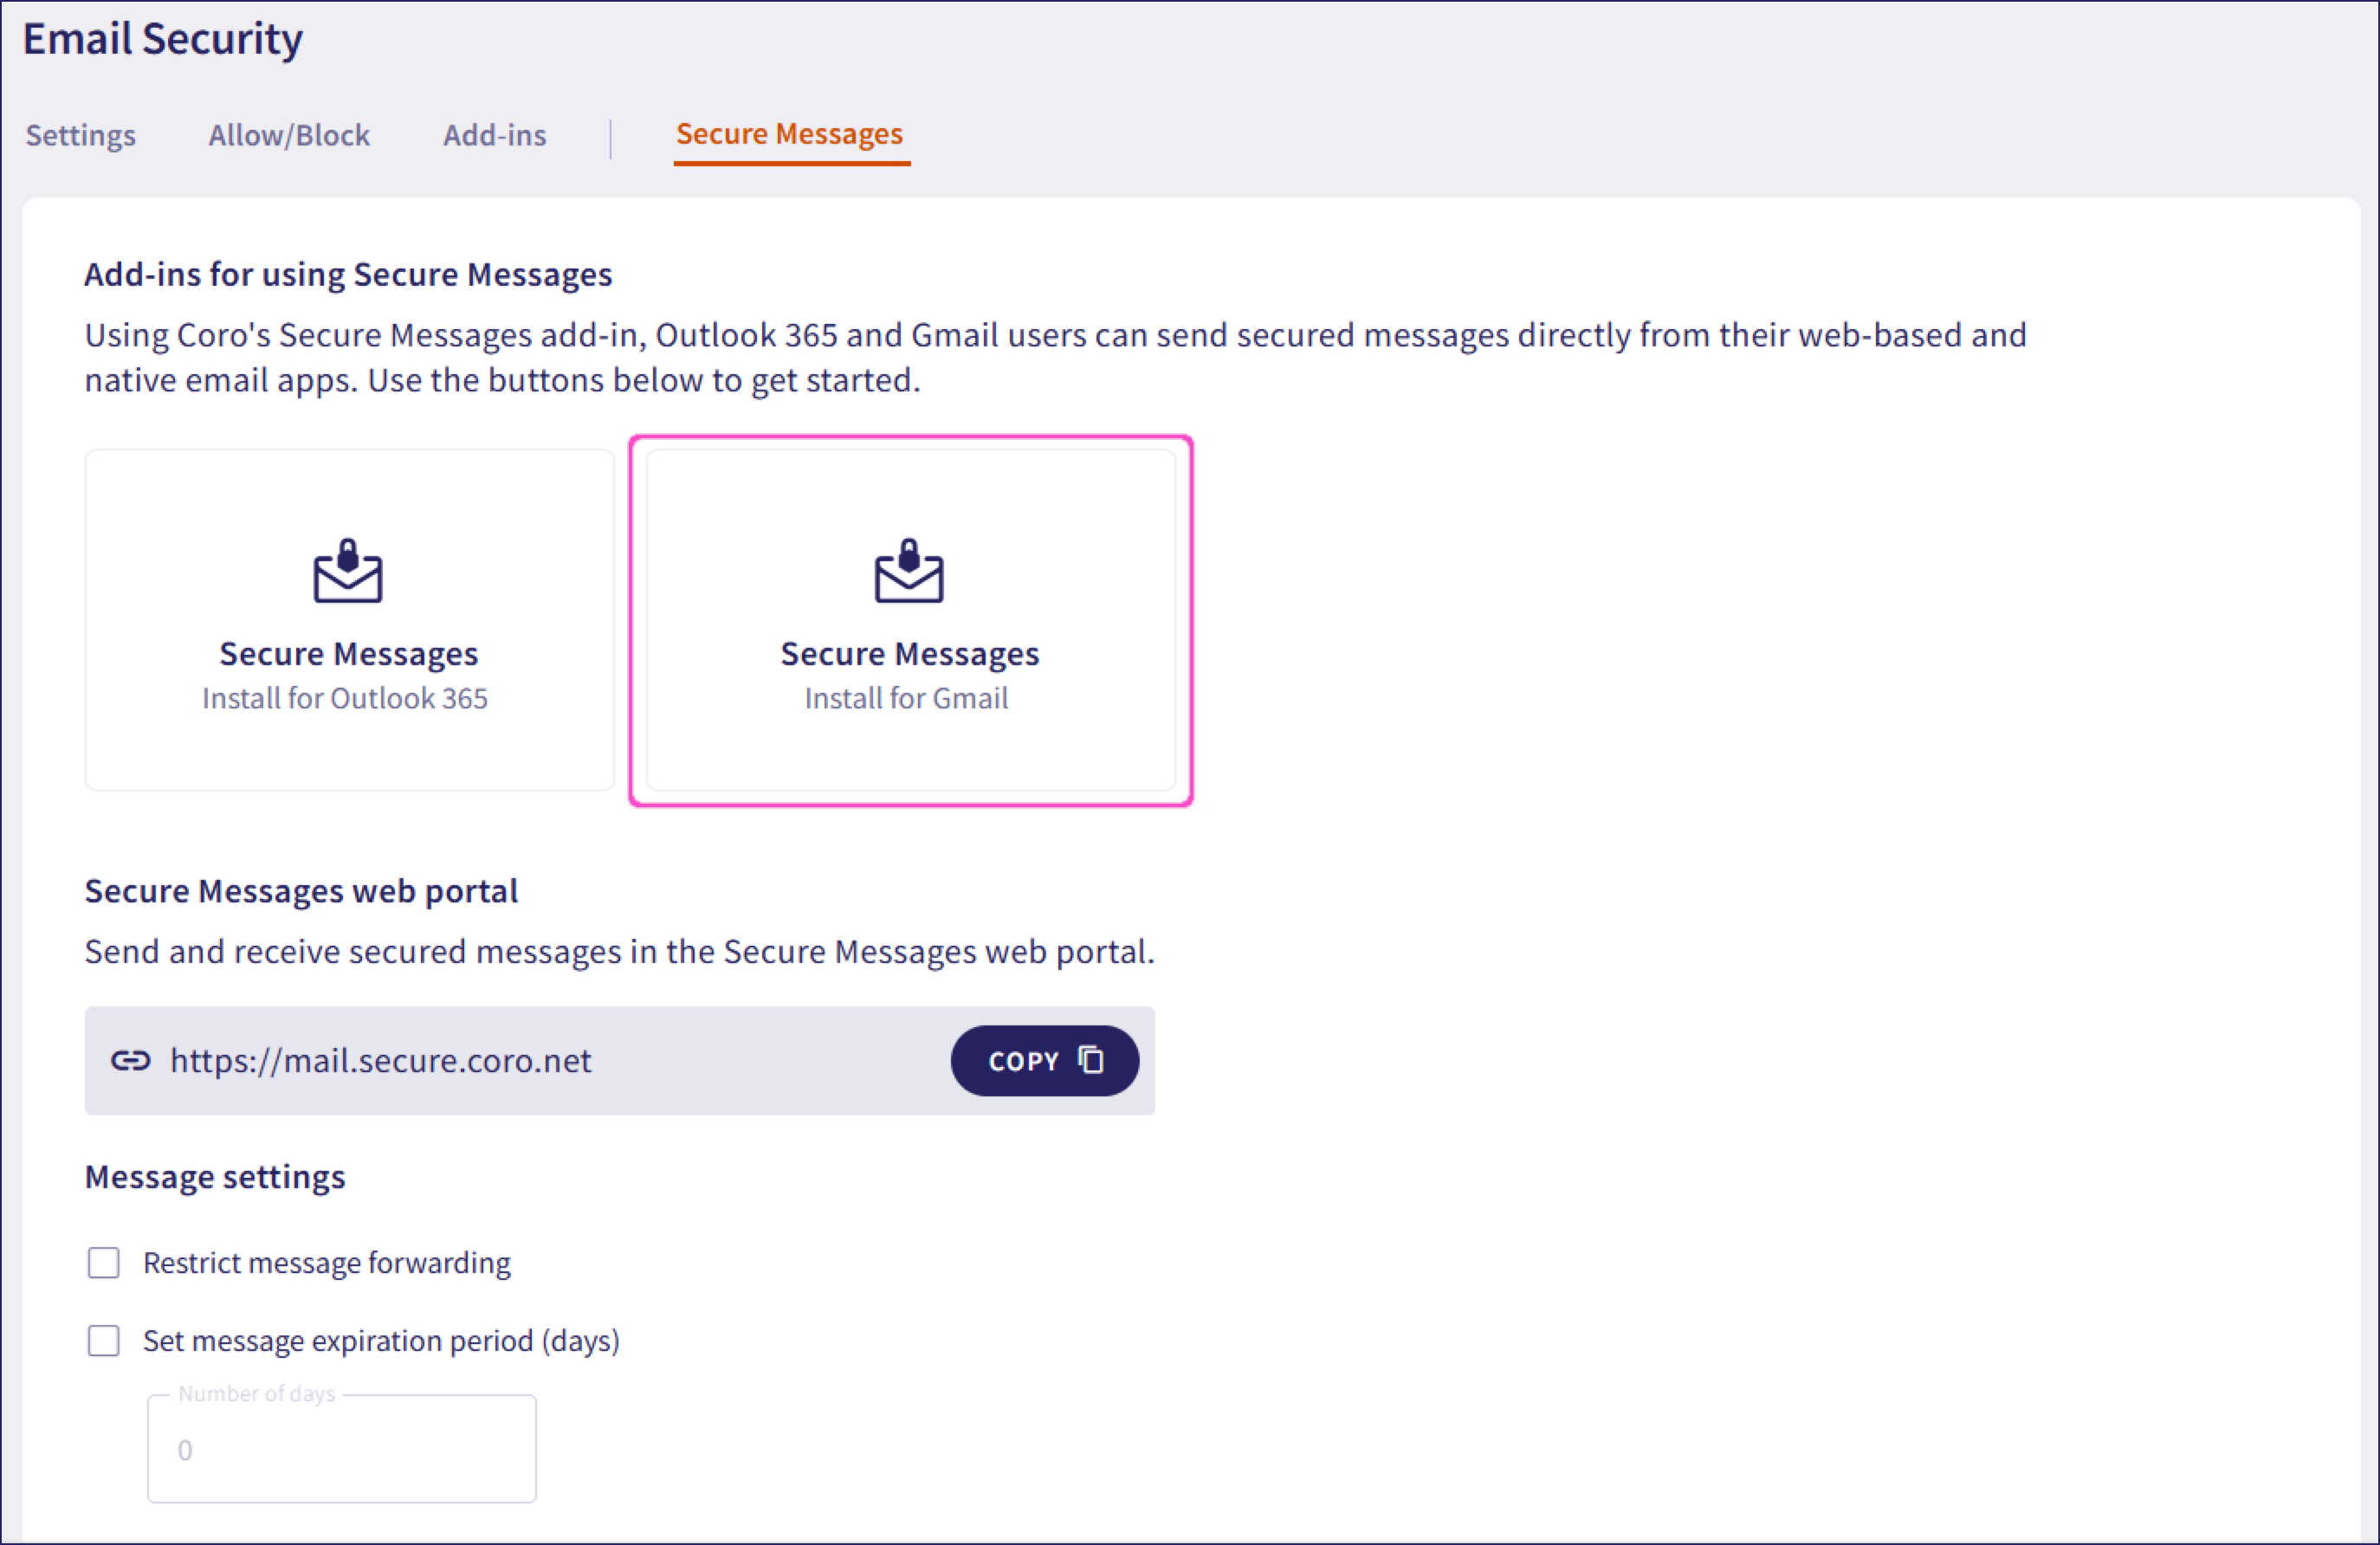
Coro redirects to the Google Workspace Marketplace webpage.
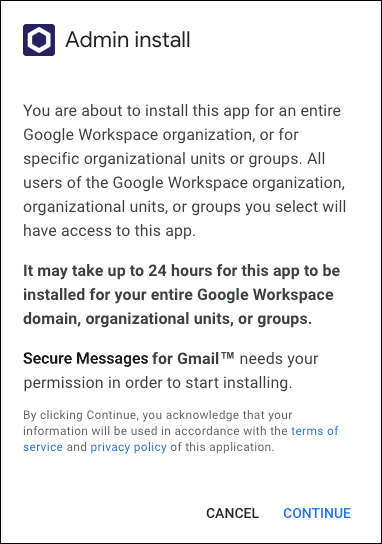
MSP admin users with sufficient permissions can select Admin install to install the Secure Messages for Gmail add-in for all device users simultaneously:
Review the terms of service and privacy policy. Select CONTINUE to proceed with the installation:
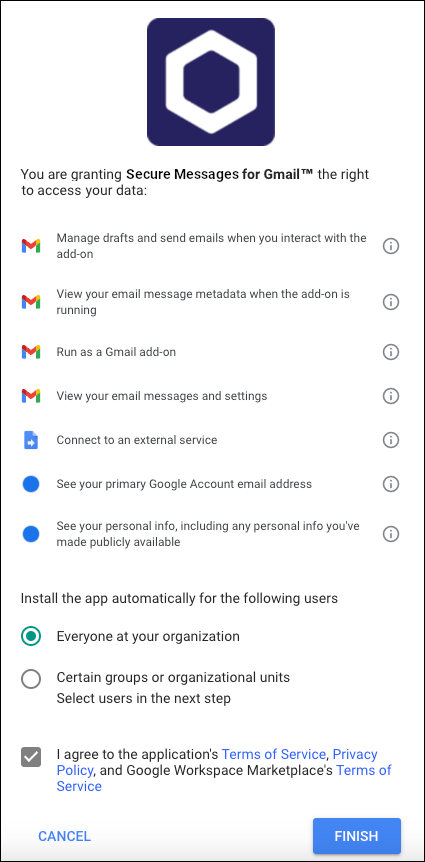
Select whether to install the Secure Messages for Gmail add-in for Everyone in your organization or Certain groups or organizational units.
Review the application's terms of service, privacy policy, and Google Workspace Marketplace's terms of service. Select FINISH to start the installation:
After the installation completes, Google displays a message informing you that the add-in was successfully installed:

Select DONE.
Device users can select Individual install to install the Secure Messages for Gmail add-in from their Google Workspace account:
Review the request for the Secure Messages for Gmail add-in to access your Google Workspace account. Select Allow to proceed with the installation:

After the installation completes, Google displays a message informing you that the add-in was successfully installed:
Select DONE.
Device users and MSP admin users can use the Secure Messages Gmail add-in directly from their Gmail environment when:
Composing a new message.
Replying to a message.
Forwarding a message.
To use the Secure Messages add-in from Gmail:
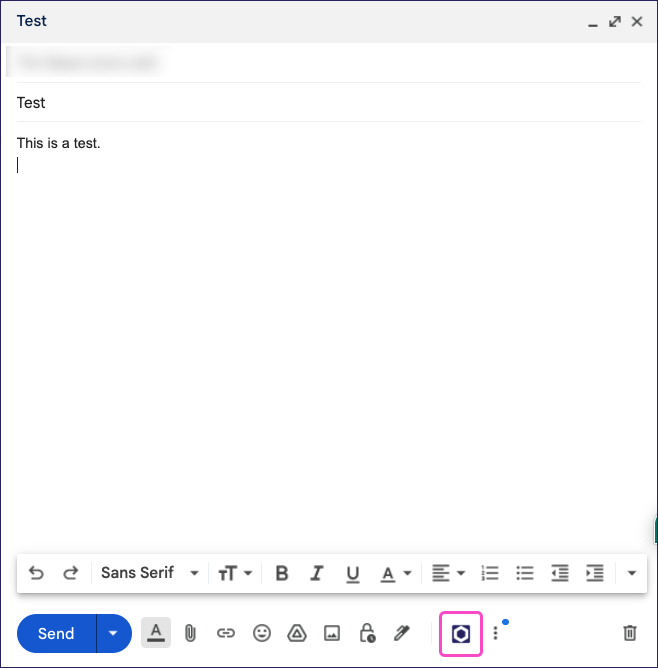
Enter the recipients, subject, message, and any necessary files while composing, forwarding, or replying to a message.
Select Secure Messages from the toolbar:
Review and grant any required permissions.
Gmail displays the Secure Messages for Gmail dialog with a preview of your message:
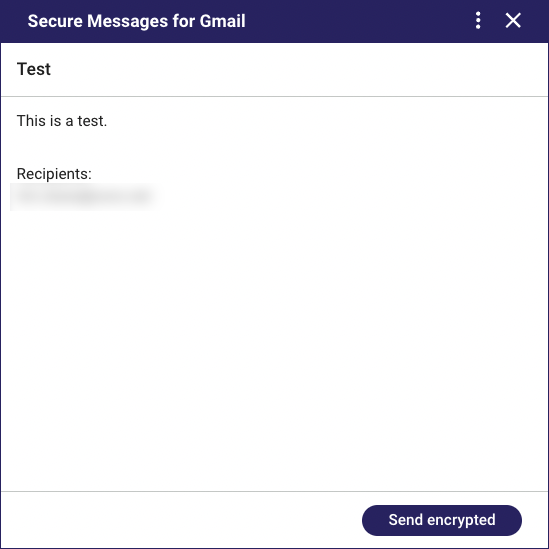
Select Send Encrypted.
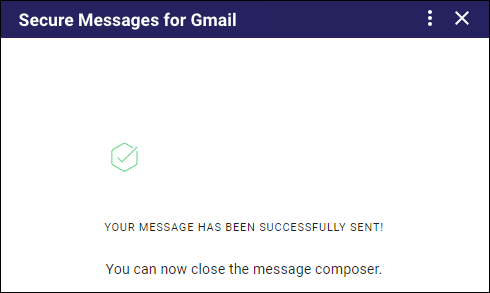
If the sender exists in the Protected users list in your workspace, Gmail sends the message securely through the add-in and displays a success message:
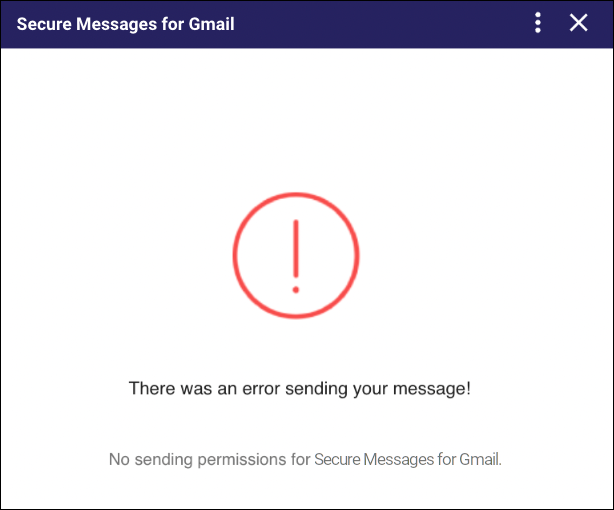
If the sender does not exist in the Protected users list, Gmail cancels the action and reports an error:
Gmail does not keep a copy of messages sent via the Secure Messages add-in in the Sent folder. To view your secure messages, access the Secure Messages web portal.
For further information, see Secure Messages.
If you experience issues with the Secure Messages for Gmail add-in (for example, emails not being sent due to errors), try reinstalling the add-in to resolve the issue.
Before you reinstall the Secure Messages for Gmail add-in, you must uninstall it. You need to have sufficient permissions to uninstall and reinstall the Secure Messages add-in.
To uninstall the Secure Messages for Gmail add-in:
In your browser, go to https://www.google.com/ and sign in to your Google account.
From your Google Avatar, select Manage your Google Account to access your account settings.
In the navigation pane, select Security.
Select Your connections to third-party apps & services.
Select Secure Messages for Gmail.
Select Delete all connections that you have with Secure Messages for Gmail.
Select Confirm.
To reinstall the add-in:
- Follow the instructions for installing the Secure Messages Gmail add-in
If you reinstalled the add-in to fix an issue, try installing it on a different user account and device to rule out any local problems.