Coro provides configurable DNS filtering, which includes basic malware filtering when enabled.
DNS filtering allows admin users to restrict or allow access to specific domains, as well as groups or categories of domains. For example, an admin user may block access to suspected malware sites, or enforce company policy by blocking access to gambling sites or social networks. By default, DNS filtering is disabled.
Coro also offers forwarding for DNS queries where an organization uses an internal DNS server to handle requests for local resources. To learn more, see Conditional forwarding.
Admin users can make changes to the DNS filtering section whether filtering is enabled or disabled. If you make changes while DNS filtering is disabled, Coro applies those changes after you enable filtering.
To apply DNS filtering, make sure the Network service in the Coro Agent or Endpoint Protection app is connected on each device. For more information, see The Network service in the Coro Agent or The Coro Endpoint Protection app.
To apply DNS filtering to protected devices, you must both enable DNS filtering and assign device labels to allowlists or blocklists. Filtering only applies to devices that are part of the specified device labels; it does not apply to all devices in the workspace.
To enable DNS filtering:
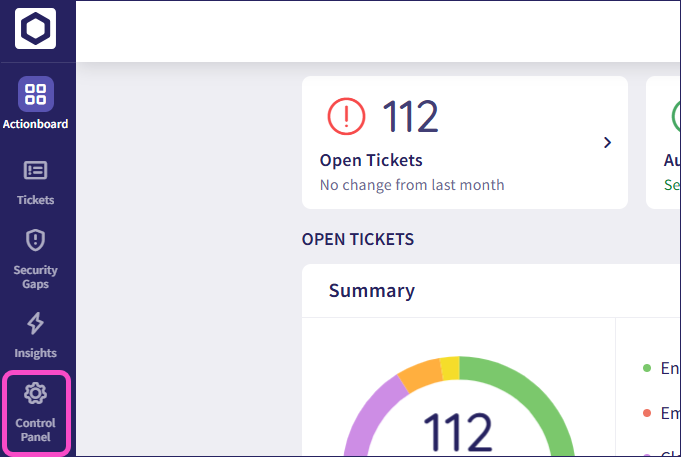
From the sidebar, select Control Panel:
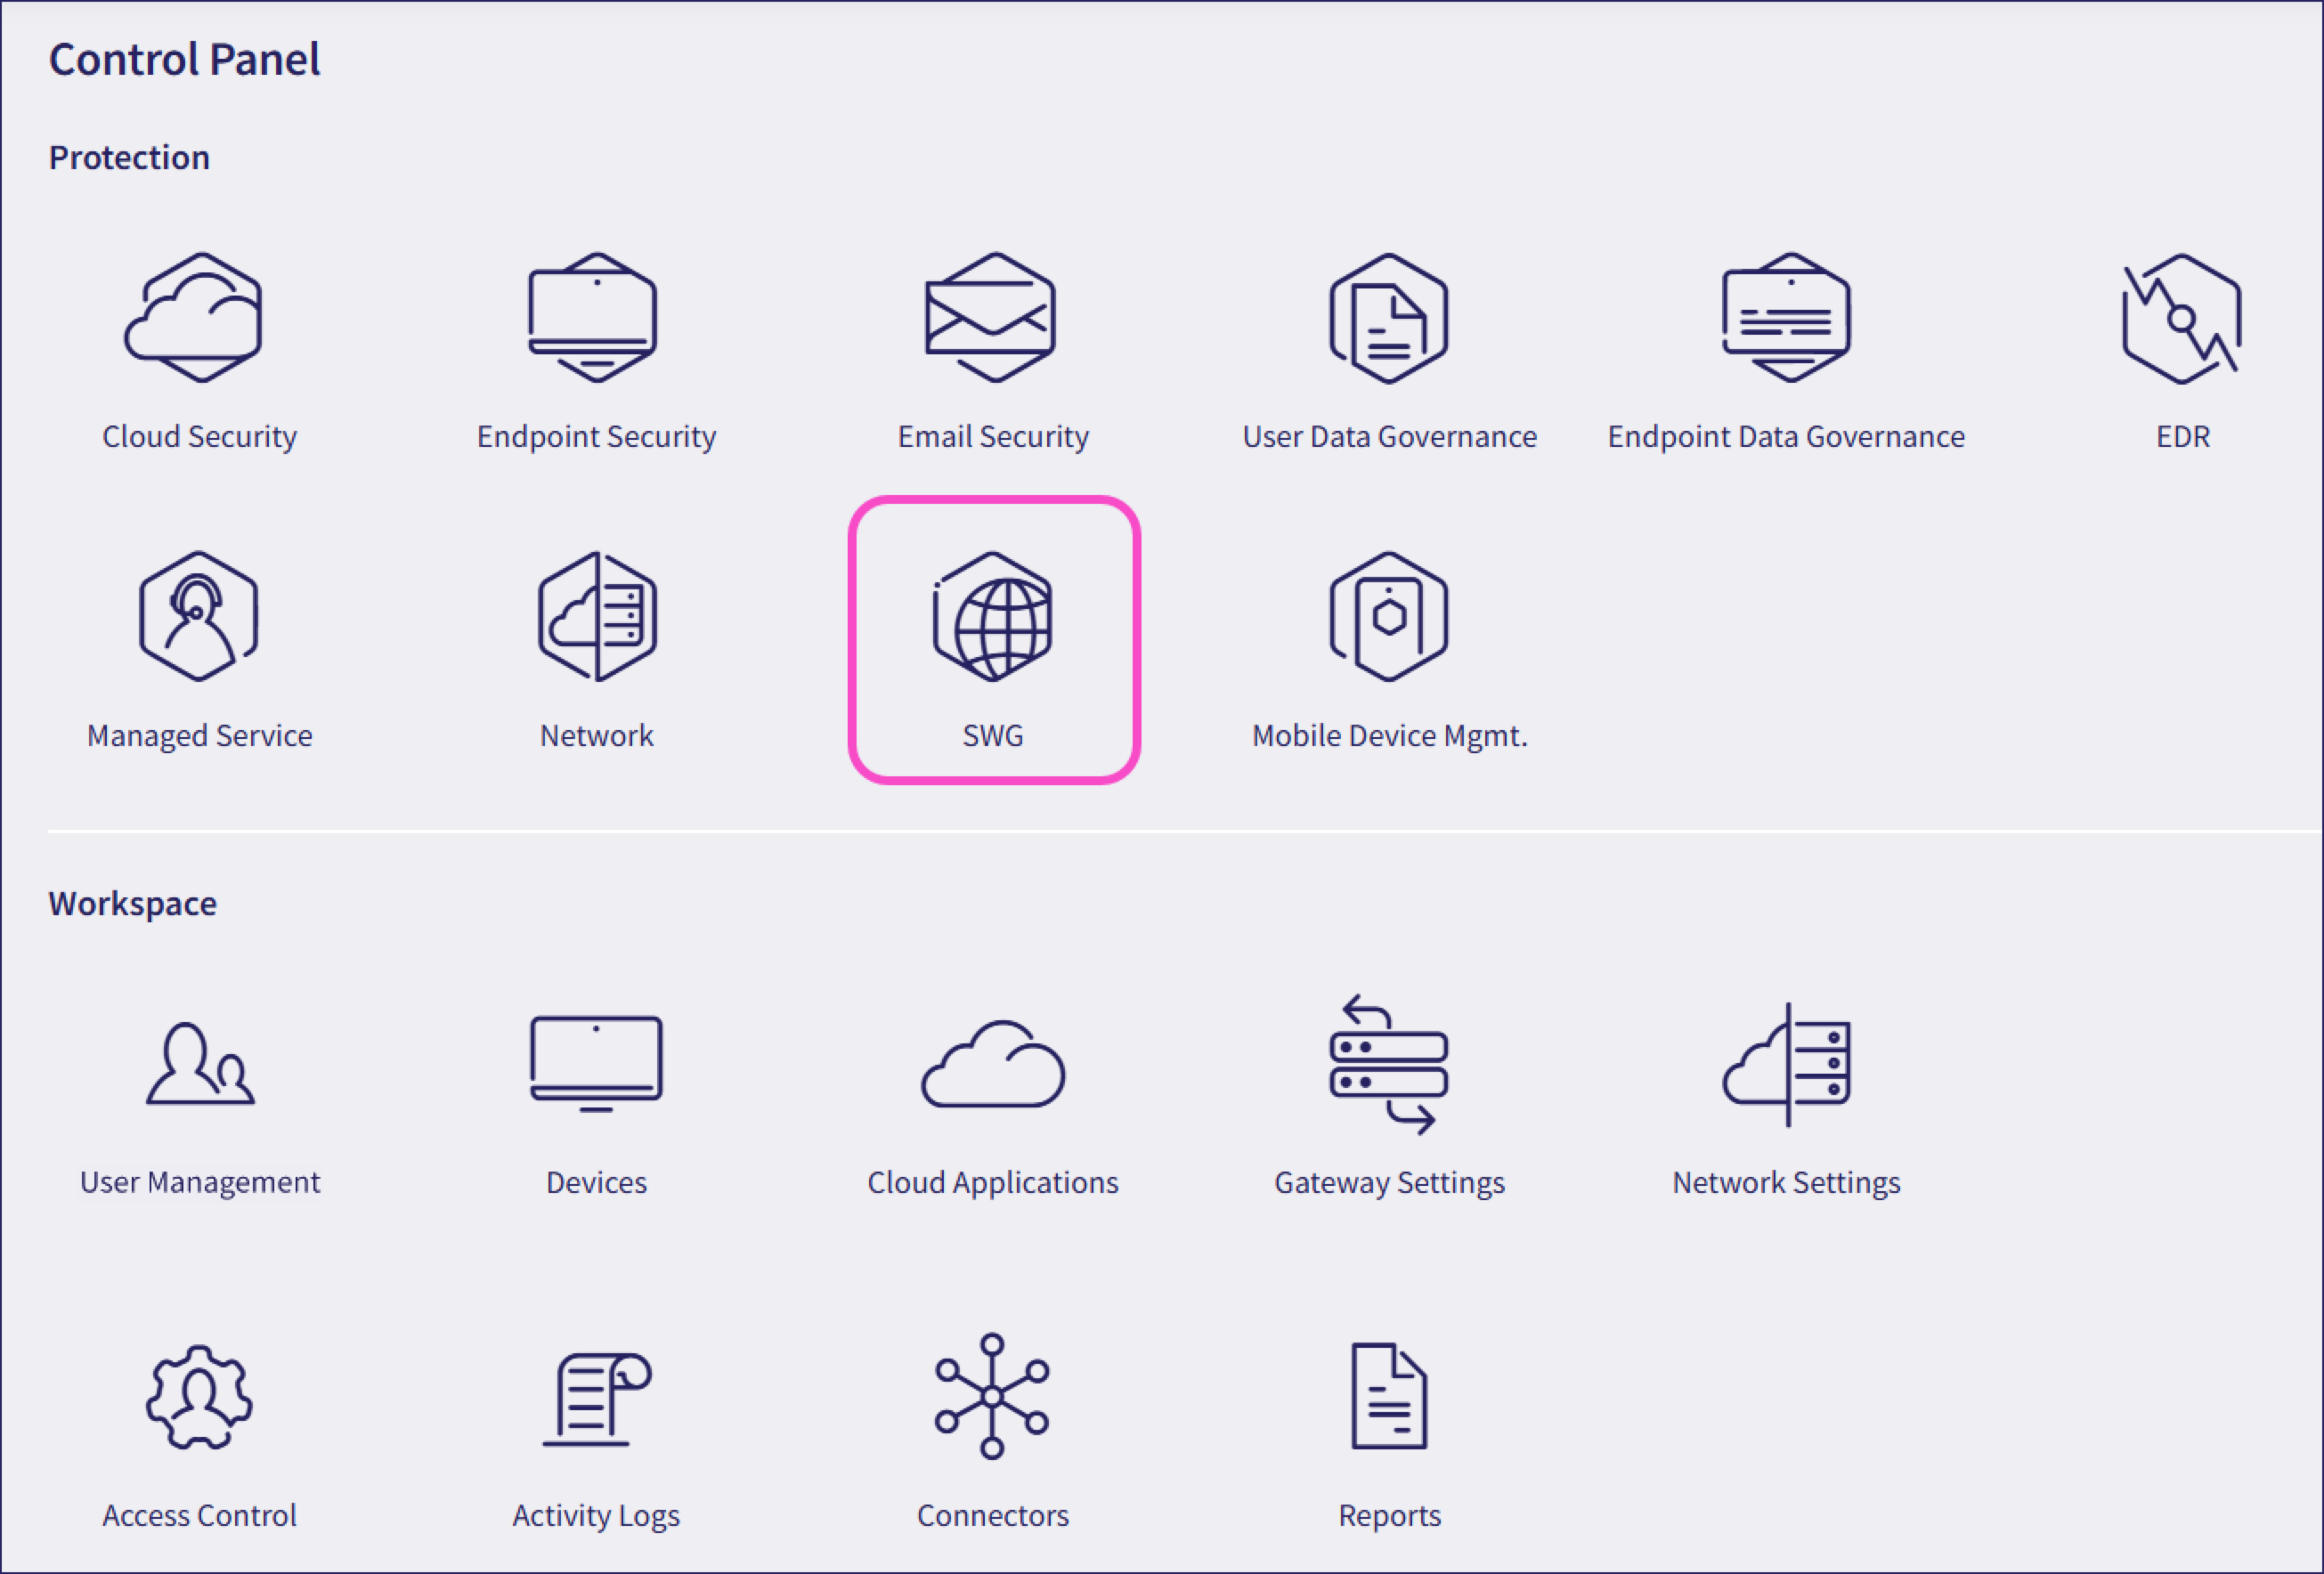
Select SWG:
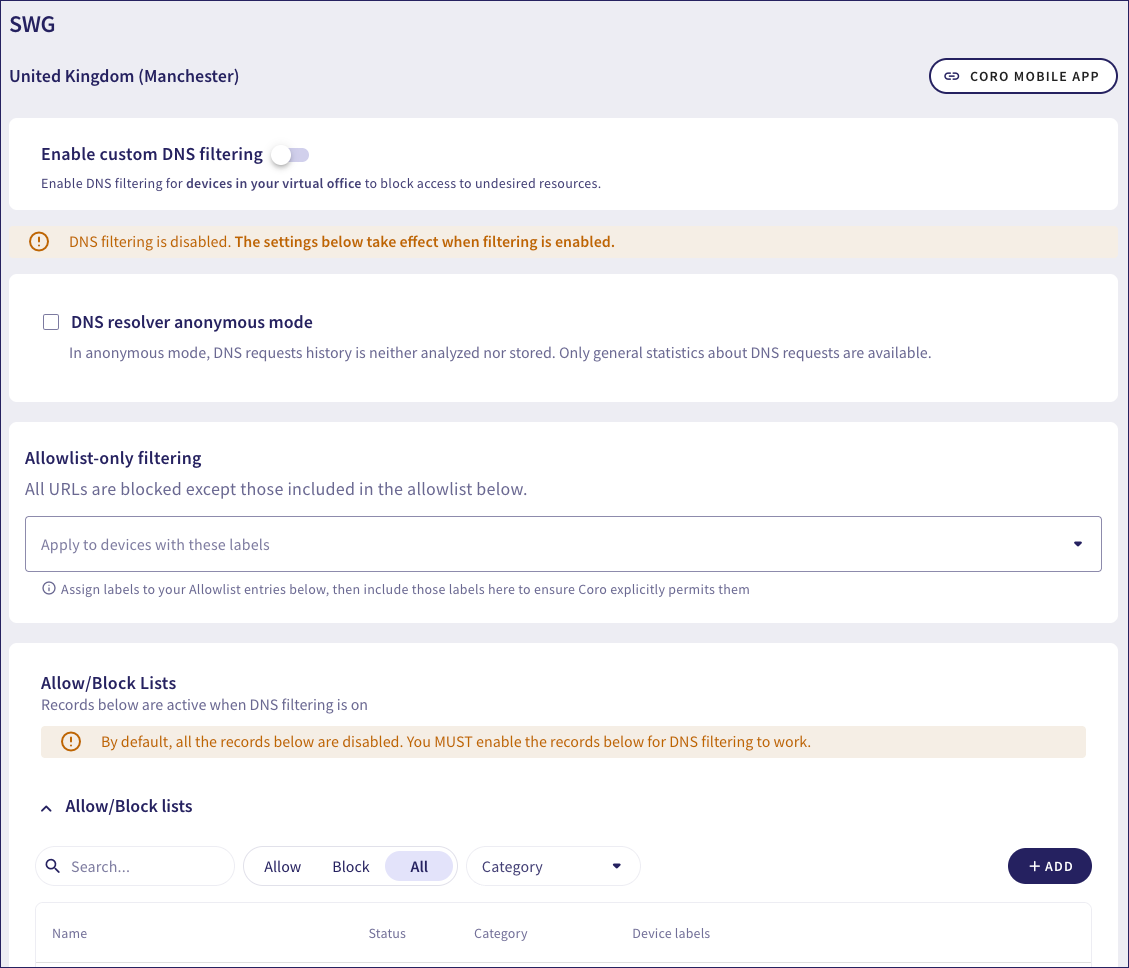
Coro displays the SWG page:
Add device labels to allowlists or blocklists with device labels to which DNS filtering should apply. For more information, see Allowlists and blocklists.
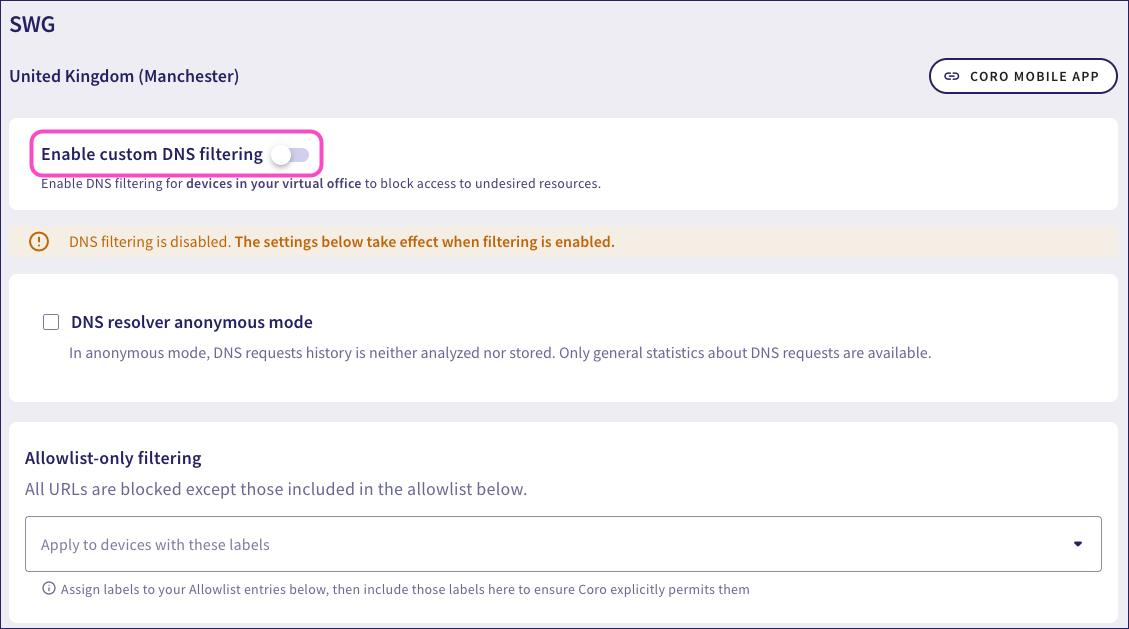
Enable DNS filtering:
Coro displays a confirmation dialog:
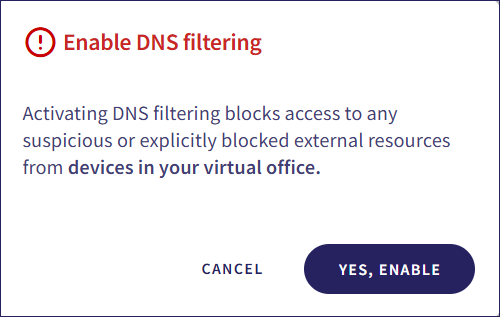
Select YES, ENABLE.
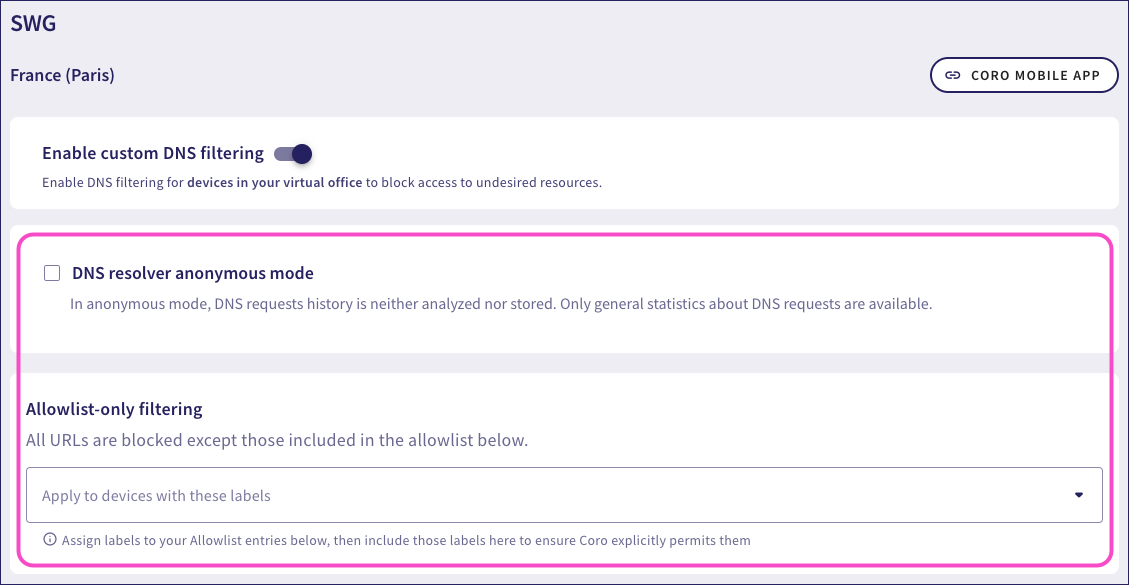
Admin users can enable:
- DNS resolver anonymous mode: Protects user privacy by not tracking individual data. This option ensures that Coro does not analyze or store the DNS request history.
- Allowlist-only filtering: For the specified device labels, block all URLs except those added to the allowlist.
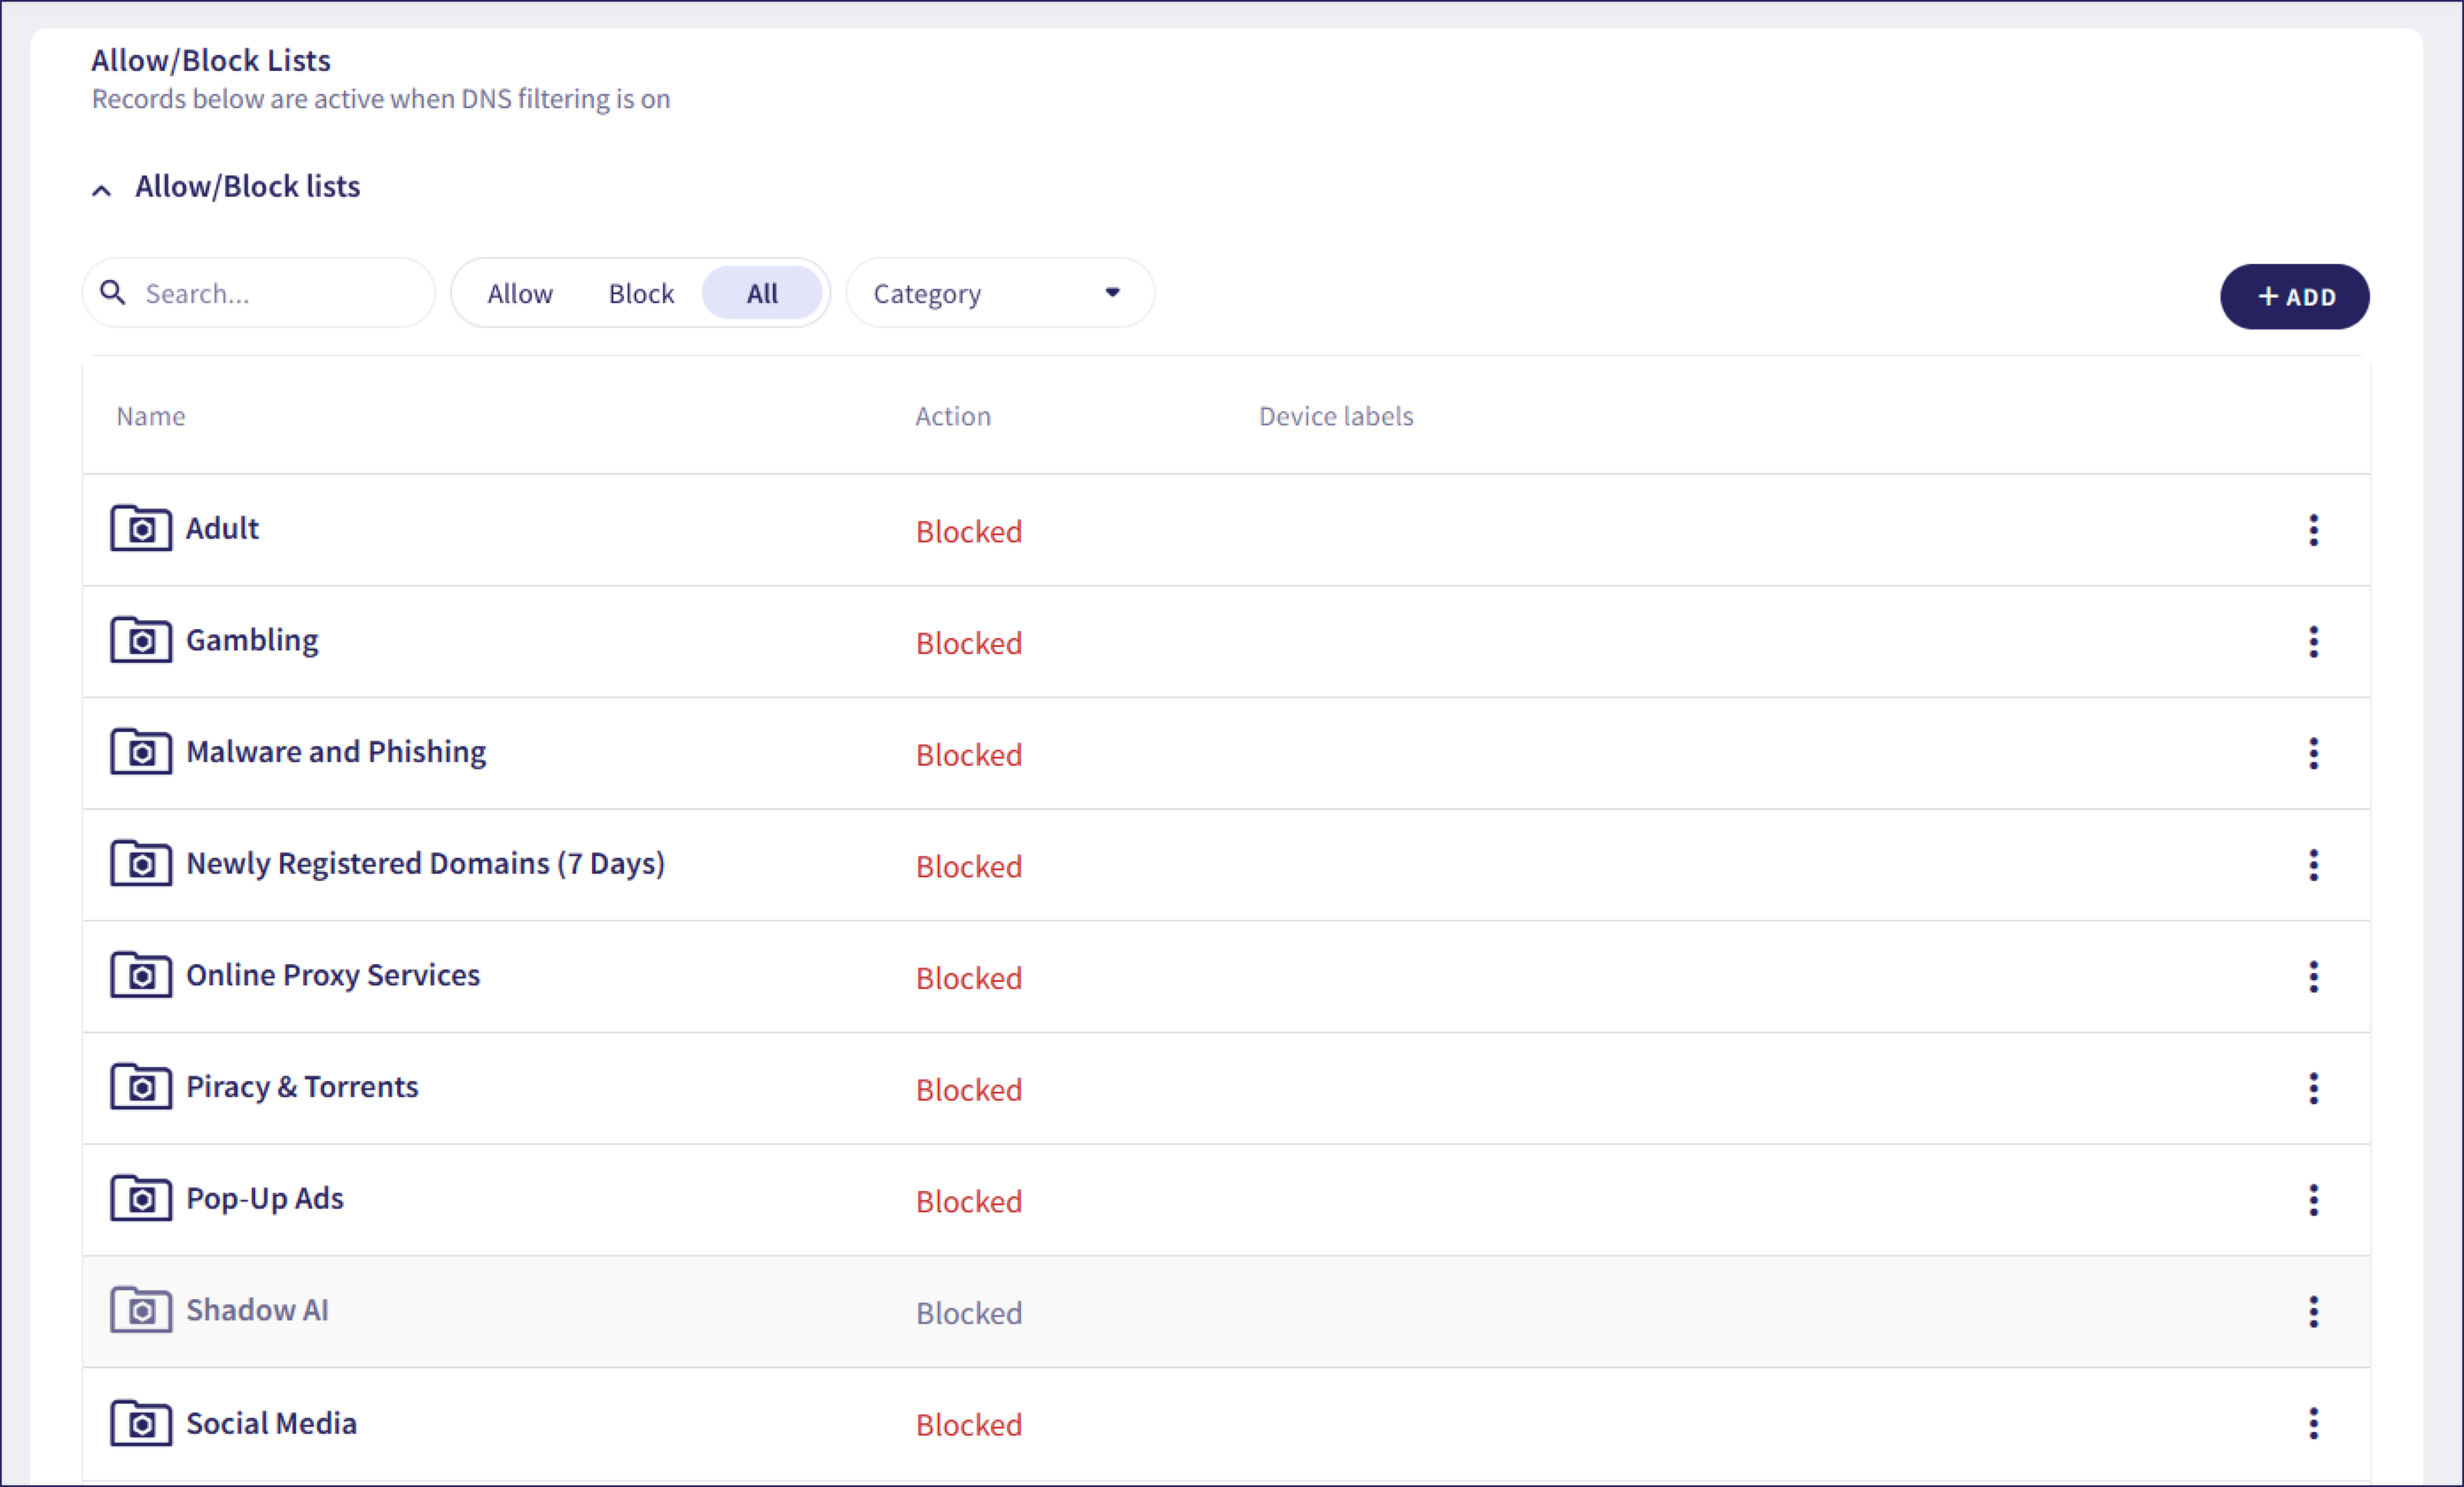
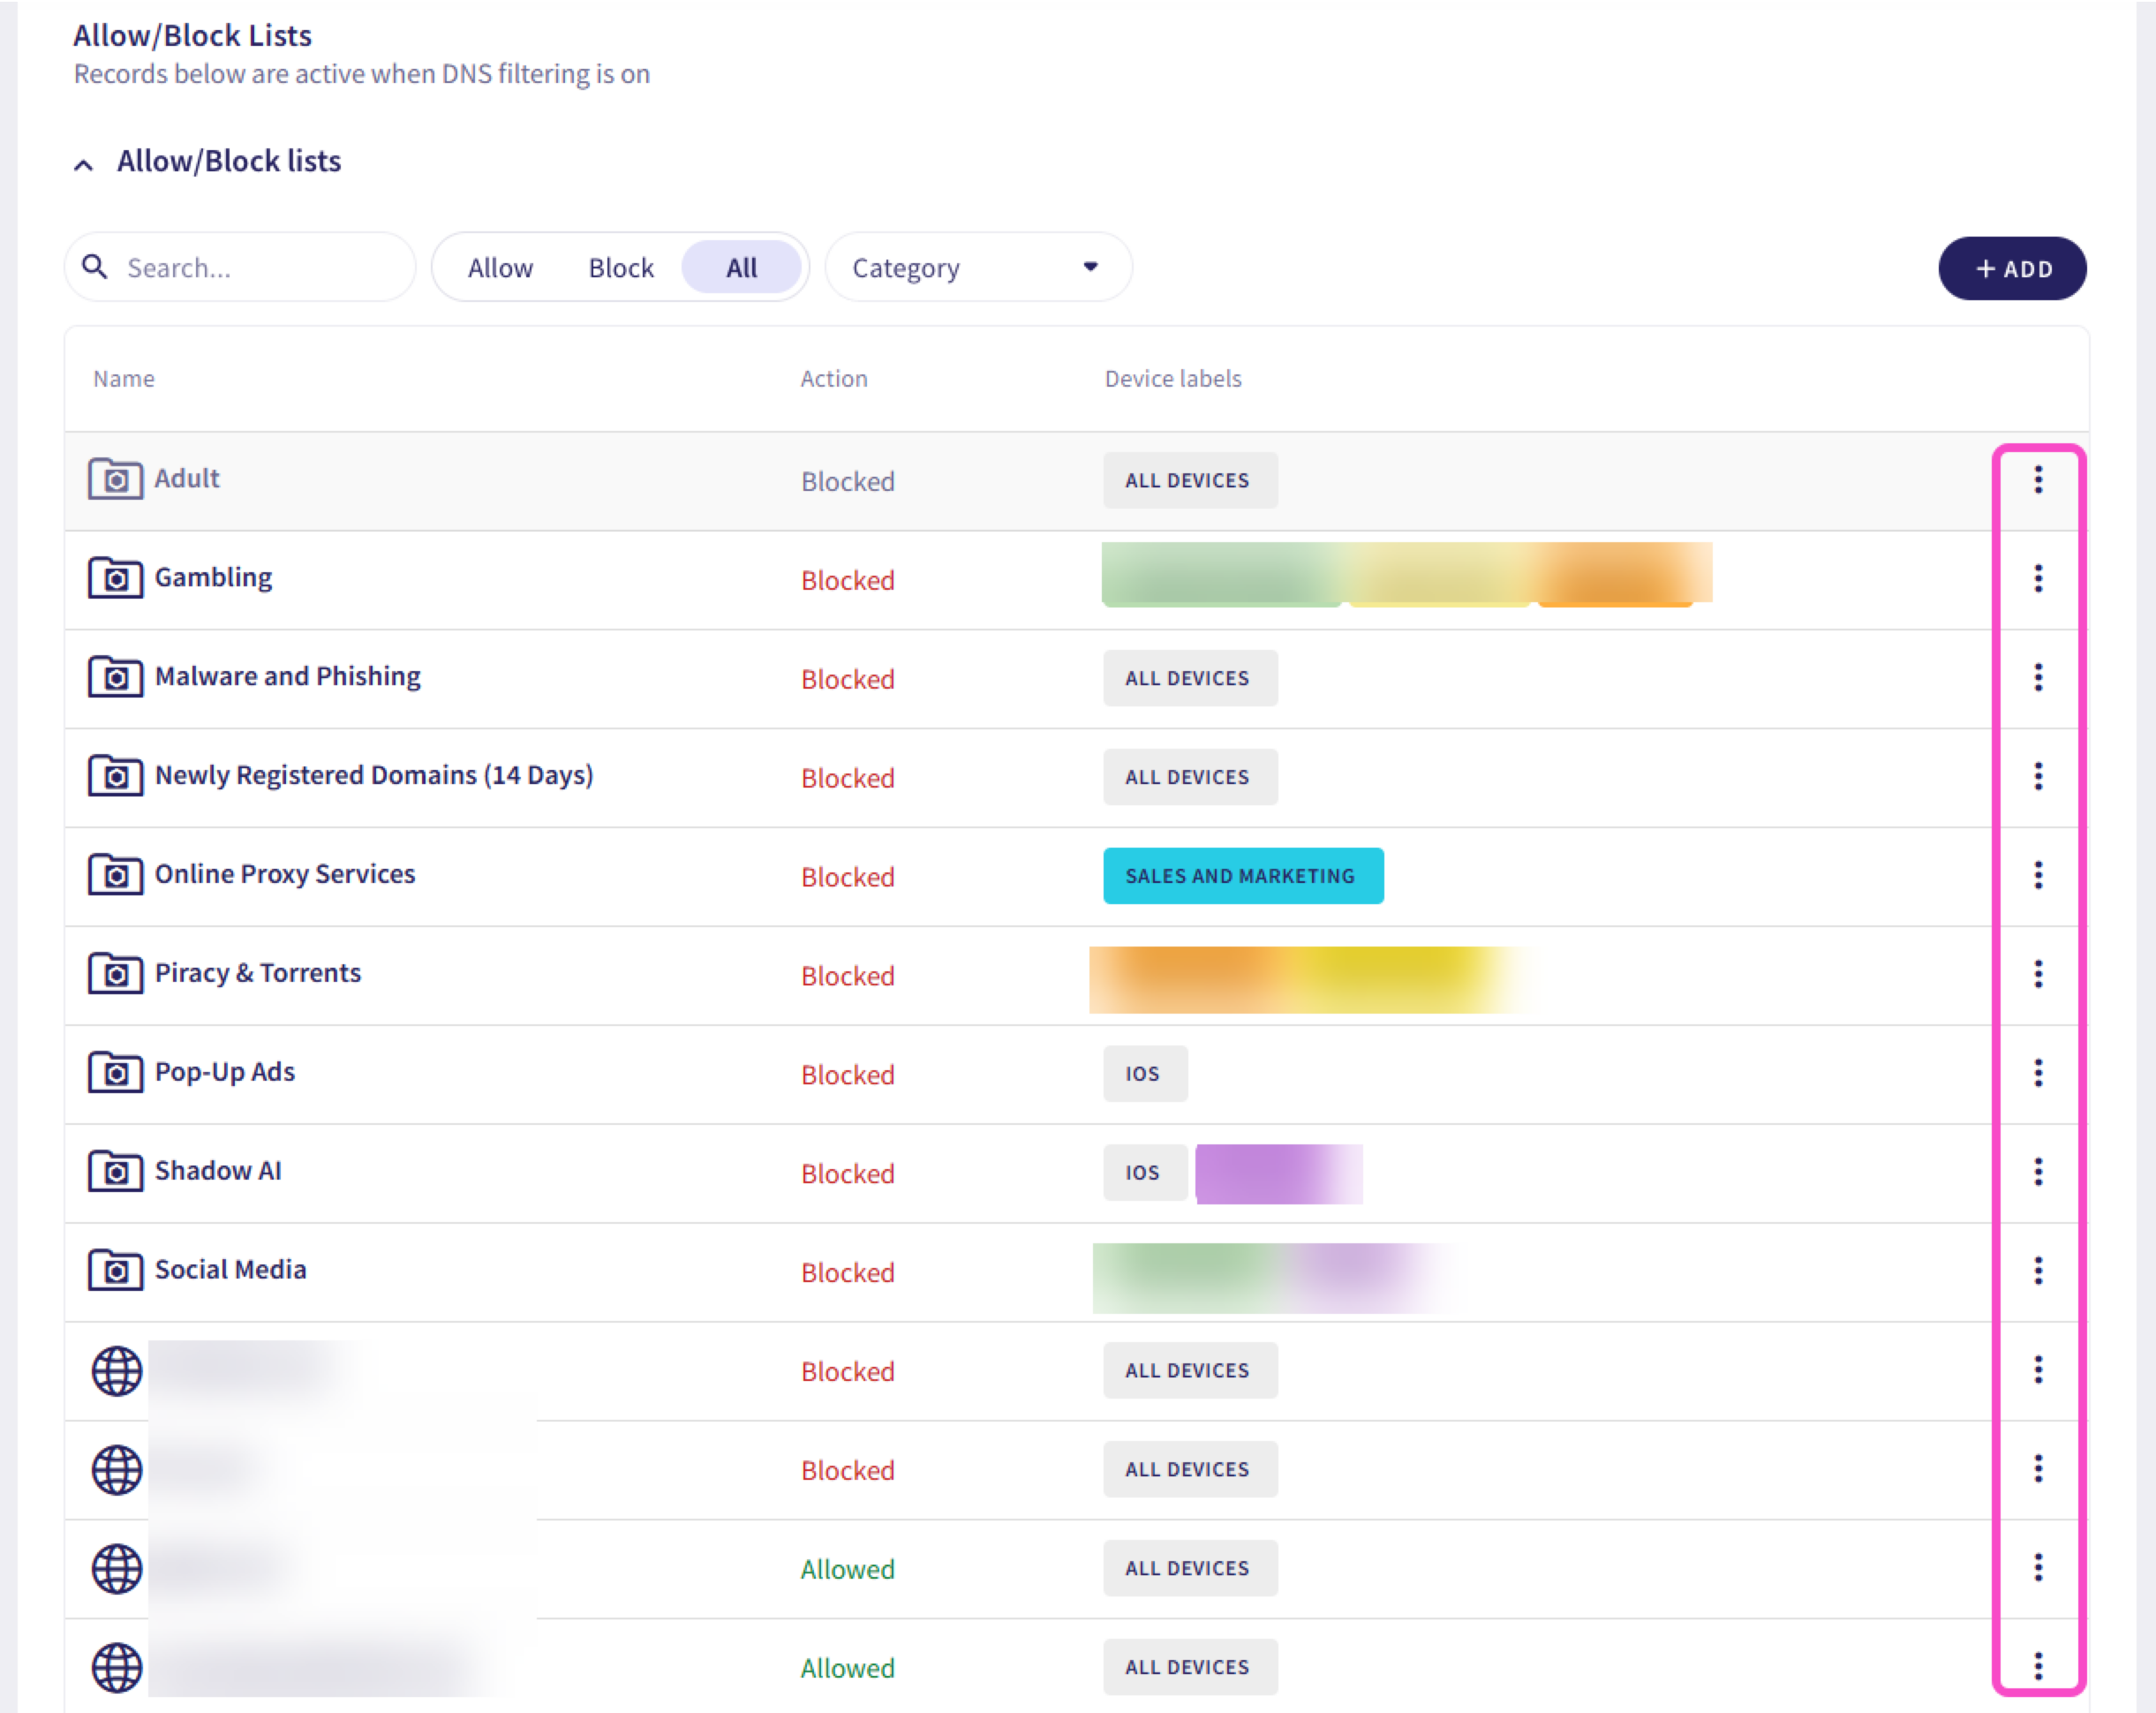
Coro displays allowlists and blocklists below the DNS filtering section. The Allow/Block Lists section includes a predefined set of inactive external blocklists (locked URL groups). Admin users can view, enable, and add device labels to these lists.
Allowlists and blocklists are only enforced when DNS filtering is enabled. However, admin users can manage these lists whether filtering is currently enabled or disabled. Changes made while filtering is disabled take effect after it is enabled.
To add device labels to locked URL groups:
From the three-dot menu of the relevant URL group, select Edit URL group:
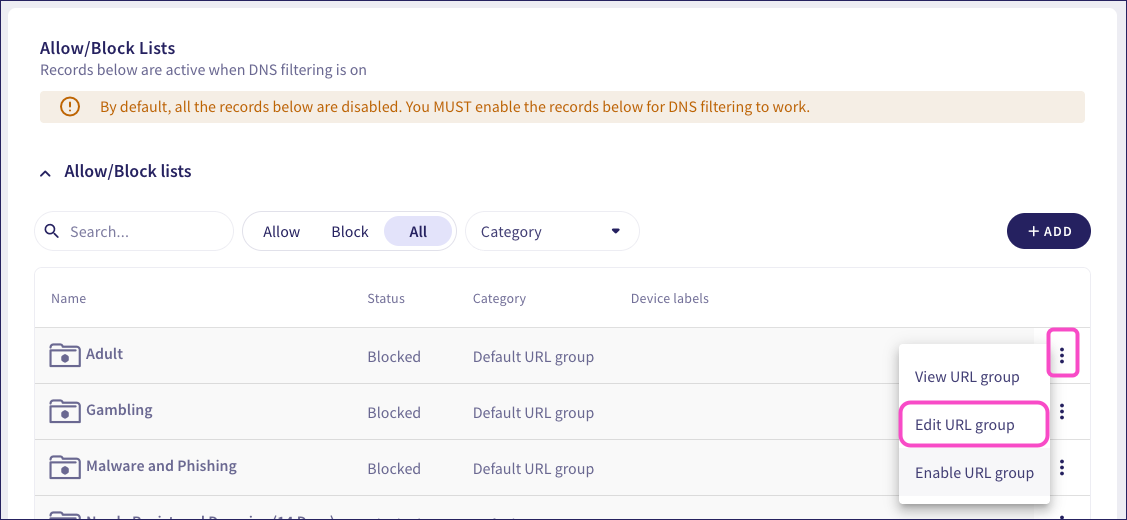
Coro displays the Edit URL group dialog:

Select device labels to which the allowlist or blocklist should apply.
Select APPLY.
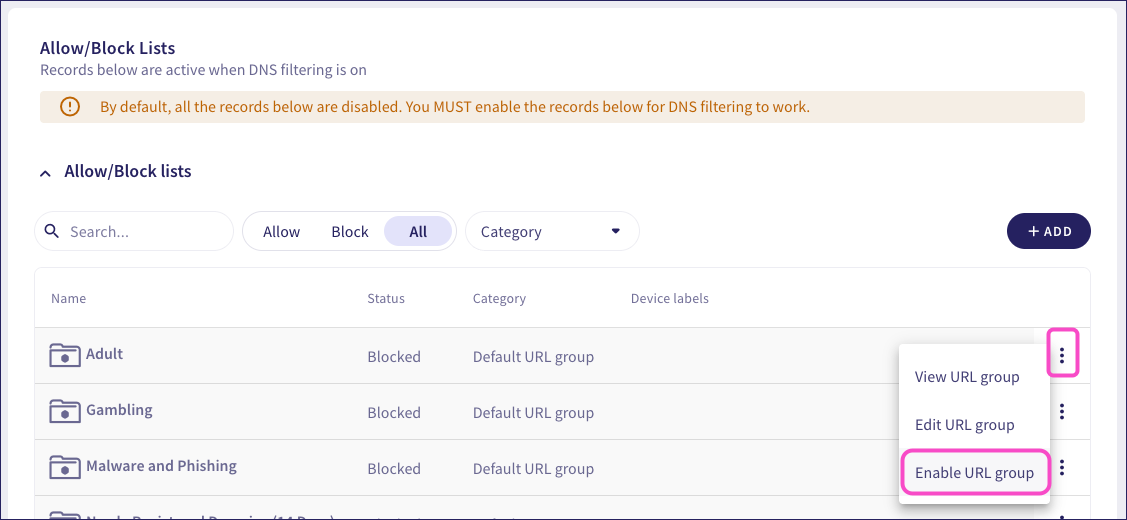
If disabled, from the three-dot menu, select Enable URL group:
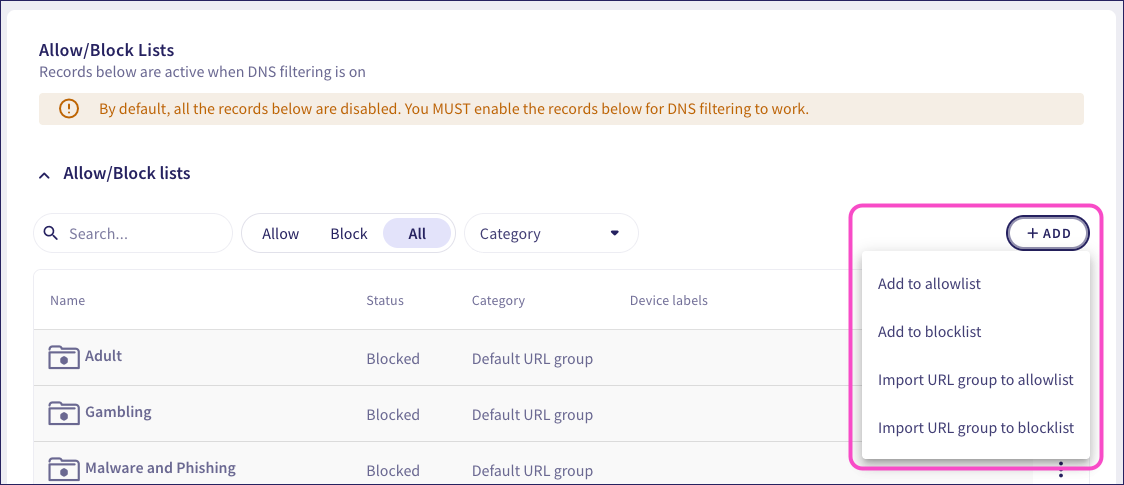
To add URLs, IP address ranges, subnets, or URL-based wildcards to an allowlist or blocklist:
Select + ADD > Add to allowlist/blocklist:
Coro displays the Add to allowlist/blocklist dialog:
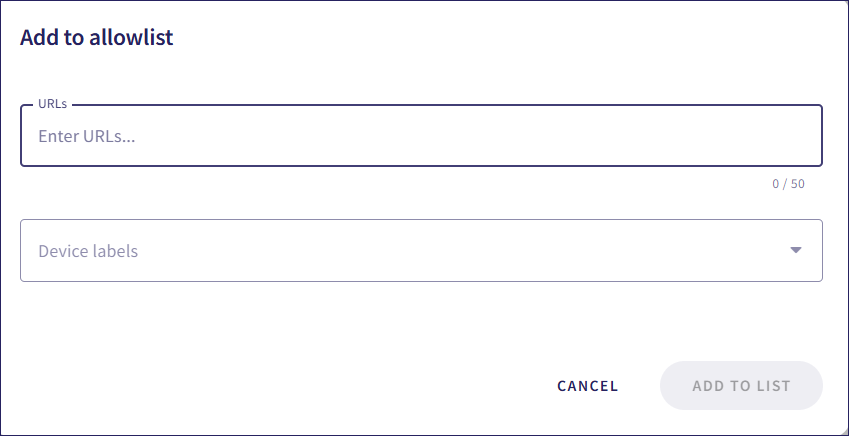
Enter URLs, IP address ranges, subnets, or URL-based wildcards.
Select the device labels to which the list should apply.
Select ADD TO LIST.
To add a list of URLs, IP address ranges, subnets, or URL-based wildcards to an allowlist or blocklist:
Select + ADD > Import URL group to allowlist/blocklist:
Coro displays the Import URL group to allowlist/blocklist dialog:
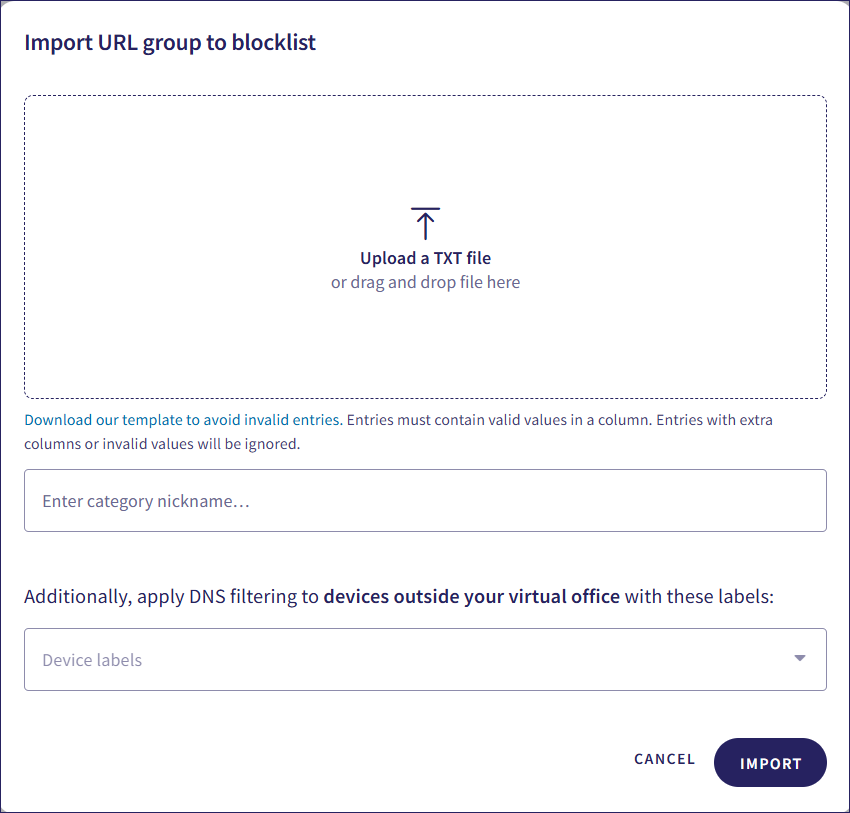
Upload a text file of the URLs, IP address ranges, subnets, or URL-based wildcards. To facilitate creating a valid text file, Coro provides a link to a template in the Import URL to allowlist/blocklist dialog. Each entry should be on a separate line:
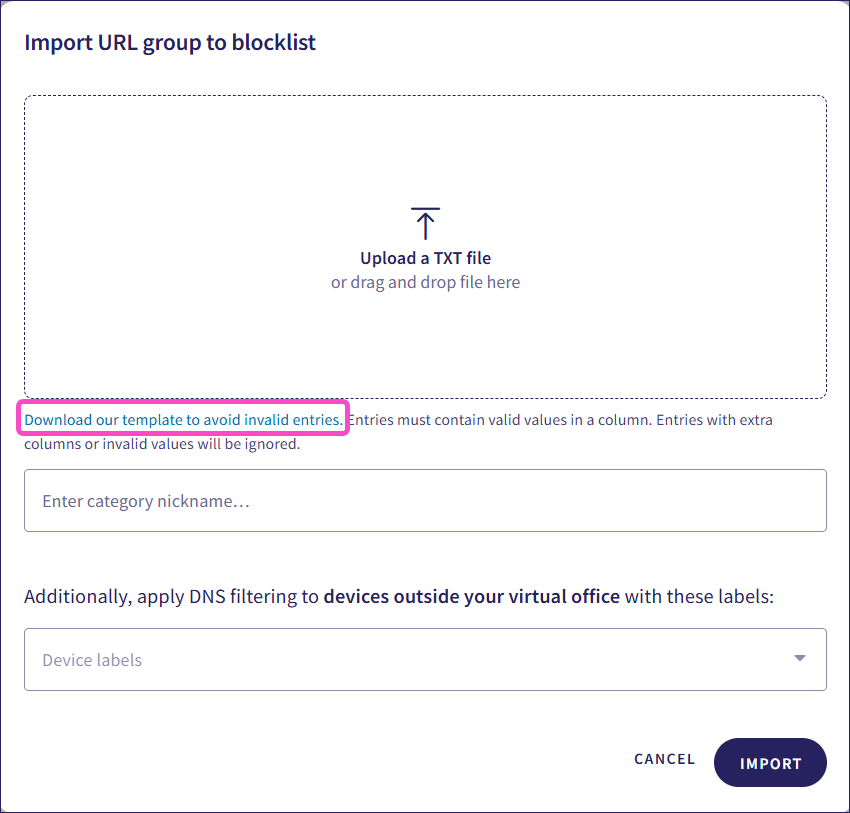
Enter a name for the URL group.
Select the device labels to which the list should apply.
Select IMPORT.
View, edit, remove, disable, or enable allowlists and blocklists from the three-dot menu next to each list. Disabled lists appear grayed out:
Coro can route DNS queries for internal or on-premises domains to an organization's internal DNS server. This is useful where you want to use local DNS for resolution of internal device and service names such as printers or shared resources.
You configure Coro with the IP address of the DNS server and the applicable local domain. When Coro receives a DNS query for this domain (including sub-domains), it forwards the query to the internal DNS server. This server handles the DNS query and returns the resolved address to the client.
To use this feature, your internal DNS server must be connected to your Coro virtual office network through a configured IPSec tunnel. To learn more, see Virtual office.
In this release, Coro supports conditional forwarding for one internal DNS server only.
To configure a conditional forwarding rule:
In the Conditional forwarding section, select ADD:

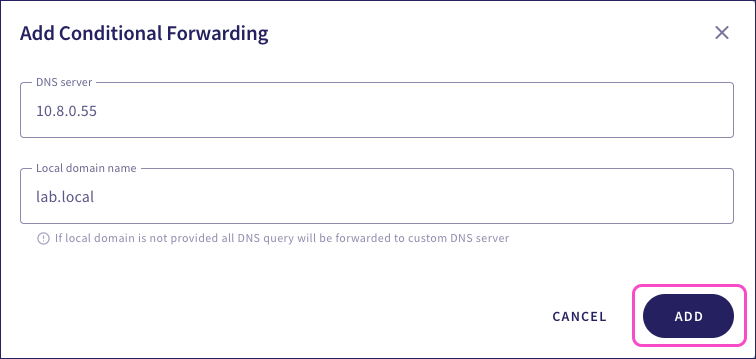
Coro displays the Add Conditional Forwarding dialog:
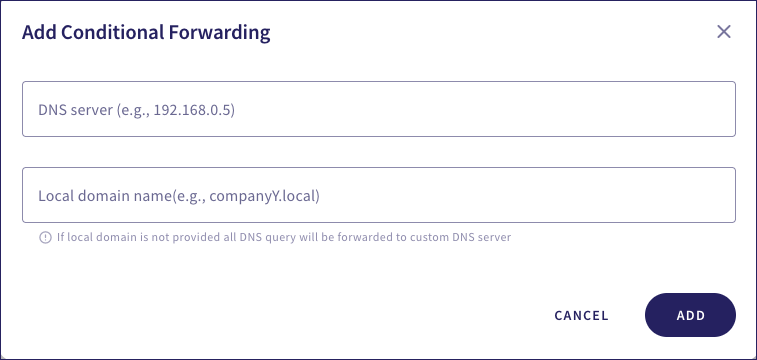
Enter the following details:
- DNS server: Enter the IP address of your internal DNS server.
- Local domain name: (Optional) Enter a domain name. Coro forwards requests for this domain and any subdomains to the internal DNS server.
If you do not specify a domain name, Coro forwards all DNS queries to the internal DNS server.
Select ADD:
To modify an existing conditional forwarding rule, select the three-dot action menu adjacent to the rule:
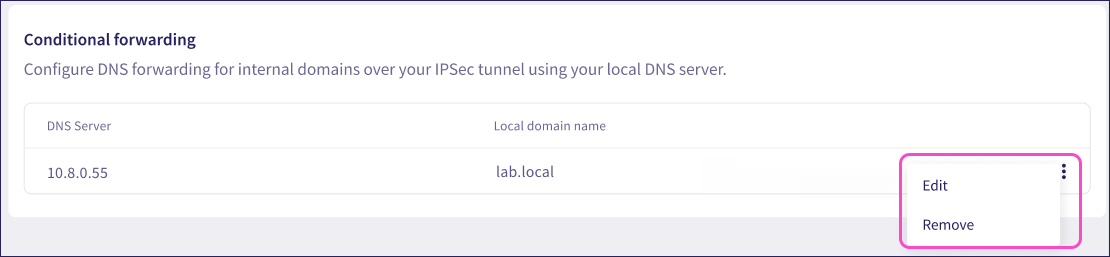
Select one of the following options:
- Edit: Modify the rule settings.
- Delete: Delete the rule.