This article describes how to install Coro's Outlook add-in on your users' endpoint devices.
Coro makes the Outlook add-in available through the standard add-ins marketplace in Microsoft 365 (M365) admin center. However, due to GoDaddy restrictions, administrators cannot directly access the admin center without prior agreement and preconfigured access.
Alternatively, if you have PowerShell access to your M365 tenant, Coro provides a script that installs the add-in for your users.
To install the add-in through Coro's PowerShell script:
Connect to your M365 tenant via PowerShell.
ImportantMake sure you are connected as an account with administrator privileges.
Verify whether the Exchange Online Management module is installed on your tenant by entering:
Get-Module -ListAvailable -Name ExchangeOnlineManagement
If the module is installed, PowerShell displays the module details. Perform an update to make sure you have the latest version:
Update-Module ExchangeOnlineManagement
If the module is not installed, install it by entering:
Install-Module -Name ExchangeOnlineManagement -Force
Load the module into your PowerShell session by entering:
Import-Module ExchangeOnlineManagement
When connecting to Exchange Online via PowerShell, the execution policy set for PowerShell determines how scripts run on your tenant.
Coro recommends using a RemoteSigned policy as this ensures:
- Locally-created scripts run without requiring a digital signature.
- Trusted publishers must sign scripts downloaded from the internet.
Set the execution policy by entering:
Set-ExecutionPolicy RemoteSigned -Scope CurrentUser
If prompted, allow the execution policy change by entering y (for "Yes") or a (for "All").
Use Modern Authentication to connect to Exchange Online by entering:
Connect-ExchangeOnline -UserPrincipalName admin@yourdomain.com
Complete the sign-in process, including any multi-factor authentication steps, when prompted.
Modern Authentication is the default connection method for standard M365 tenants.
Download the Coro add-in PowerShell script to your tenant. Make a note of the download location.
Run the script in your PowerShell session using the full path to the script's location. For example:
& "C:\Users\User\Downloads\installCoroOutlookAddin.ps1"
PowerShell prompts you to approve a security warning for running the script. Enter R to proceed.
PowerShell displays confirmation that the script completed successfully.
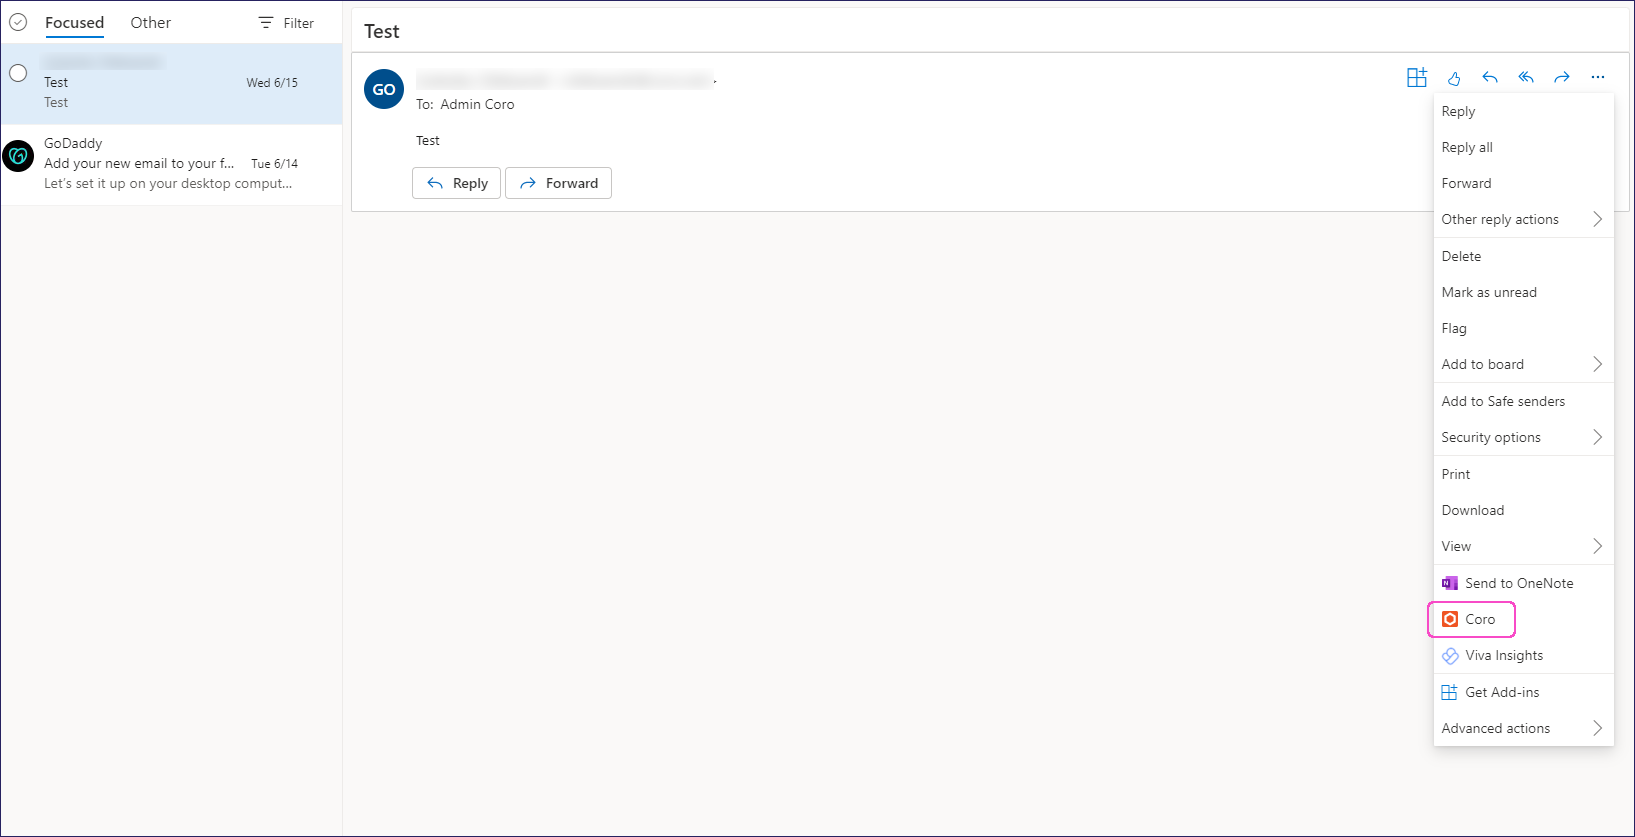
Users can access Coro through the email message menu: