Using the Secure Messages web portal
This article describes how to sign in to and use the Secure Messages web portal.
To learn more about Secure Messages, see Secure Messages.
Signing in
To sign into the Secure Messages web portal, locate and access the web portal URL:
Go to the Email Security configuration page.
Select the Secure Messages tab:
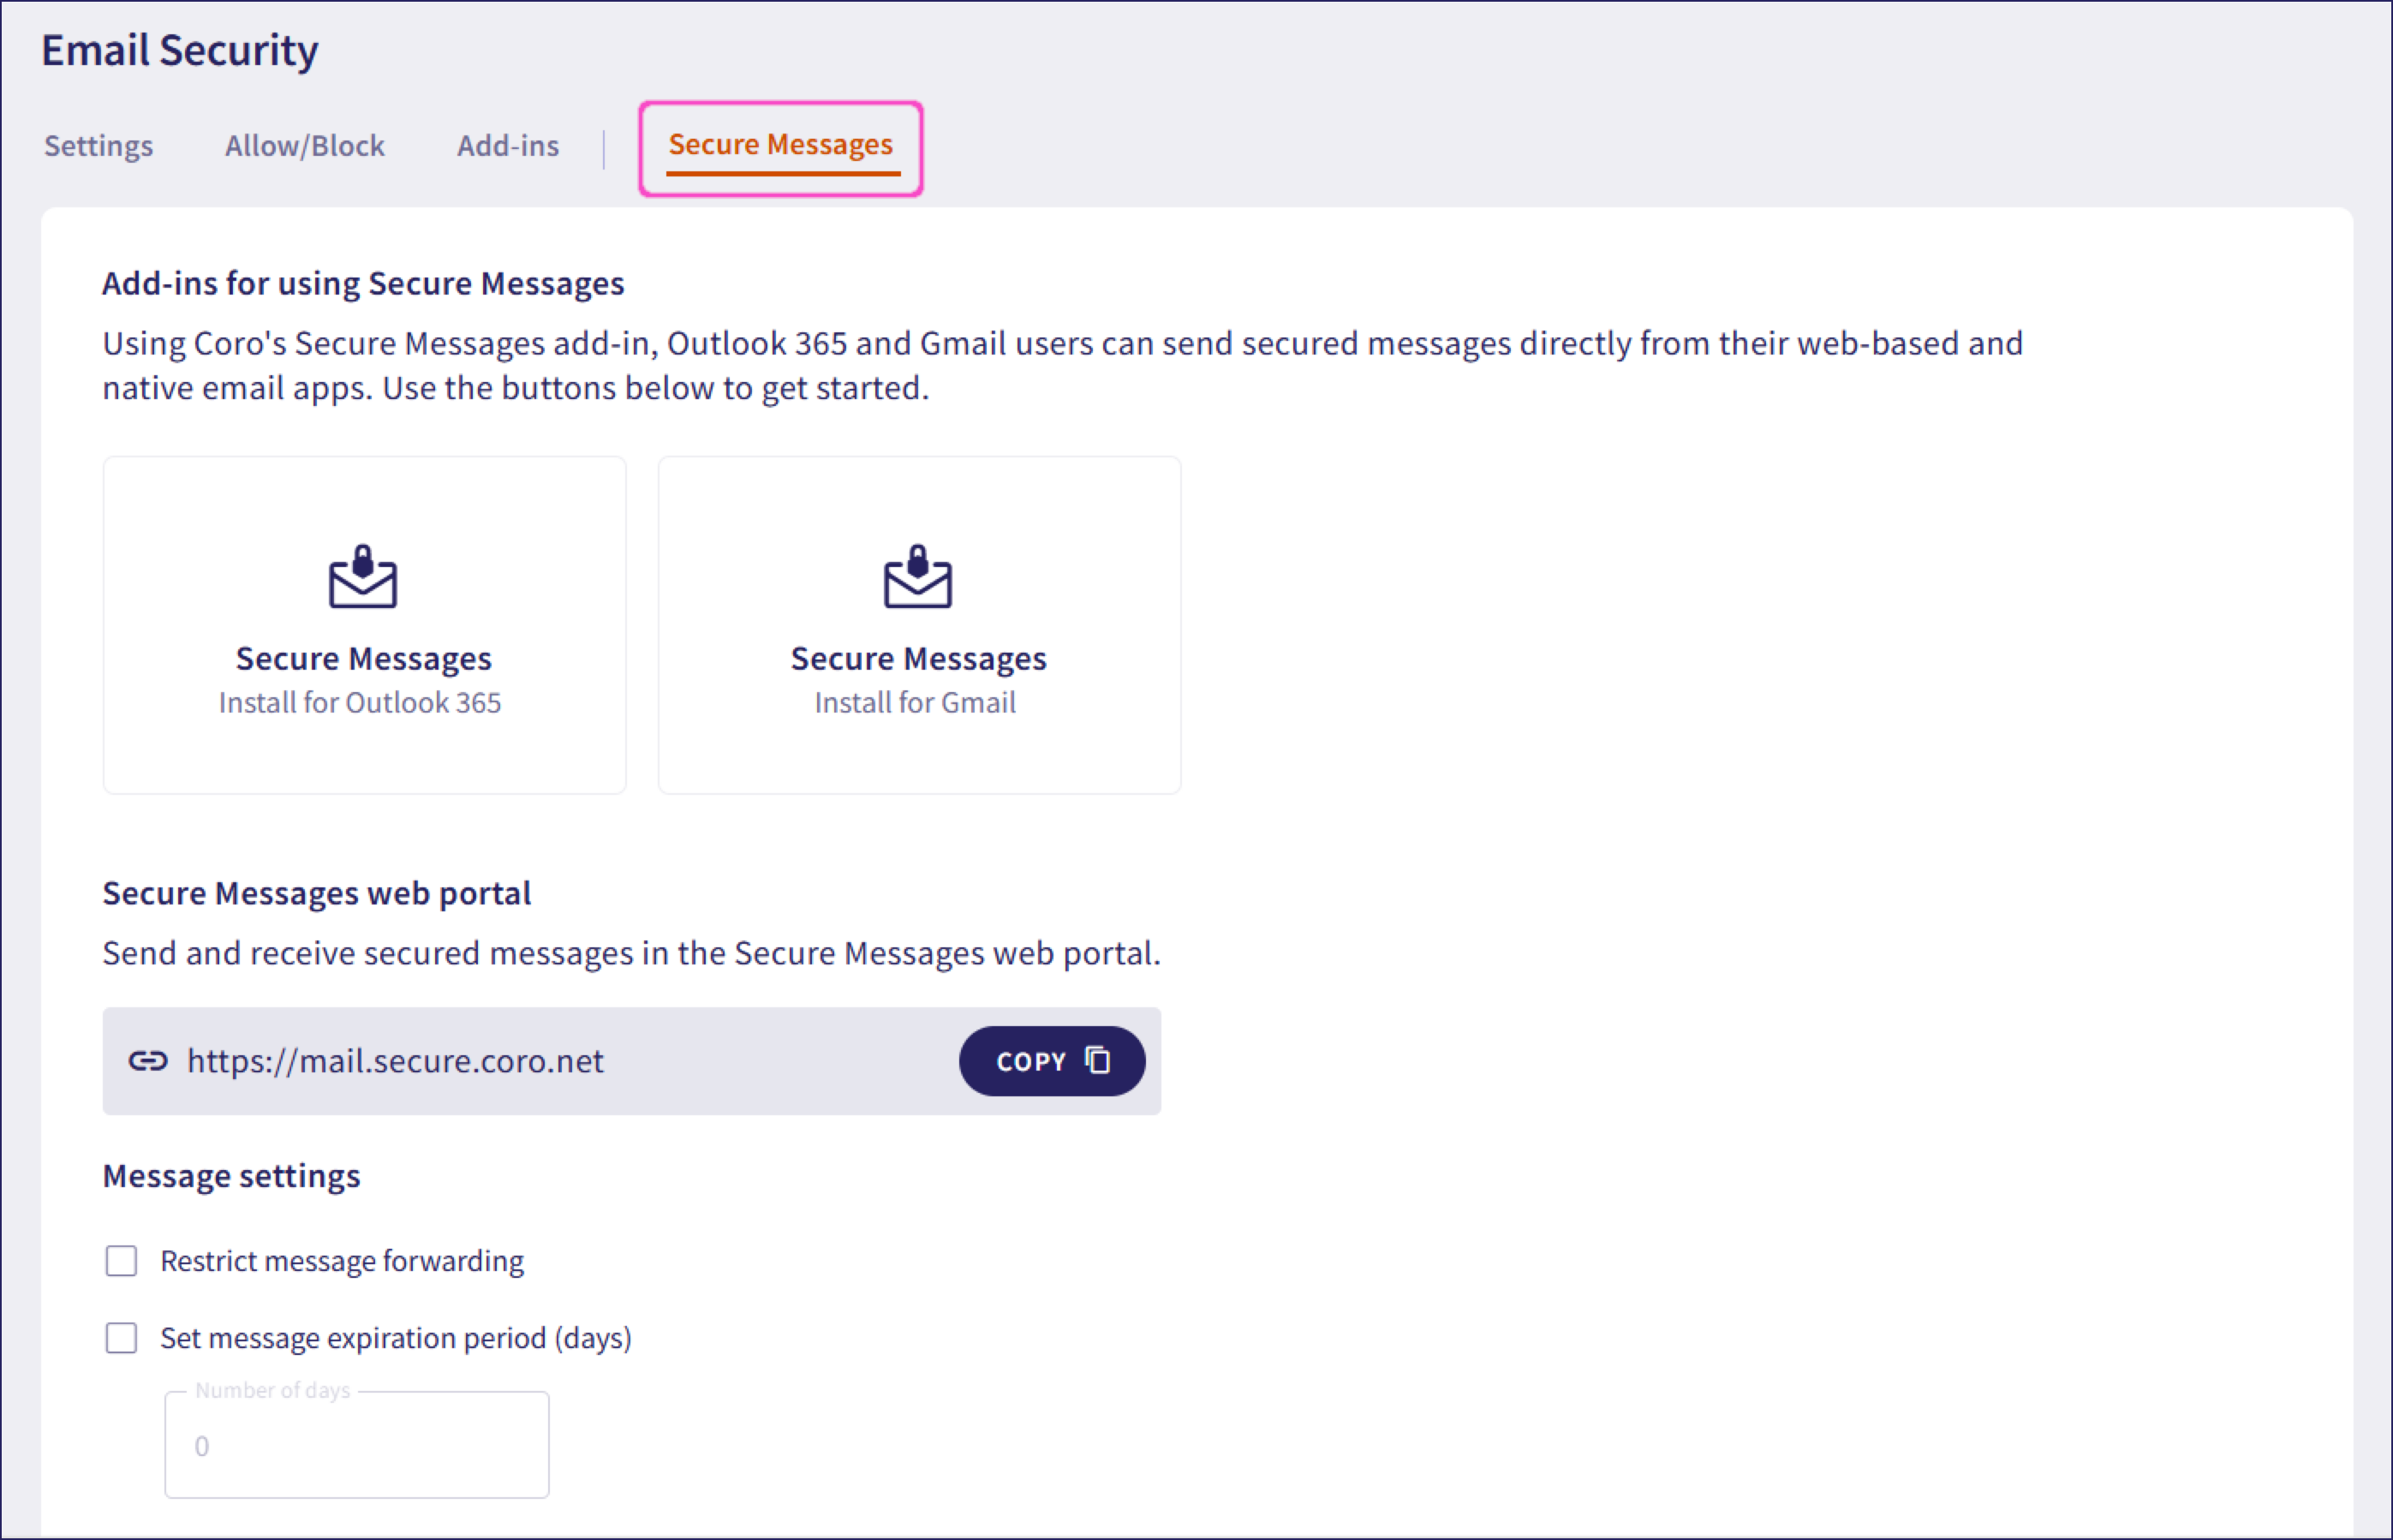
Locate the Secure Messages web portal URL textbox and select Copy:

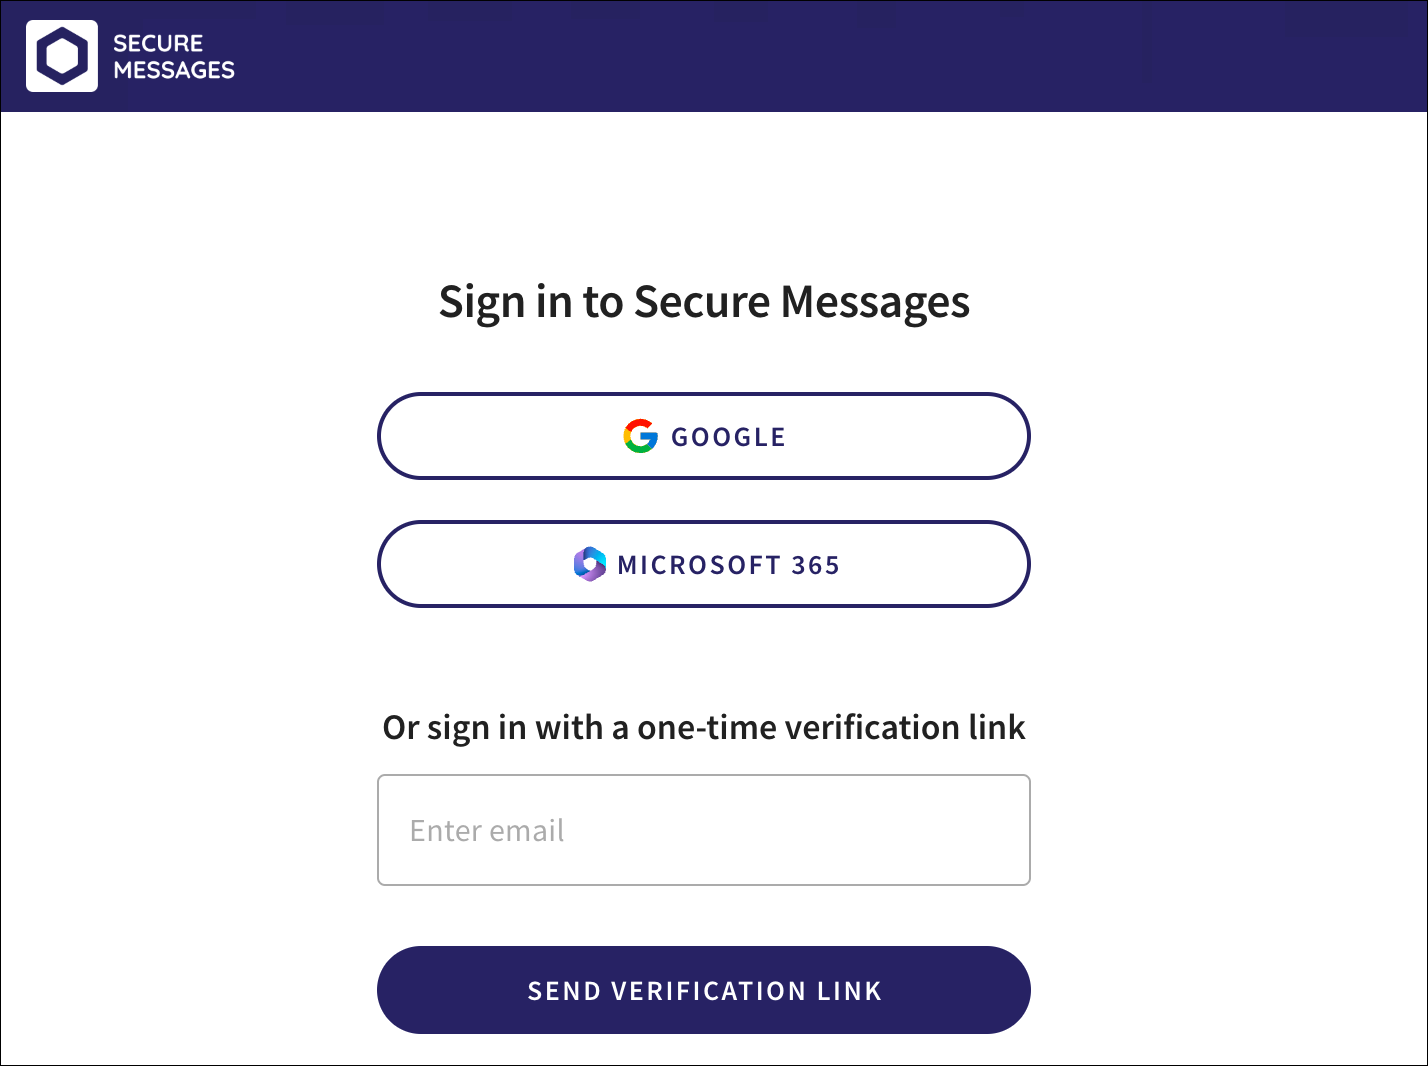
Paste the link into a web browser to access the Secure Messages portal sign-in page:
 Reminder
The Secure Messages portal is mobile-friendly, enabling access on smart devices.
Sign in to the Secure Messages portal using the following methods:
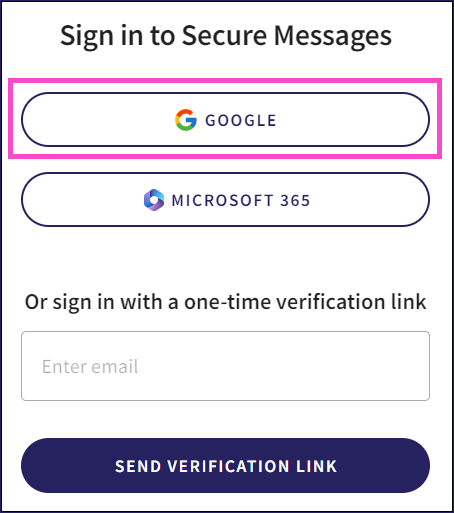
To sign in to Secure Messages using a Google account:
From the Sign in to Secure Messages page, select Google:
Choose a Google account:
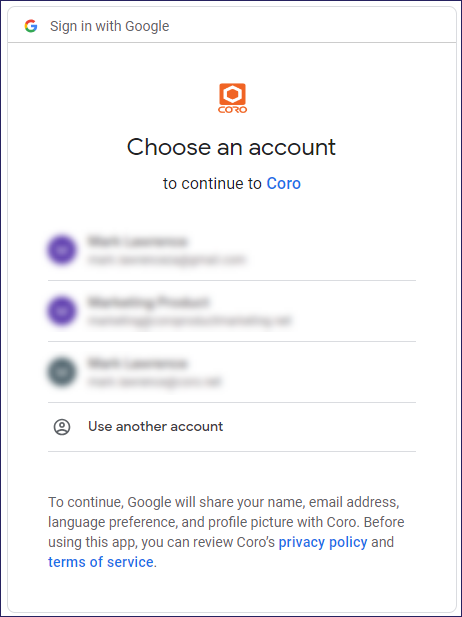
If your Secure Messages account does not yet exist, review and accept any additional permission requests.
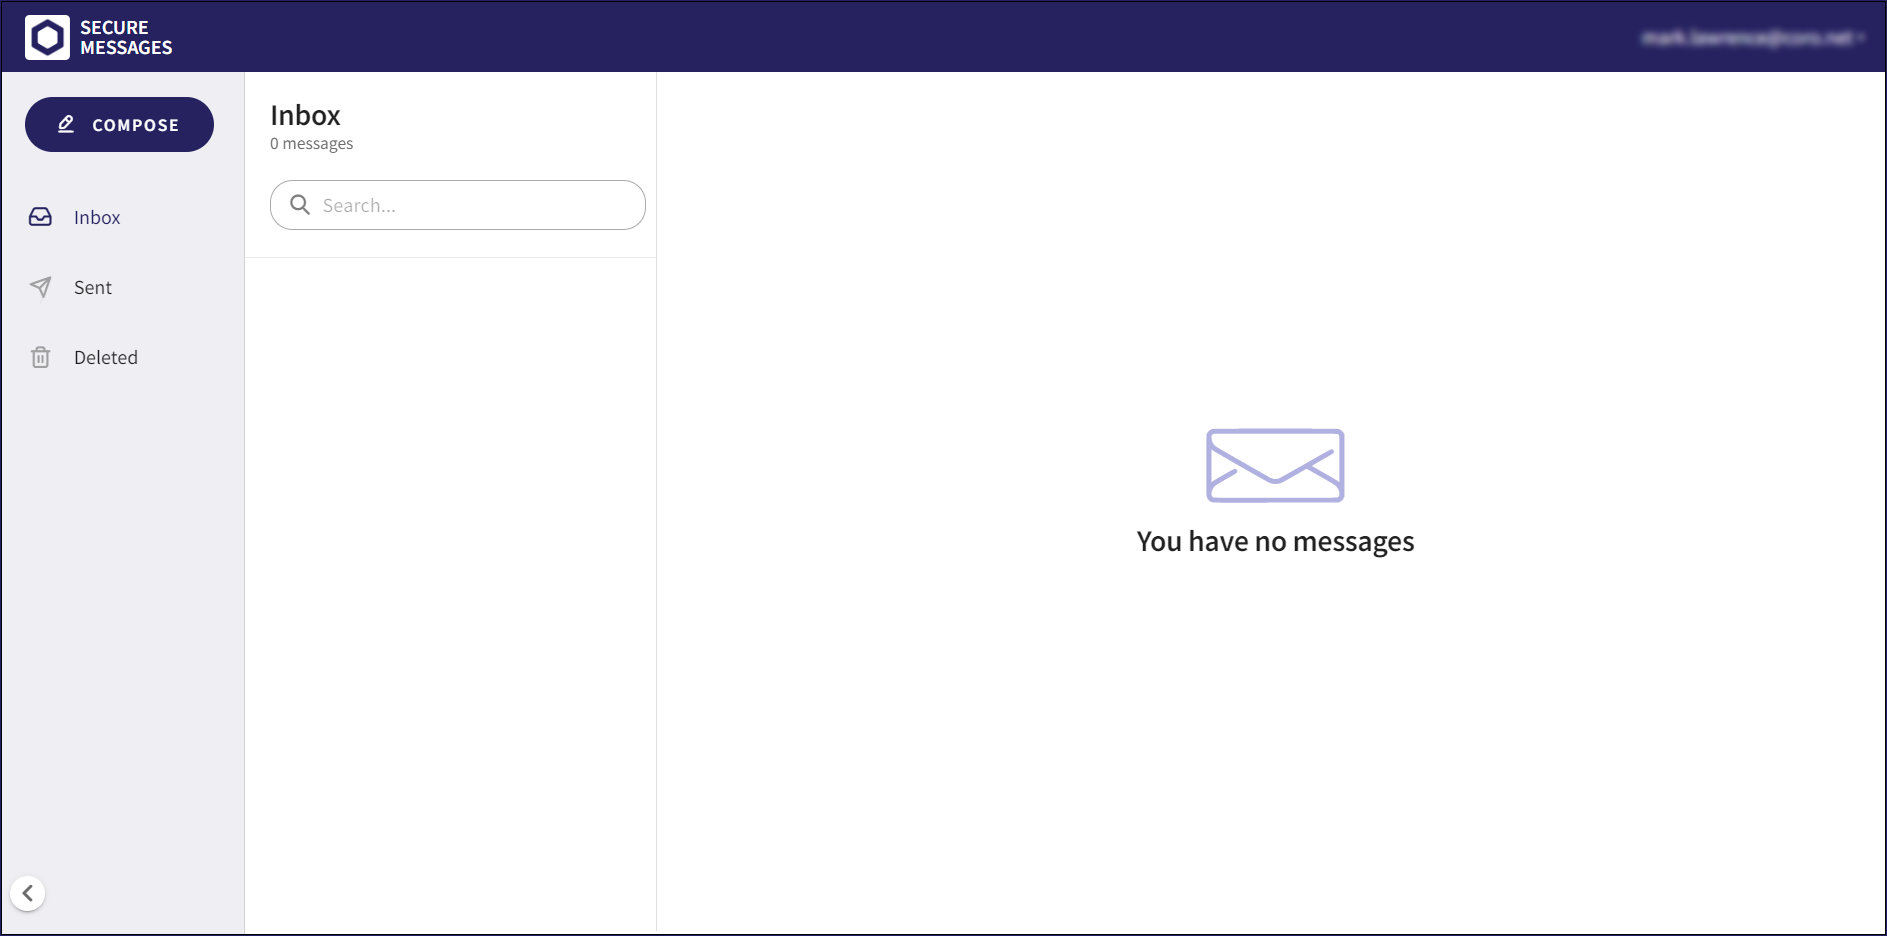
The Secure Messages portal appears:
Microsoft 365
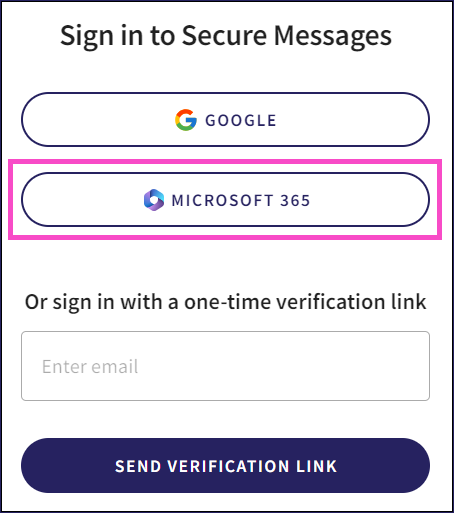
To sign in to Secure Messages using a Microsoft 365 account:
From the Sign in to Secure Messages page, select Microsoft 365:
Choose a Microsoft 365 account:
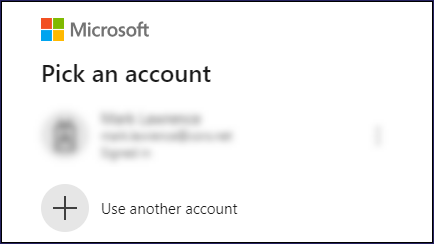
If your Secure Messages account does not yet exist, review and accept any additional permission requests.
The Secure Messages portal appears:

One-time verification
To sign in to Secure Messages using a one-time verification link:
Input a valid email address in the Enter email field:
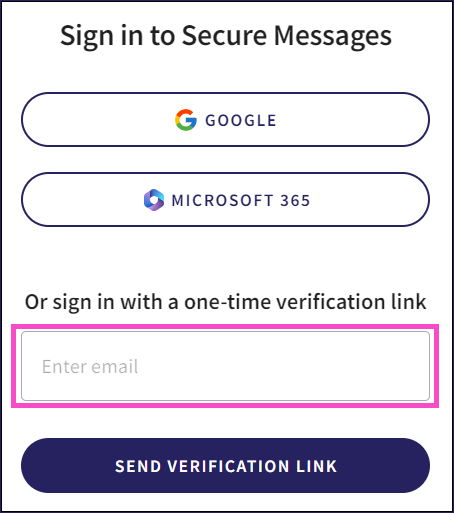
Select SEND VERIFICATION LINK:
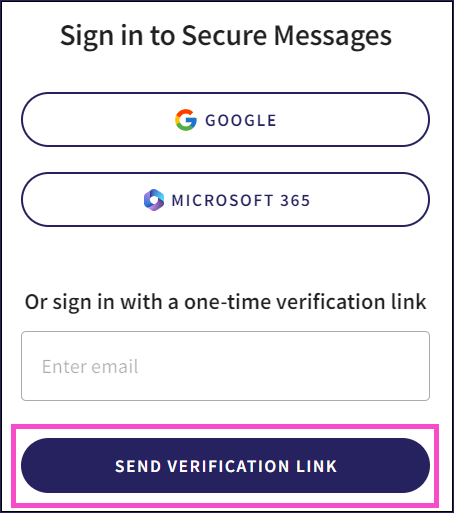
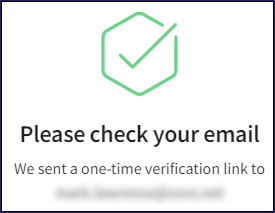
Coro emails a one-time verification link to the entered email address, and a confirmation message appears:
Locate the email titled Coro email encryption login. Ensure you check junk folders, update folders, etc. if you cannot locate the email in your inbox.
Select LOGIN TO CORO MAIL:
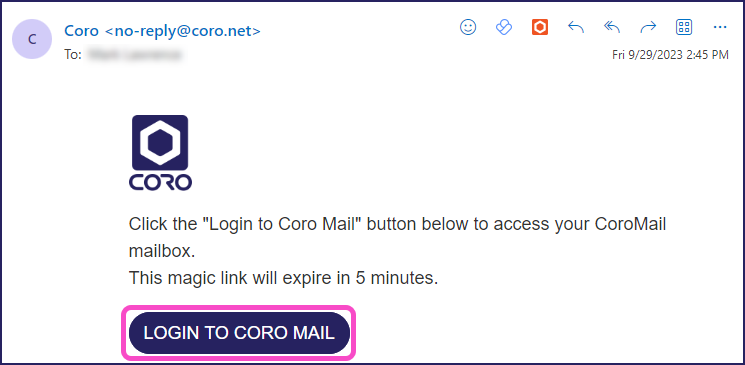
The link expires after five minutes.
The Secure Messages portal appears:

Users who sign in using one-time verification are automatically logged out after five minutes of inactivity.
Secure Messages portal overview
The Secure Messages portal is the main interface from which all operations are performed. The portal comprises the following views:
Inbox
The Inbox appears as the default view when you sign in to your Secure Messages account.
Your received messages are displayed in a list, sorted by the date/time received (descending).
Unread messages are marked with a circle indicator, with the number of unread messages shown next to Inbox. Coro also displays the total number of all read and unread messages at the top of the message list.
Coro deletes messages (read or unread) from your Inbox after a period of time configured by the sender or in the sender's workspace. If no message expiration period is set, Coro defaults to deleting messages after 90 days.
For each message in the Inbox, the following components are displayed:
Date/time received
Sender
Subject
Opening snippet of the message body
Number of attachments (if applicable)
The Search field can be used to filter messages by sender or subject.

The Inbox is auto-refreshed every few seconds.
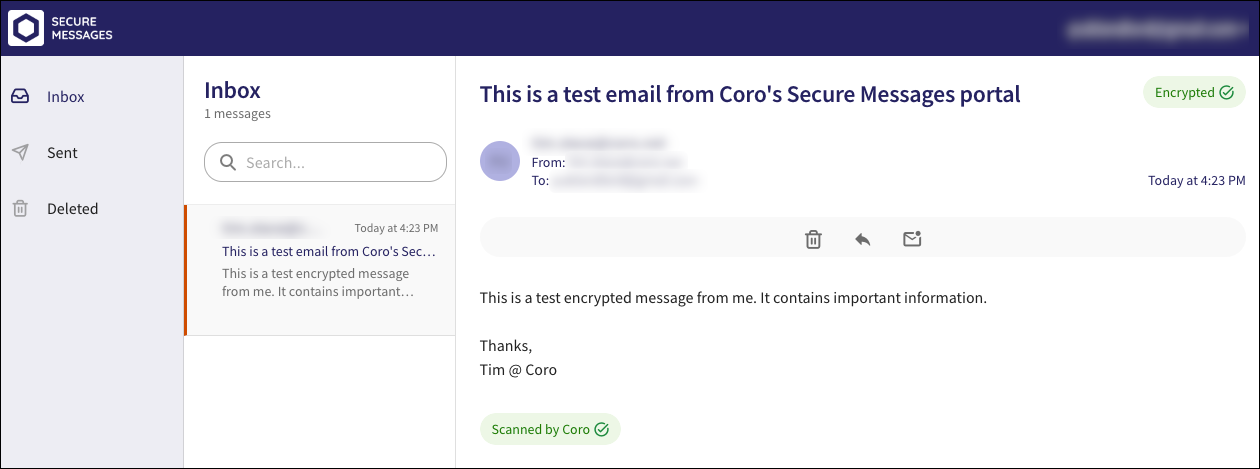
When an individual message is selected, its entire contents are displayed, including the sender, recipient, subject, body, and any attachments or embedded content:

The following security notifications are observed:
Encrypted: The message is encrypted and secured by Secure Messages.
Scanned by Coro: All message attachments have been scanned for malware.
Additionally, an actions menu bar is displayed above the message body.
Alternatively, select and hold (or right-click) an individual message, then select from a pop-up menu:
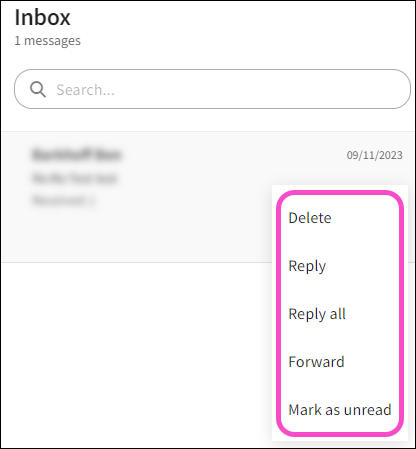
The following actions can be performed on the message:
| Action | Icon | Description |
|---|---|---|
| Delete | Delete the message from the Inbox. The message is moved to Deleted. A confirmation message appears:  | |
| Reply | Reply to the sender of the message. NOTE: Both protected and unprotected users can reply to messages. When Reply is selected, the Reply composer window appears. After you have written your response, select SEND: A confirmation message appears:  For further information on formatting the body of a message, see Composing messages. | |
| Reply all | Reply to all recipients included in a message. NOTE: Both protected and unprotected users can reply to all message recipients. When Reply all is selected, the Reply all composer window appears. After you have written your response, select SEND: 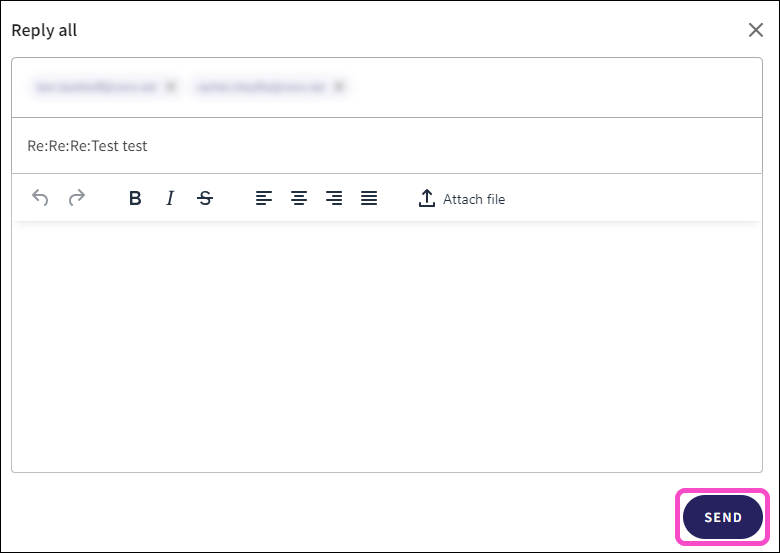 A confirmation message appears:  For further information on formatting the body of a message, see Composing messages. | |
| Forward (Protected users) | Forward a message to one or more recipients. NOTE: Only protected users can forward messages, and the forwarding option must be enabled by the sender or in the sender's workspace. When Forward is selected, the Forward composer window appears, including the contents of the received message. Add additional content in the message body, and select SEND: 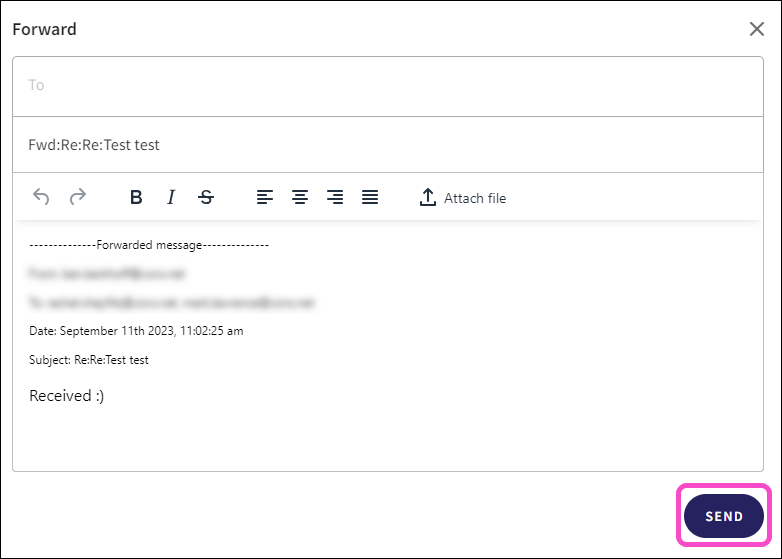 A confirmation message appears:  For further information on formatting the body of a message, see Composing messages. | |
| Mark as unread | Visually marks a message as unread (denoted with a circle.) |
Deleted
When you delete a message from either the Inbox or Sent view, it is moved to the Deleted view. The user interface is similar to the Inbox view.
To display the Deleted view, select Deleted from the navigation bar:

The Deleted view is refreshed when reopened or when the browser is refreshed.
Messages placed in the Deleted folder are deleted permanently after two weeks.
When you select an individual message, Coro displays an actions menu bar above the message body.
Alternatively, select and hold (or right-click) an individual message, then select from a pop-up menu:
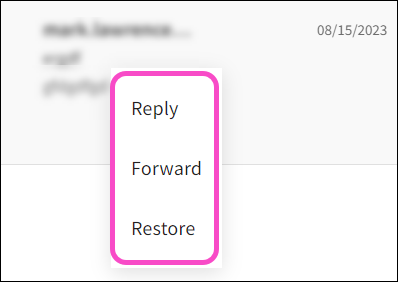
The following actions can be performed on a deleted message:
| Action | Icon | Description |
|---|---|---|
| Reply | Reply to the sender of the message. NOTE: Both protected and unprotected users can reply to messages. When Reply is selected, the Reply composer window appears. After you have written your response, select SEND: A confirmation message appears:  For further information on formatting the body of a message, see Composing messages. | |
| Forward (Protected users) | Forward a message to one or more recipients. NOTE: Only protected users can forward messages, and the forwarding option must be enabled by the sender or in the sender's workspace. When Forward is selected, the Forward composer window appears, including the contents of the received message. Add additional content in the message body, and select SEND:  A confirmation message appears:  For further information on formatting the body of a message, see Composing messages. | |
| Restore | Restore a message to its original folder. A confirmation message appears:  |
Sent
When you send or reply to a message, it is stored in the Sent view. The user interface is similar to the Inbox view.
To display the Sent view, select Sent from the navigation bar:

When an individual message is selected, an actions menu bar is displayed above the message body.
The following actions can be performed on a sent message:
| Action | Icon | Description |
|---|---|---|
| Delete | Delete the message from the Inbox. The message is moved to Deleted. A confirmation message appears:  | |
| Reply | Reply to the sender of the message. NOTE: Both protected and unprotected users can reply to messages. When Reply is selected, the Reply composer window appears. After you have written your response, select SEND: A confirmation message appears:  For further information on formatting the body of a message, see Composing messages. | |
| Forward (Protected users) | Forward a message to one or more recipients. NOTE: Only protected users can forward messages, and the forwarding option must be enabled by the sender or in the sender's workspace. When Forward is selected, the Forward composer window appears, including the contents of the received message. Add additional content in the message body, and select SEND:  A confirmation message appears:  For further information on formatting the body of a message, see Composing messages. | |
| Retract | Delete the message from users' inboxes who have not yet read it. When Retract is selected, the Retract email? confirmation dialog appears. Select Confirm to retract the message: 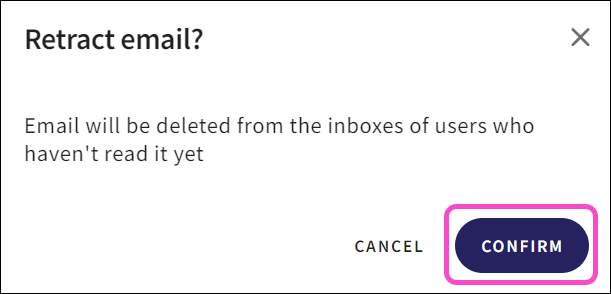 A confirmation message appears:  By viewing the status, you can determine whether the recipients have read your message. An Unread status indicates the message has not yet been read:  When your message has been read, the status indicates the number of recipients who have read it:  |
Composing messages
Protected users can compose messages.
To compose a new message:
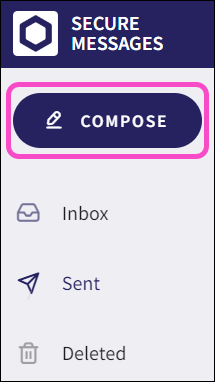
From the navigation bar, select COMPOSE:
Coro displays the New Message composer window:
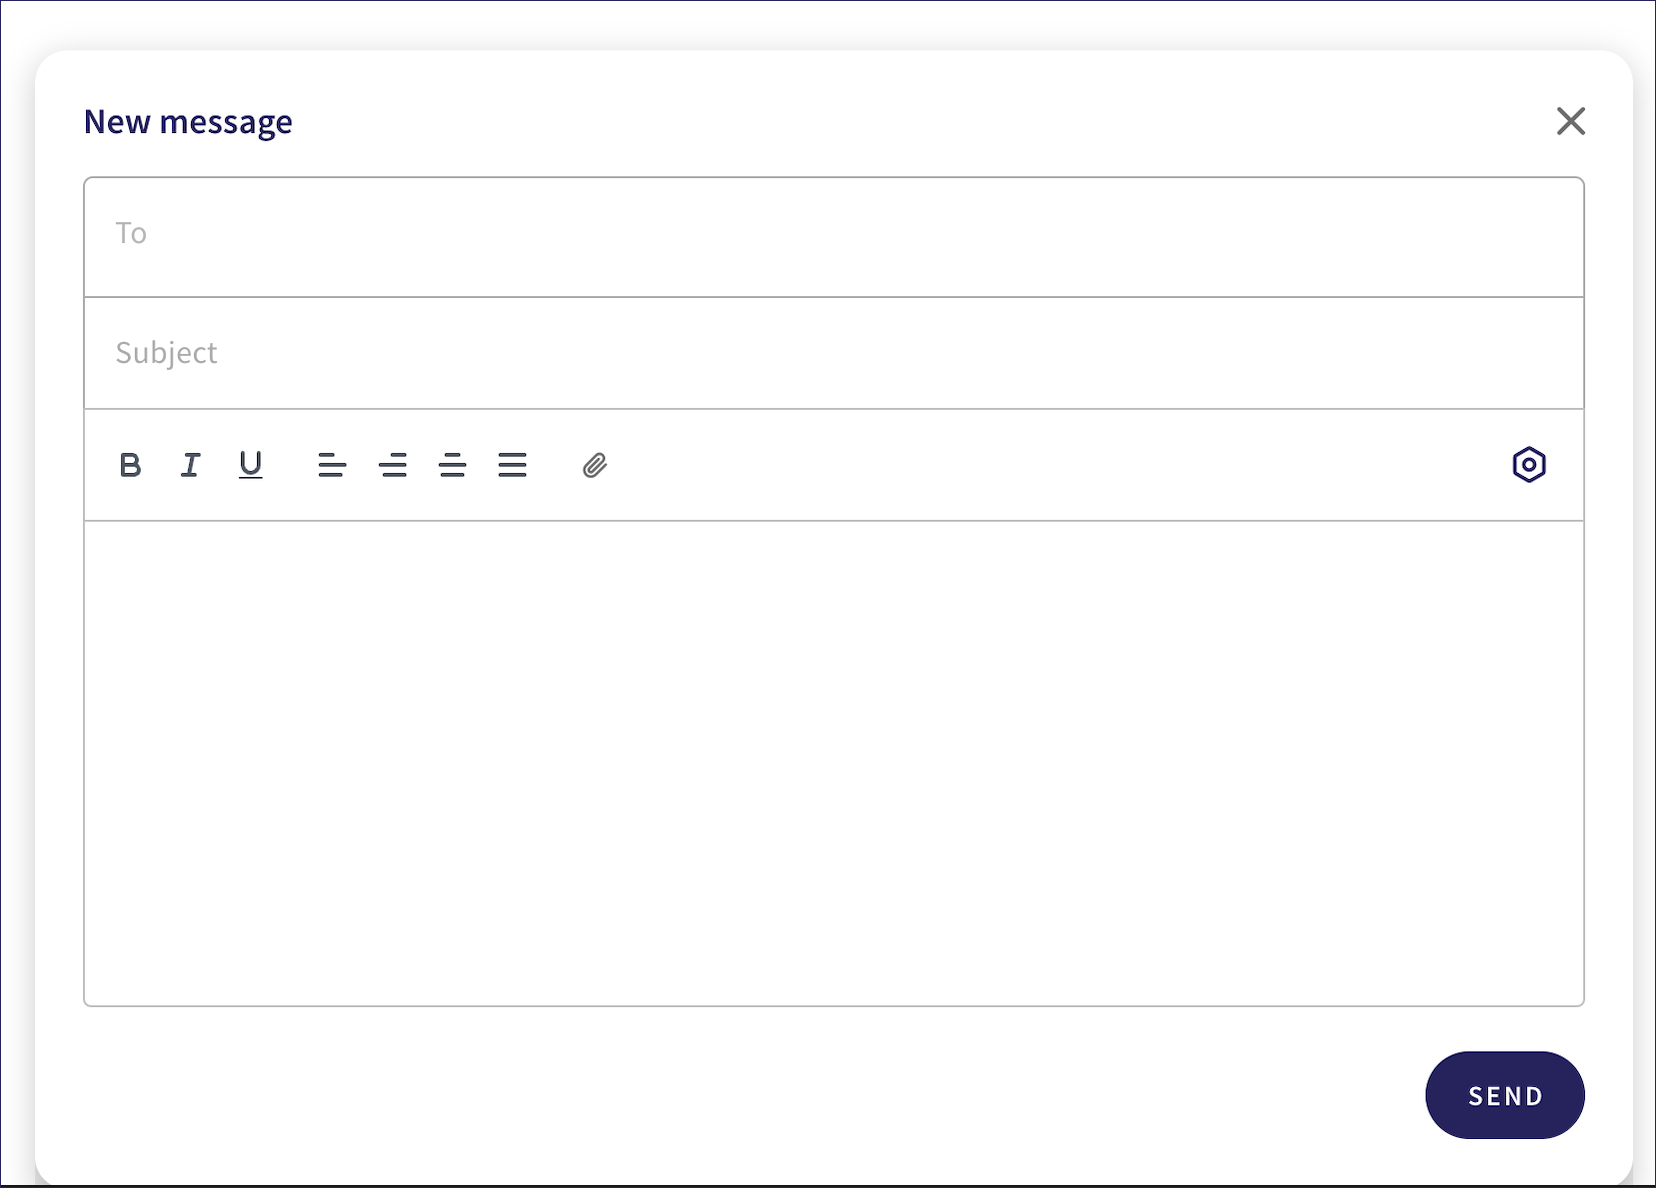
Enter one or more valid email addresses in the To field.
Multiple email addresses must be separated with a comma.
(Optional) Enter a message Subject.
Compose the body of the message.
The Bold, Italics, and Strikethrough options on the formatting tab can be used to format text. In addition, you can Undo/Redo text and align text:

If you close the New Message composer window prior to sending a message, the Close composer dialog appears. To close the composer window without saving any changes, select Confirm:
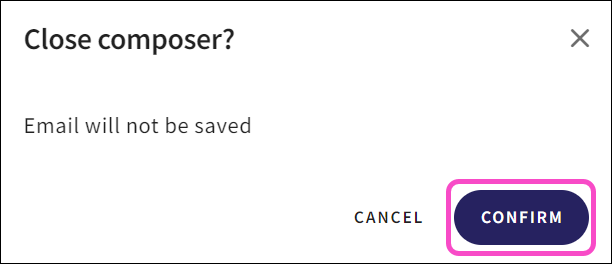
No changes are saved.
Configuring settings
You can restrict message forwarding and set expiration dates for messages from the message settings.
Admin users can restrict all message forwarding and set expiration dates for all messages. When this occurs, you can't configure these settings on a per-message basis. For more information, see Secure Messages settings.
When message forwarding is not restricted or expiration dates for messages aren't set by your admin user, you can configure these settings for each message.
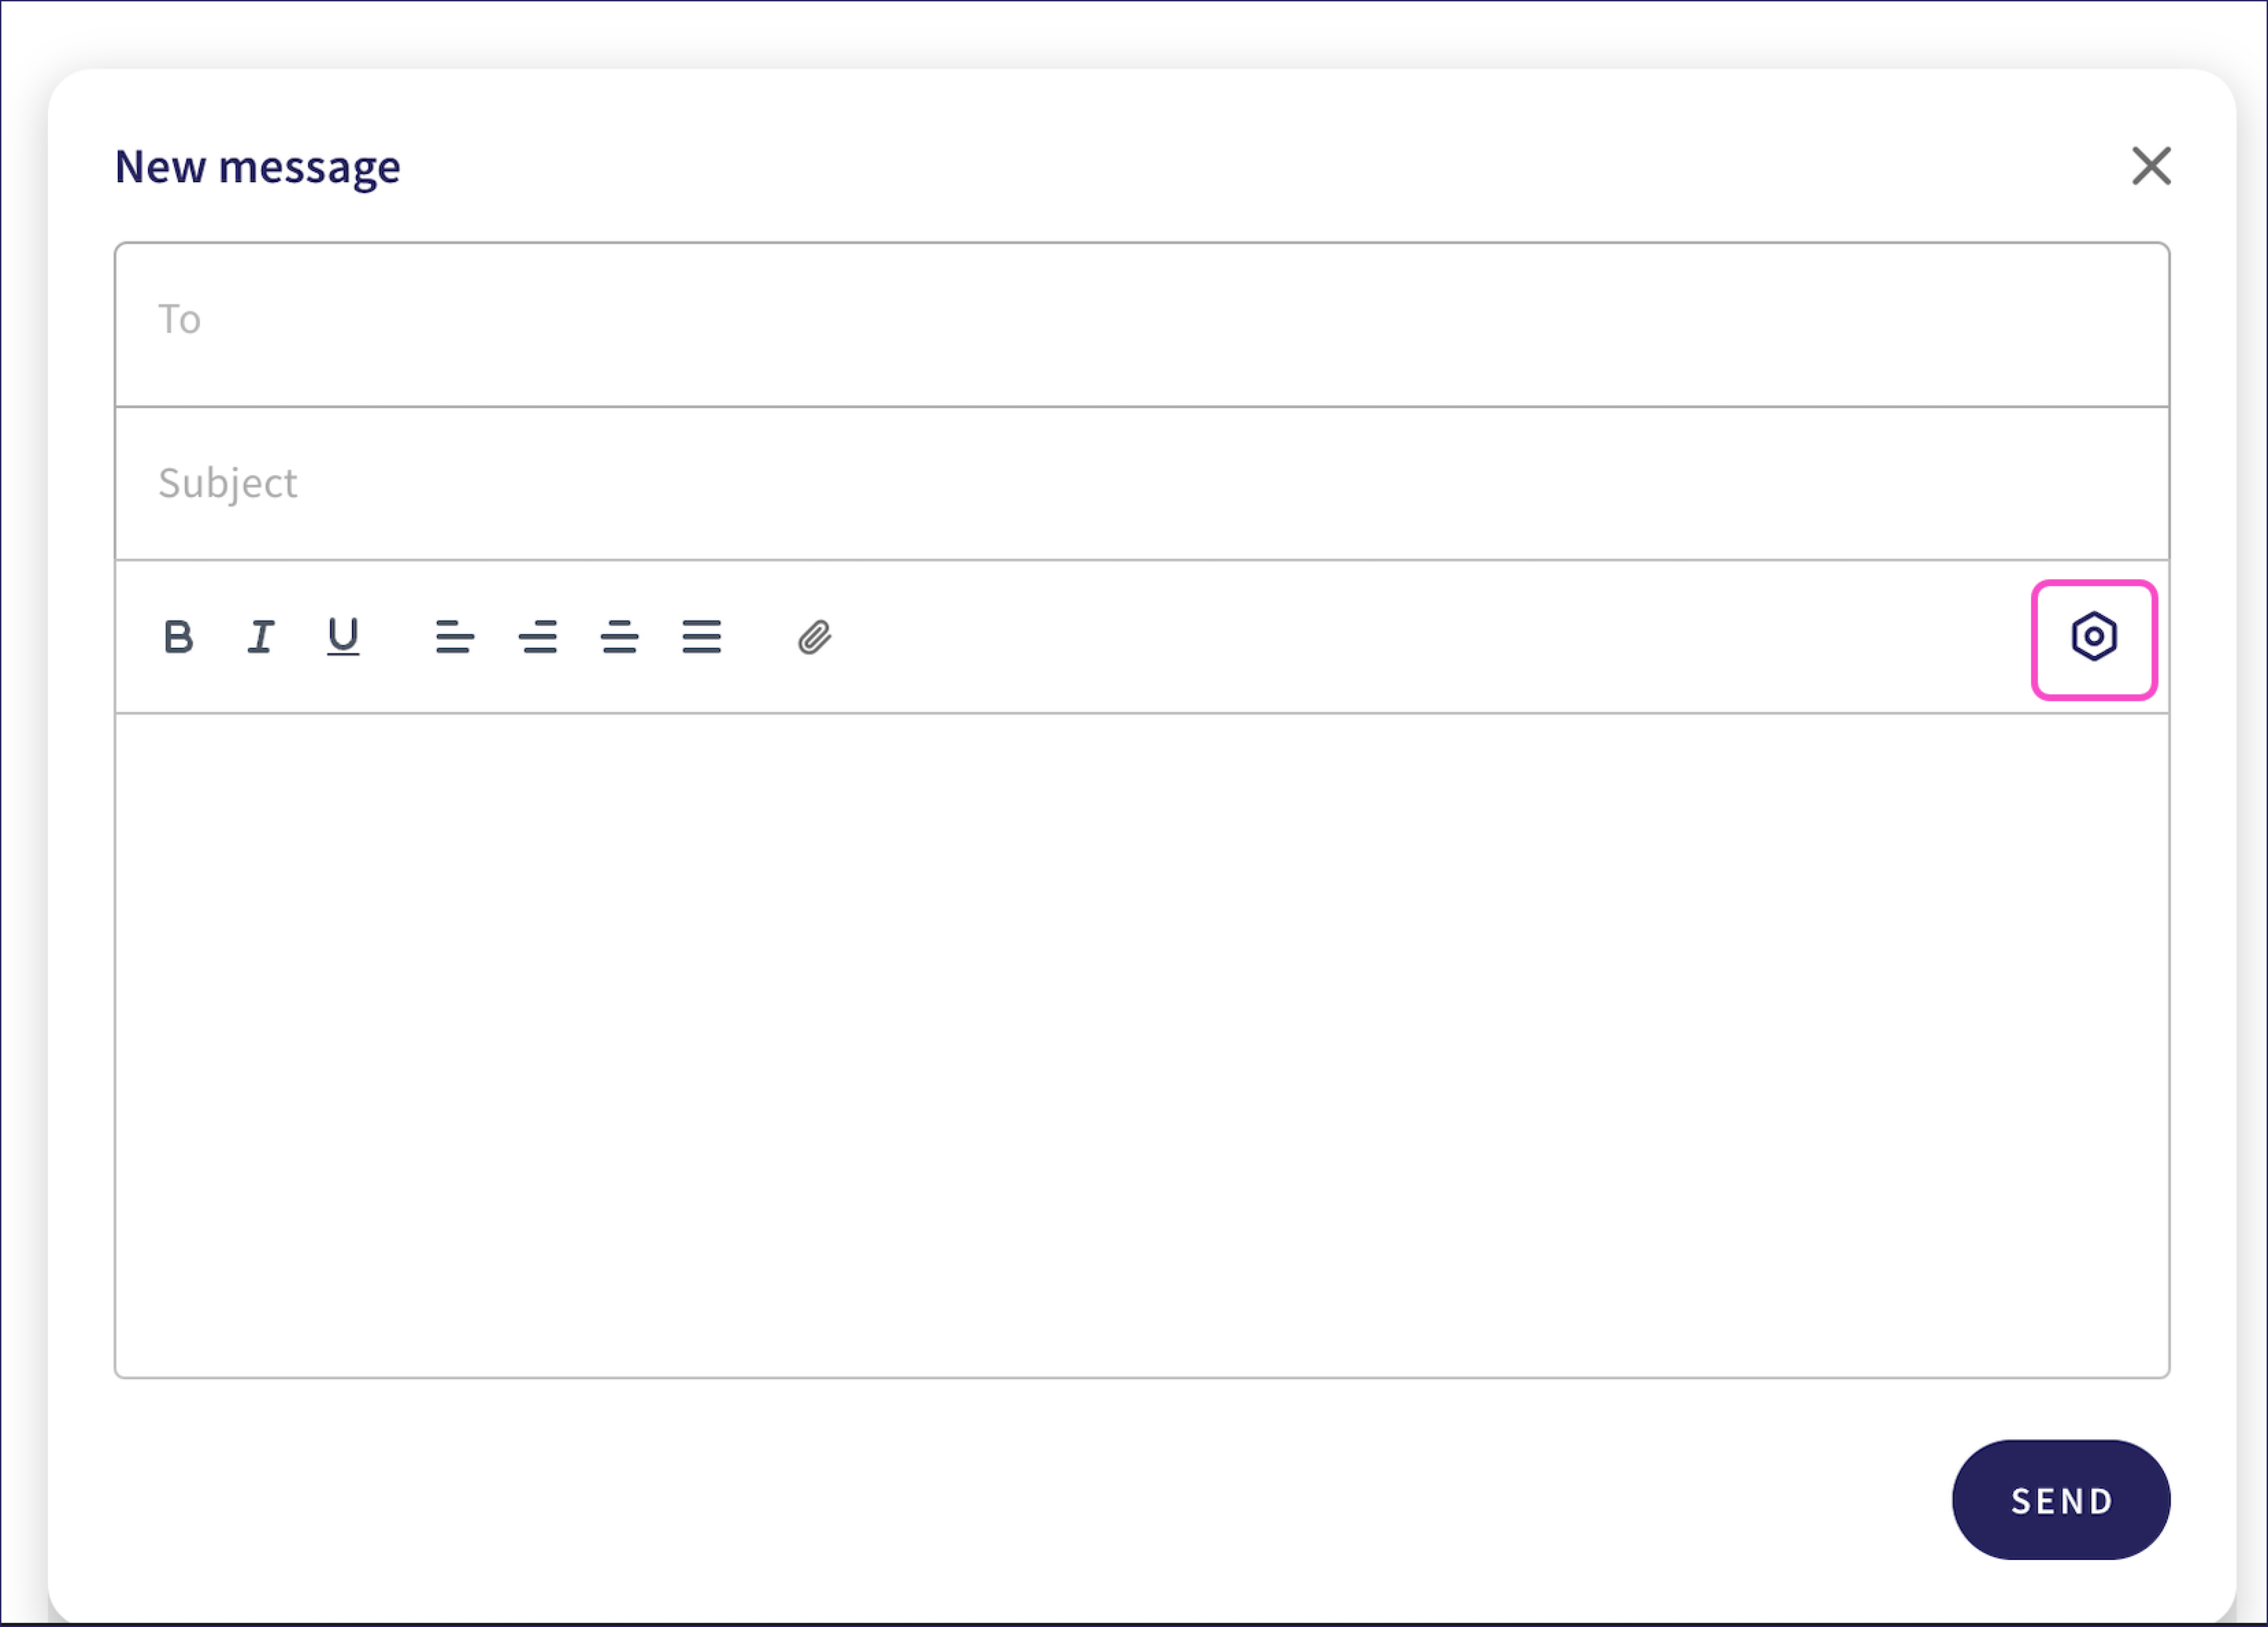
To configure the settings:
Select
 :
:
Select Restrict message forwarding to prevent the message from being forwarded:
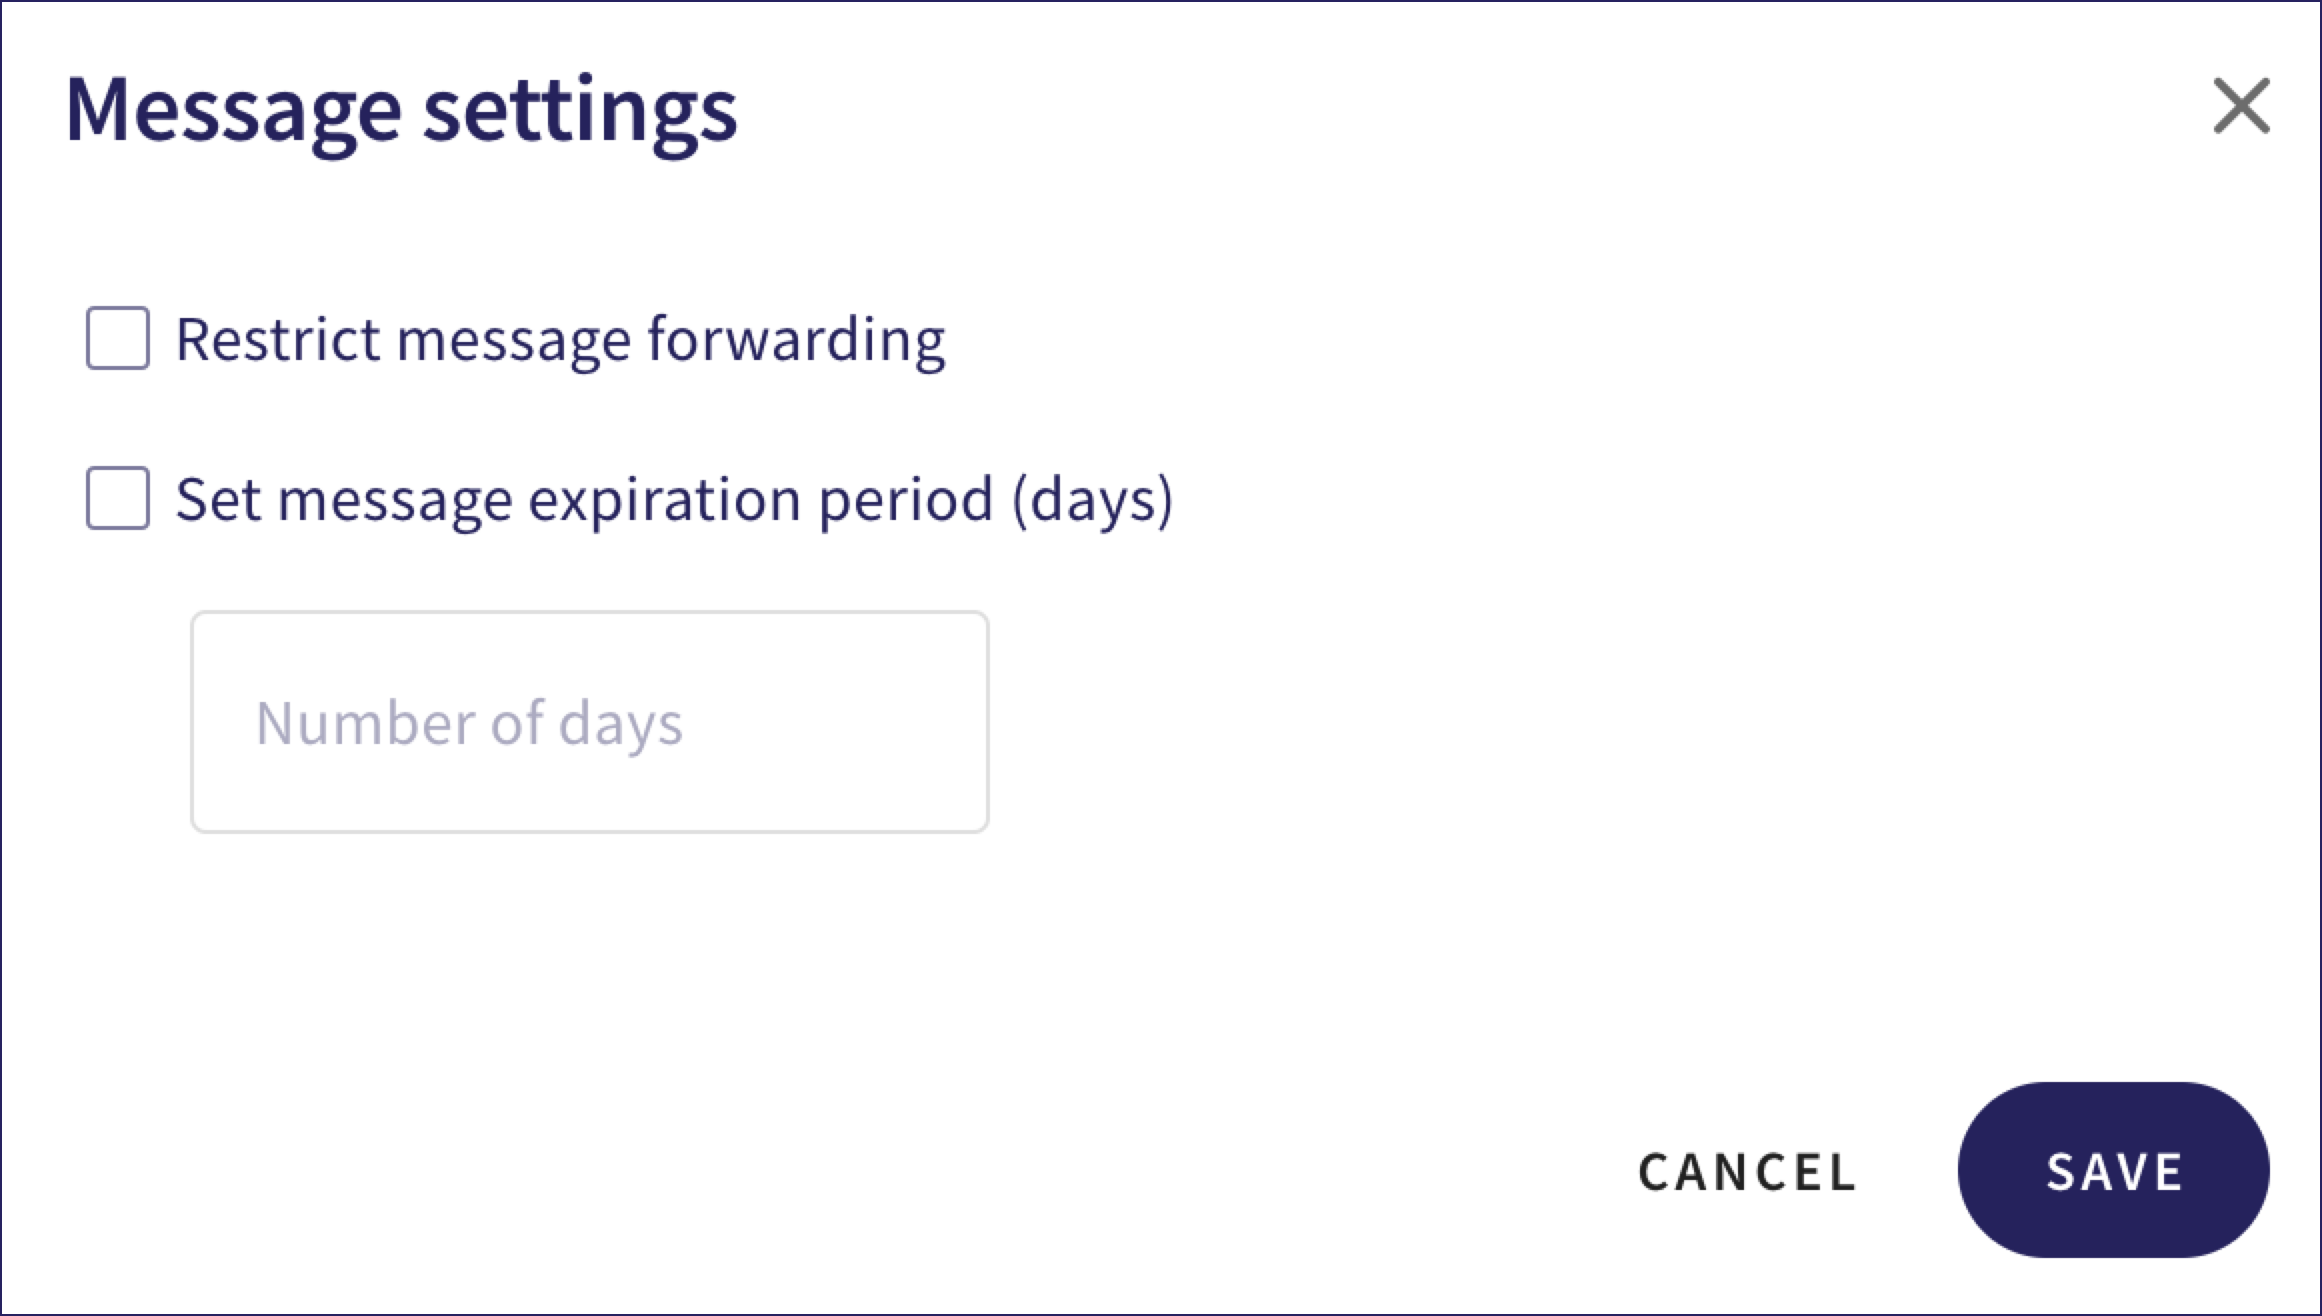
When restricted, the message can't be forwarded by the recipient.
Select Set message expiration period (days) to add an expiration date to the message.
When an expiration period is set, the recipient can only access the message during that period. After this period, the message content is no longer accessible via the link provided in the email. While the recipient continues to see the email in their inbox, they are unable to open the link to access the secured message content after expiration. Within the Secure Messages portal, the message is deleted for the recipient. The protected user who sent the message can still see it from their Sent view.
Enter the number of days until the message should expire.
Adding attachments
Attachments allow you to include files such as documents, images, and videos in your messages.
To add attachments to messages:
Select Attach file from the formatting tab:

The Open dialog appears:
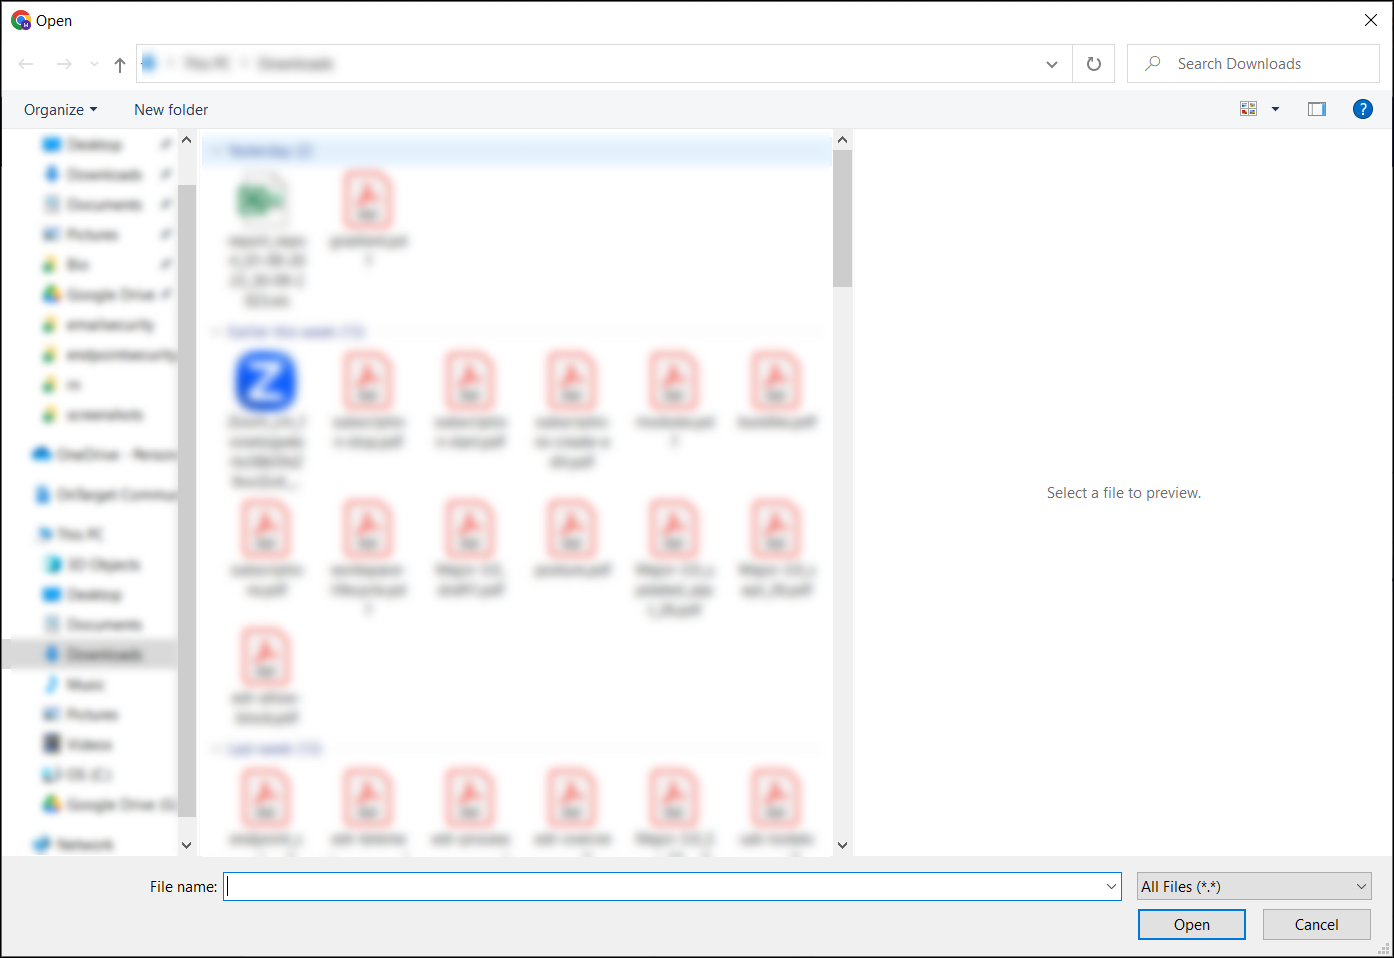
You can browse and select files from a variety of sources, such as local storage and cloud storage services. In addition, you can navigate through folders, preview files, and select the attachment(s) to include in your message.
After choosing the attachment(s), select Open.
Coro displays the selected attachment(s) on the lower left side of the New Message composer window:
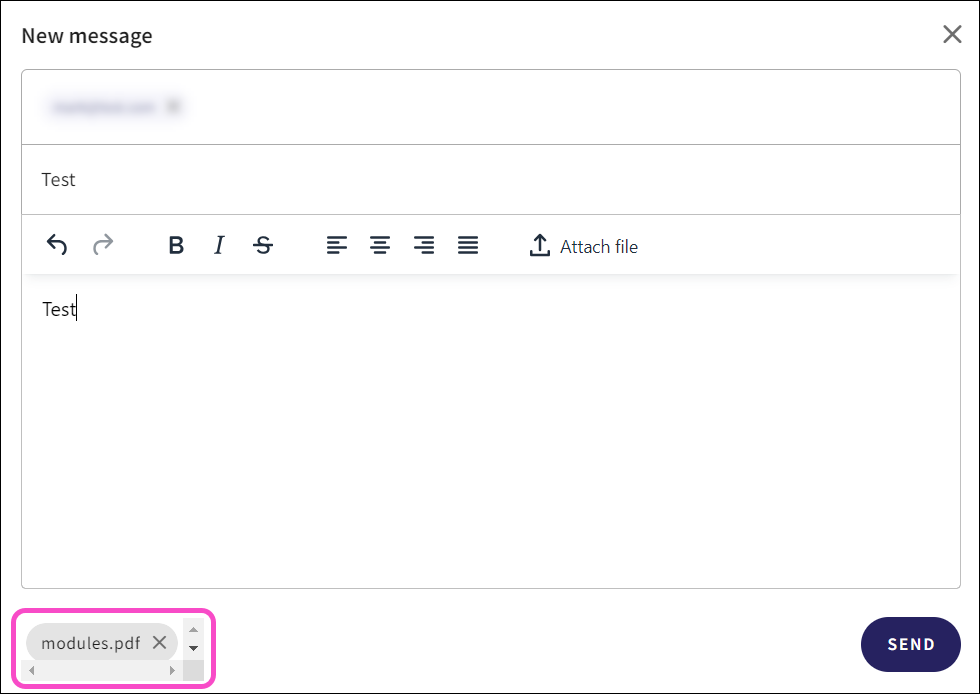
The maximum file size per attachment to a message is 40 MB, and the total file size of all attachments cannot exceed 100 MB. If the attachment(s) exceed the size limits, an error message appears and the attachment(s)are not added to the message.
Malware in attachment inspection
Coro scans all uploaded attachments for malware. If malware is detected, an error message appears, and the offending attachment(s) appear in red:

Coro excludes attachments containing malware, ensuring recipients are never exposed to malicious content. When the recipient opens the message, Coro displays a placeholder indicating that the attachment is identified as malware. The file cannot be downloaded.
The Scanned by Coro status confirms that Coro has scanned all message attachments for malware:

Embedding message content
You can embed content directly into the body of a message using copy/paste functionality:

Encryption flow of sent messages
When a message is sent, the following encryption flow process occurs:
All messages, including attachments, are securely transmitted to the Coro servers. This ensures that the data is encrypted during transmission to the servers.
After a message is received by the server, the content and attachments are encrypted using Advanced Encryption Standard (AES).
To learn more about AES, see What is the Advanced Encryption Standard (AES)?
The encrypted message and attachments are stored in Coro's internal database, which only authorized users can access. The encrypted attachments are stored separately in an Amazon S3 bucket, which is a secure storage service that adds an additional layer of security to protect sensitive files.
For further information on the decryption flow followed when a message is received, see Decryption flow of received messages.
Receiving messages
Recipients are notified via automated email that a secure message is waiting for them at Coro's Secure Messages web portal:
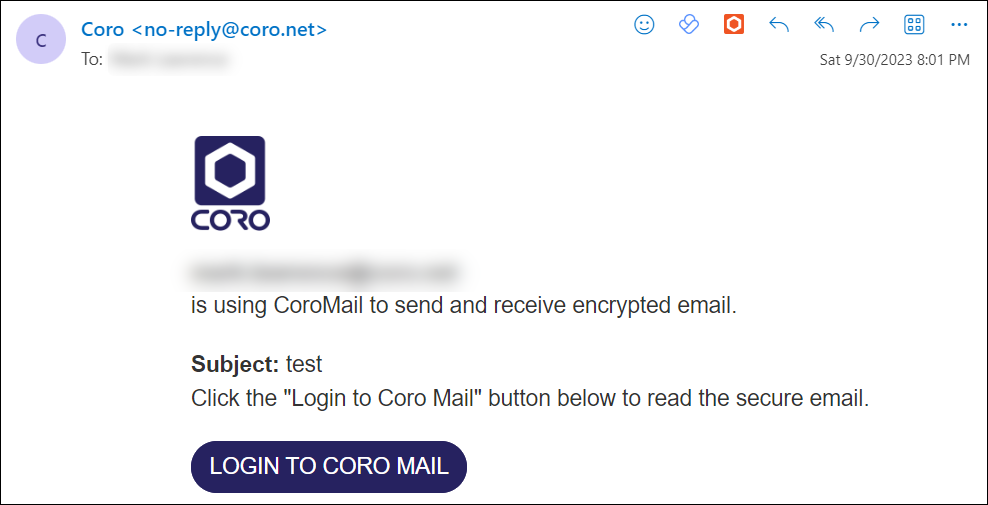
The email contains a link to sign into the Coro Secure Messages portal where the message can be viewed. Follow the procedure outlined below to read your message:
From the email, select LOGIN TO CORO MAIL to view the Secure Message web portal. Alternatively, enter the portal URL directly into your browser:
https://mail.secure.coro.net
At the sign in page, choose your sign-in method. Coro supports a Google or Microsoft social sign-in linked to the recipient's email address, or with a one-time link sent to your inbox:

For more information about signing in, see Signing in.
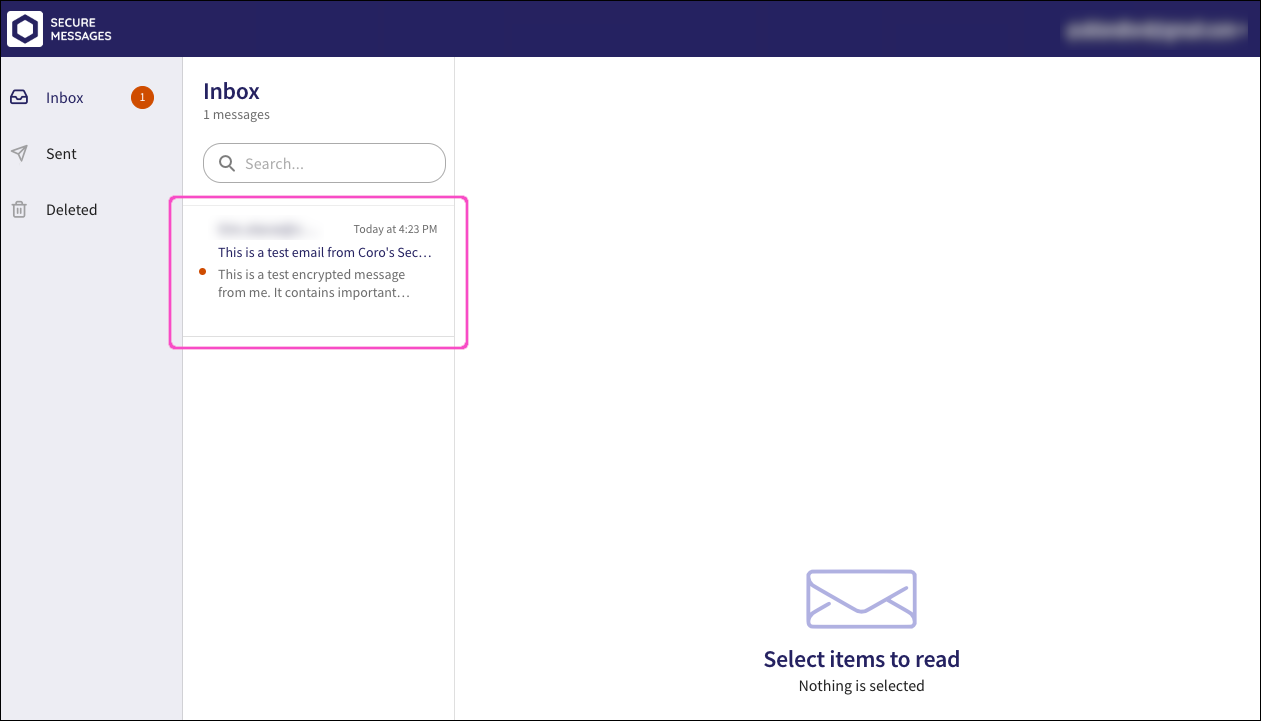
The Secure Messages web portal appears (showing your Inbox by default). Select a message to open it:
Coro shows the message in the main viewing pane:
Coro automatically signs you out of the portal after a period of inactivity.
Decryption flow of received messages
When a message is opened, the following decryption flow process occurs:
Coro sends a view message request from the Secure Messages portal to the Coro server.
The Coro server receives the request and retrieves the encrypted data from the database.
The message content is decrypted in memory.
Coro securely transmits the decrypted message content back to the Secure Messages portal.
Signing out of the Secure Messages portal
To sign out of the Secure Messages portal:
From the toolbar, select the dropdown next to your email address:
