Coro enables admin users to generate and email workspace reports and data exports to named admin users on a daily, weekly, or monthly basis. Use this page to create schedules for your reports and exports.
Recipients receive an email containing a link to download the generated report or export according to the frequency you specify.
Coro generates reports in PDF format (see Workspace reports) and data exports in CSV format (see Viewing and creating exports).
To view current schedules:
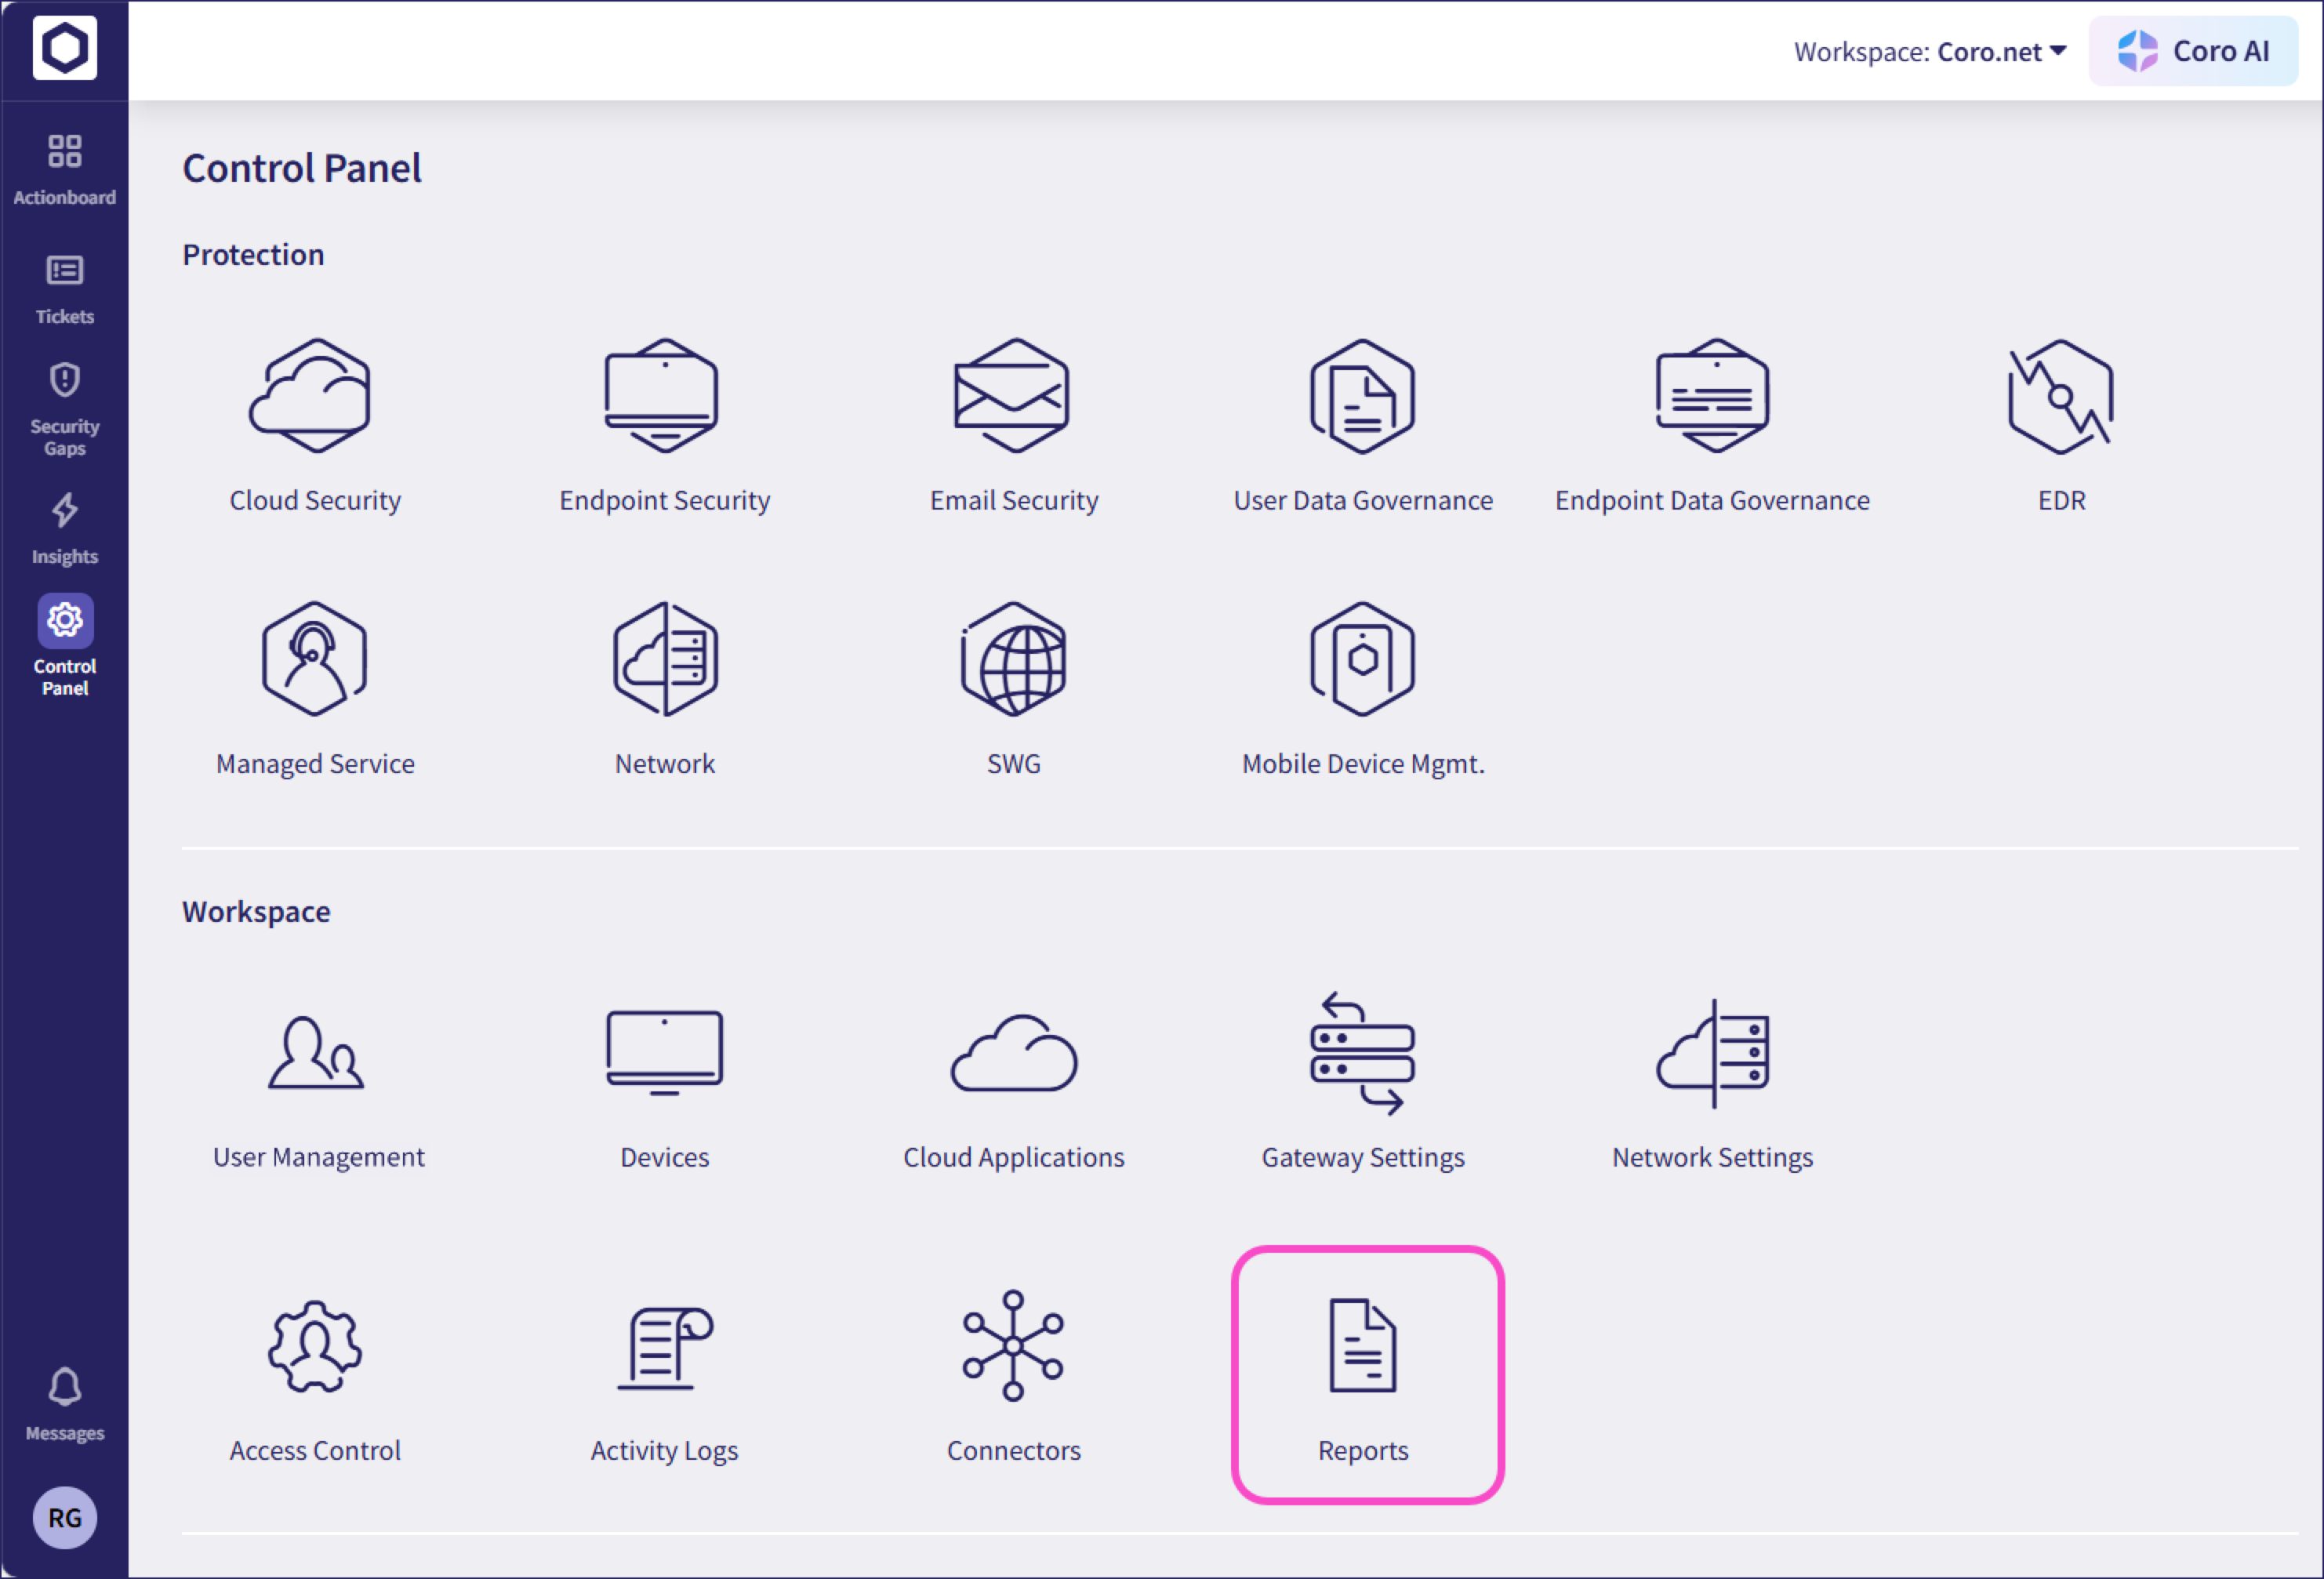
Navigate to Control Panel > Reports:
Select Scheduled:

Coro displays the schedule page:
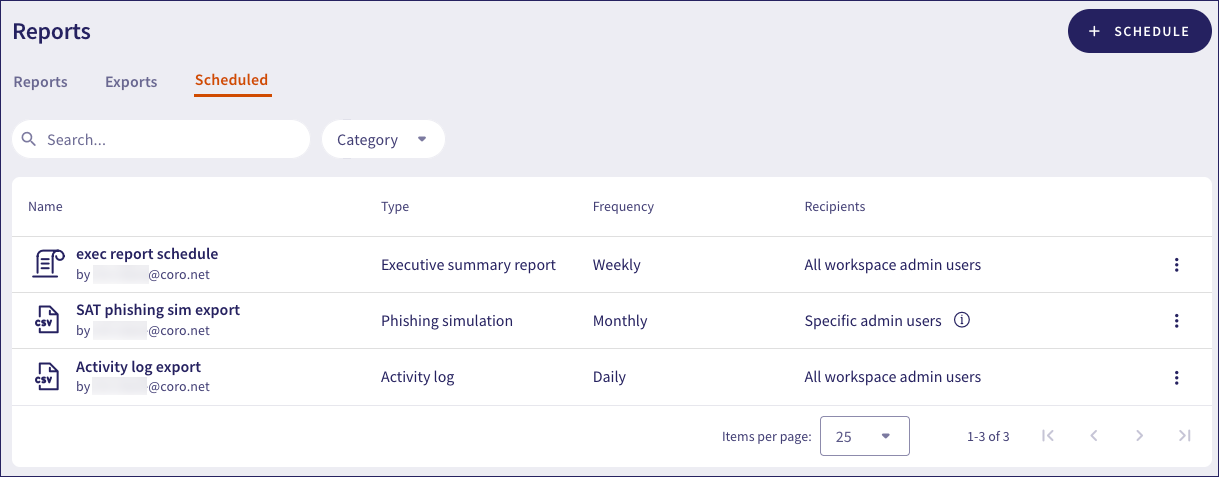
Use the three-dot menu adjacent to a schedule to edit or remove it:

To create a new scheduled export:
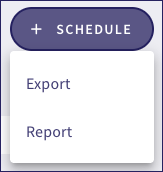
Select + SCHEDULE, then choose Export:
Enter the schedule details:
A name for your scheduled export
The type of data to export
Filters specific to the data type, such as ticket or device type
The frequency of the schedule
The recipients of the export
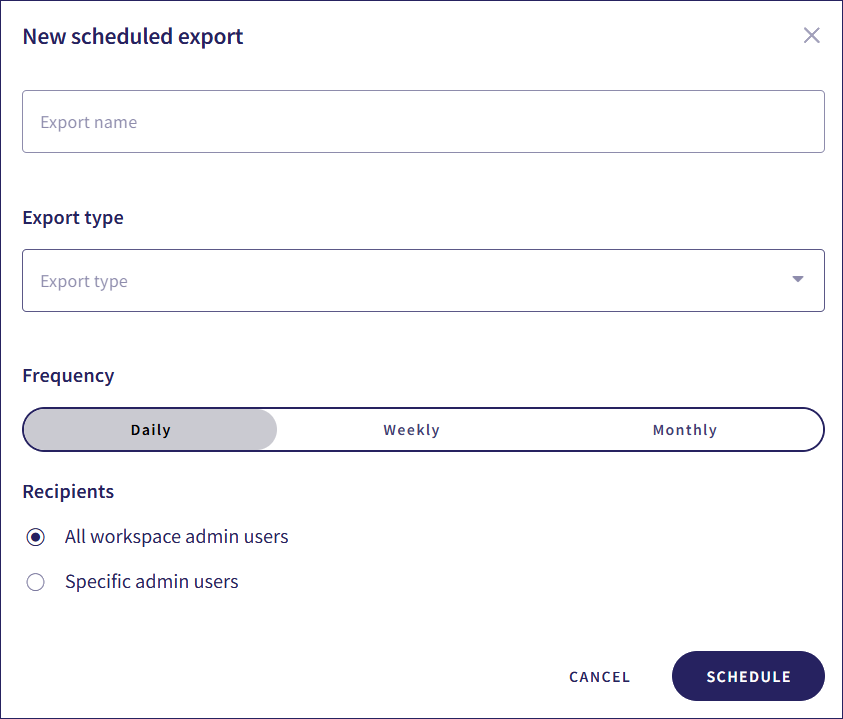
Select SCHEDULE.
The scheduled export appears in your list.
To create a new scheduled report:
Select + SCHEDULE, then choose Report:
Enter the schedule details:
A name for your scheduled report
The report type
The date range filter for the report
Whether to include zero (0) values in the data
The frequency of the schedule
The recipients of the report
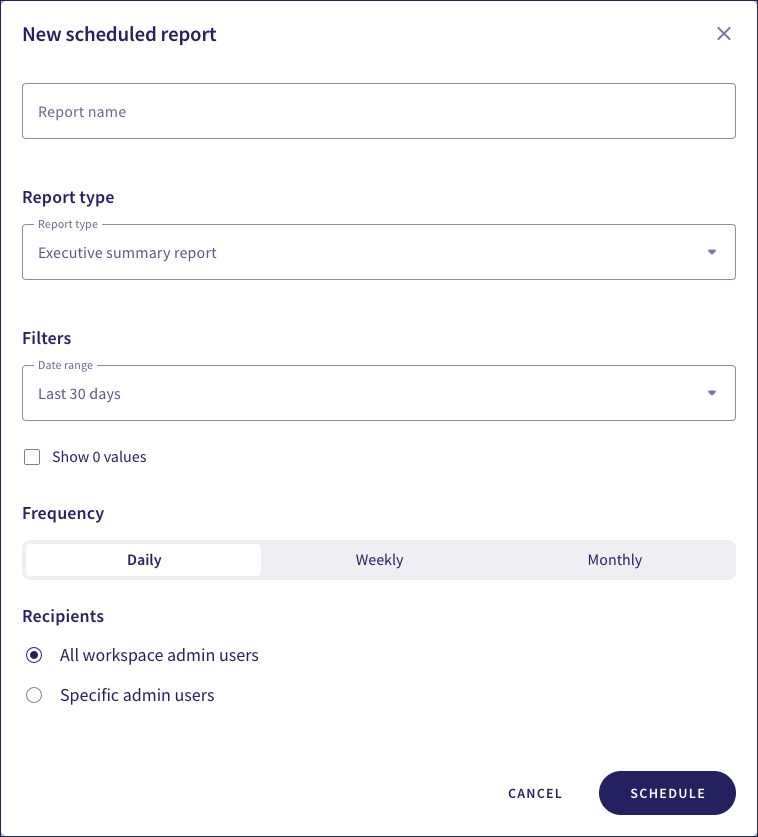
Select SCHEDULE.
The scheduled report appears in your list.