Integrating with Zapier
Zapier is an automation tool that lets you create workflows that involve common web apps and services without needing to code. Coro’s Zapier integration uses Coro webhooks to simplify billing management. It allows for easy automation of billing alerts and tracking workspace changes without needing complex configurations. Admin users with sufficient permissions can set up workflows to monitor specific events in real-time and sync data across apps, improving efficiency and transparency.
Prerequisites
Before connecting to Zapier, you need:
A Zapier account and sign in credentials
A client ID and client secret for the Coro workspace. For more information, see Creating API credentials.
Your Coro workspace ID. View this in the Control Panel:

For details, see Control Panel.
Integrating with Zapier
To integrate Coro with your Zapier account:
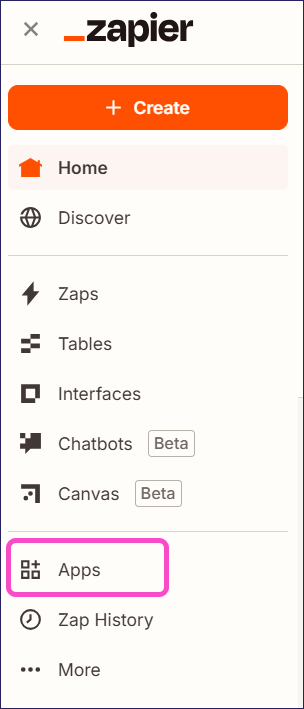
Sign in to Zapier and select Apps from the menu on the left:
Search for and select Coro:

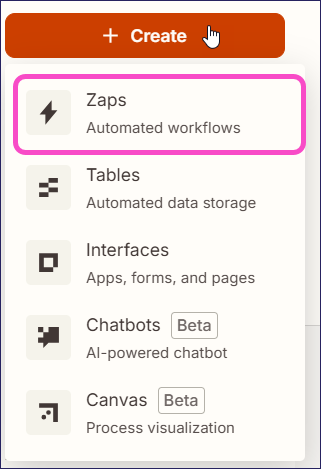
From the menu on the left, select + Create > Zaps:
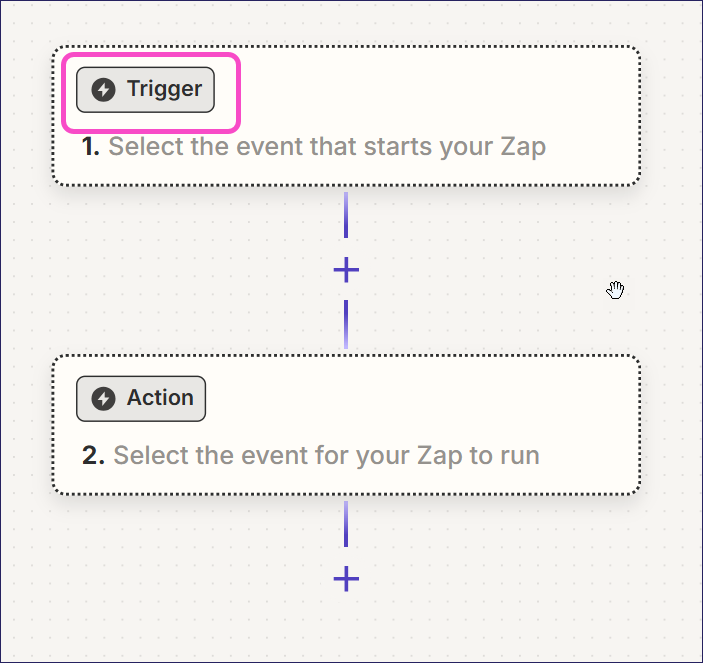
Select Trigger:
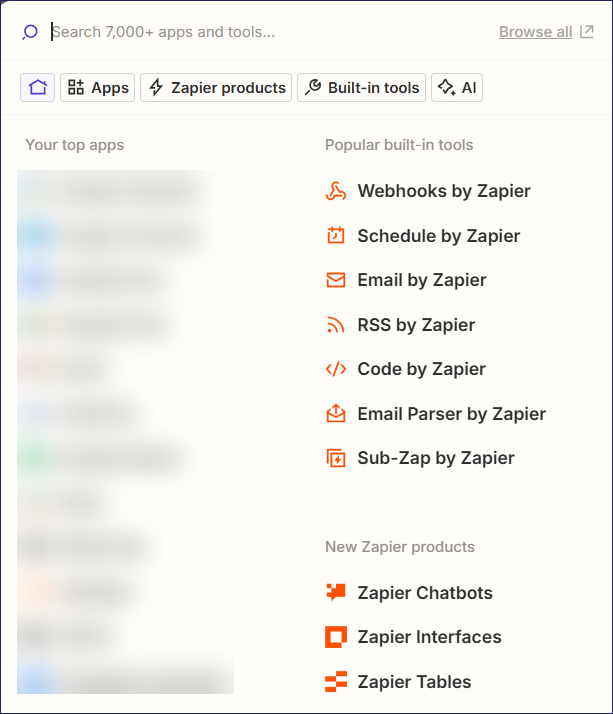
Search for and select Coro:
Select a trigger event:
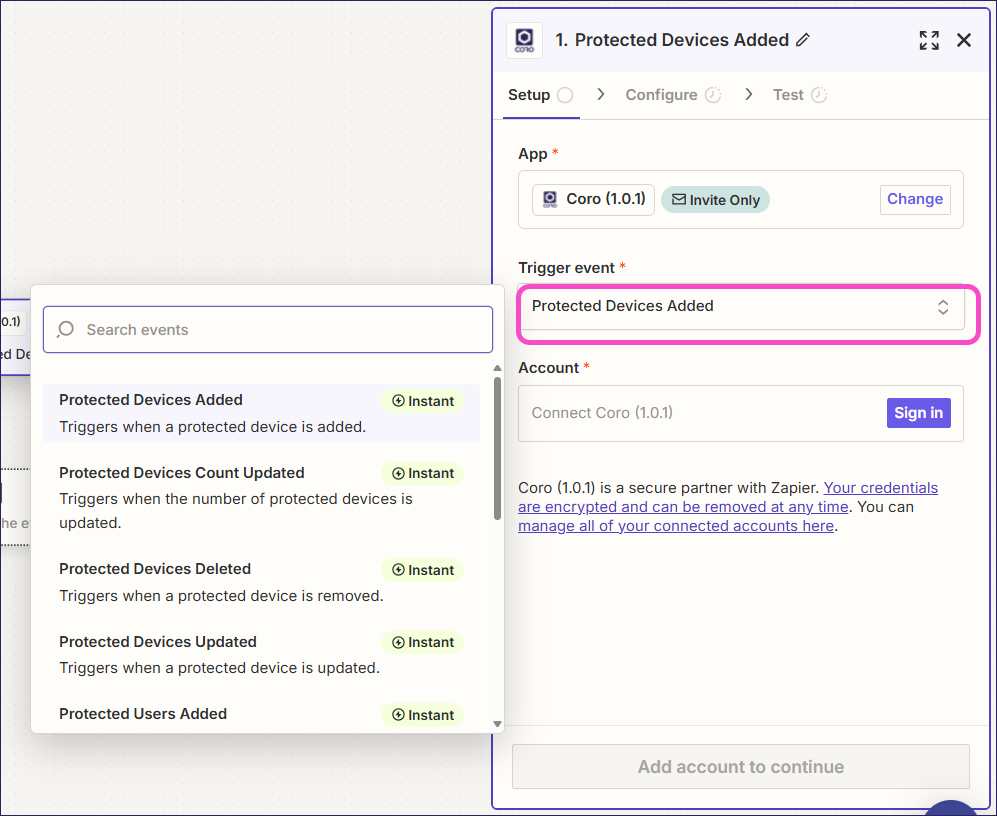
The trigger events include:
Trigger Description Workspace created A workspace is created. Workspace status updated A workspace subscription status is updated. The workspace status changes, for example from trial to subscription. Subscription updated A workspace subscription is updated. Modules or add-ons are enabled or disabled. Protected users added Protected users are added to the the workspace. Protected users updated Protected user details are updated. Protected users deleted Protected users are deleted from the workspace. Protected users count updated The number of protected users is updated. Users are added or deleted. Protected devices added Protected devices are added to the workspace. Protected devices updated Protected device details are updated. Protected devices deleted Protected devices are deleted from the workspace. Protected devices count updated The number of protected devices is updated. Devices are added or deleted. Select Sign In to connect your Coro account.
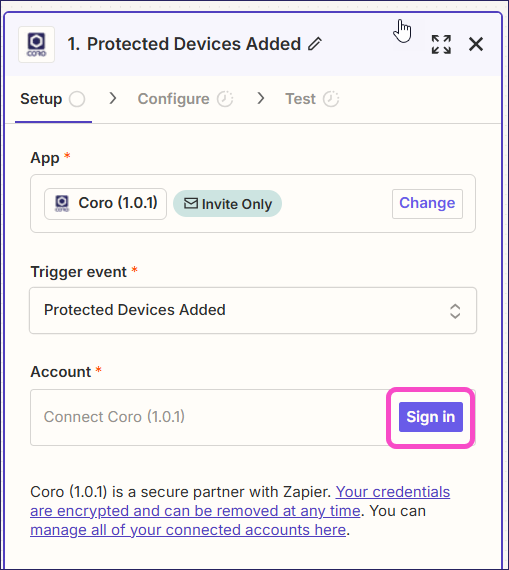
In the window that pops up, enter:
- Coro Region - your Coro workspace region
- Client ID and Client secret - your client ID and secret. For more information, see Creating API credentials.
- Authentication Workspace ID - your Coro workspace ID. For more information, see Prerequisites.
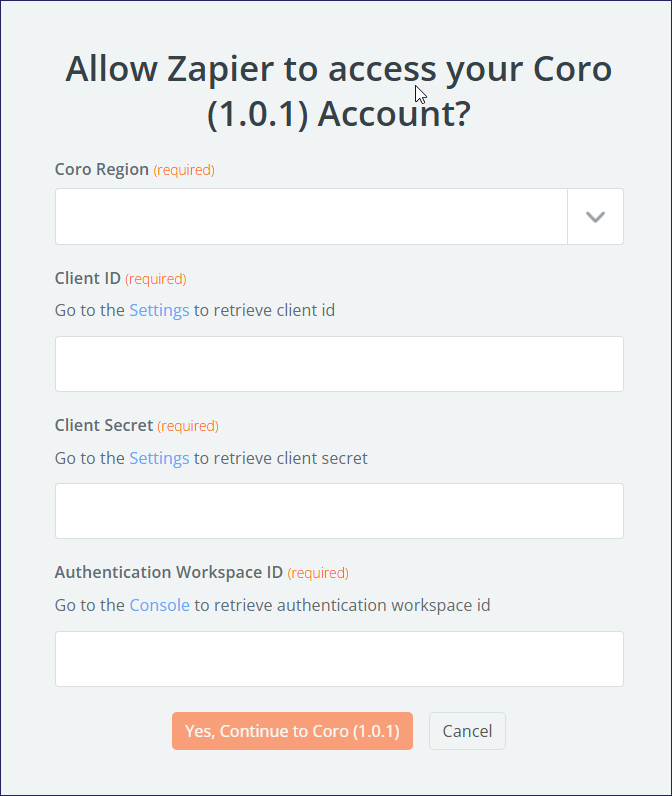
Select Yes, Continue to Coro.
Select Continue.
Enter the ID of the workspace to which the trigger should apply.
Select whether this trigger should apply to all workspace descendants or not.
Select Continue.
Select Test to retrieve some sample data.
Select Continue with selected record.
Select any actions you want to take based on the trigger, such as send an email or alert a billing platform.
Select Publish.
After the zap is published, it appears both in your zaps in Zapier, and in the Webhooks page of your Coro workspace.
Any changes you make to the zap should be made through Zapier, and not through your Coro workspace. If you remove the zap from the Webhooks page, the Zapier integration no longer works.