Allow/block domains and emails
Allowlists provide the ability to include known safe email sender addresses and domains that Coro can check if an Email Security event occurs. For instance, if an email is flagged by Coro's detection mechanisms as containing potentially malicious content or a possible phishing attack, Coro will continue to allow the email if the sender or sender's domain is listed in an allowlist.
Blocklists can be used to provide lists of known bad senders or domains where, regardless of content or authentication status, corresponding emails are blocked from being received by the named recipients. Coro raises tickets identifying the blocked event.
List types
Coro provides two primary allowlist and blocklist types applicable to your workspace (and optionally also to child workspaces generated by this workspace owner, where relevant):
| Type | Description |
|---|---|
| Suspicious content | An allowlist and blocklist relating to checks on email content. Records added here (through ticket remediation or manual entry on this page) feed into remediation decisions concerning the content of emails sent to your protected and protectable users. Future remediation decisions based on positive detector tests take into account whether the sender or domain is in this list. |
| Authentication failure | An allowlist and blocklist for authentication failure conditions with the specified sender or sender's domain. Authentication is performed on the sender details to establish the legitimacy of their identity, primarily by checking message headers to determine the possibility of spoofing or impersonation. Records added here (through ticket remediation or manual entry on this page) feed into remediation decisions concerning detectors that are triggered by authentication failures. |
Important
Coro also references a third high-level global allowlist and blocklist maintained by Coro itself and based on continuous research and observations over time. This list is not user accessible.
Viewing allowlists and blocklists
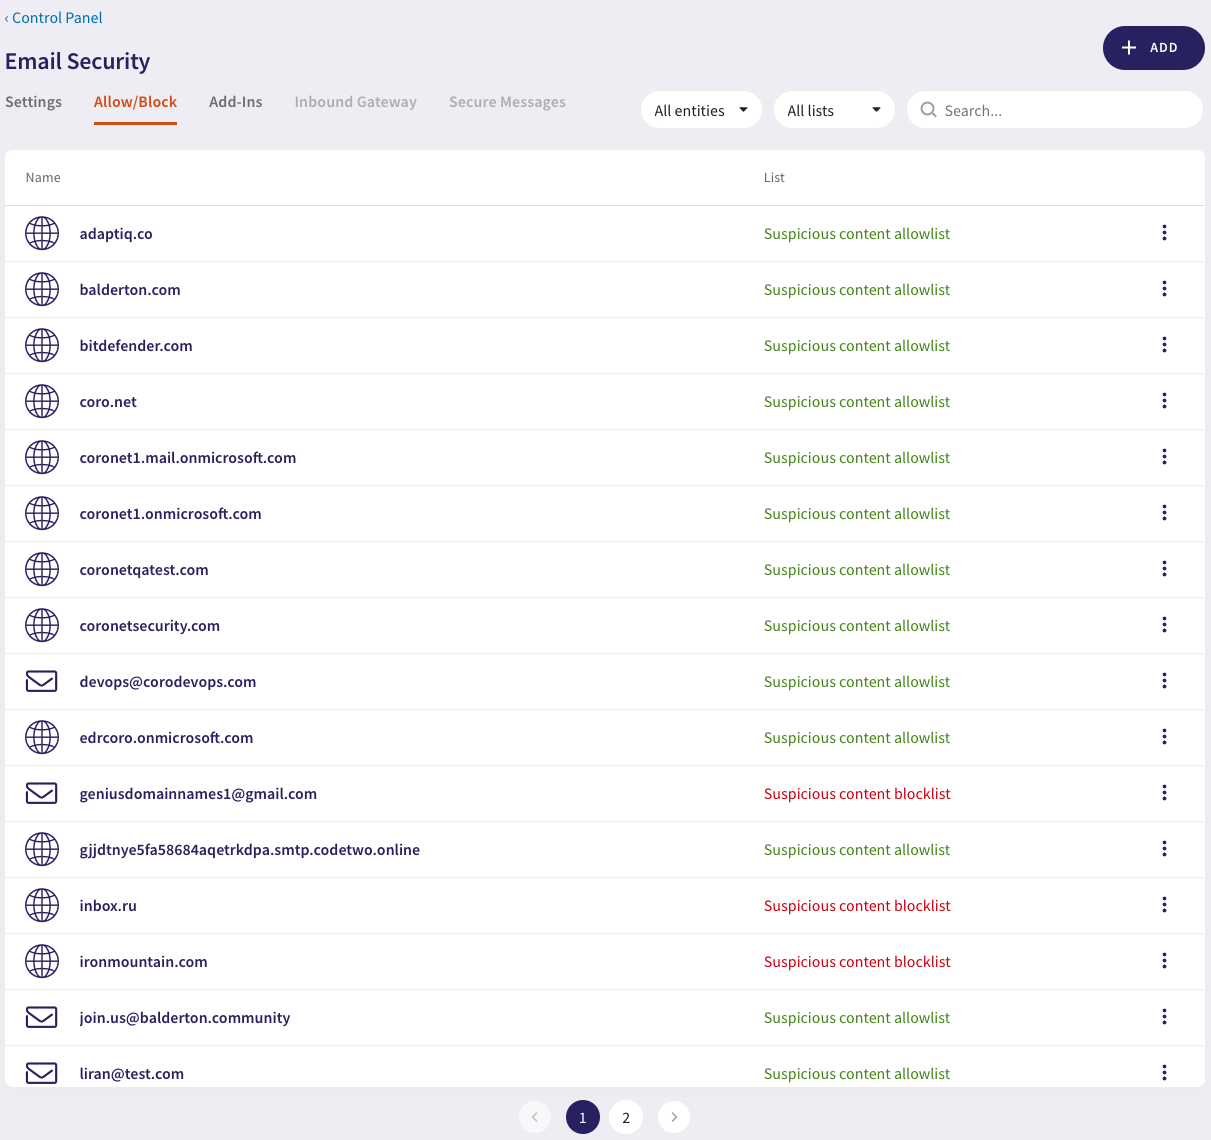
To view and update Email Security allowlists and blocklists, log into the Coro console and navigate to Control Panel > Email Security > Allow/Block:
On this page, the Name column displays the sender email address or email domain, and the List column indicates whether each item belongs to an allowlist or blocklist for one of the named types.
Select the All entities dropdown to filter the list by Email or Domain:
Select the All lists dropdown to filter the list by Allowlist or Blocklist:
Use the Search box to filter the Name column using a free text search:
Cascading allowlist and blocklist rules to child workspaces
Coro provides the ability for Managed Service Providers (MSPs) and partners to apply allowlist and blocklist rules defined in a parent ("Channel") workspace to all connected child workspaces. To enable this feature, use the Apply allow/block rules to all child workspaces toggle:
Note
This toggle appears only for parent ("Channel") workspaces and applies only to the immediate child workspaces.
When enabled, a child workspace inherits ONLY the allowlist and blocklist rules from its parent workspace, combining them with any unique rules defined already within itself. A child workspace does not inherit the rules from any workspace above its own parent (in other words, from a grandparent workspace).
Additionally, when a child workspace itself becomes a parent (through Coro's approach to providing flexible workspace hierarchies), it passes on only those allowlist and blocklist rules defined within it, and none of the rules it inherited from a parent.
Adding entries
Coro enables you to add email domains and addresses to the allowlist or blocklist through several methods:
- From the Ticket Log in response to phishing or malware events
- Directly on this page
- Through bulk upload via a CSV file
From phishing and malware tickets
Coro raises Email Security tickets in response to phishing and malware events. For protected users, these tickets are typically remediated automatically by Coro - in that the suspicious email message or attachment is deleted or quarantined (depending on the event type) and the ticket is closed.
An Admin user can view these tickets and make decisions as to whether to add the named sender or sender's domain to the allowlist or blocklist.
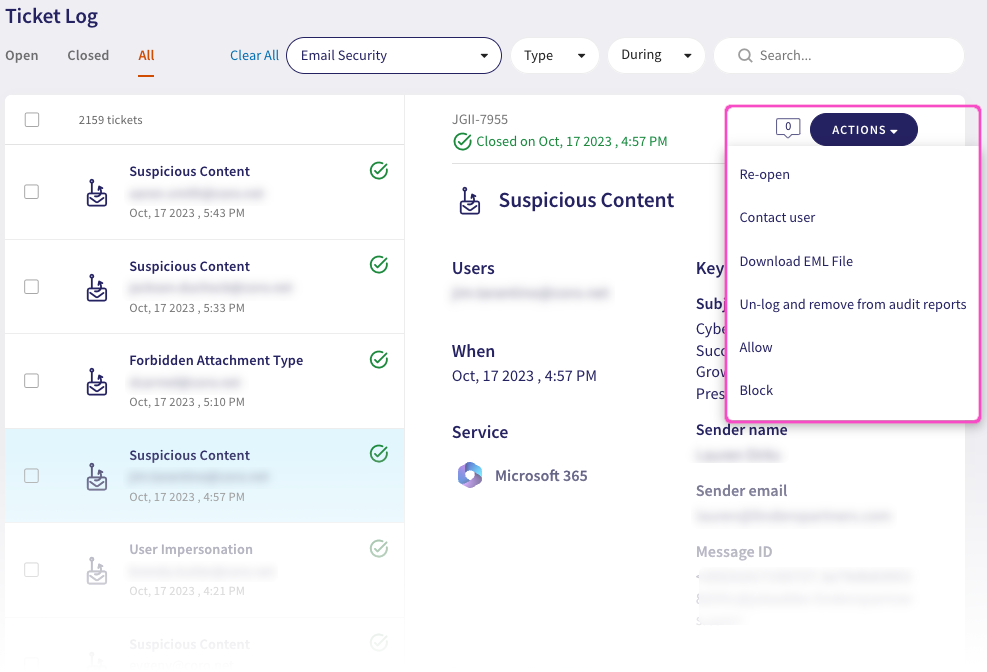
To do this, open the Ticket Log and review your Email Security tickets. Each ticket involving a protected user includes an ACTIONS button, which provides actions applicable to that ticket type:
To add the sender's domain or email address to the allowlist, select Allow. Or, for the blocklist, select Block.
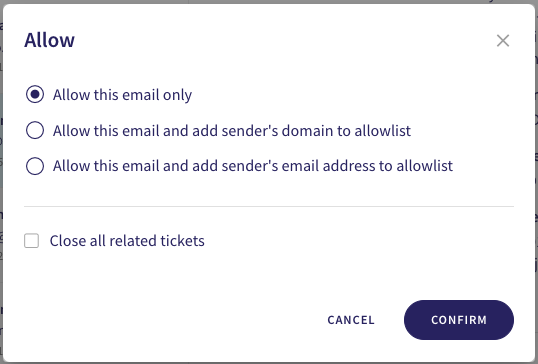
The Allow action presents a dialog offering the choice of how to respond to this ticket:
Choose from:
-
Allow this email only: Allow the quarantined email that triggered this ticket to reach its recipients, but DO NOT add the sender's domain or email address to the allowlist. Future emails from this or any other sender in the same domain can still trigger a ticket in Coro.
Note
This option is disabled if the email was deleted and not quarantined. In this case, only adding the sender or sender's domain to the allowlist is possible. For details on ticket types affected, see Ticket types for Email Security.
-
Allow this email and add sender's domain to allowlist: Allow the email, and instruct Coro to add the sender's domain to the allowlist. Future emails from any senders in this same domain will continue to be received by all named recipients.
- Allow this email and add sender's email address to allowlist: Allow the email, and instruct Coro to add the sender's email address to the allowlist. Future emails from this specific sender will continue to be received by all named recipients.
Confirm your choice by selecting CONFIRM.
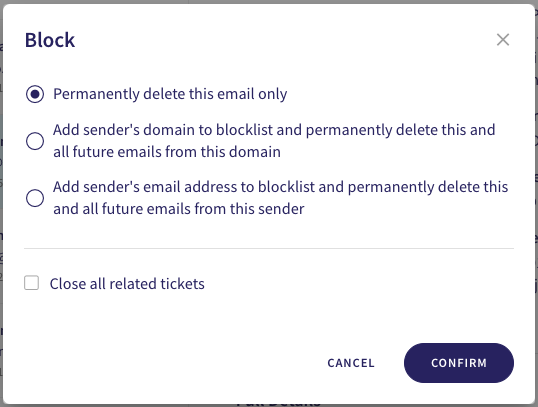
The Block action presents a dialog offering the choice of how to respond to this ticket:
Choose from:
-
Permanently delete this email only: Permanently delete the email that triggered this ticket, but DO NOT add the sender's domain or email address to the blocklist. Future emails from this or any other sender in the same domain can still trigger a ticket in Coro.
Note
This option is disabled if the email was deleted and not quarantined. In this case, only adding the sender or sender's domain to the blocklist is possible. For details on ticket types affected, see Ticket types for Email Security.
-
Add sender's domain to blocklist and permanently delete this and all future emails from this domain: Instruct Coro to add the sender's domain to the blocklist, and permanently delete this and all future emails that originate from any sender in the same domain.
- Add sender's email address to blocklist and permanently delete this and all future emails from this sender: Instruct Coro to add the sender's email address to the blocklist, and permanently delete this and all future emails that originate from the same email address.
Confirm your choice by selecting CONFIRM.
Note
Both dialogs include the option to enable Close all related tickets. This requests Coro to close all related tickets connected to the event.
Note
Coro prevents adding well-known email provider domains to the allowlist or blocklist. In this situation, the option to add the entire domain is disabled, although you can still add individual email addresses.
Directly on this page
To add domains or email addresses directly into the allowlist or blocklist:
-
Select the ADD button:
-
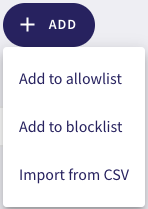
Select an option:
Choose from:
-
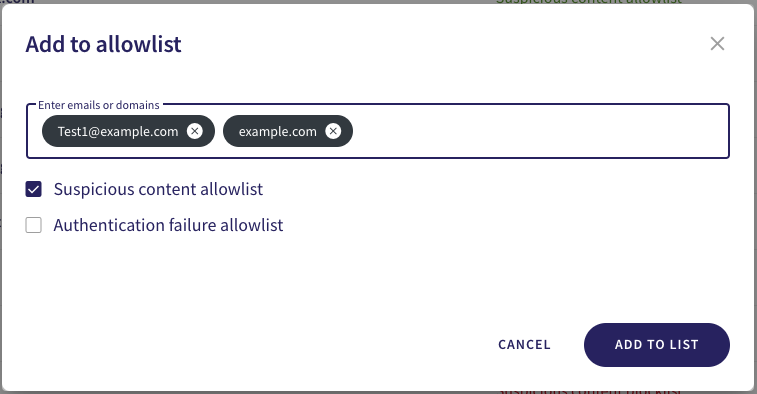
Select Add to allowlist to add item(s) to the Emails or Domains list of the Add to allowlist dialog:
Select the type of allowlist you want to add these entries to, then select ADD TO LIST.
-
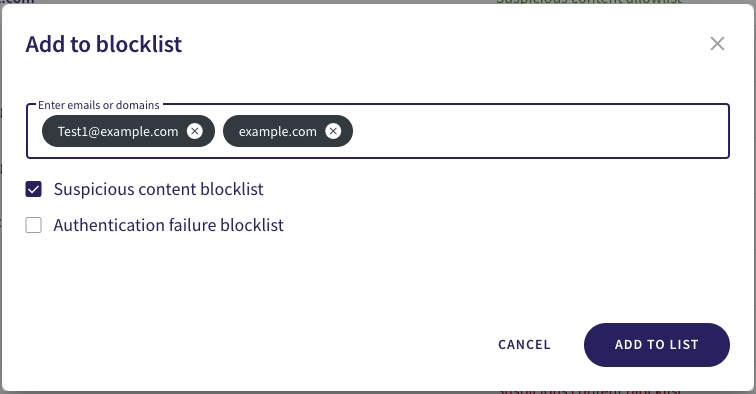
Select Add to blocklist to add item(s) to the Emails or Domains list of the Add to blocklist dialog:
Select the type of blocklist you want to add these entries to, then select ADD TO LIST.
-
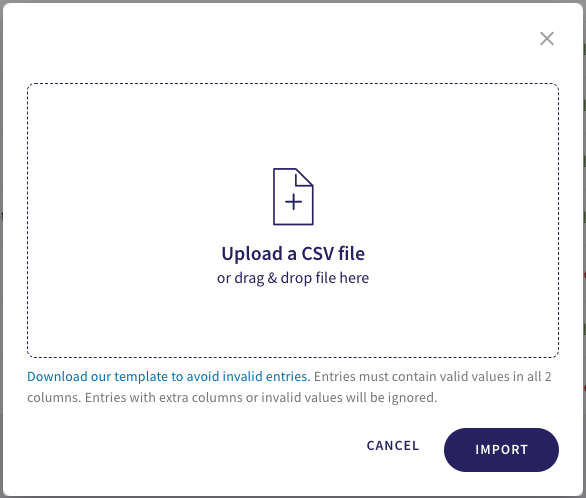
Select Import from CSV to upload a comma-separated value (CSV) file containing your allowlist and/or blocklist data.
Note
To learn more about creating a valid CSV file, see Using a CSV file.
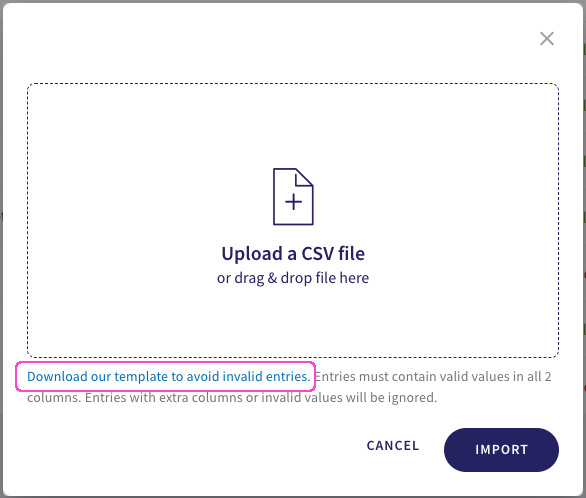
Select your CSV file in the Upload a CSV file dialog:
To begin the import process, select IMPORT.
Coro presents a confirmation dialog that the import is now in progress:
Select GOT IT to continue.
Note
After the import process is complete, Coro displays an acknowledgement notice in the Console and places an entry in the Activity Log providing details of the import operation.
-
-
Your added items are displayed in the Allow/Block list, showing the list they belong to.
Using a CSV file
Coro enables you to add existing email security allowlist and blocklist data by importing a CSV file containing a list of user email addresses with their corresponding list (Allow/Block).
Entries in your CSV file must follow the pattern:
<item>,<policy>,<content list>,<authentication list>
Each entry must be on a separate line, with the following possible values in each field:
| Field | Description | Allowed values |
|---|---|---|
| <item> | The sender email address or domain. | coro1@example.com or example.com |
| <policy> | Whether to allow or block the item. | Allow or Block |
| <content list> | Add this item to the Suspicious Content list. | Yes or No |
| <authentication list> | Add this item to the Authentication Failure list. | Yes or No |
Files must abide by the following rules:
- You must specify valid values in both columns. Entries with extra columns or invalid values will be ignored.
- The maximum file size is 5 MB.
- A maximum of 100,000 records are permitted.
To facilitate creating a valid CSV file, Coro provides a link to a template in the Upload a CSV file dialog:
