Managing SOC contacts
Admin users with sufficient permissions can manage Security Operations Center (SOC) contacts and create new ones. Coro can email these contacts regarding all issues or limit notifications to critical issues only. The Coro SOC team determines whether an issue is classified as critical.
From the Contacts tab, you can:
Creating a SOC contact
To create a SOC contact:
-
Sign into the Coro console and select Control Panel from the toolbar:
-
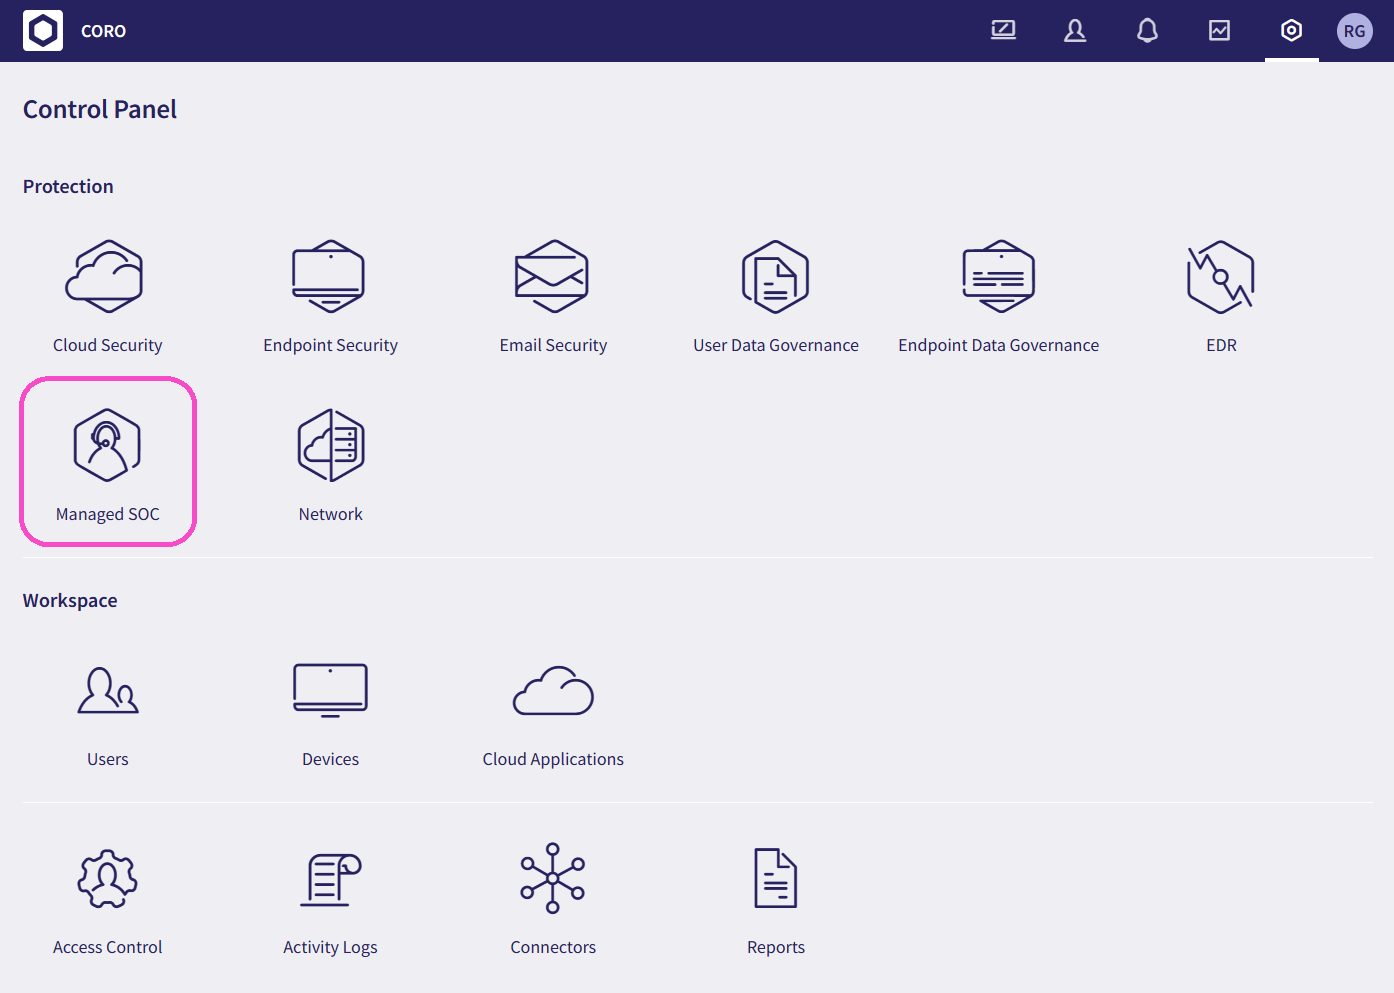
Under Protection, select Managed SOC:
-
Select + ADD SOC CONTACT from the Contacts tab:
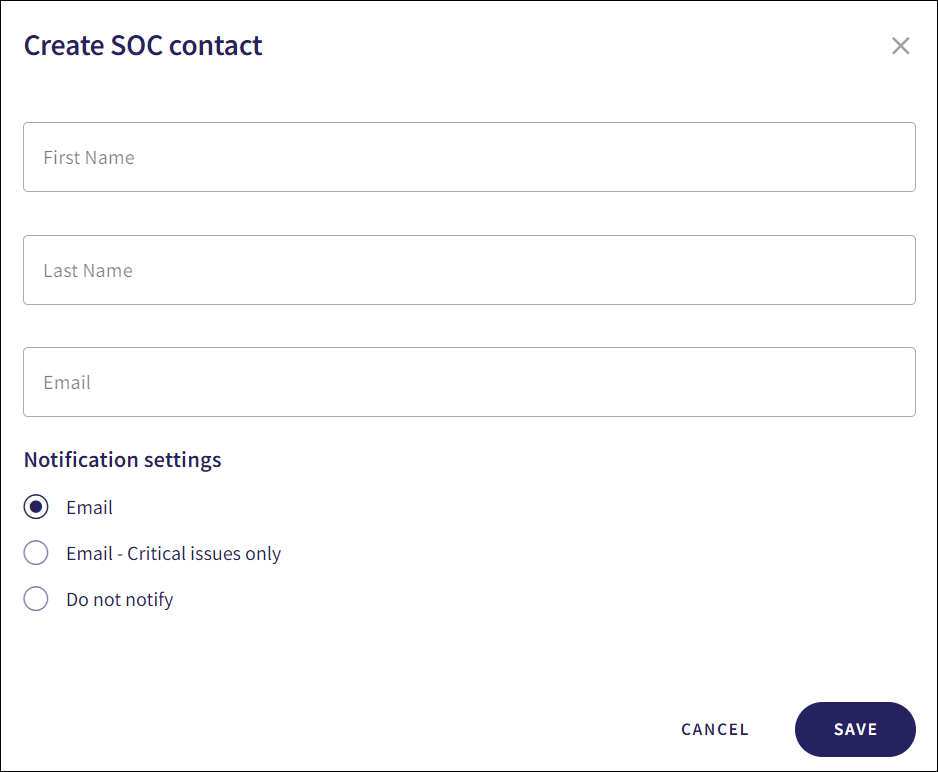
The Create SOC contact dialog appears:
-
Enter a First name, Last name, and Email address for the SOC contact.
-
Select a Notification settings option:
-
Email: Notifications are sent for all issues via email.
-
Email - Critical issues only: Notifications are sent for critical issues via email. The Coro SOC team determines whether an issue is classified as critical.
-
Do not notify: Issues do not trigger notifications.
-
-
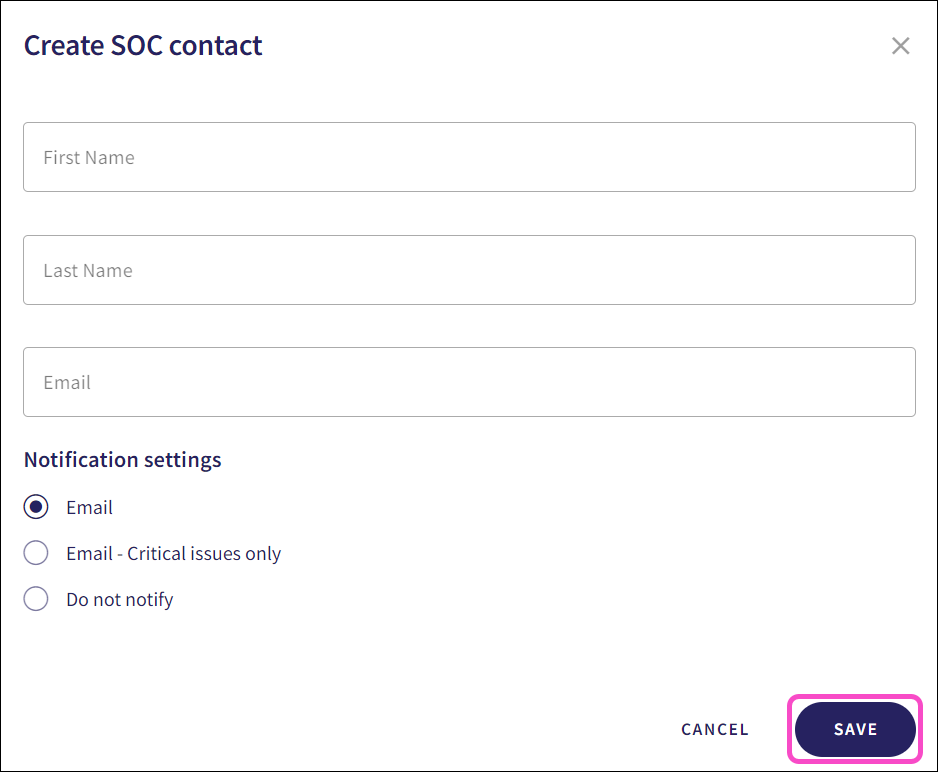
Select Save:
The SOC contact is created and a confirmation message appears:
The SOC contact appears on the SOC list:
Editing a SOC contact
To edit an existing SOC contact:
-
Sign into the Coro console and select Control Panel from the toolbar:
-
Under Protection, select Managed SOC:
-
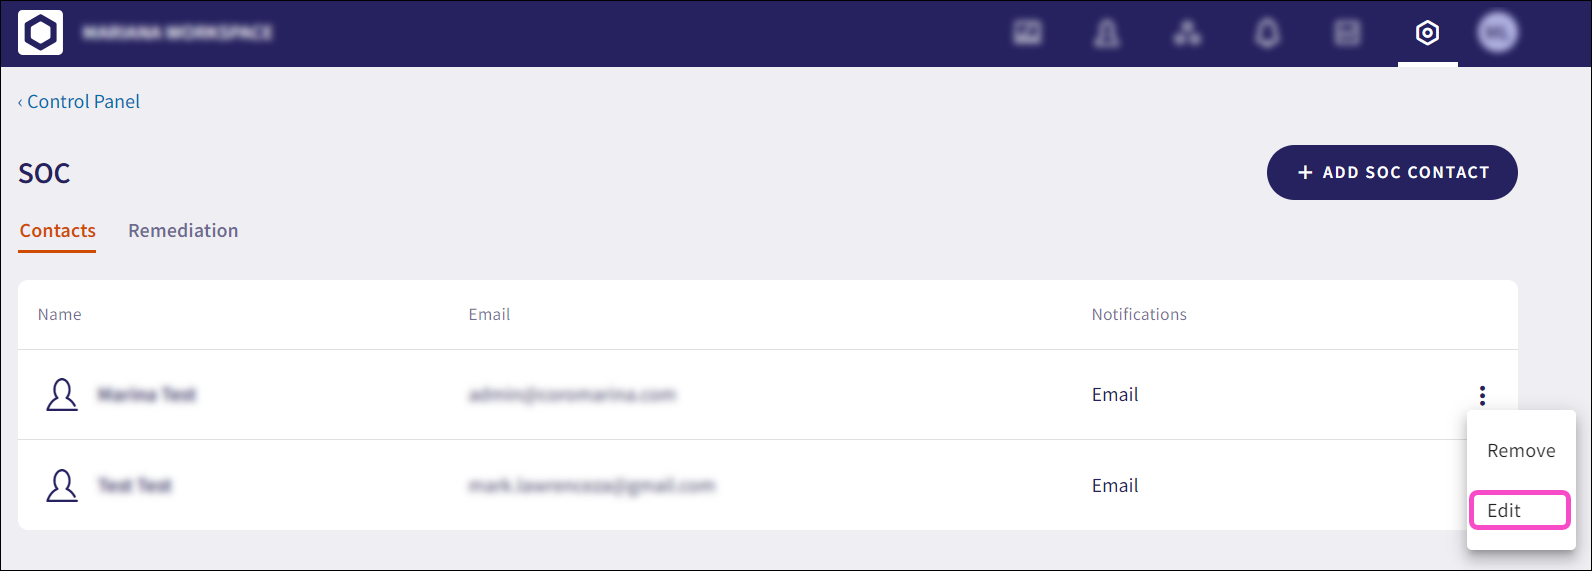
Select the three-dot menu adjacent to the SOC contact from the Contacts tab:
-
Select Edit:
-
After editing the SOC contact, select SAVE.
The SOC contact details are updated and a confirmation message appears:
Removing a SOC contact
To remove a SOC contact:
-
Sign into the Coro console and select Control Panel from the toolbar:
-
Under Protection, select Managed SOC:
-
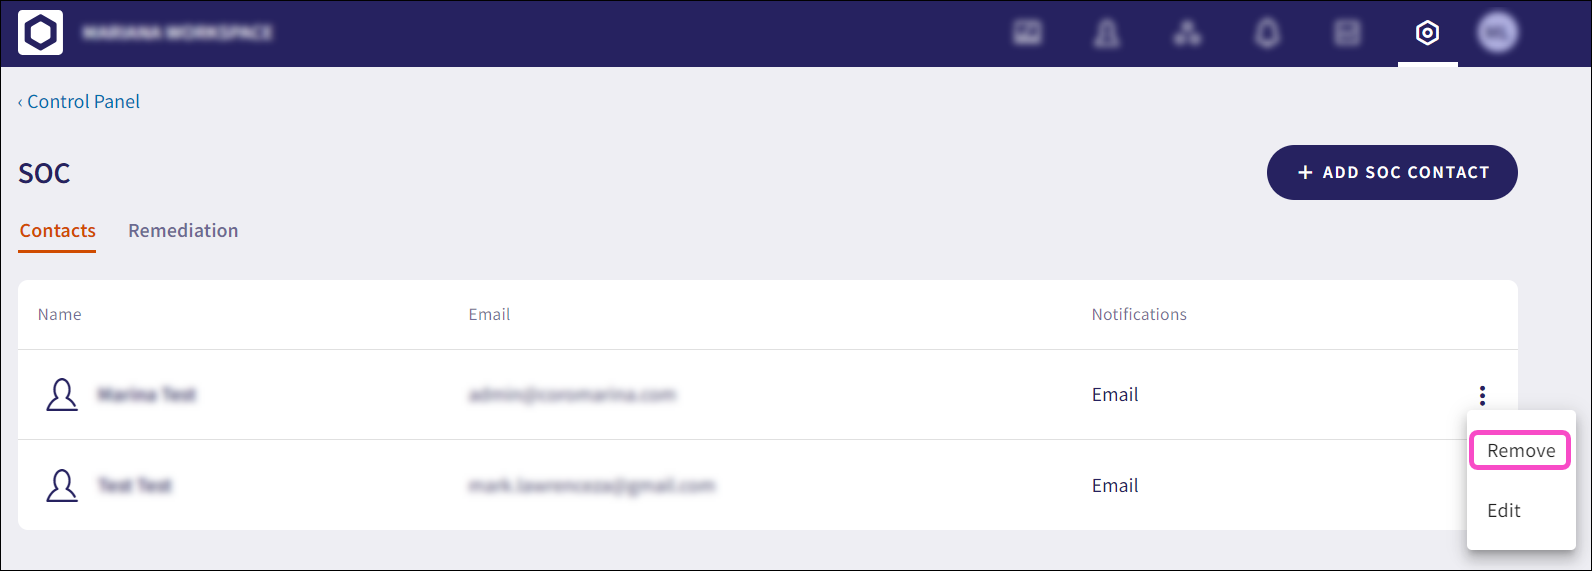
Select the three-dot menu adjacent to the SOC contact from the Contacts tab:
-
Select Remove:
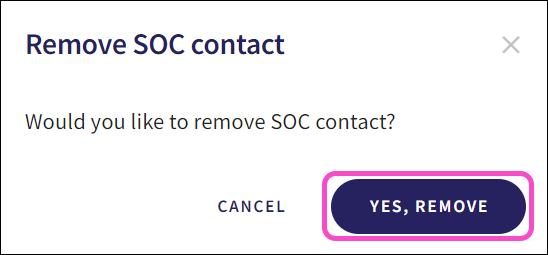
The Remove SOC contact confirmation dialog appears:
-
Select YES, REMOVE.
The SOC contact is removed and a confirmation message appears:

